How I shoot DSLR self portraits with phone tethered trigger / Canon Camera Connect
Like many photographers in recent times, I’ve found myself suddenly without a model to photograph during periods of lockdown; and like many photographers who wanted to continue creating images, I’ve gone down the path of taking self portraits.
I wanted to share the way that I shoot self portraits with my DSLR because I know it took me awhile to figure it out when I was looking for a solution that was compatible with studio flash, and not frustratingly hit and miss with focus and composition. Keep in mind that this is specific to Canon DSLR users.
How to correct red and green colour casts in Lightroom / HSL and Camera Calibration
I think most portrait photographers would agree with me when I say that the dealing with colour casts coming off a red brick wall and green grass are are a classic pain in the butt. To be honest, most of the time when I shoot I like to position my subjects away from potential colour correction headaches - but sometimes the brick wall is irresistible and a shooting in a forest is always so worth it.
When editing a portrait session in Lightroom, I used to rely on using adjustment brushes to alter saturation, tint, temperature, and add a neutralising colour to specific areas, but this is time consuming and only feasible for a small number of hero shots. More recently I’ve started learning and experimenting with colour correction techniques in the HSL and Camera Calibration - with edits that can be synced across multiple photos.
Read on to find out more!

Studio Portrait 2 Lightroom Preset / Moody & Cinematic.
Designed for portraits with dramatic, low key studio lighting (Chiaroscuro anyone?), Studio Portrait 2 is perfect for a moody portrait or a fashion editorial story with a cinematic touch. This preset was developed from an album art shoot for the musician Aya Yves.
The contrast and intensity of the preset can be adjusted by selecting one of the 3 versions of the preset to suit your lighting setup.
Includes: Studio Portrait 2, Studio Portrait 2+, Studio Portrait 2-

How to install and use Lightroom Mobile Presets
Hello friends!
This is a quick start guide on how to install and use my Lightroom mobile presets. If you’ve purchased one of my presets I want to thank you from the bottom of my heart for supporting my small business and allowing me to make a living doing what I love- living the dream!
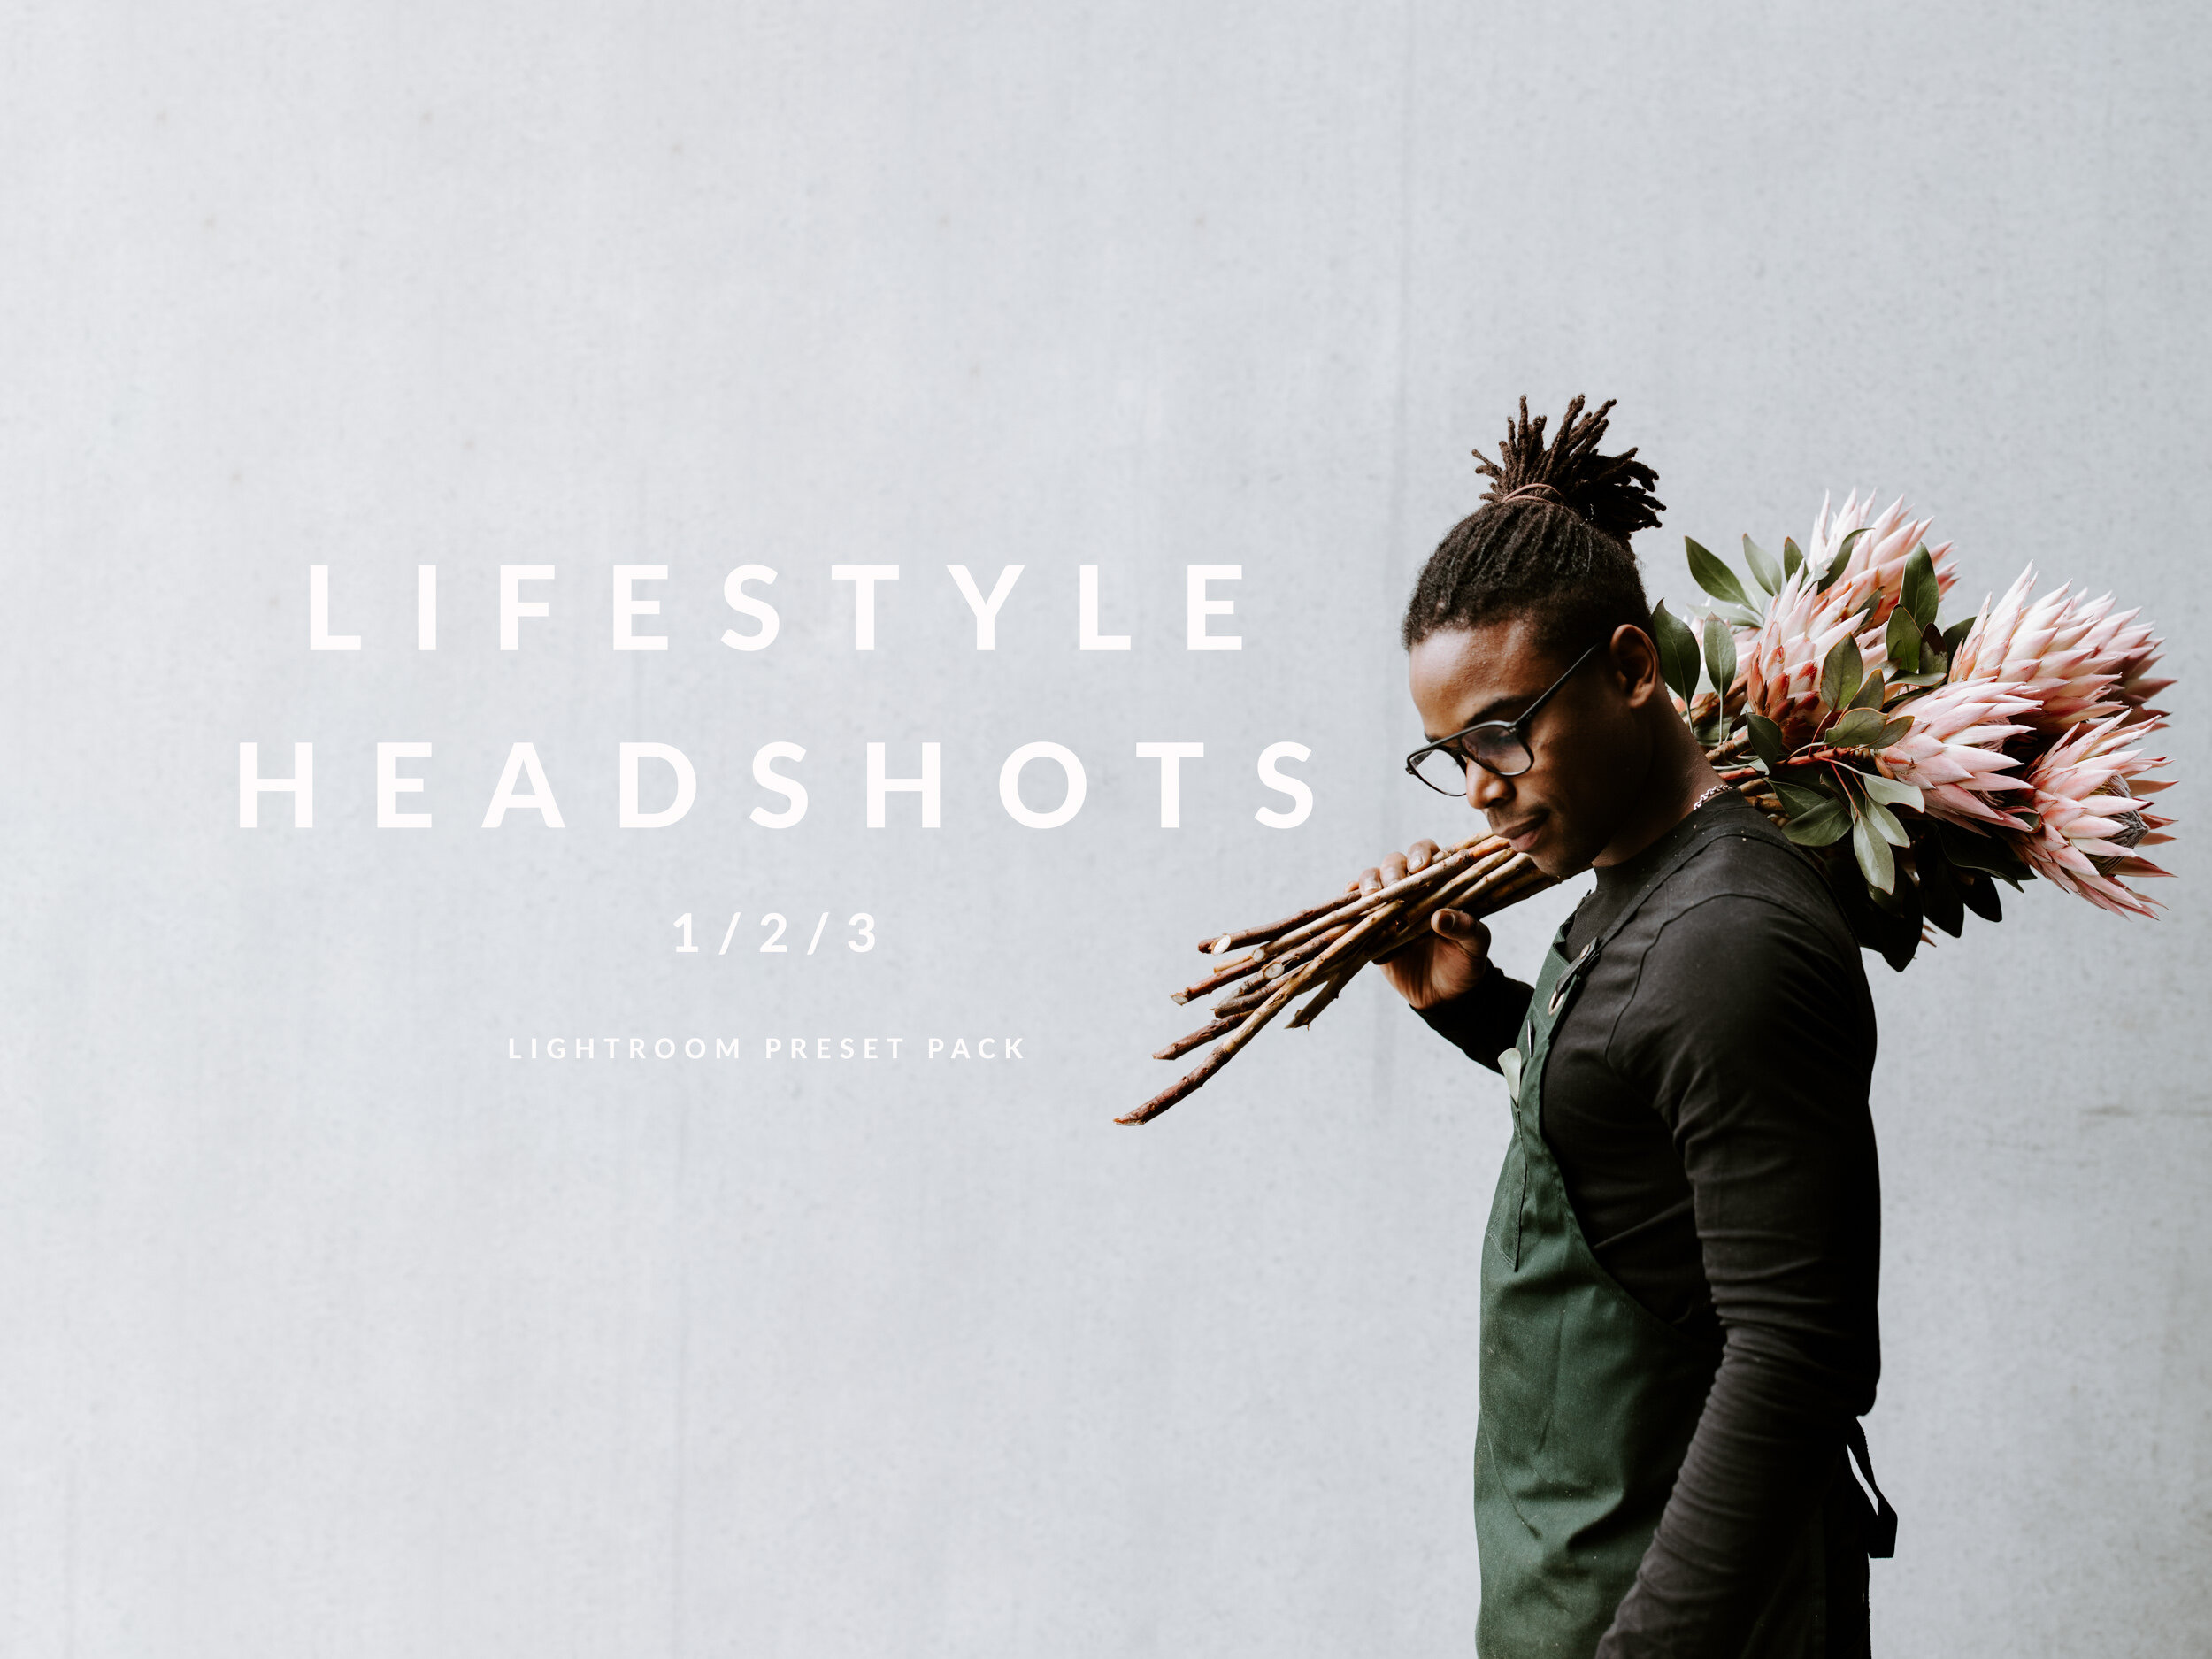
Lifestyle Headshots Preset Pack for Lightroom - a secret weapon for business and personal branding
The Lifestyle Headshots Preset Pack is designed for the creatives, influencers, businesses, and cool kids that want personality and style in their headshots.
This preset pack comes with a bundle of 3 lifestyle headshot preset styles to reflect your business or personal branding, and an a high contrast version of each style (6 presets in total):
LS headshot 01 warm- earthy, warm tones.
LS headshot 01 warm HC - high contrast version of the above
LS headshot 02 bright - bright and clean, with vivid reds and oranges
LS headshot 02 bright HC - high contrast version of the above
LS headshot 03 clean - great for a clean. modern, minimalist look
LS headshot 03 clean HC - high contrast version of the above
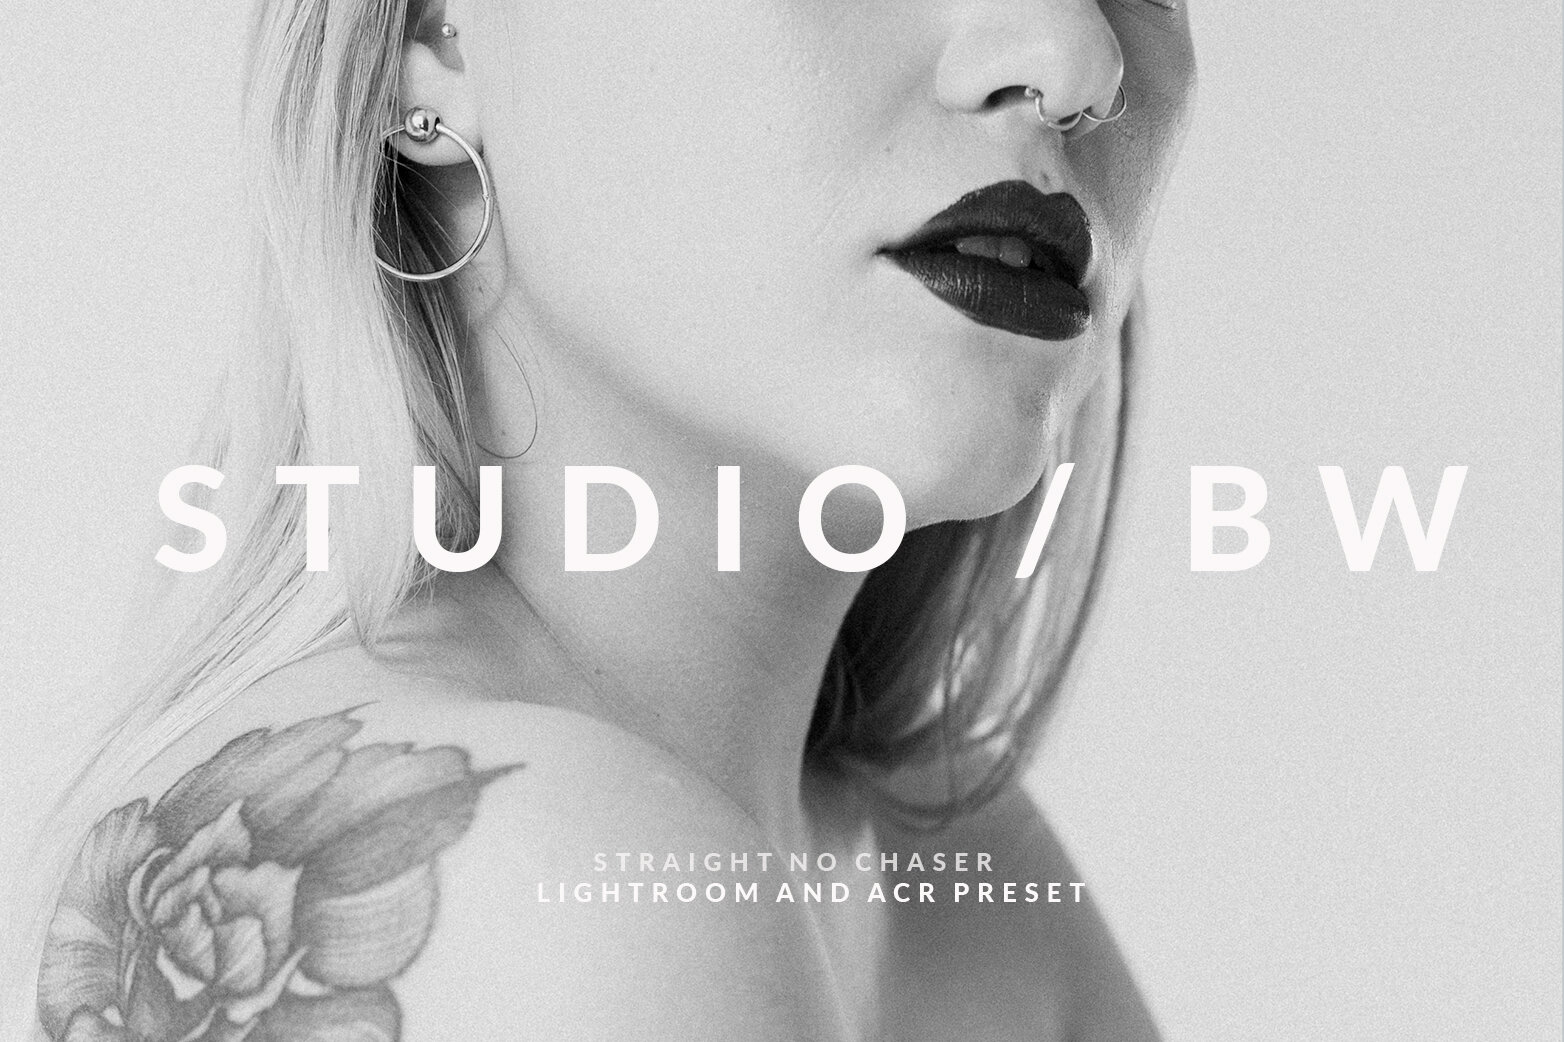
Studio BW -Black and White Lightroom Preset
Studio BW is a black and white desktop preset for Lightroom Classic CC and Photoshop ACR. It is designed for portraits taken with studio lighting- great for fashion, product, and creative work. This preset works for both bright (high key) images as well as darker moodier portraits.
There are 2 versions of the Studio BW preset - a standard and a version with increased contrast.
Hope you enjoy this preset!
All images photographed in my home studio and edited by me. Model credits: Vendulka Wichta, Teig Sadhana, Samantha Lear, Ashley Feraude, Craig Rhodes (hair).
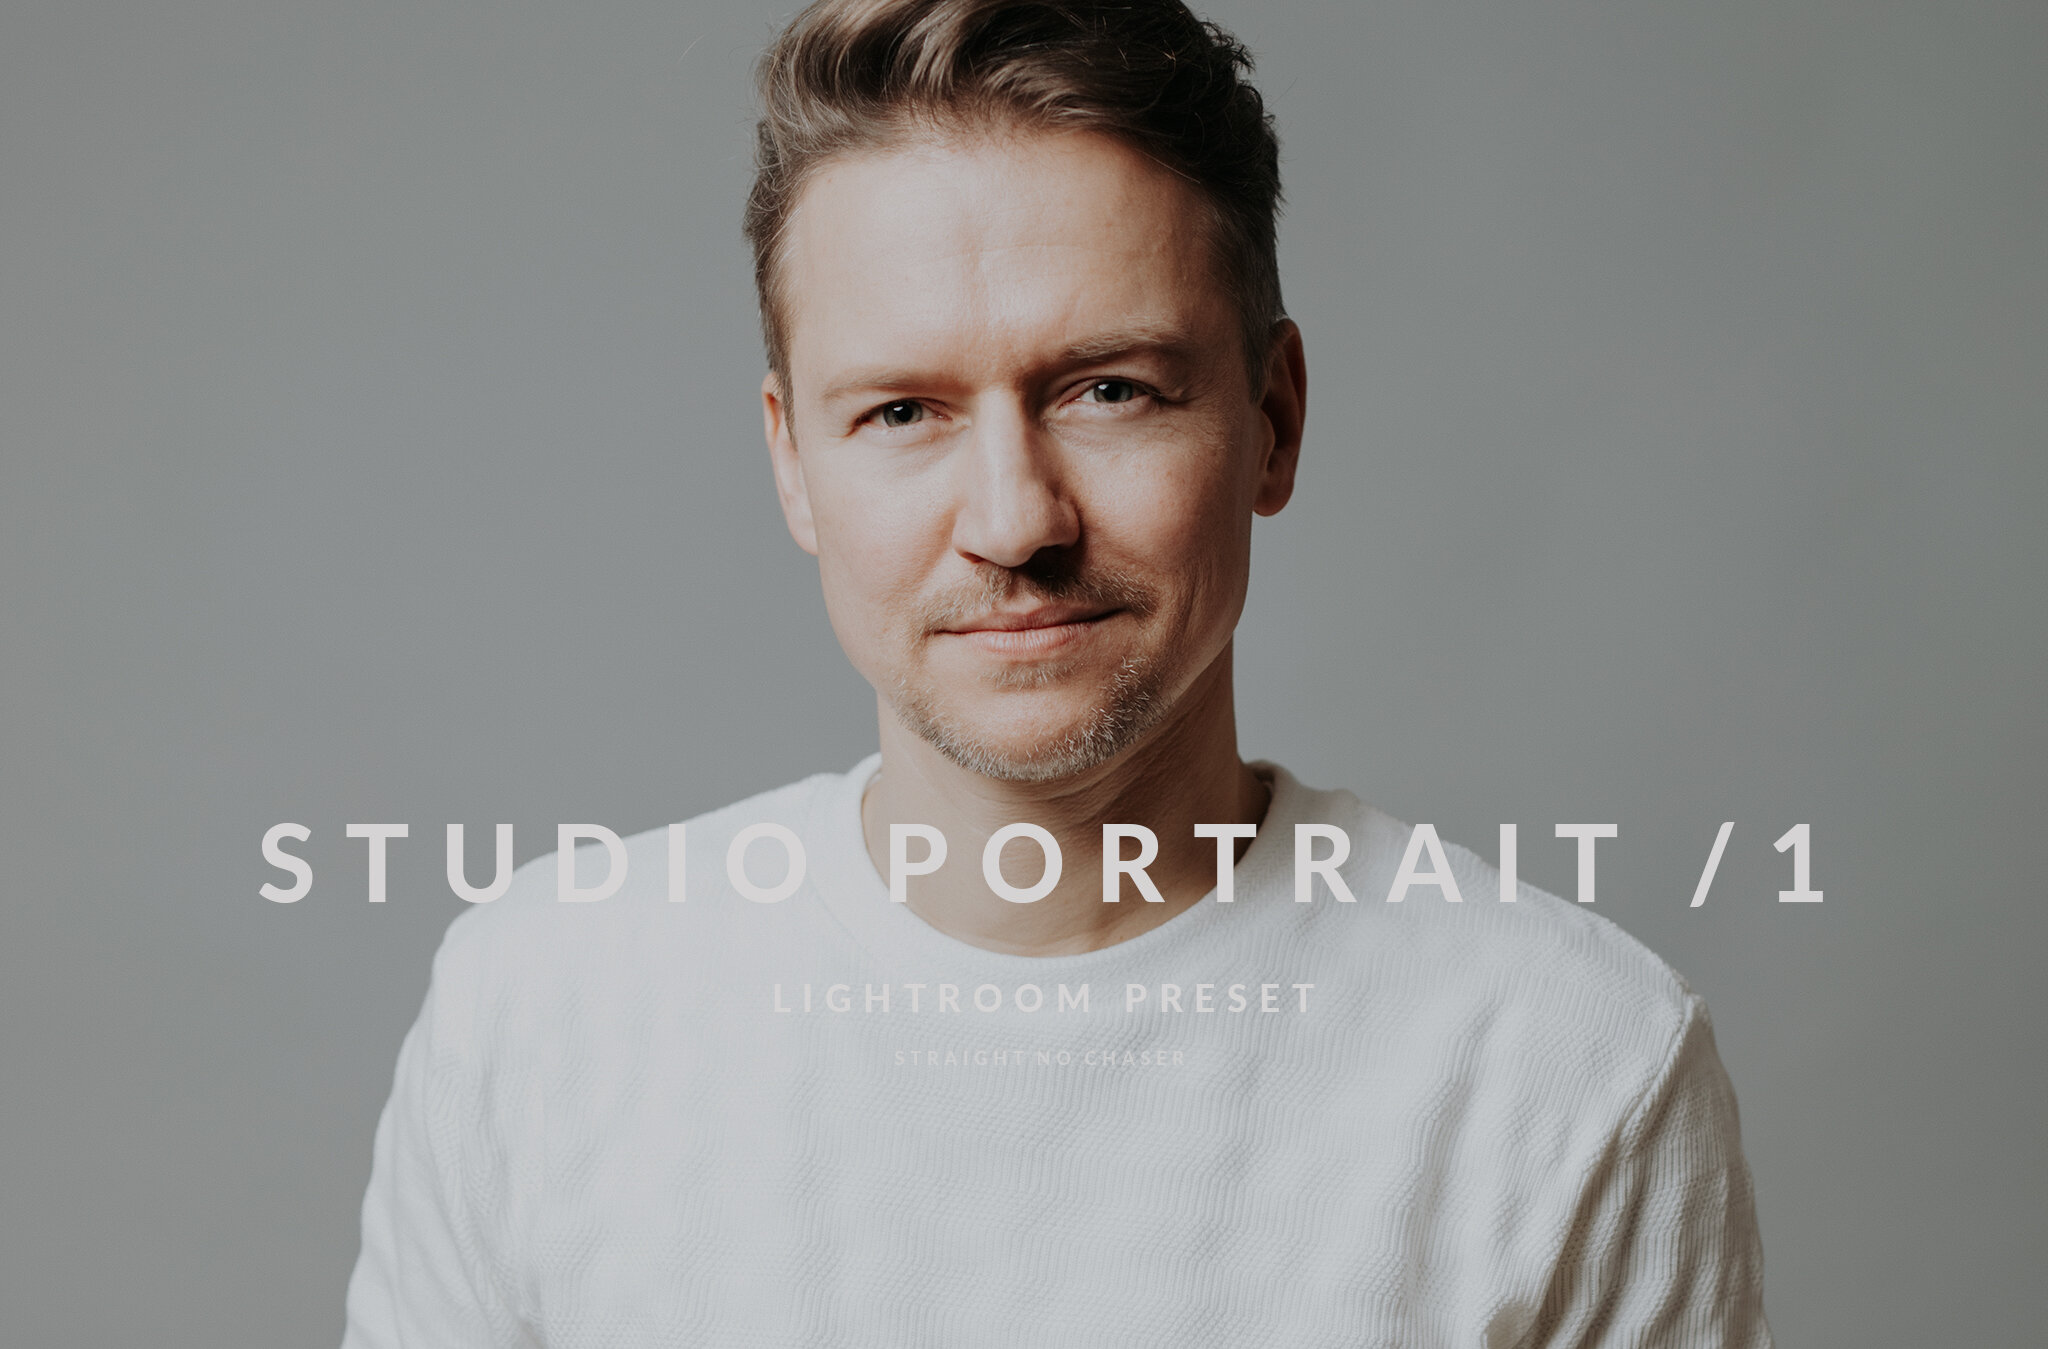
Studio Portrait 1 Lightroom Preset Pack
The Studio Portrait 1 Lightroom and Photoshop ACR preset works well for portraits photographed with studio lighting. The edit gives images a subtle magazine-like feel with it’s understated colour toning, especially when shot against a neutral backdrop. This works well for both corporate headshots and lifestyle portraits.
There are 2 versions of the Studio Portrait preset - a standard, and a warm version. There is also a one click contrast boost tool.
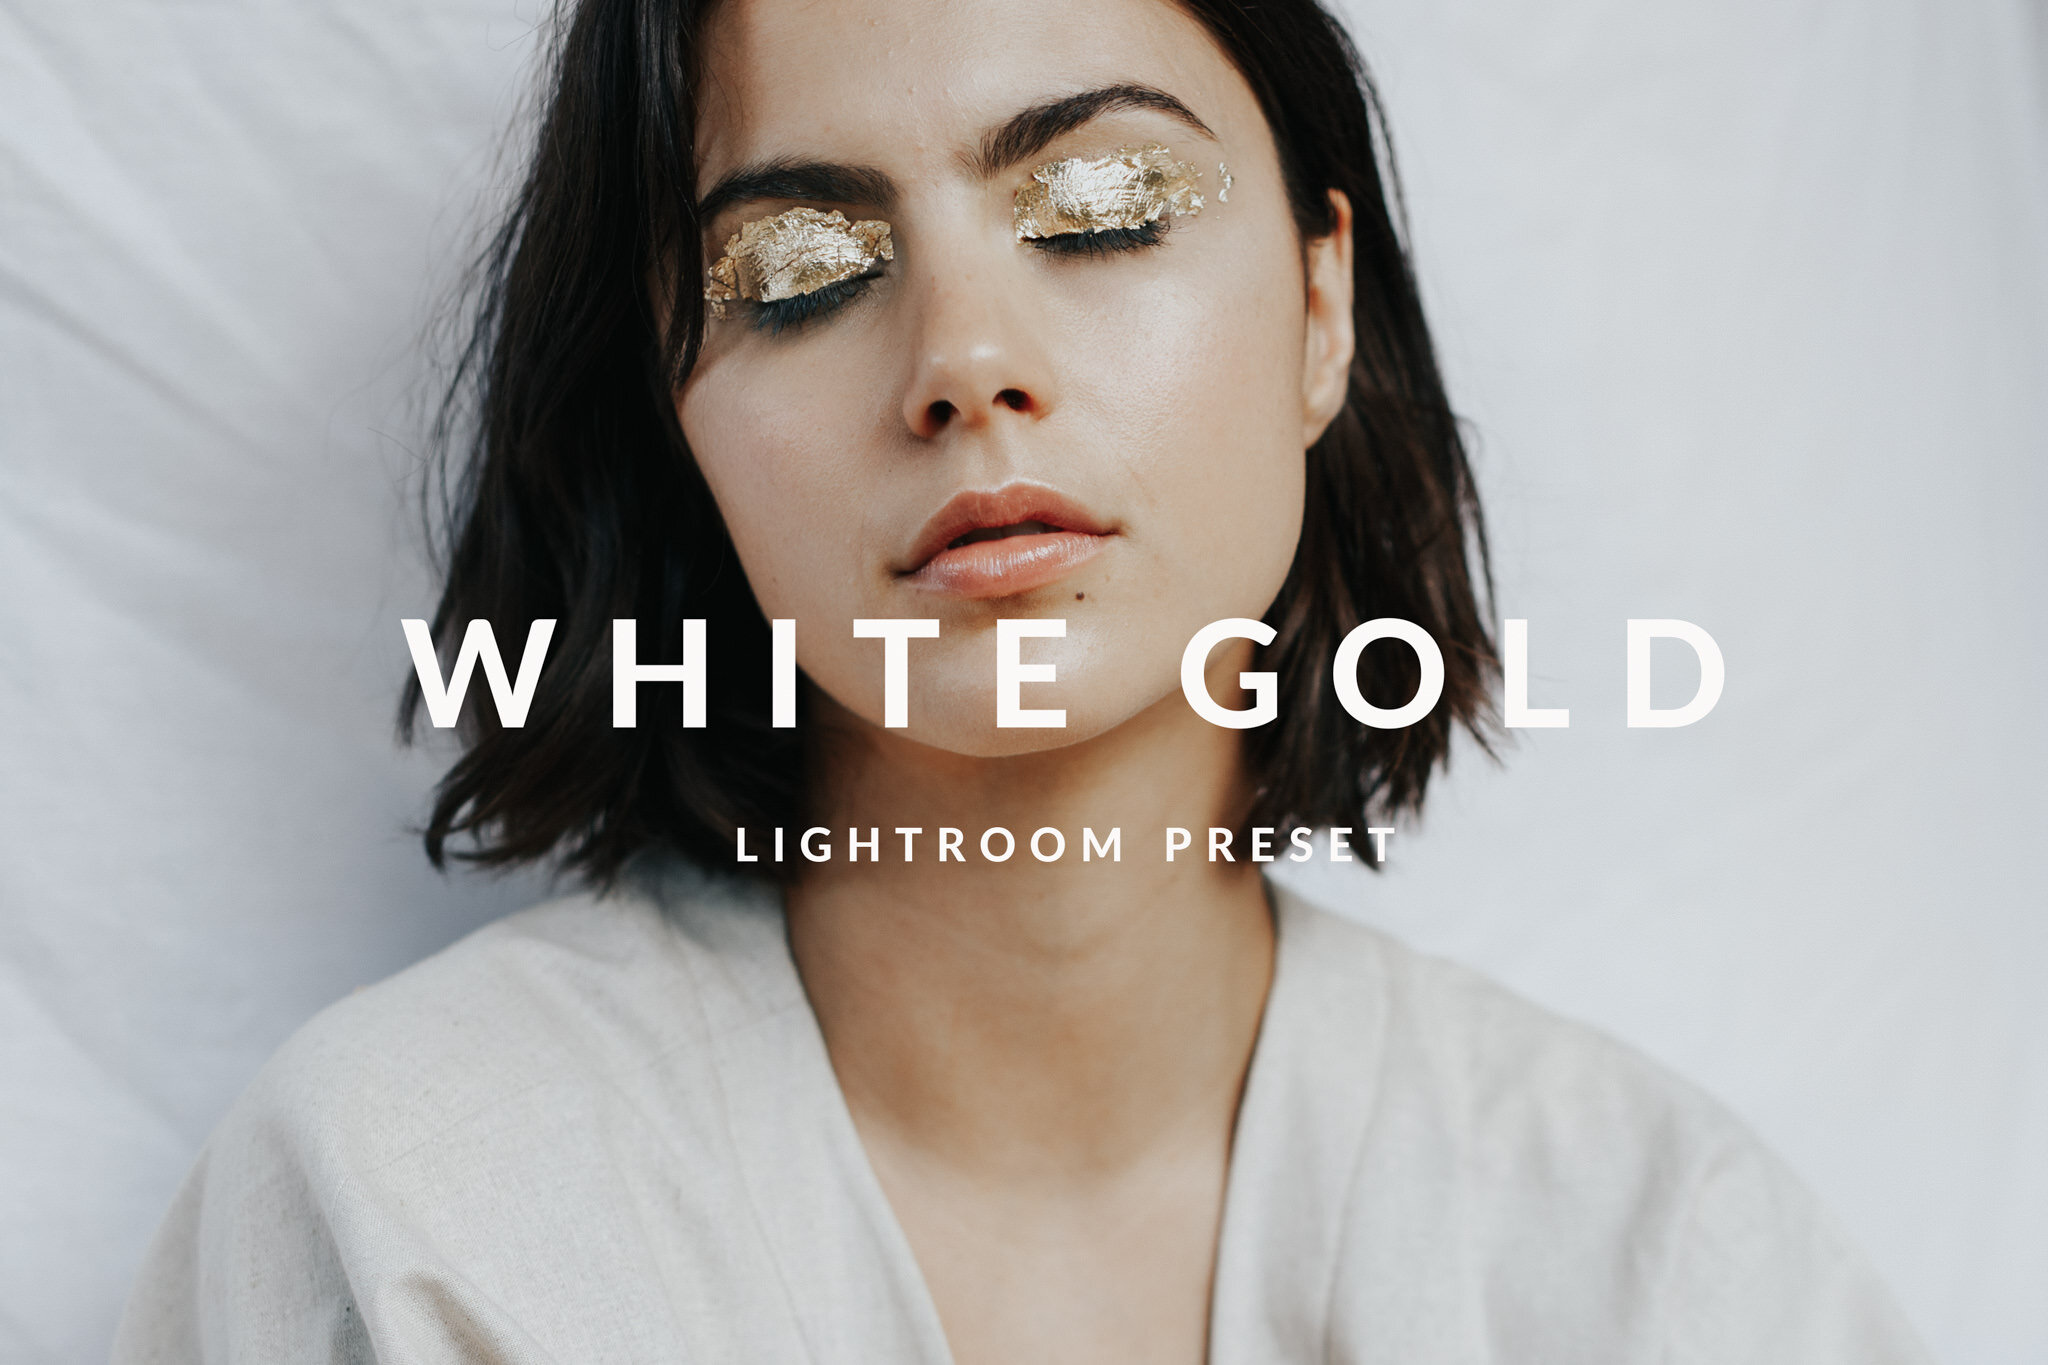
White Gold Lightroom Desktop Preset for Editorial and Lifestyle Photography
White Gold is a warm, clean preset for Lightroom Classic (desktop) and Photoshop ACR - bringing out gold and beige tones in an image, with lovely skin tones. In that works well with both diffuse light as well as direct dramatic light, making it a versatile edit for fashion, portrait and wedding images. This is a great one for jewellery and beauty photography.
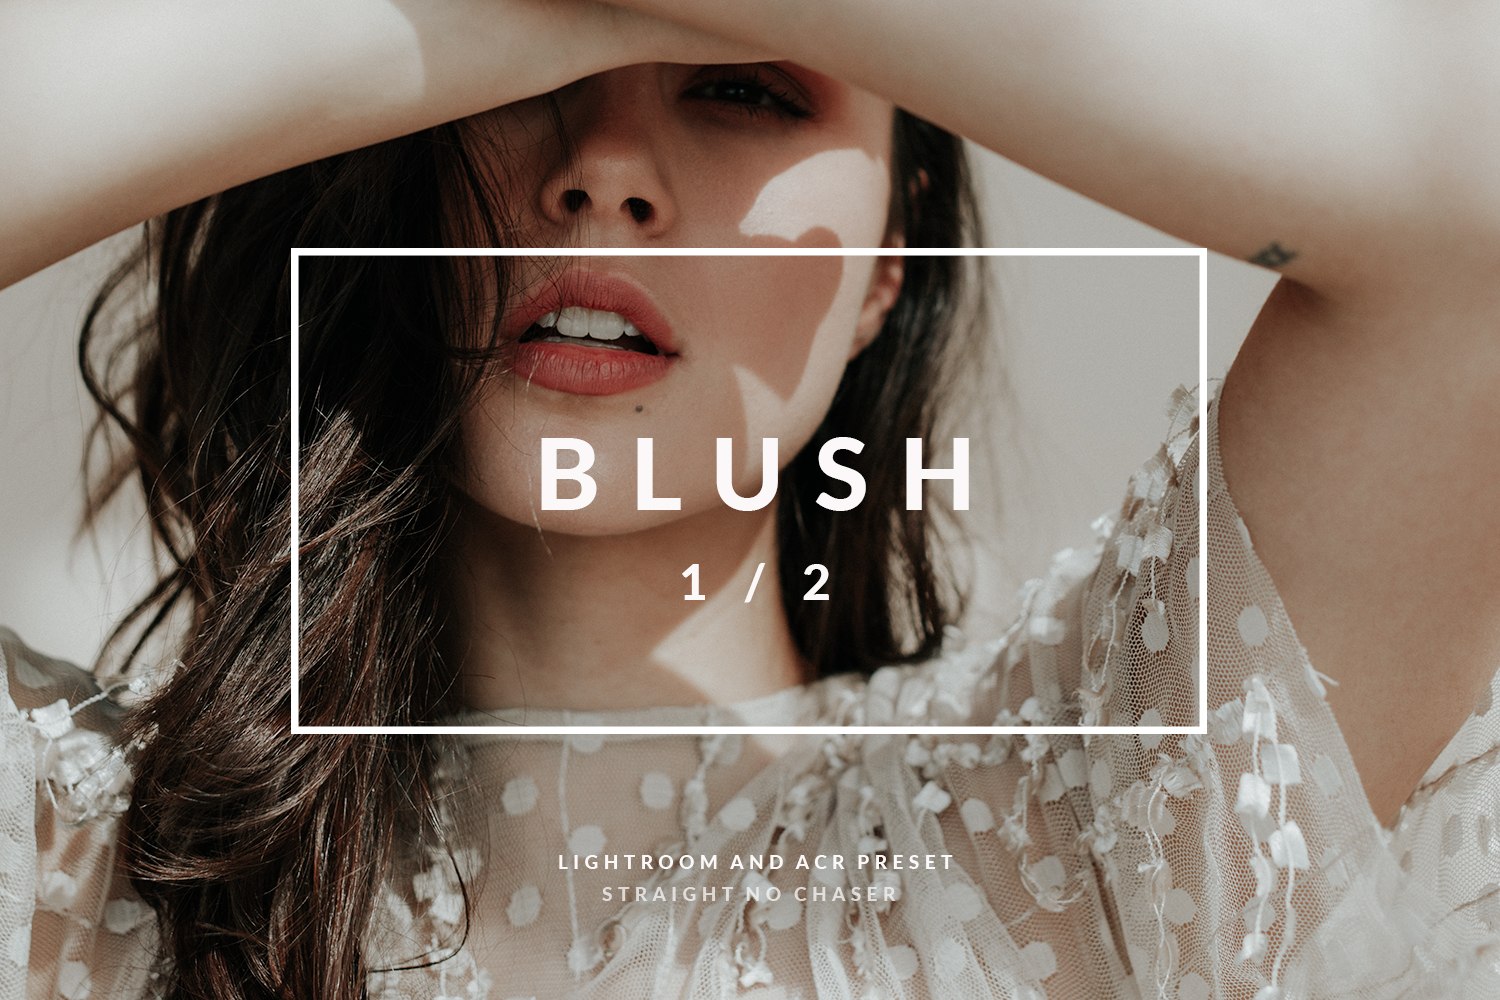
BLUSH : Lightroom and Photoshop Fashion Preset
Blush is a delicate, feminine preset for Lightroom and Photoshop ACR - that really emphasises the peach and pink tones in an image. It works best with images that have a light, ethereal quality, and is fabulous for fashion editorials and lifestyle images.
Click through for full post and link to purchase!
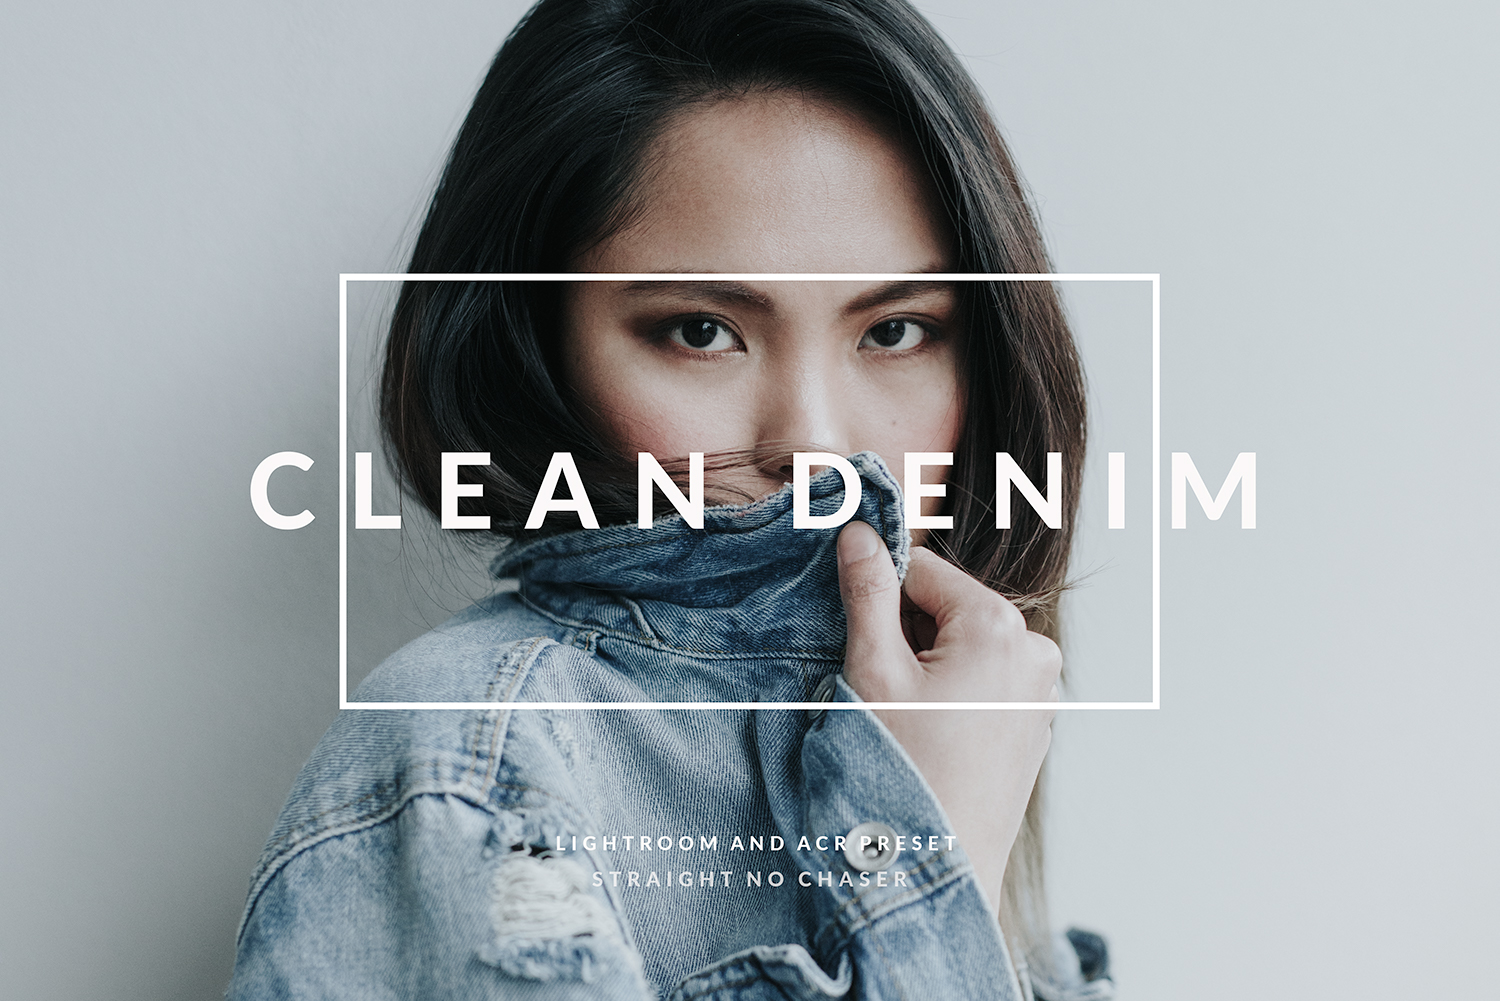
Clean Denim- Lightroom / Photoshop Preset for Fashion and Lifestyle Photography
Clean Denim is a crisp, cool toned preset for Lightroom and Photoshop. It's pared back minimalist feel, desaturated blues, and clean tones make it perfect for photographing anything from clothing labels, street style and yes- it makes denim look so good!
There are 3 versions of this preset:
CLEAN DENIM : the 'regular' version
CLEAN DENIM - : reduced effect, more subtle edit. You'll notice less desaturation and less coolness in the tones, and less highlight/shadow fade.
CLEAN DENIM + : more dramatic effect. There will be increased contrast and clarity for more of a punchy look and more texture in clothing. There will be more colour shifts and desaturation.
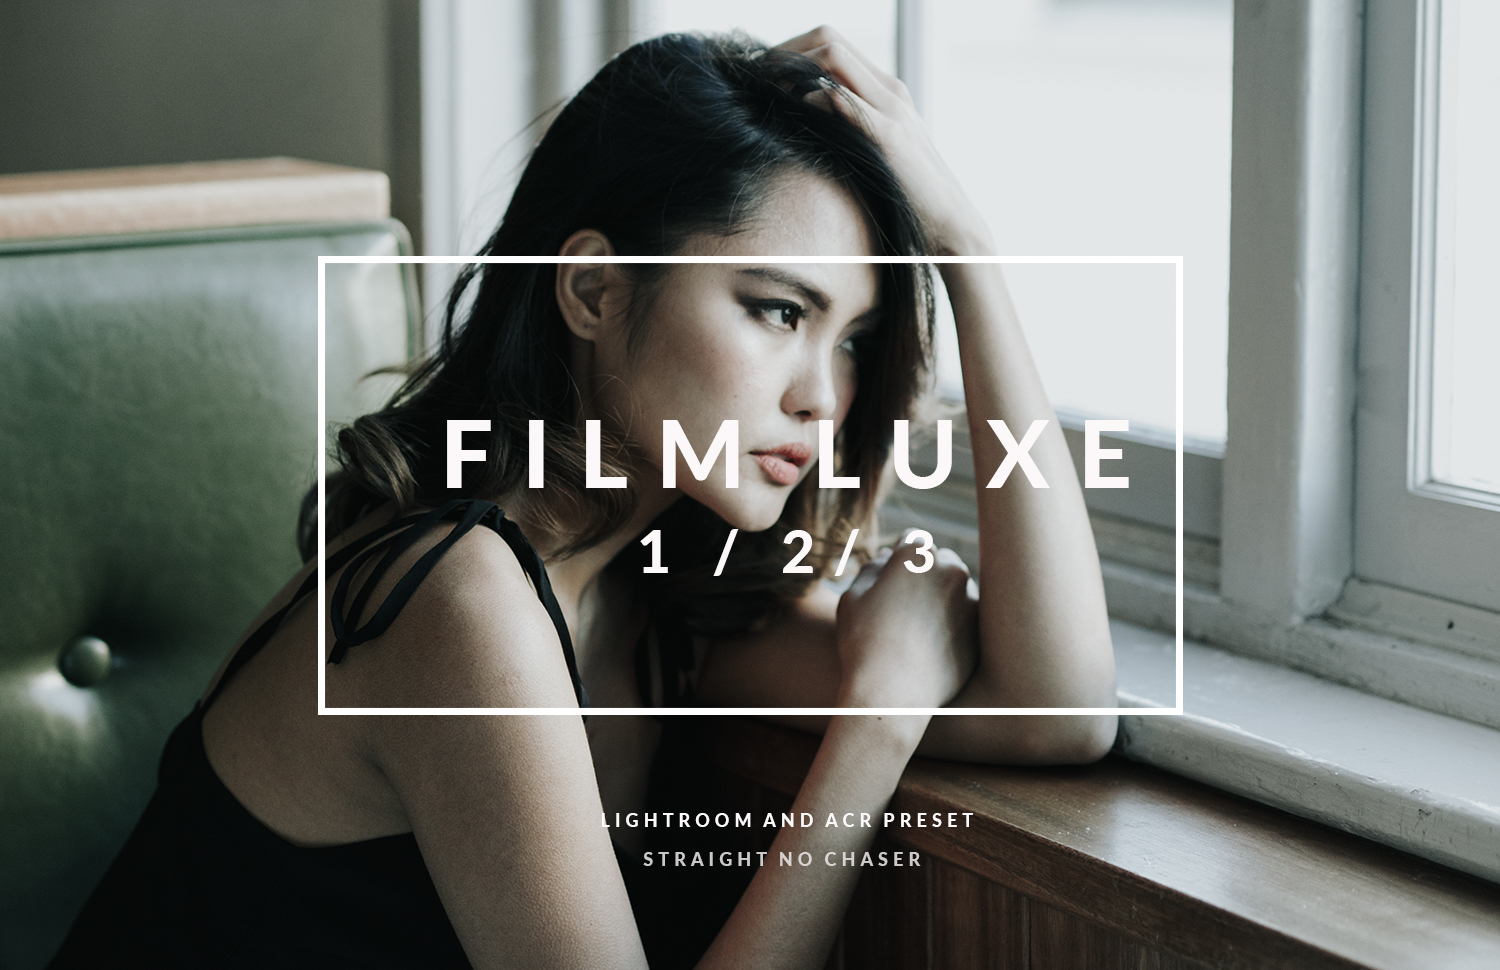
Film Luxe- A cool toned cinematic Lightroom and Photoshop ACR preset
The last few editorials I shot called for a more dramatic edit than my previous work, and one in particular ('Tonal', published in the September issue of Feroce Magazine) was all about greens and blues. This is where the inspiration for the colour palette of my new preset 'Film Luxe' came from- cool toned, striking greens and reds, clean whites, and with a touch of a cinematic feel. This preset is great for portraits in fashion / editorials, still life (think cool toned instagram feeds), and travel.
Film luxe is a complex, multifaceted preset- for high key images, it has a very clean 'Scandinavian' lifestyle type look, and for darker images it has a more filmic edgy feel.
There are three versions.
Film Luxe 1 - cleanest version, with the least amount of highlight and shadow fading.
Film Luxe 2 - increased highlight fade, more desaturated, has a 'dreamy' quality and a more obvious slate blue tinge to the shadows.
Film Luxe 3 - increased highlight and shadow fade, more contrast and crushed blacks, and more saturated greens than the others. This has more of an edgier, slightly polaroid film type feel.
Available for download at my Etsy store.
My DSLR to Instagram Workflow- the OCD photographer's guide
Let me preface this post by saying that I am by no means a whiz at Instagram- getting followers, engagement, etc etc.
This post is about my workflow for getting RAW images from my DSLR to Instagram in a way that is streamlined, works with the way I edit, and also allows me to be OCD about my how my grid looks.
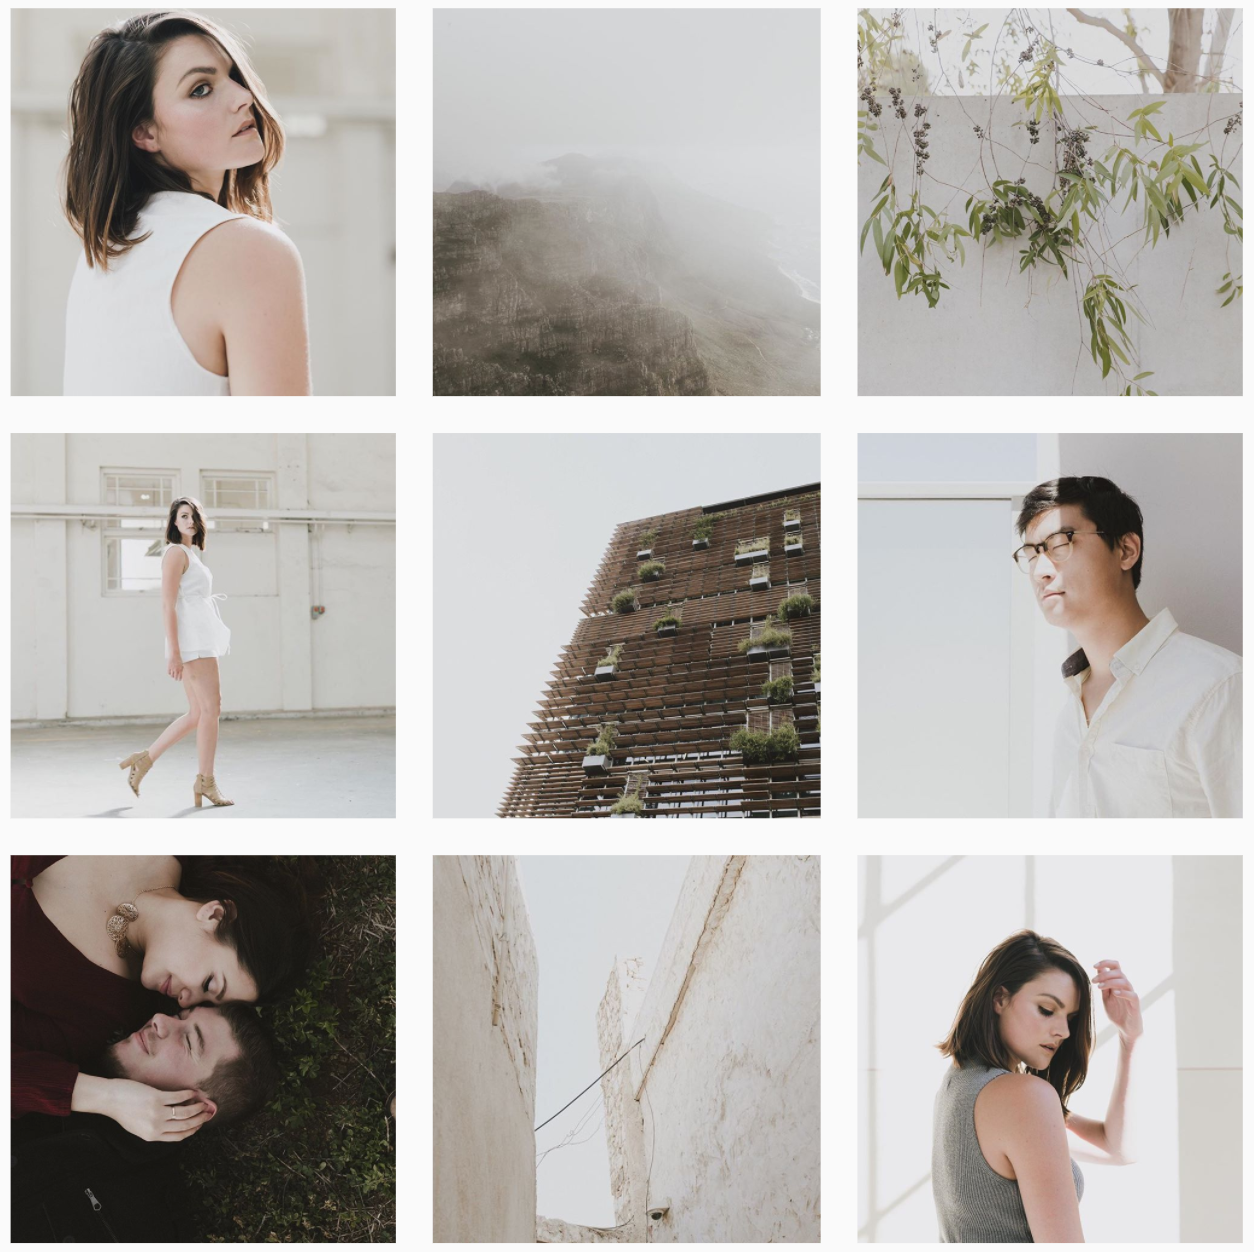
I see my photography Instagram account @StraightNoChaserPix as a rolling portfolio. It's easier to show someone your work by opening Instagram than to load up your website. For this reason I like my grid to make sense and for the images to reflect my aesthetic.
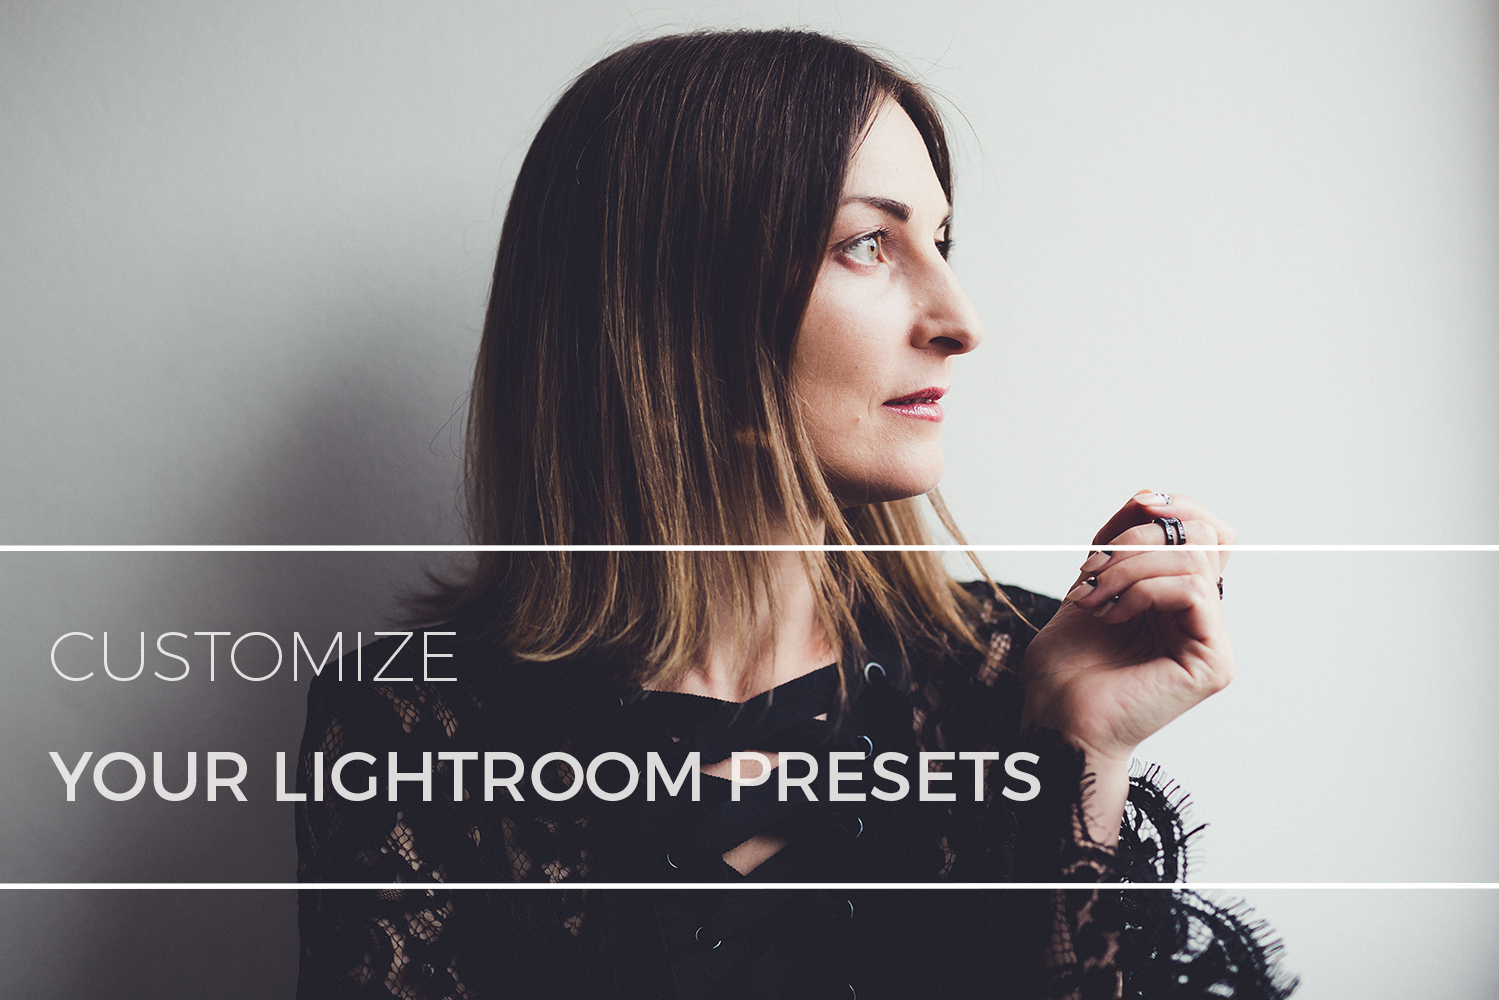
Using Lightroom Preset Part 2: Customizing Contrast, Fading, and skin tones
Why customize?
Personal style. You might like to be able to control how much highlight or shadow fading there is in your images, amongst other things.
Consistency in varying shooting situations. Being able to tweak settings can help you achieve a similar look across both high contrast and low contrast scenes.
Skin tones. Sometimes skin tones can look a bit funky in certain lighting with certain presets. Tweak the settings to flatter skin.
In this post I go through how to customize your presets to suit a variety of situations. I will be mostly using my own presets (you can find them at my preset store on Etsy), but I also include an example of customizing a Dawn Charles preset.
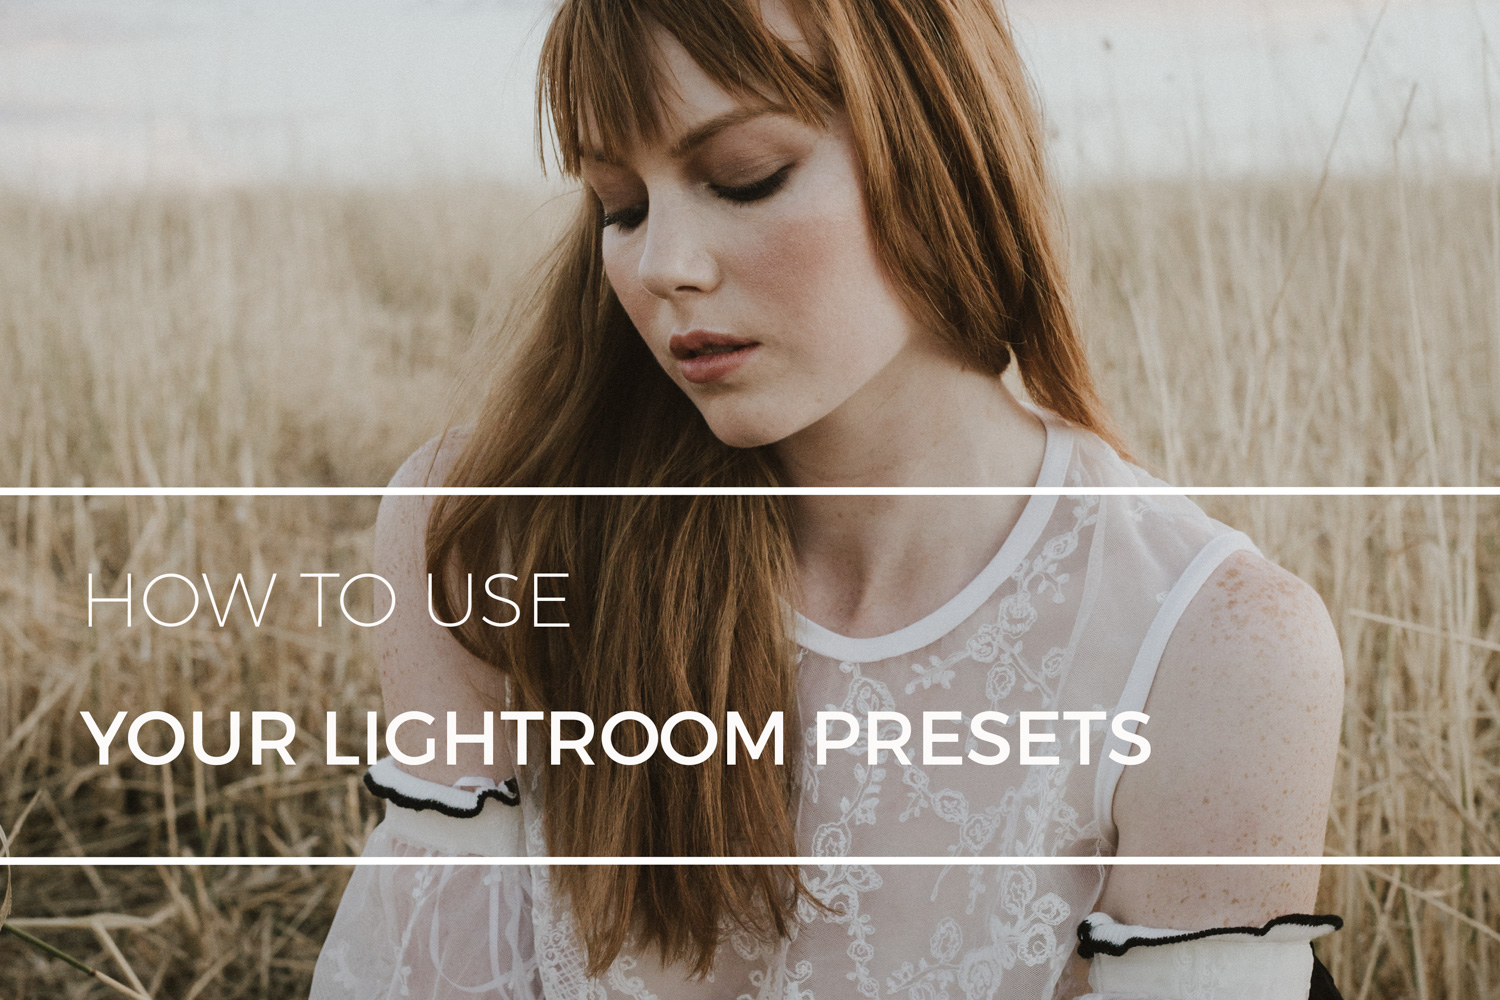
How to install and use Lightroom Presets: Part 1
BASIC FOUNDATION ADJUSTMENTS - START HERE
When your image comes out of the camera exactly as you expect it- it is editing heaven, especially when you want to do the one click preset magic thing. This post goes through what you need to do when that doesn't happen.
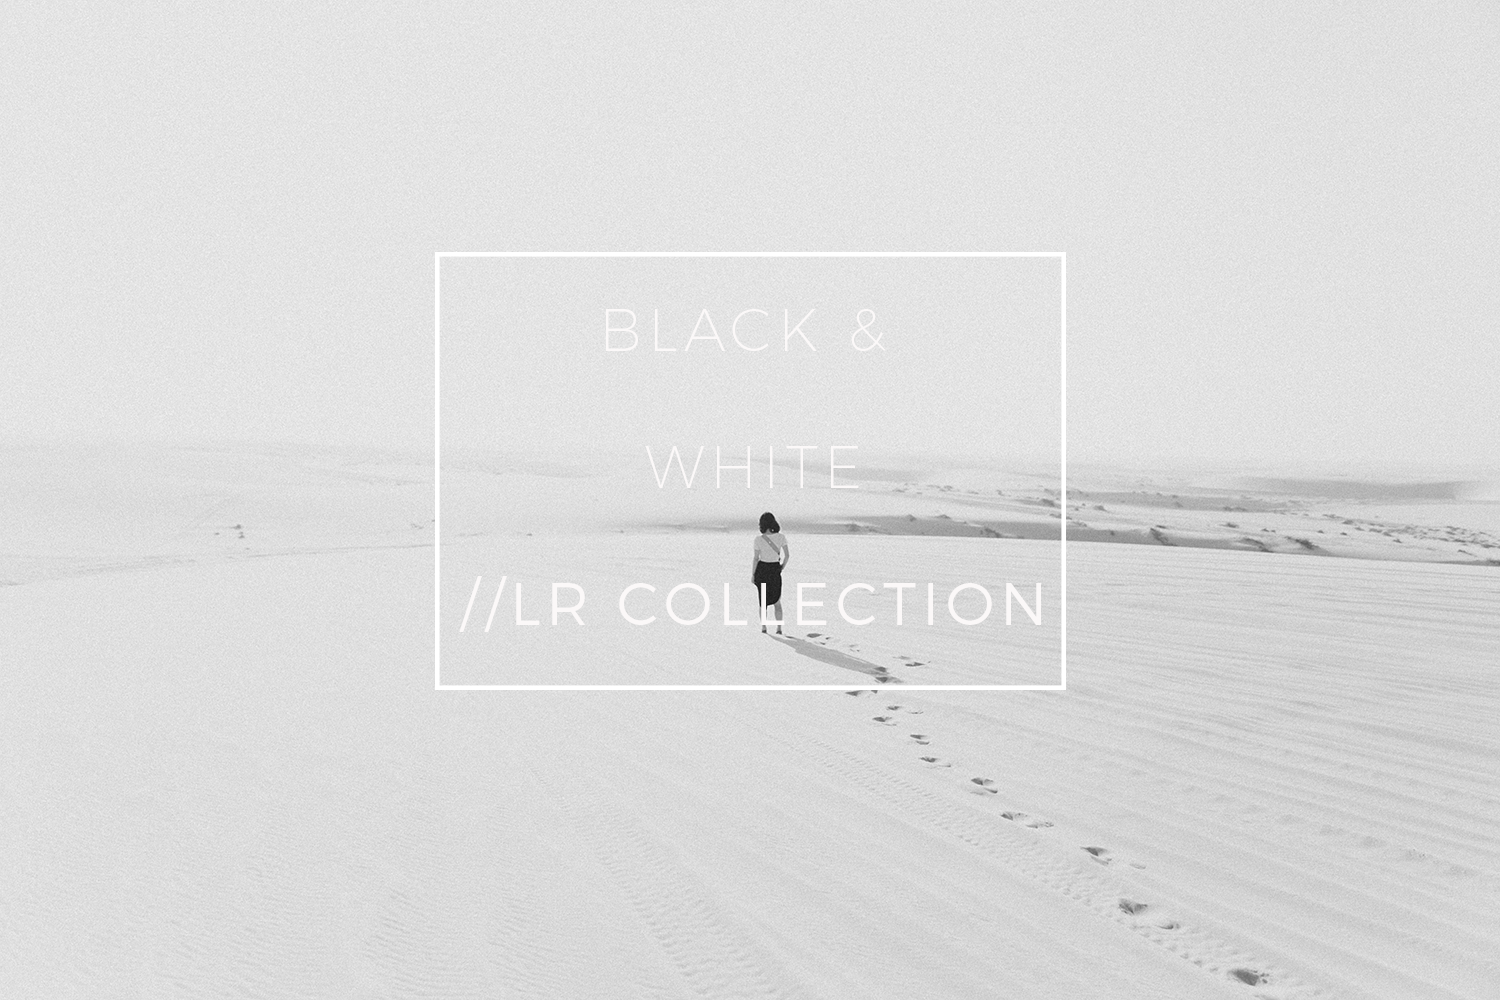
Black and White Preset Lightroom Bundle NEW
My black and white editing has evolved since I released the last collection, so I've discontinued that one and replaced it with a new updated one! This preset pack includes:
- Clean Fade: smooth silky dreamy B&W
- Clean Fade HC (high contrast)
- Filmic Fade : B&W with characteristics of film
- Filmic Fade + : increased grain and fade
- Filmic Fade ++ : even more dramatic version of the above.
- High Contrast : Contrast contrast contrast
- Signature : a beautiful all rounder, great for portraits.
Download the pack here.