

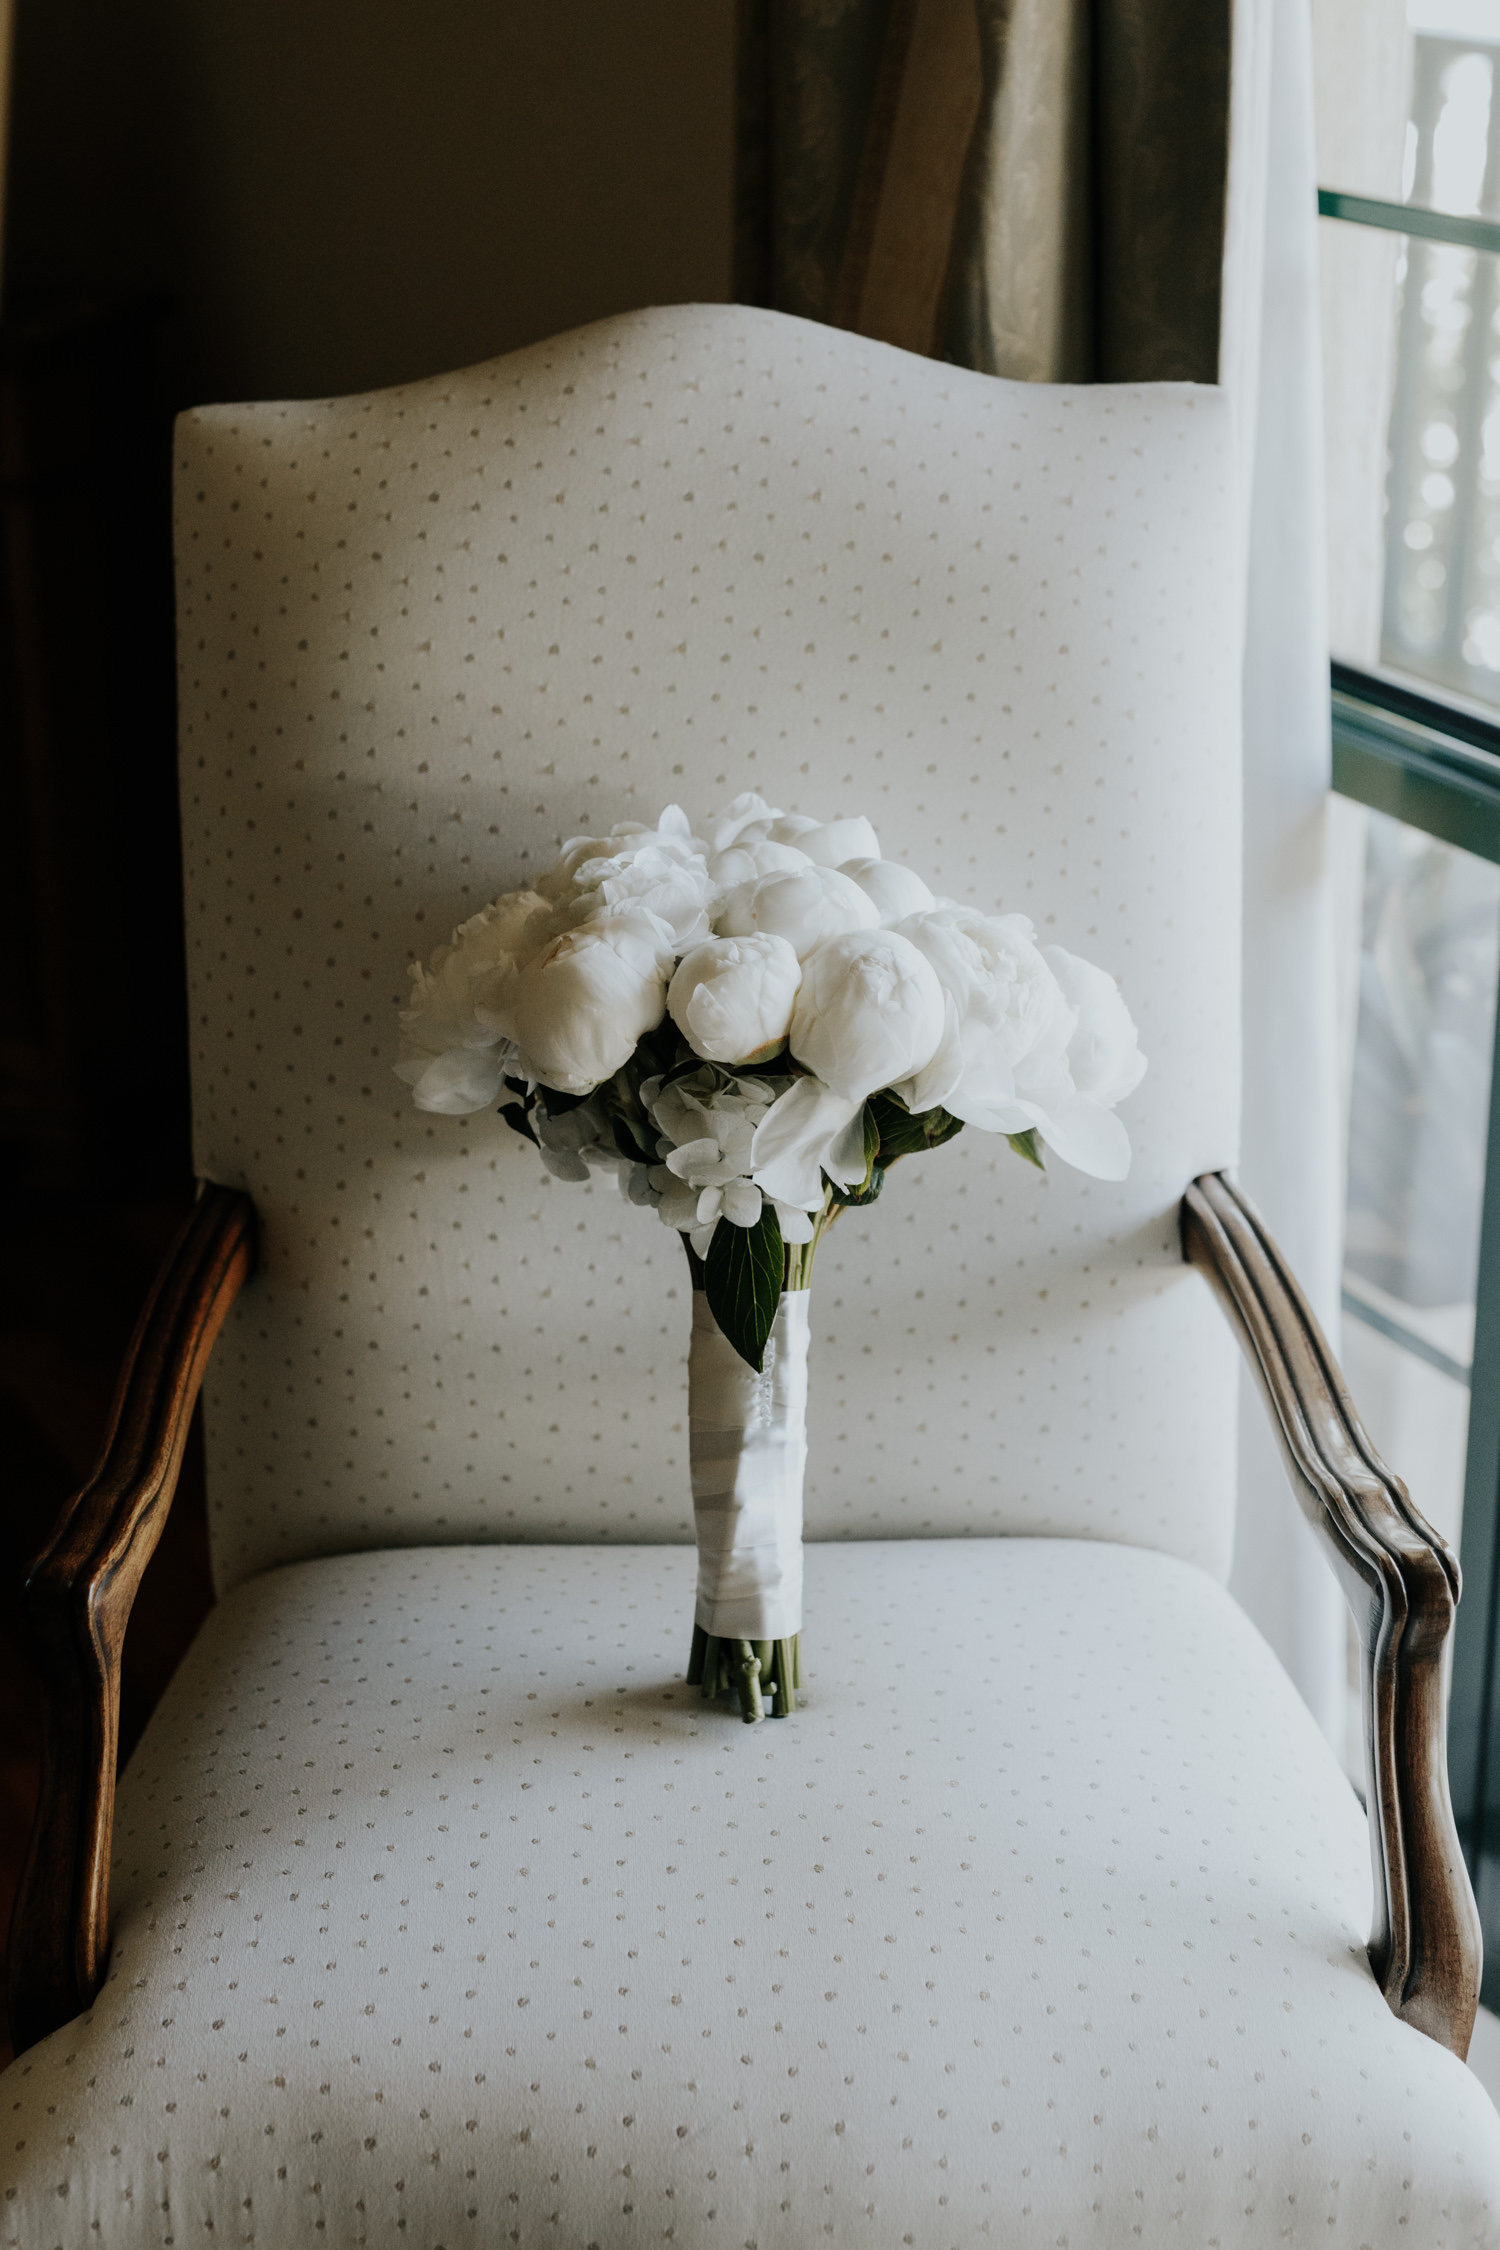
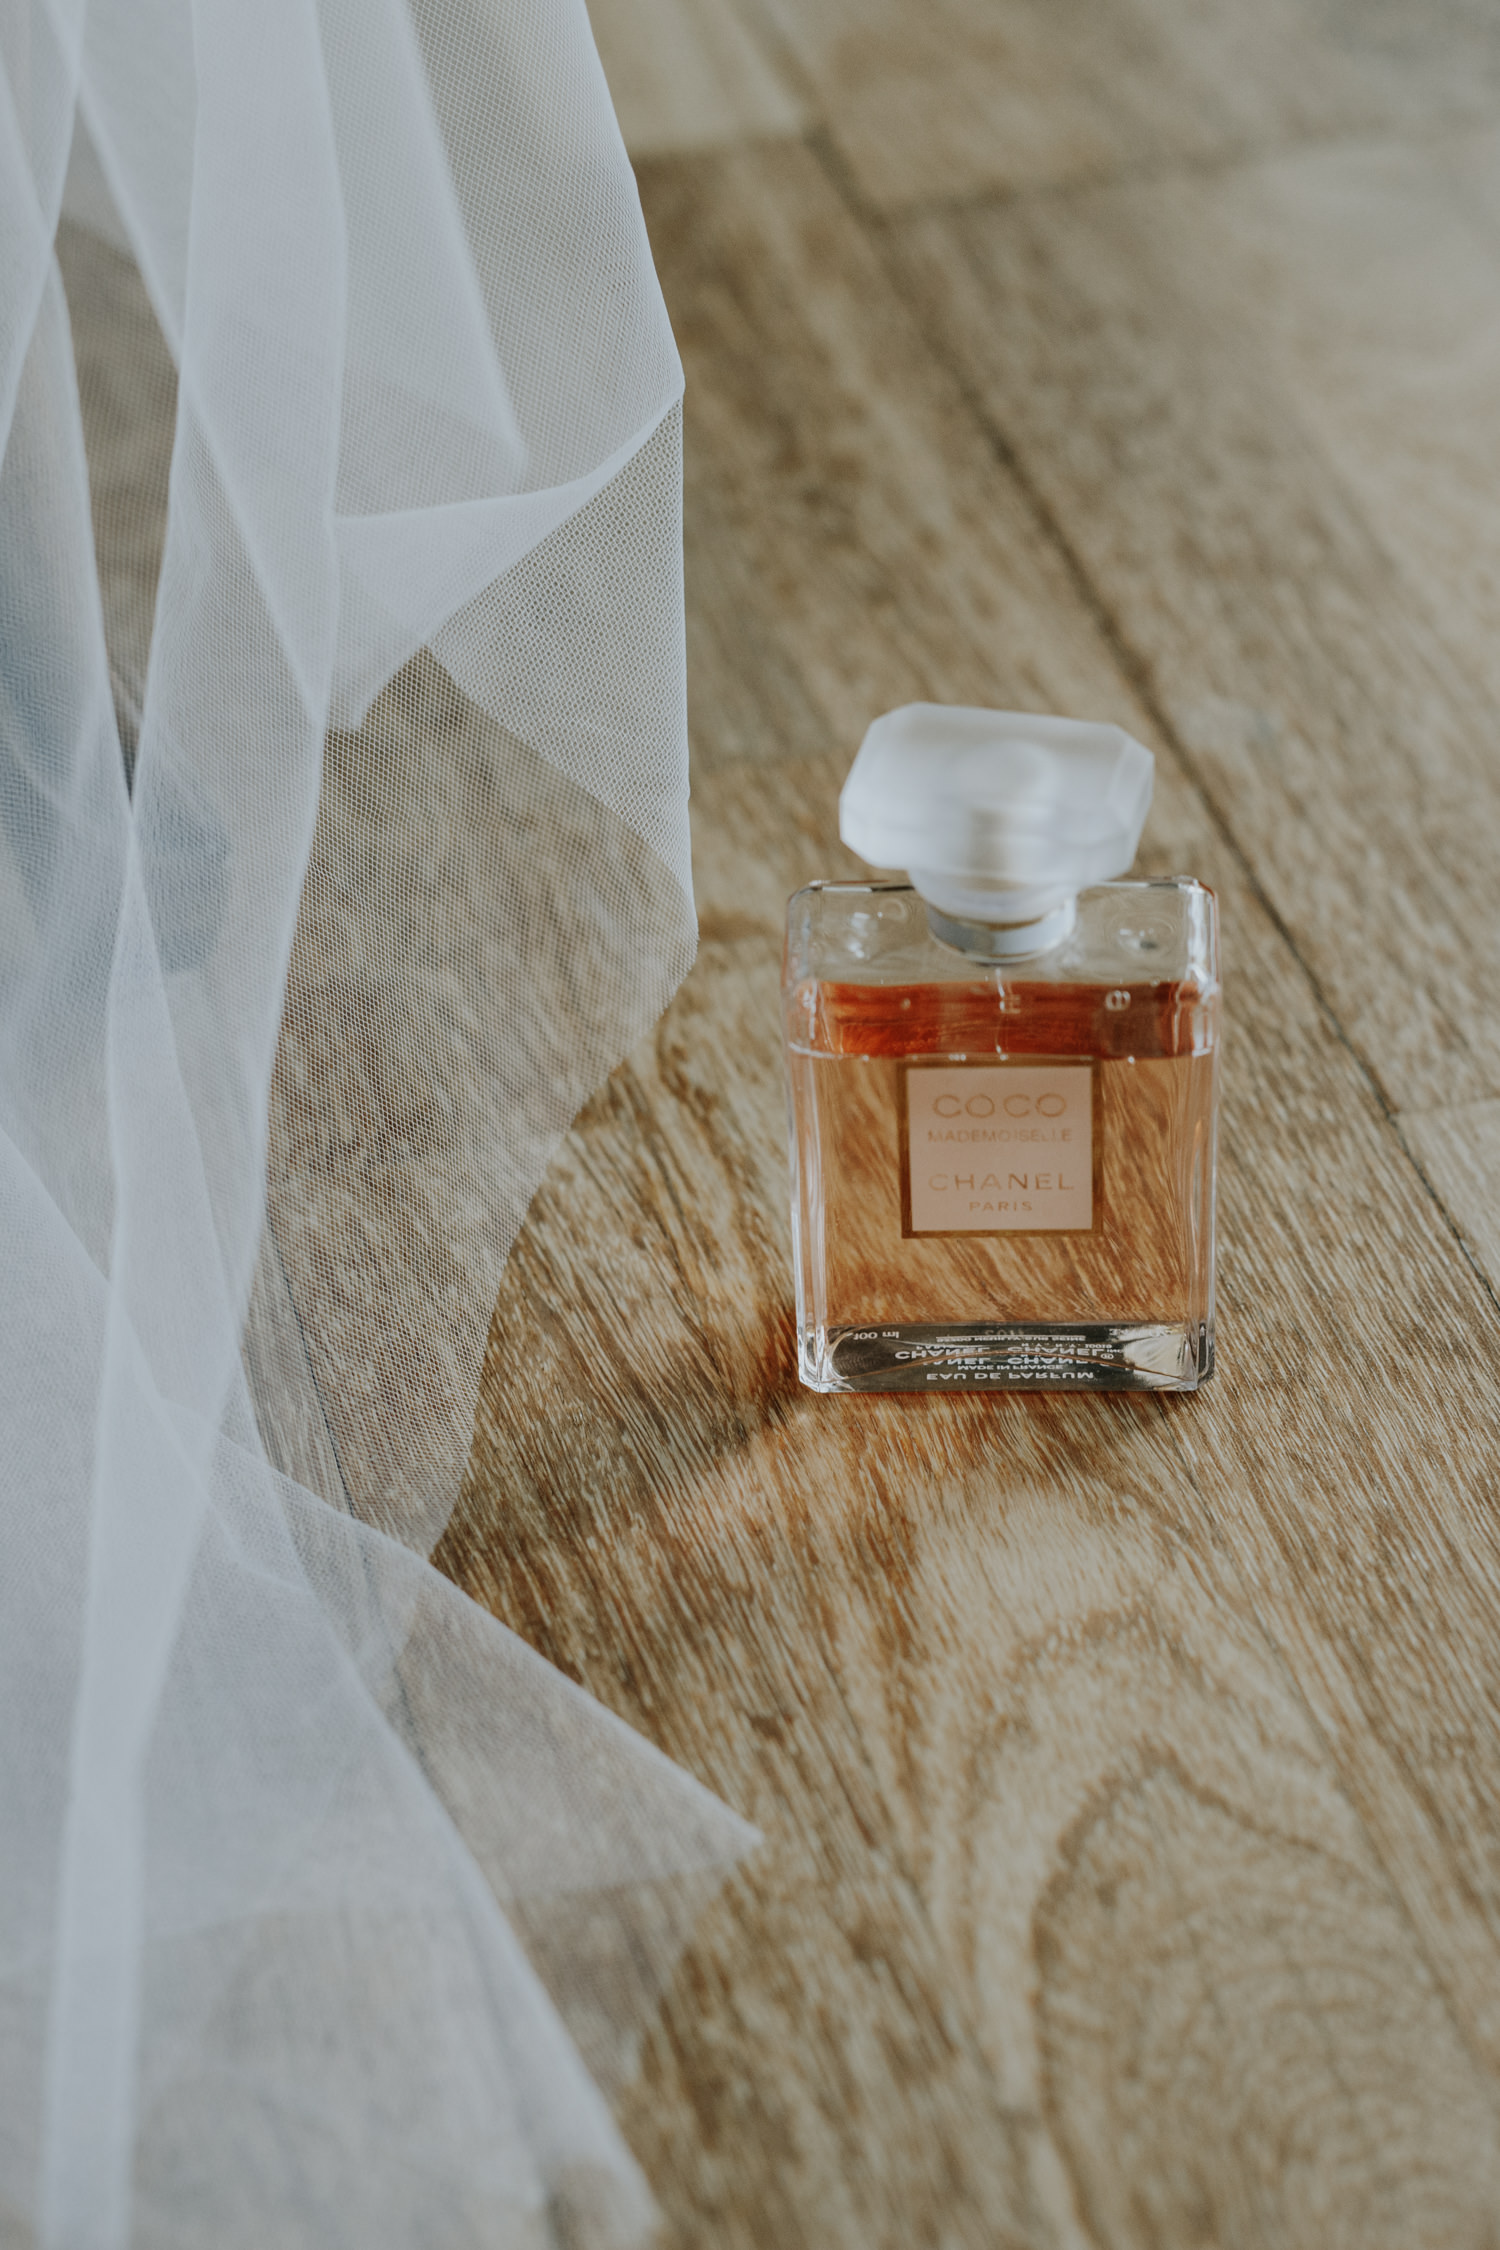
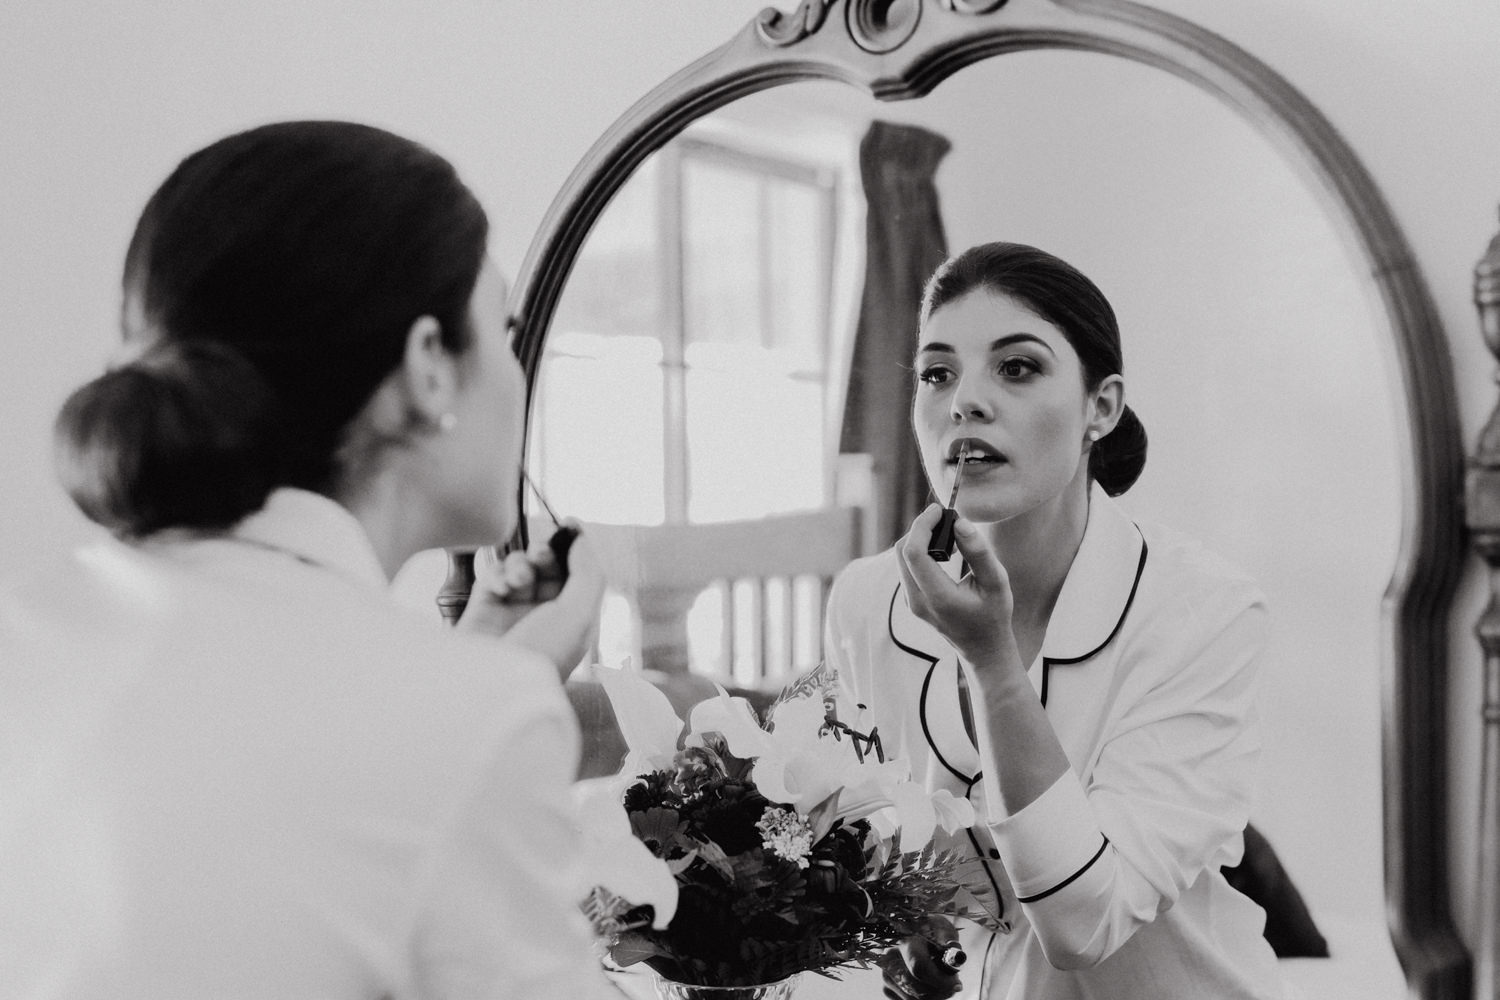
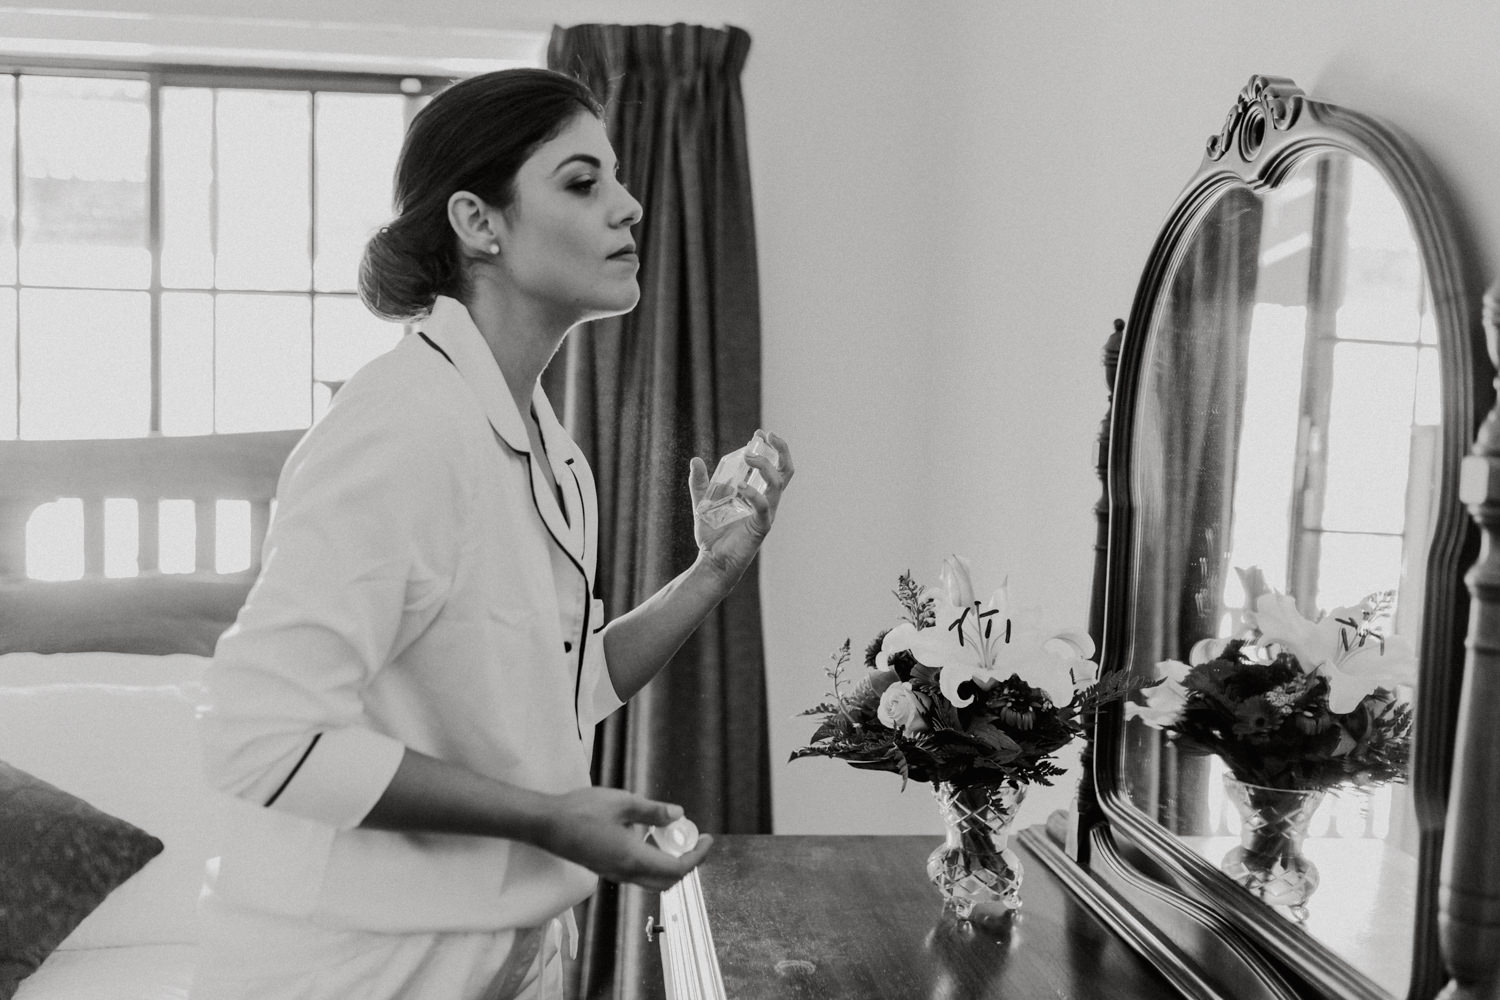
Oumaya and Jonathan's Intimate Burbury Wedding
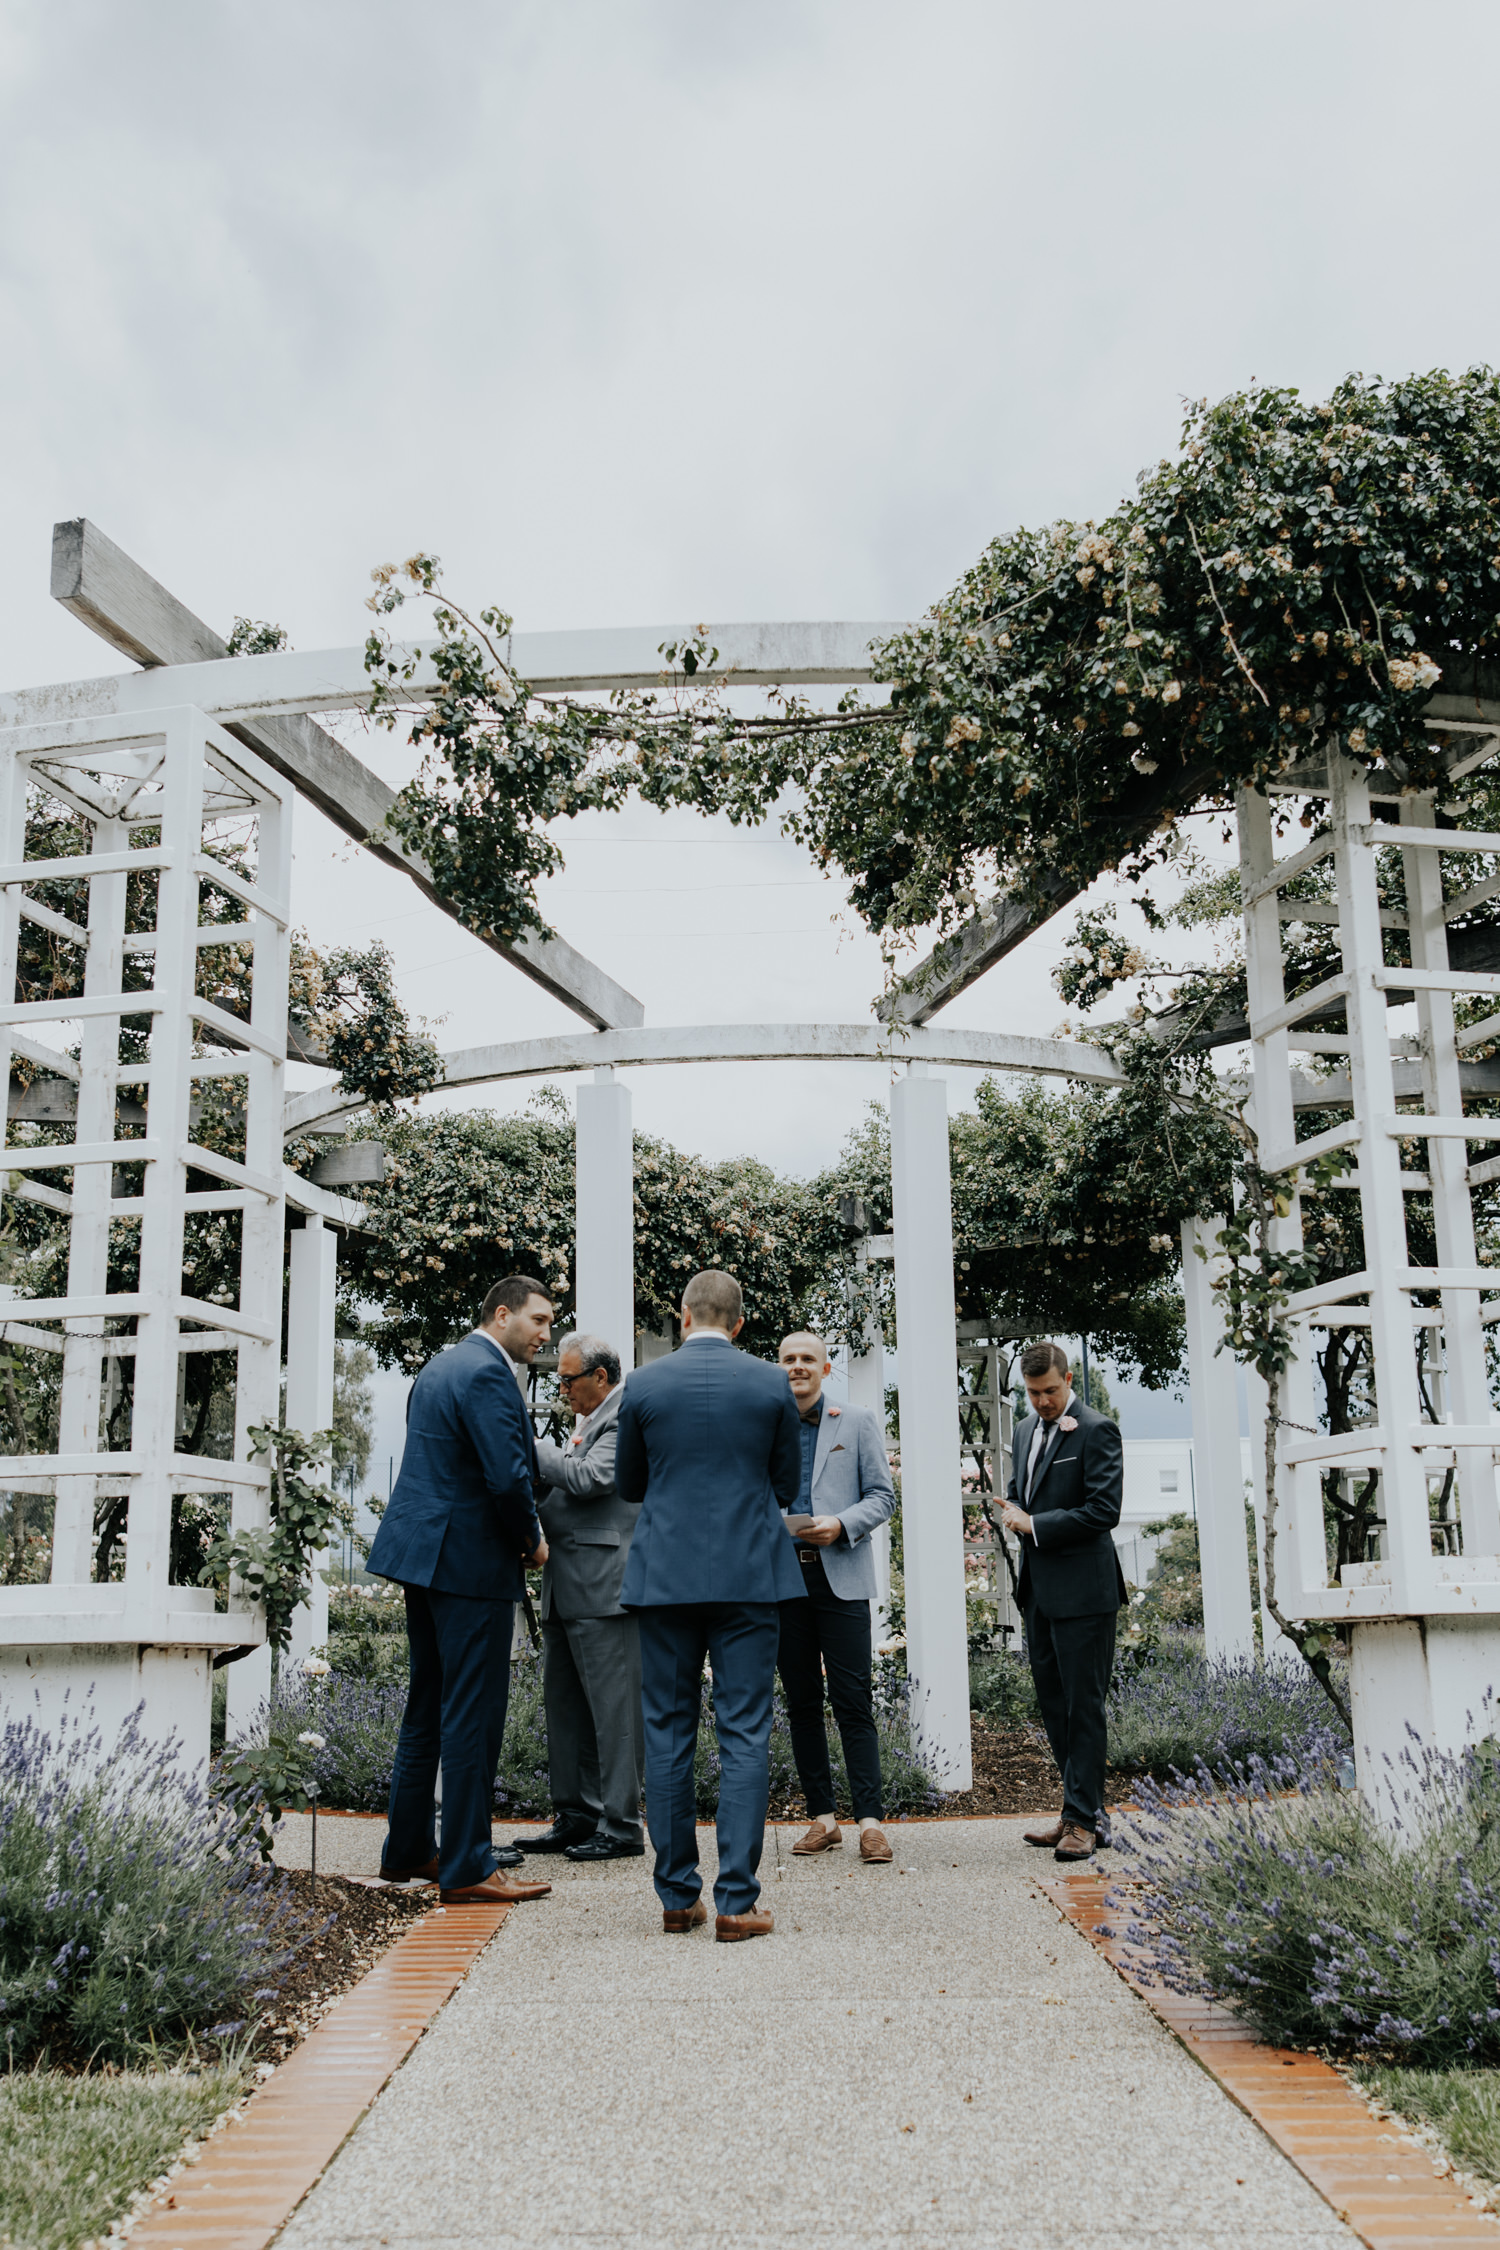
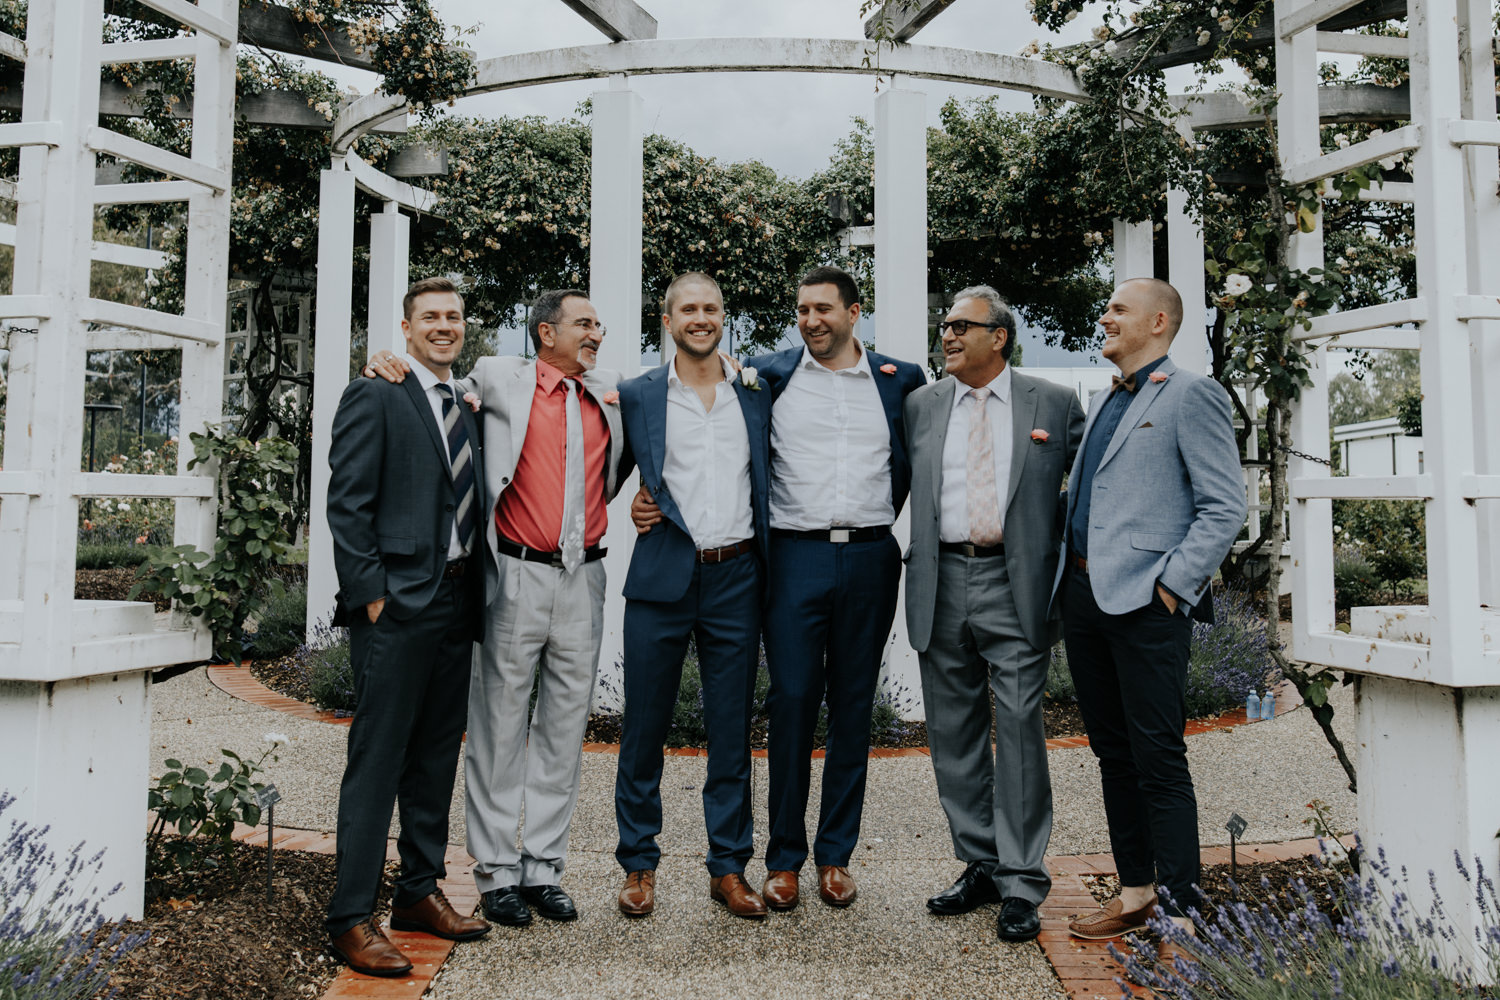
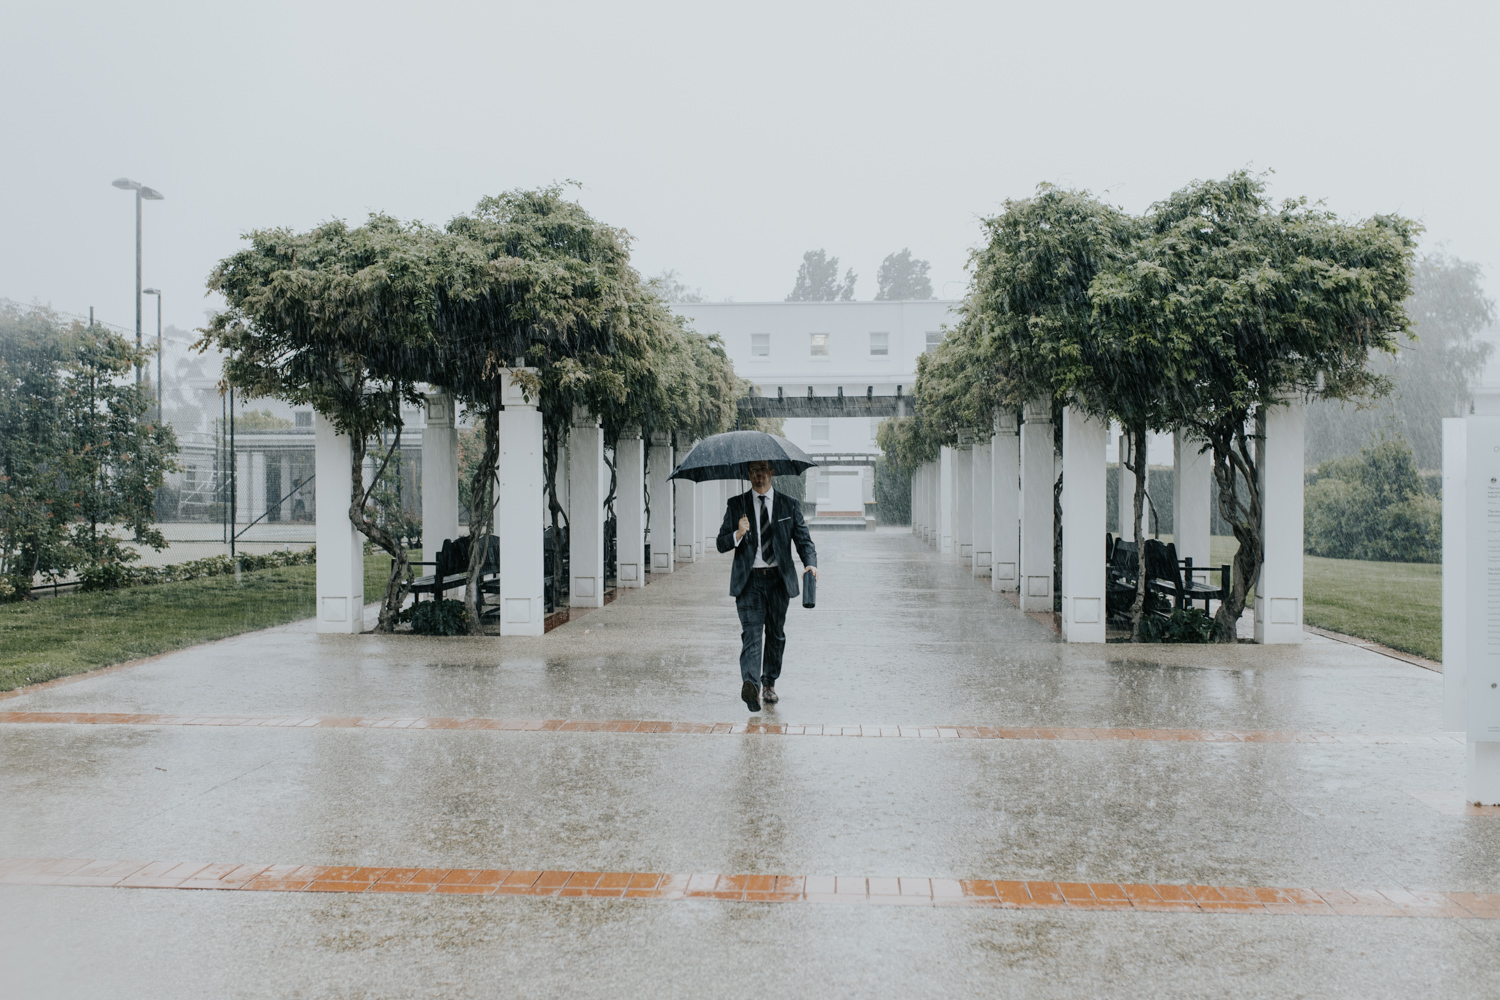
We had a run of wild weather in November and early December this year. On the Friday of Oumaya's and Jonathan's wedding, it absolutely bucketed down- we ended up getting rained out of our option A (A pergola at the Old Parliament House Rose Gardens), and also our option B (a small undercover area nearby), and had to come up with an option C real fast.
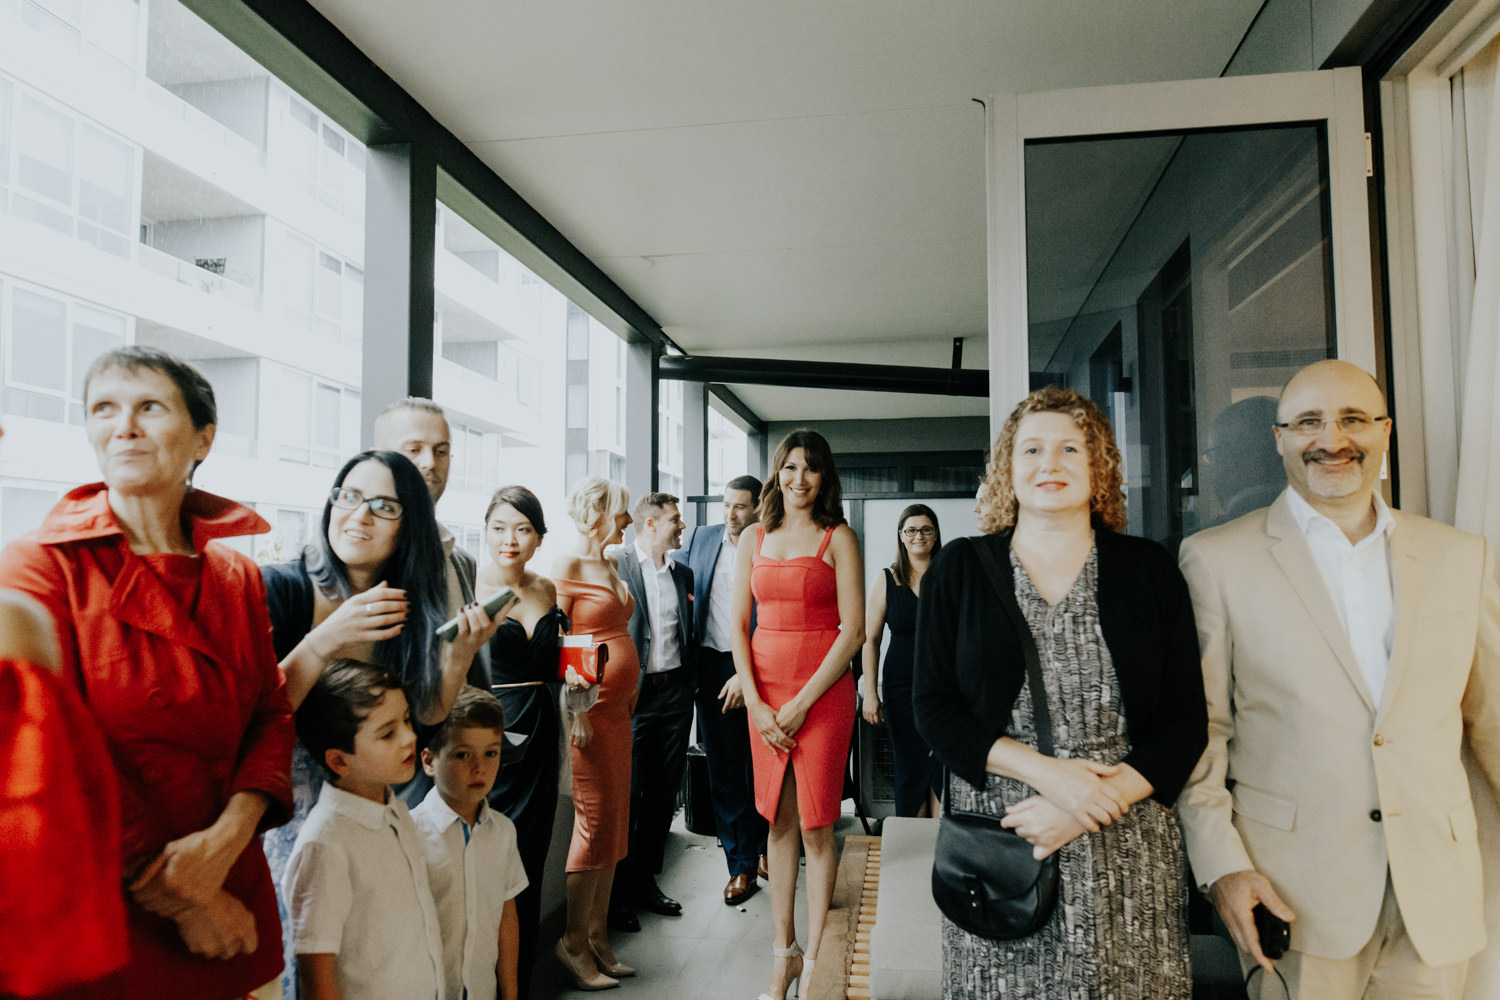
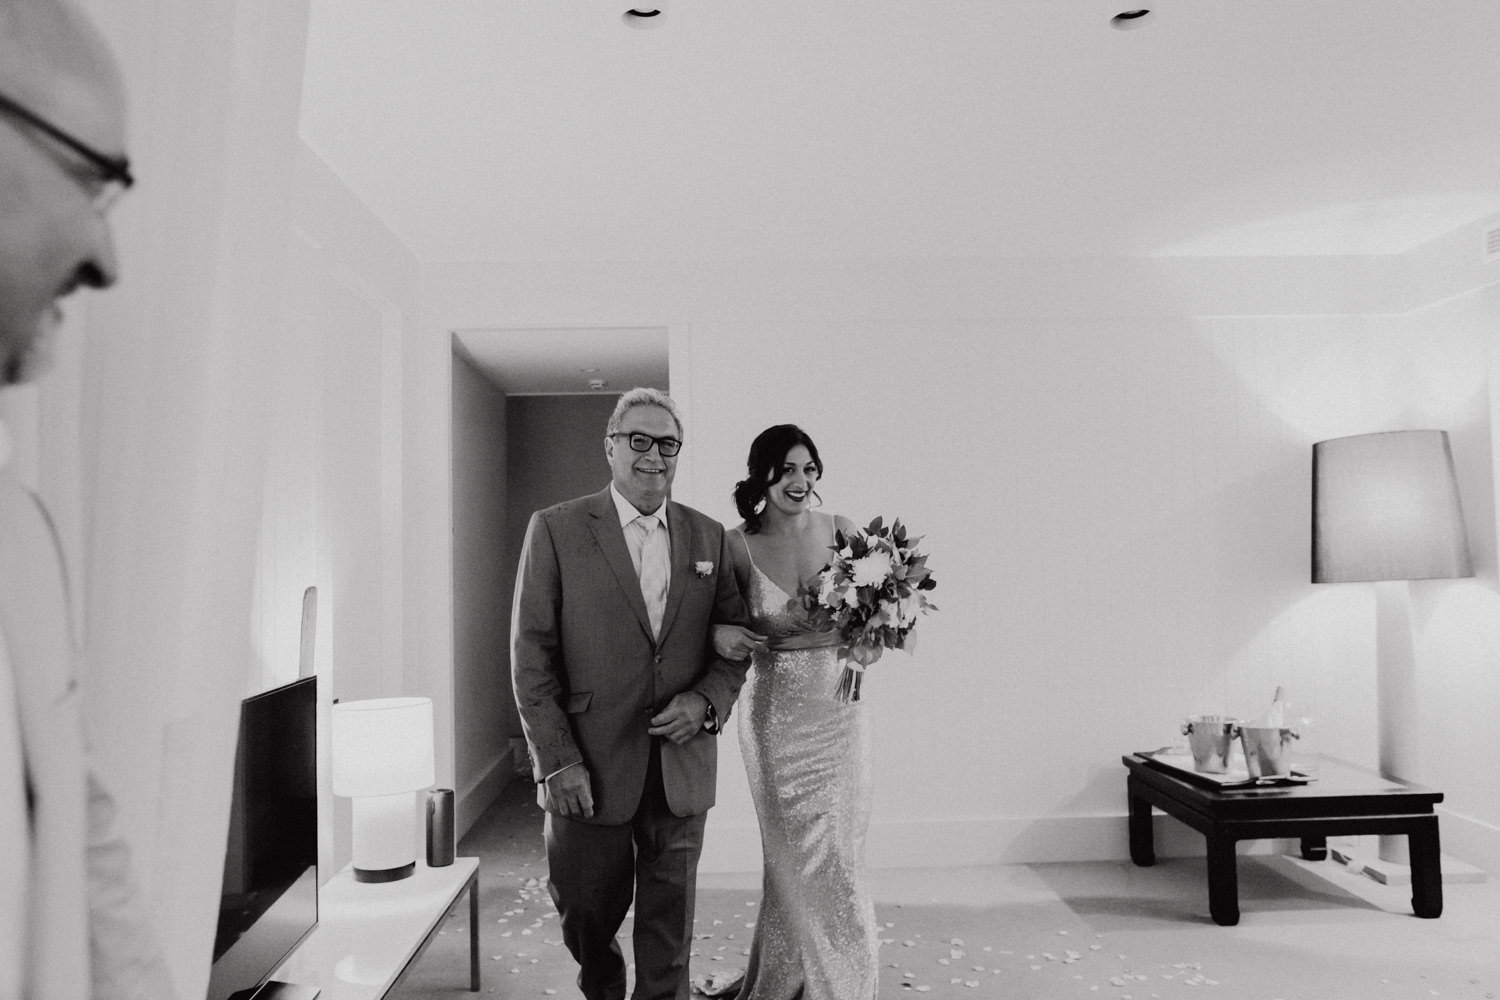
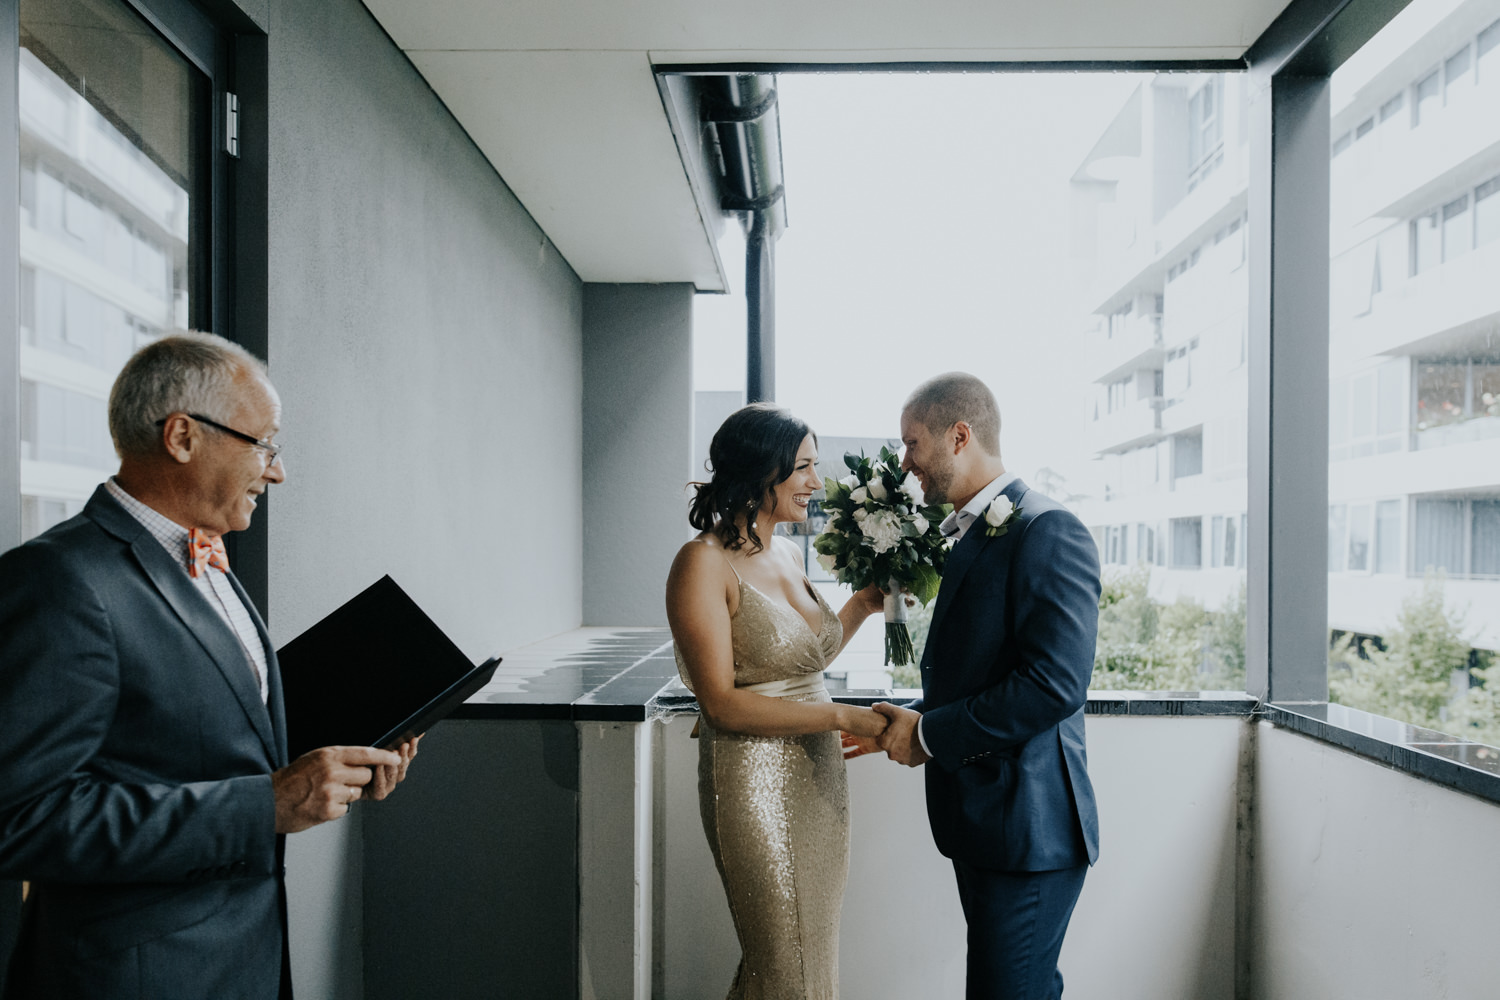
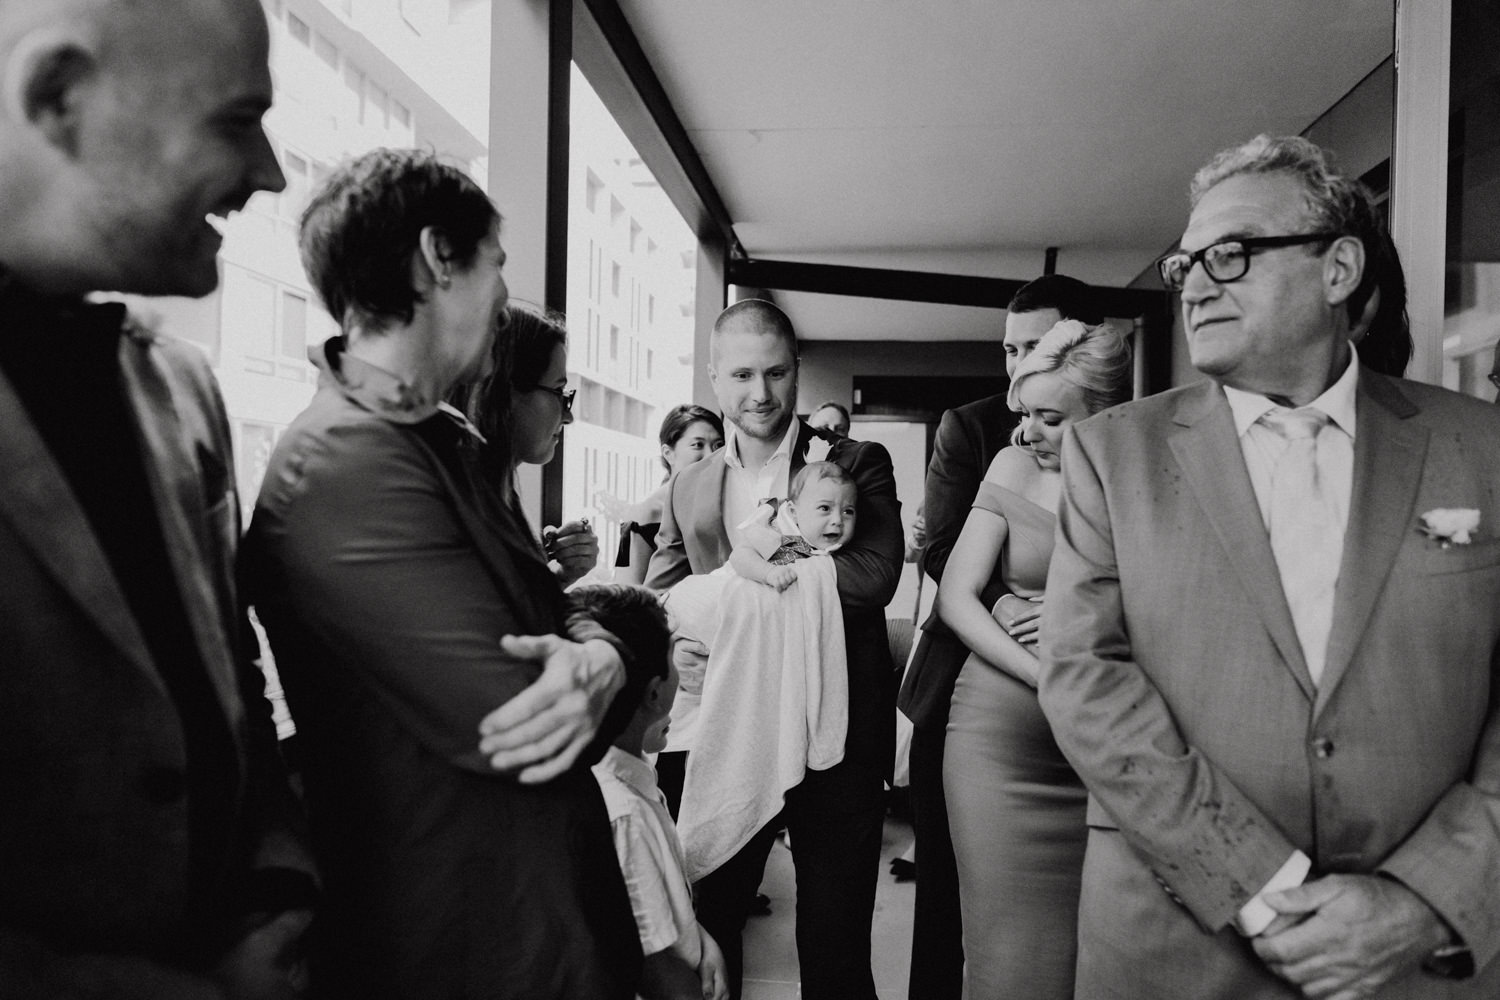
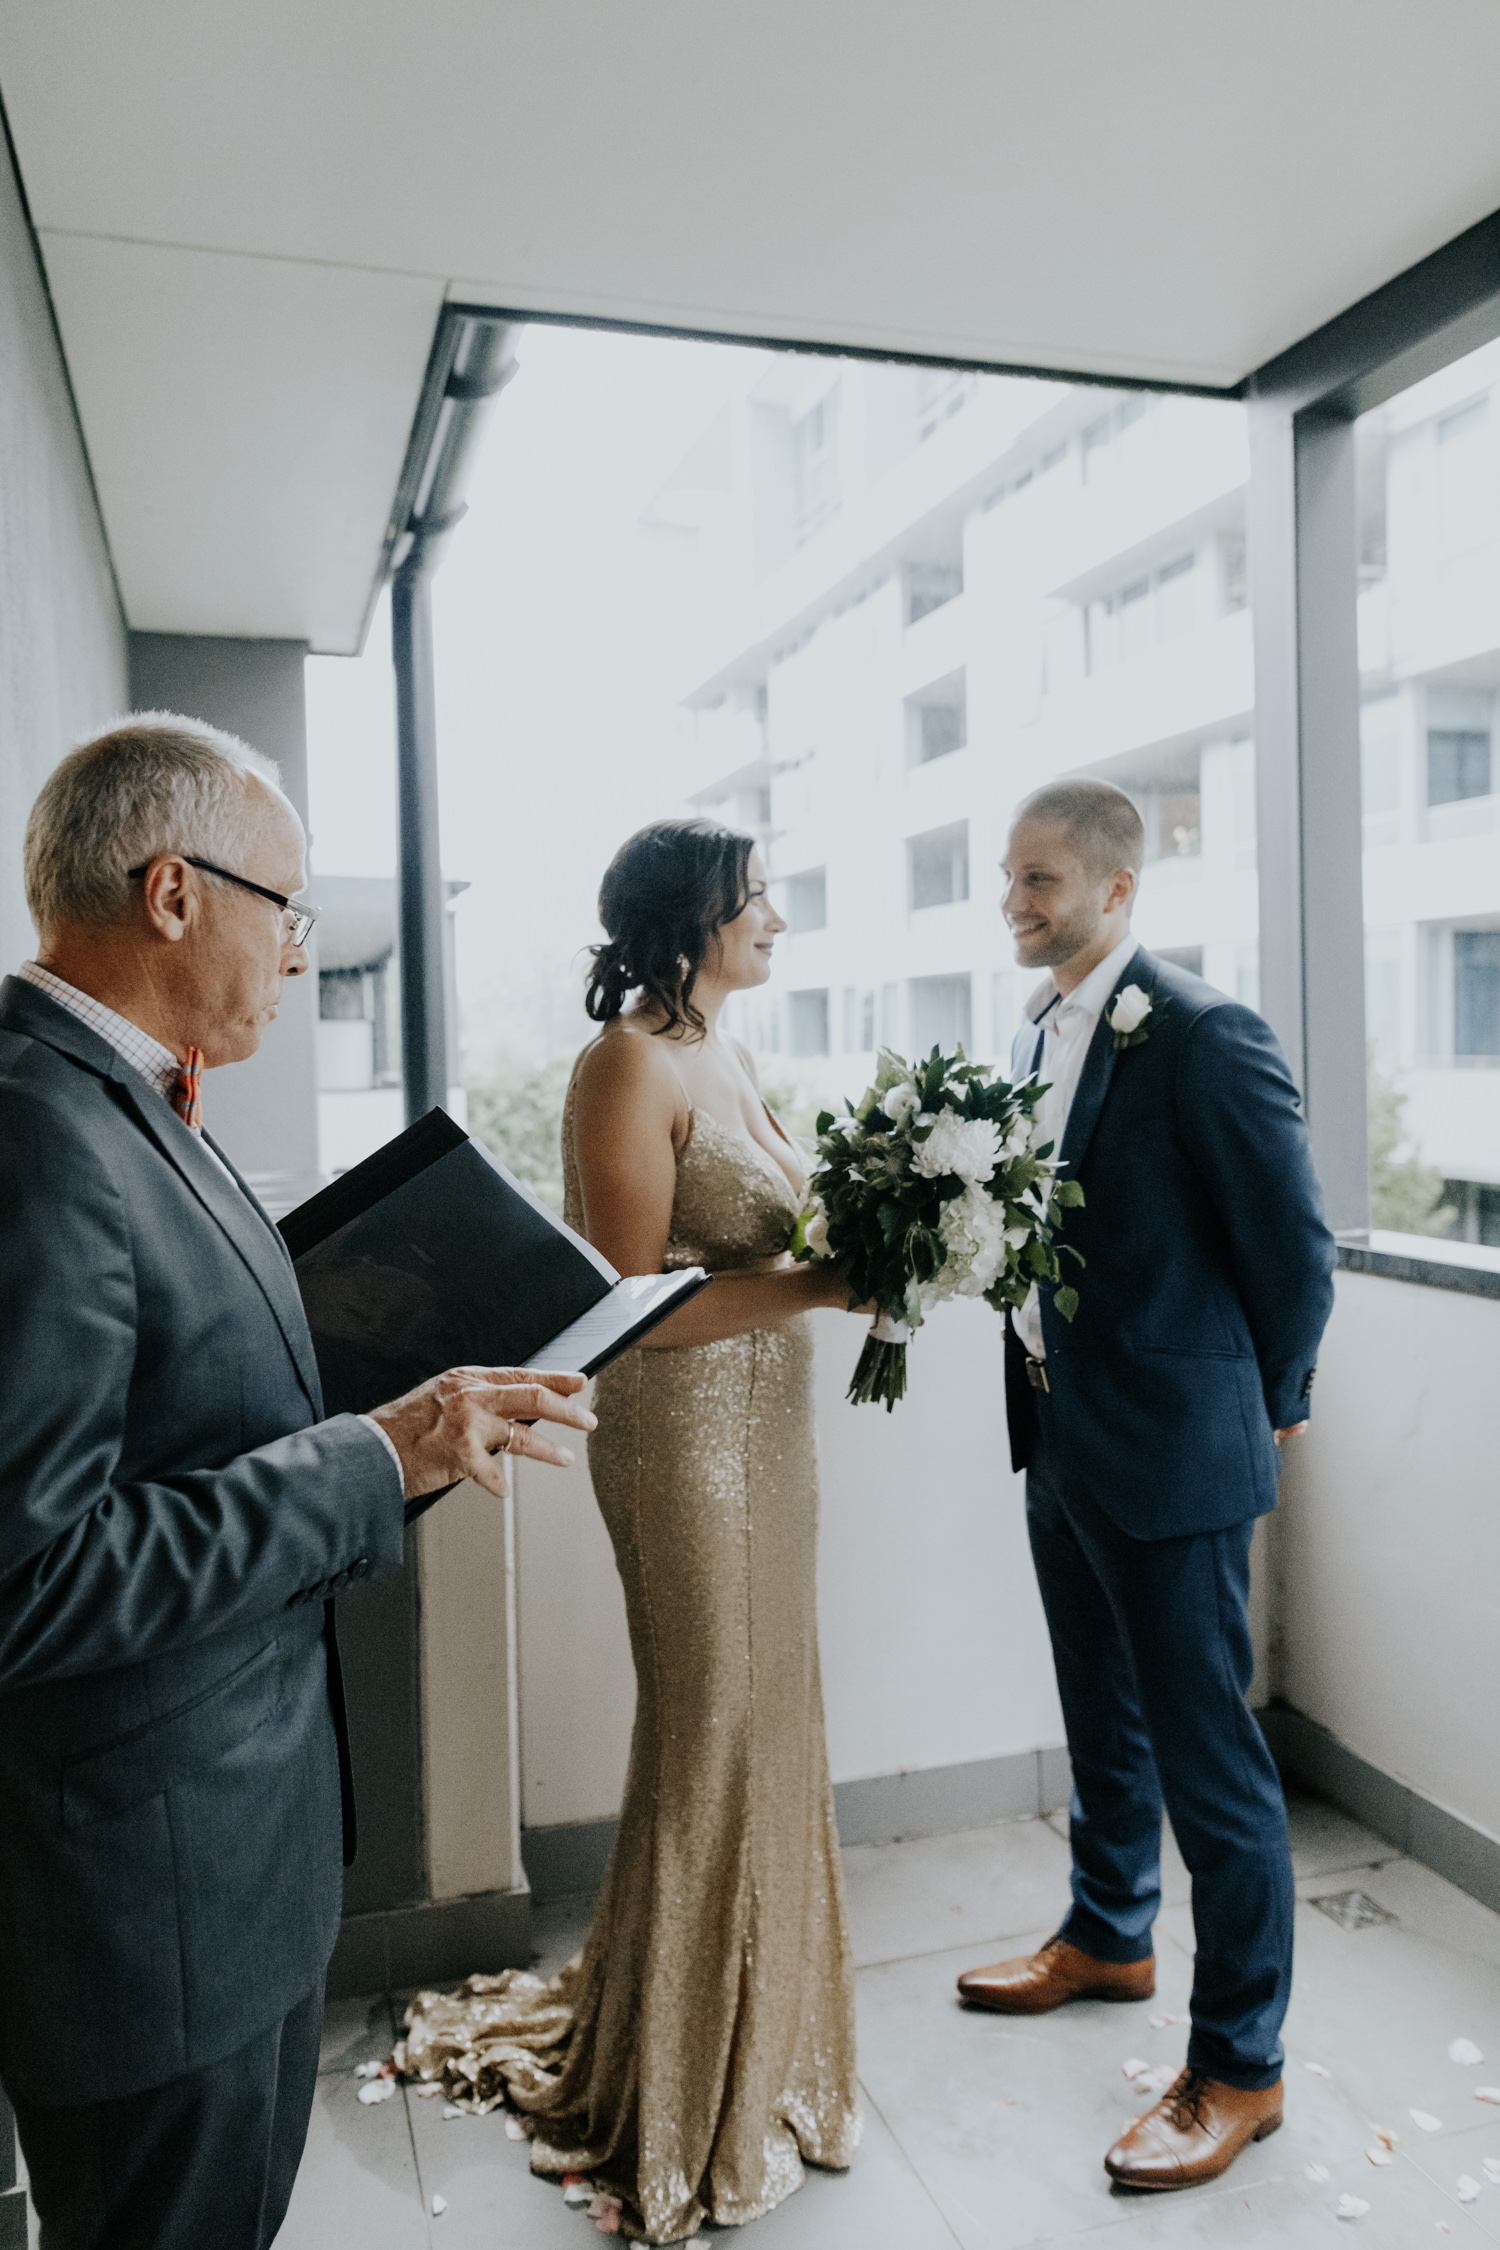
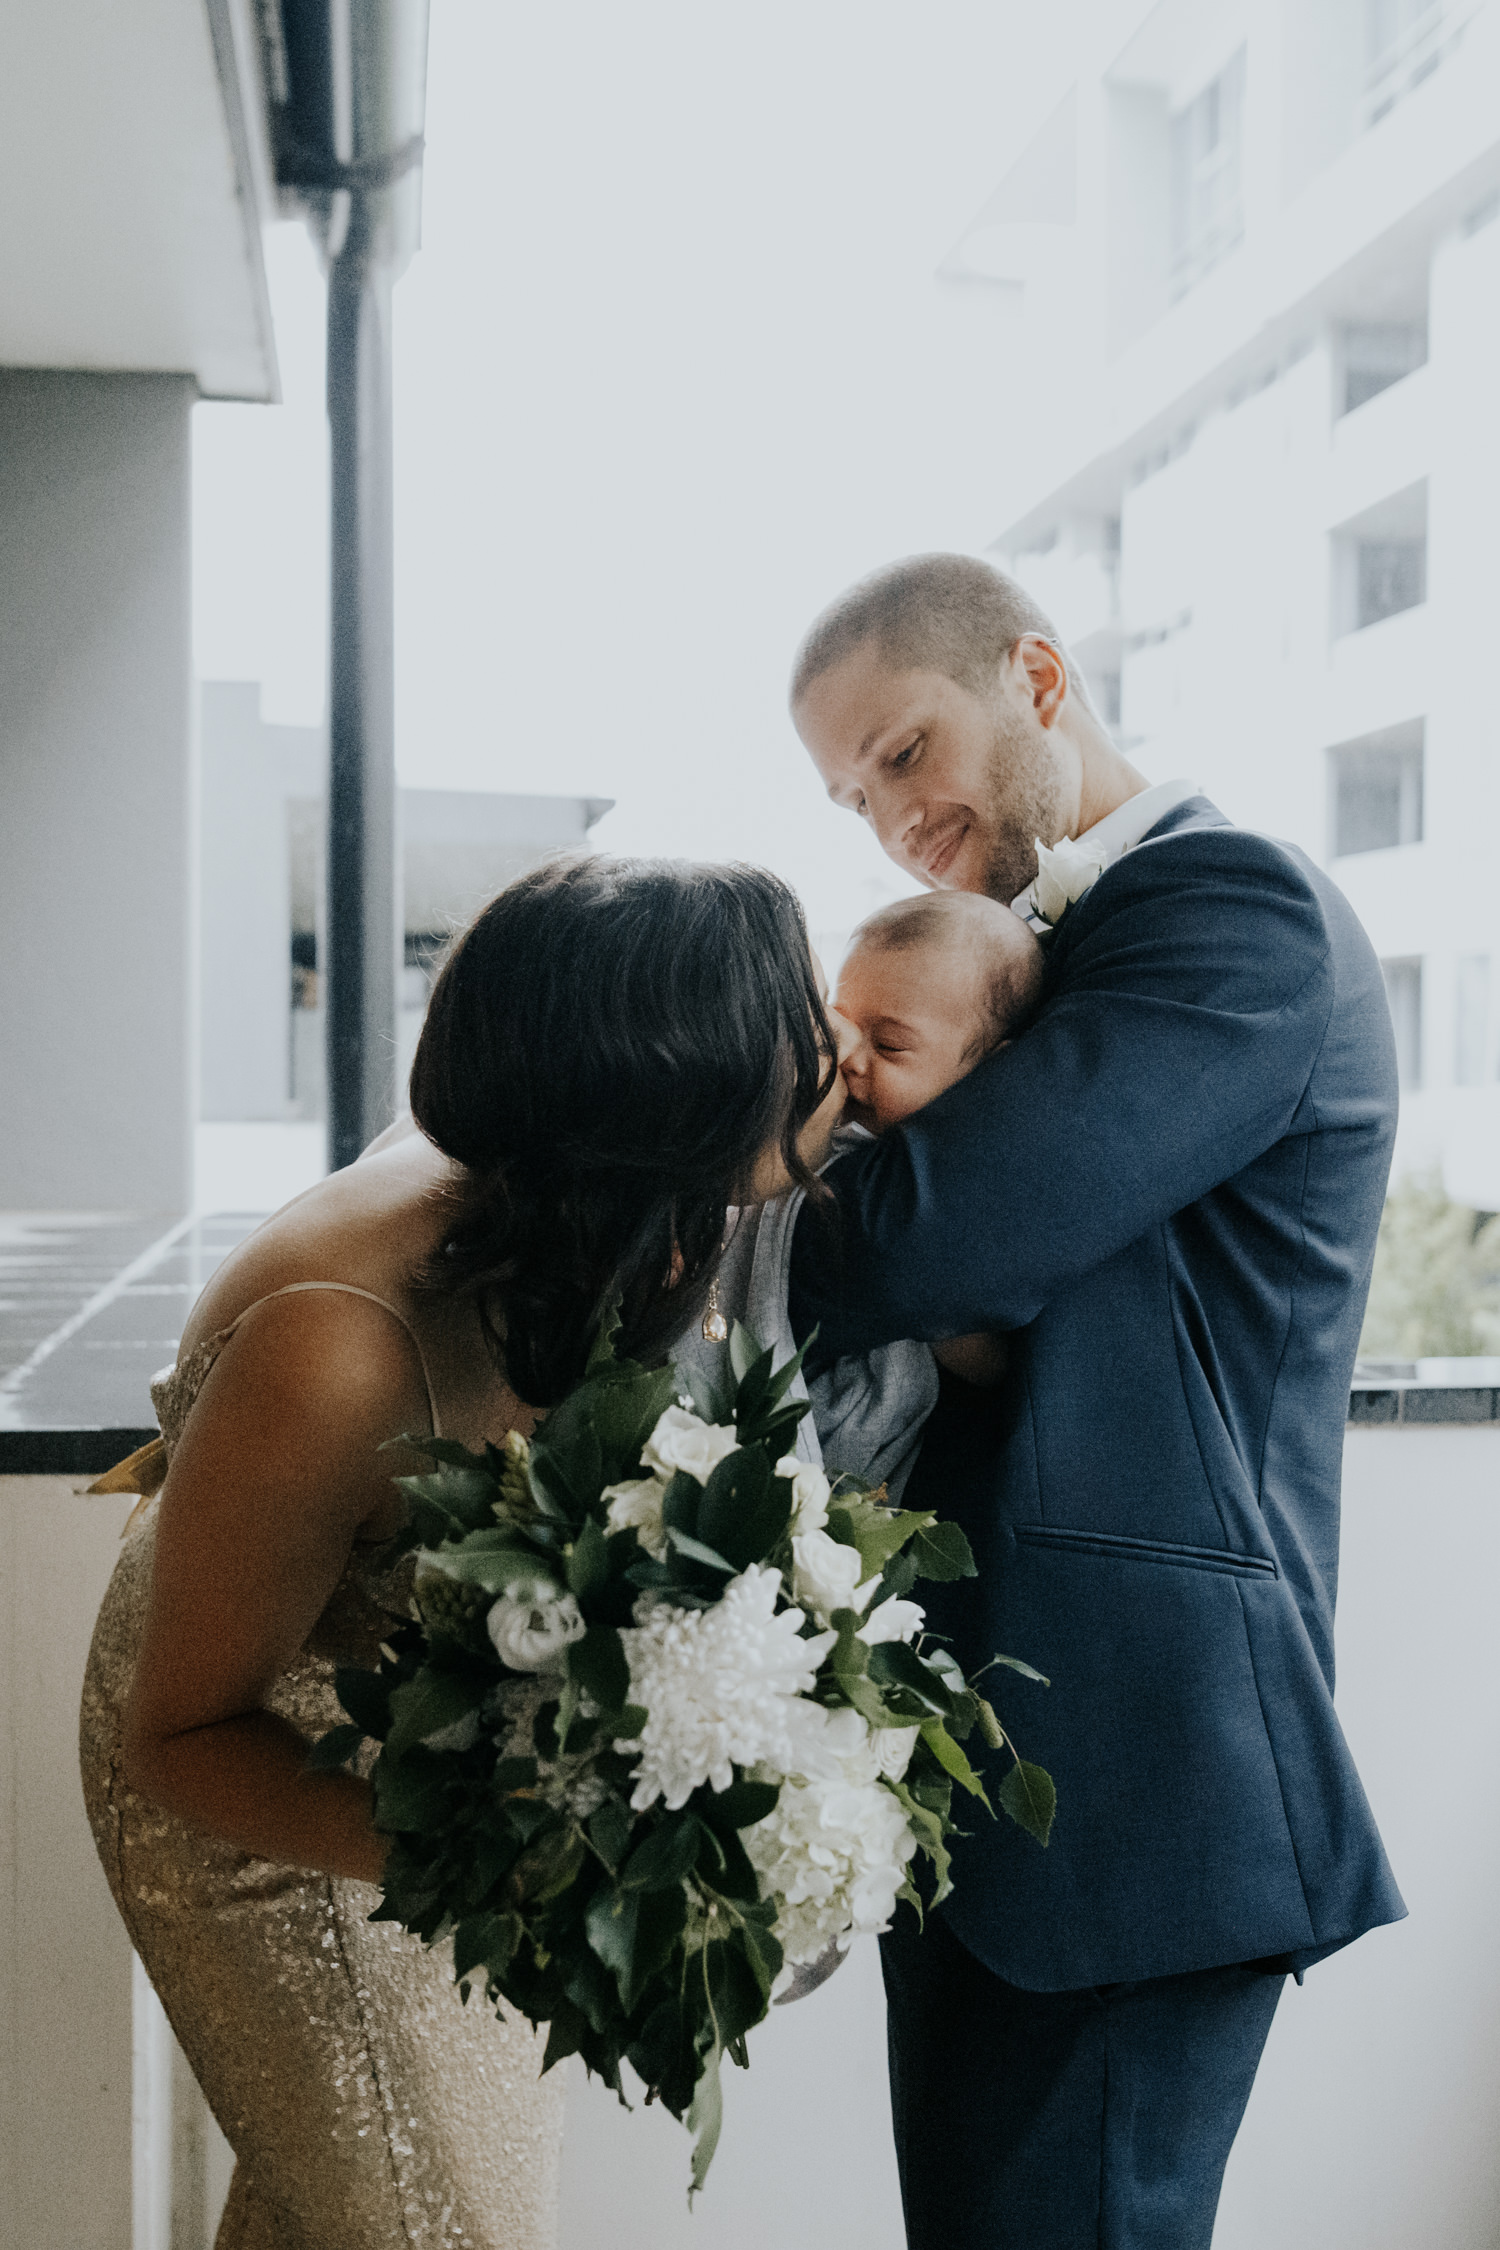
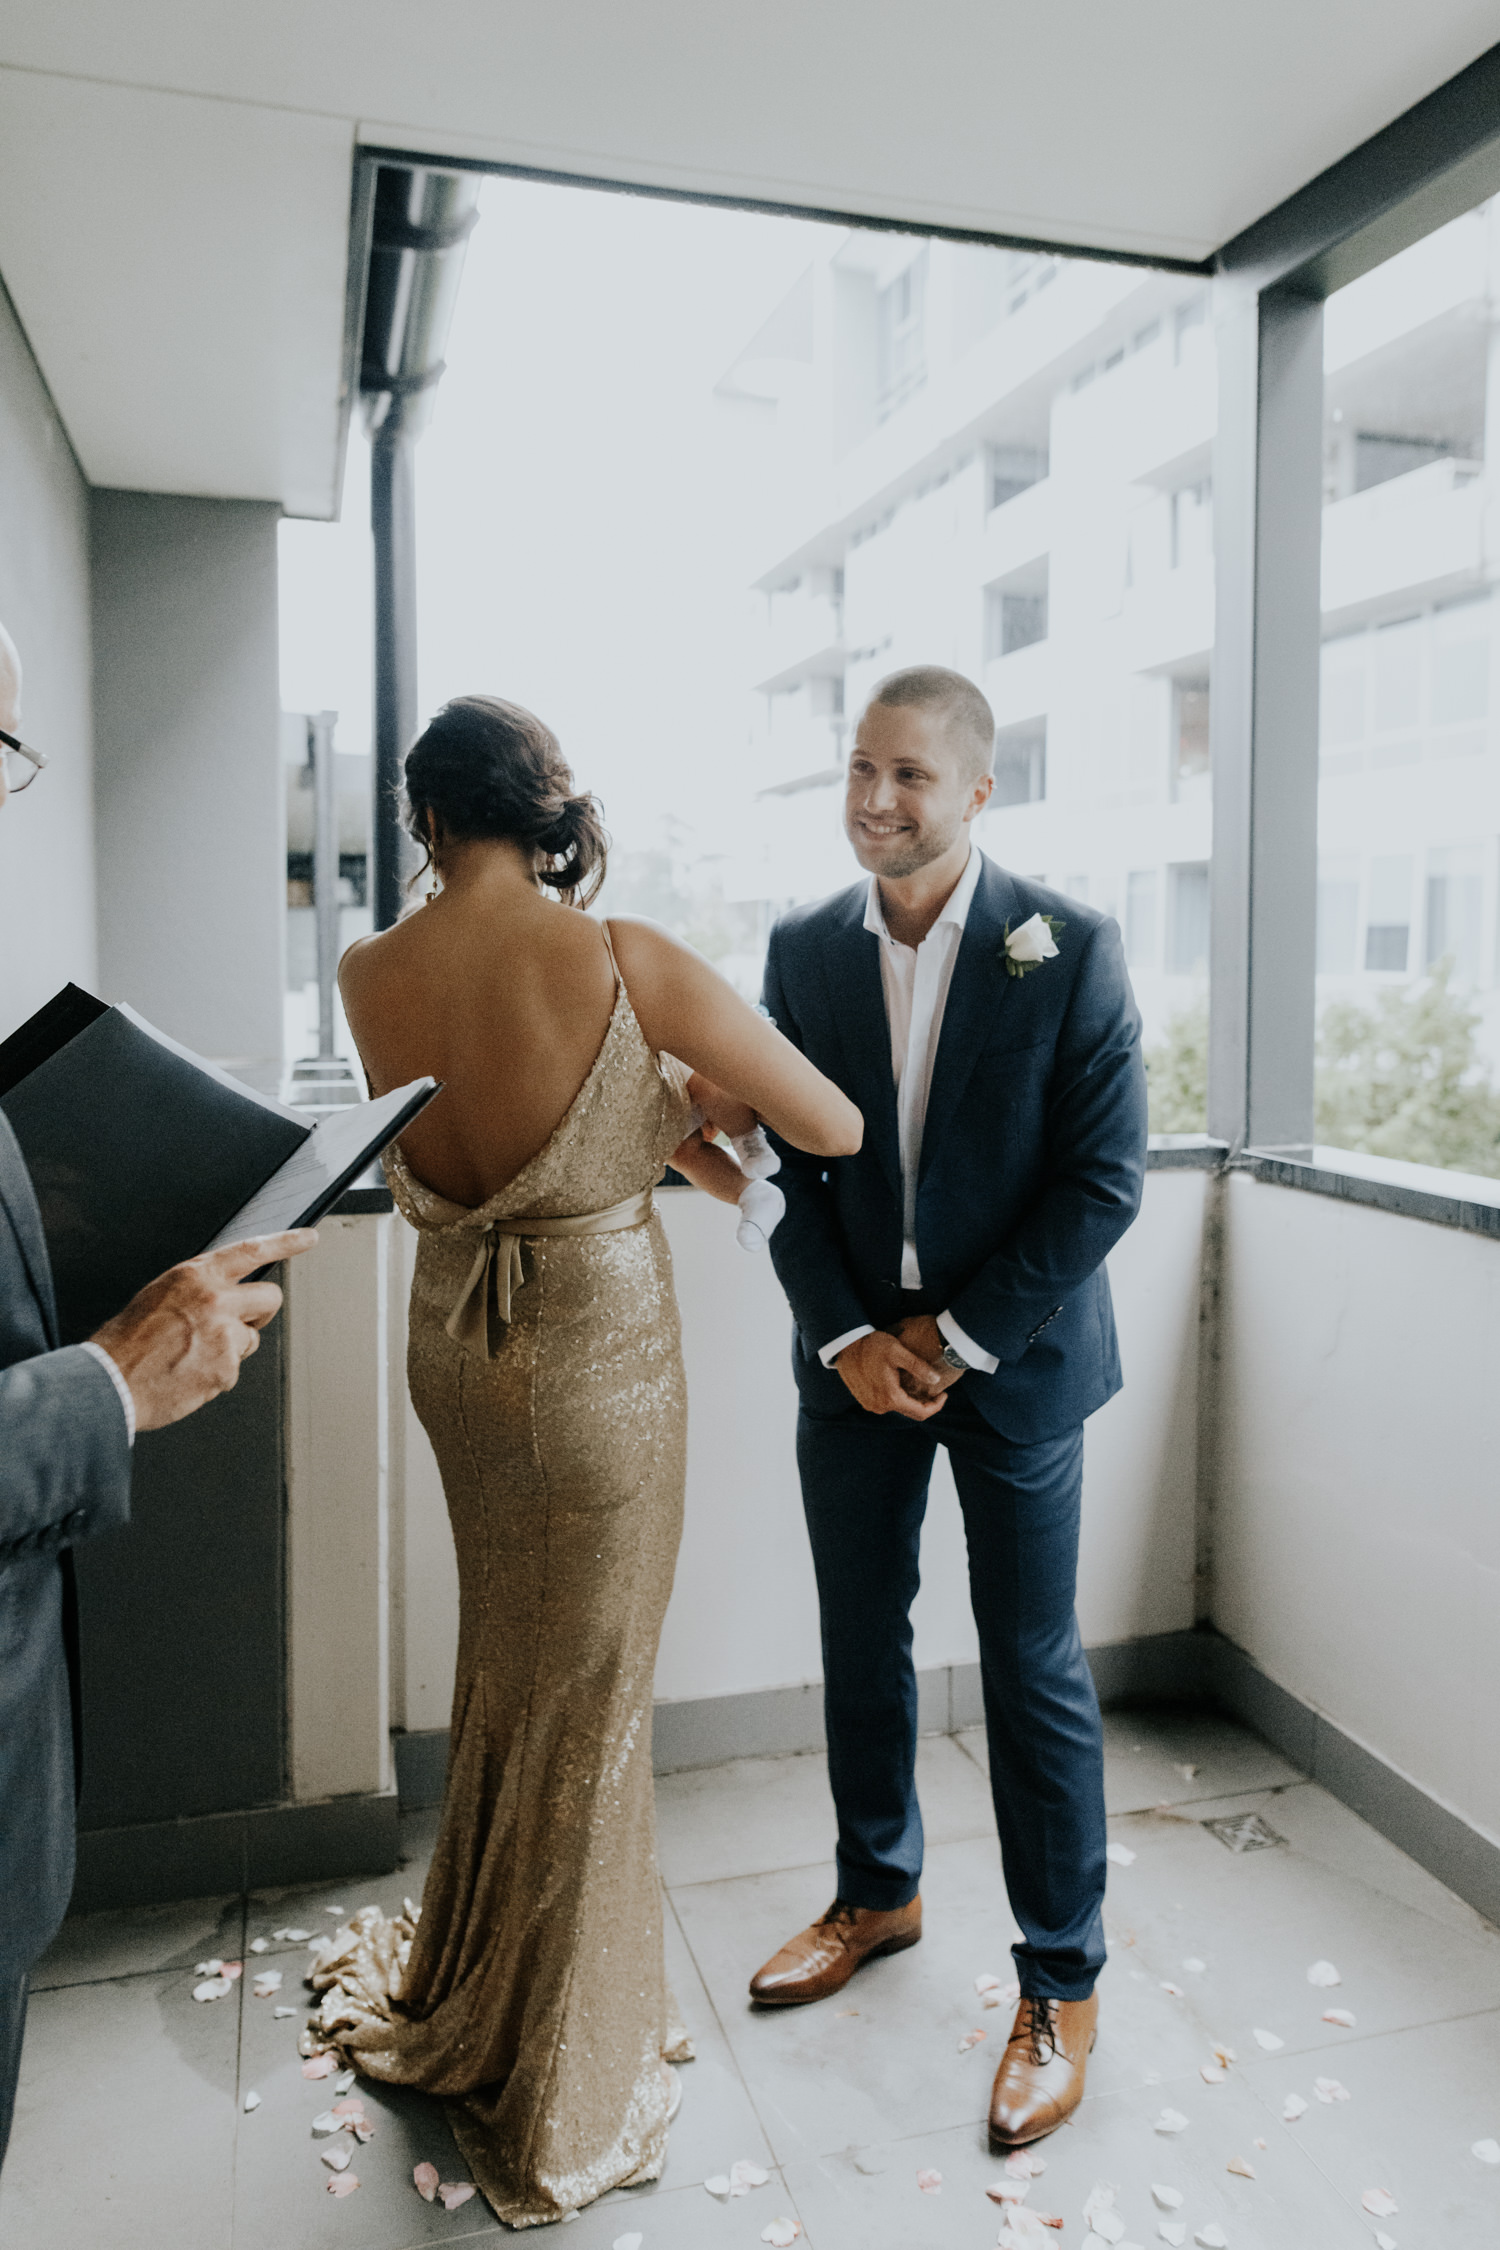
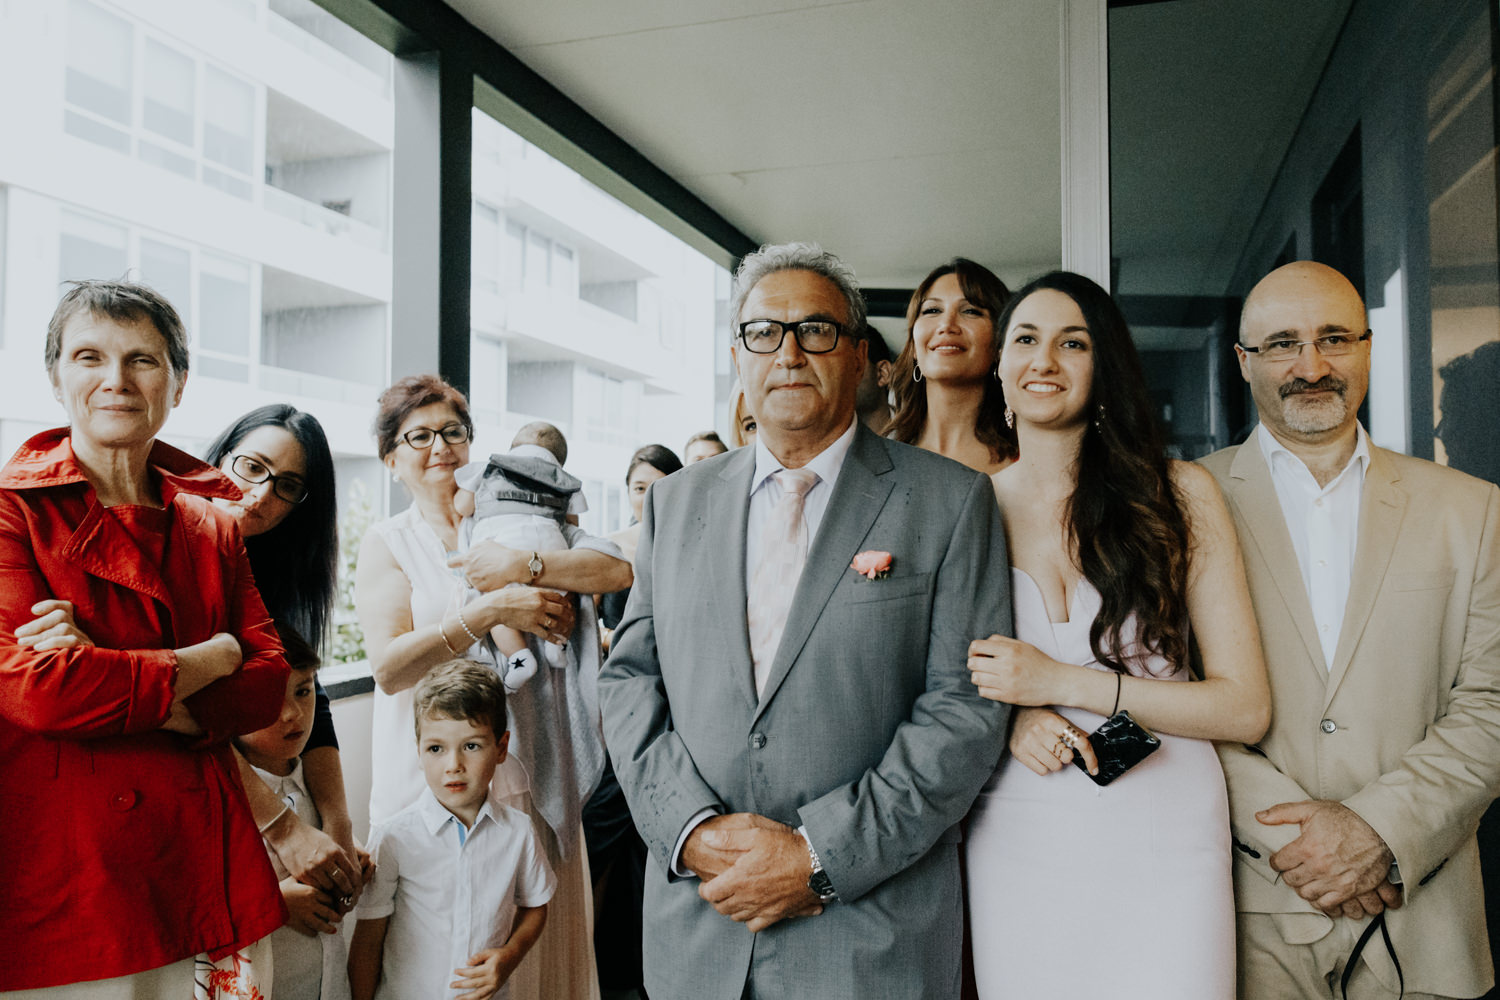
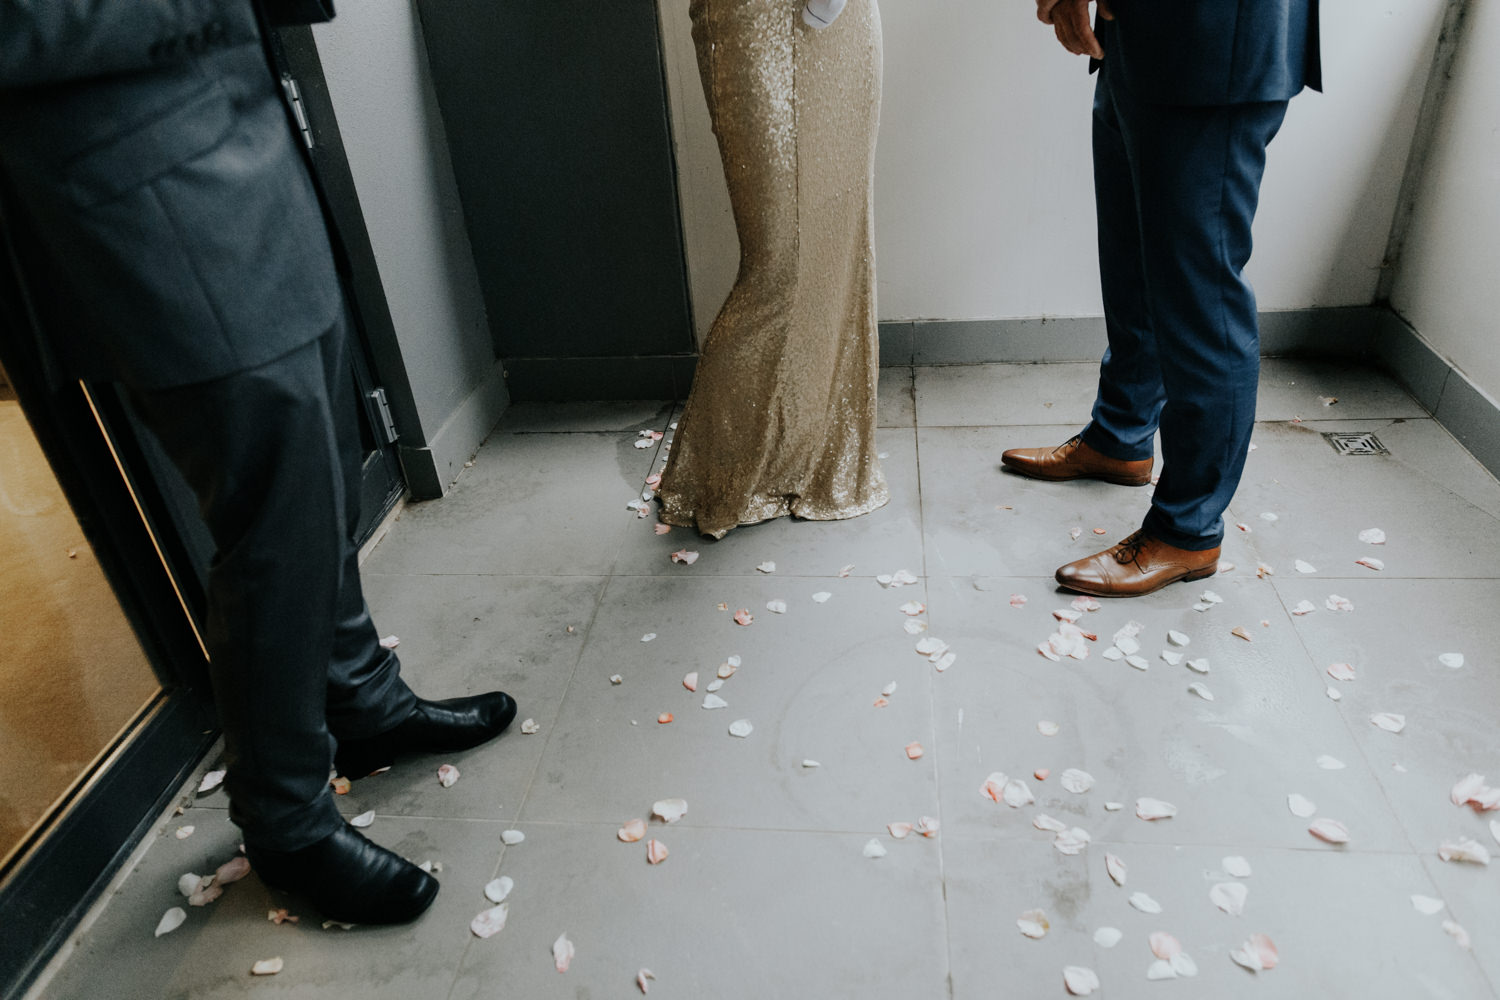
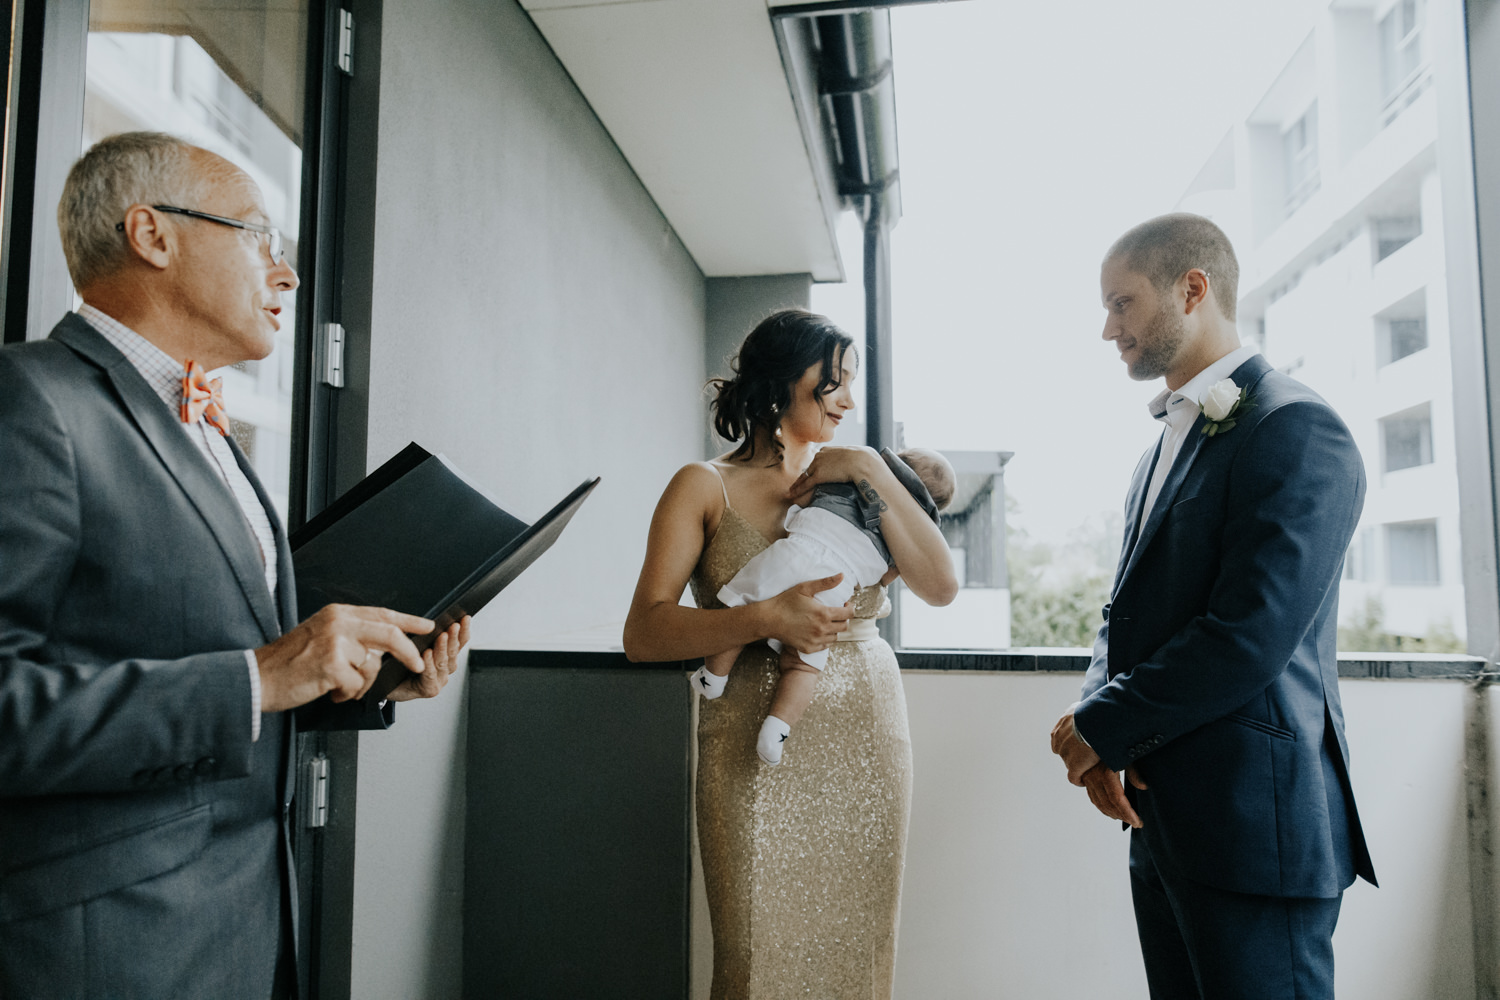
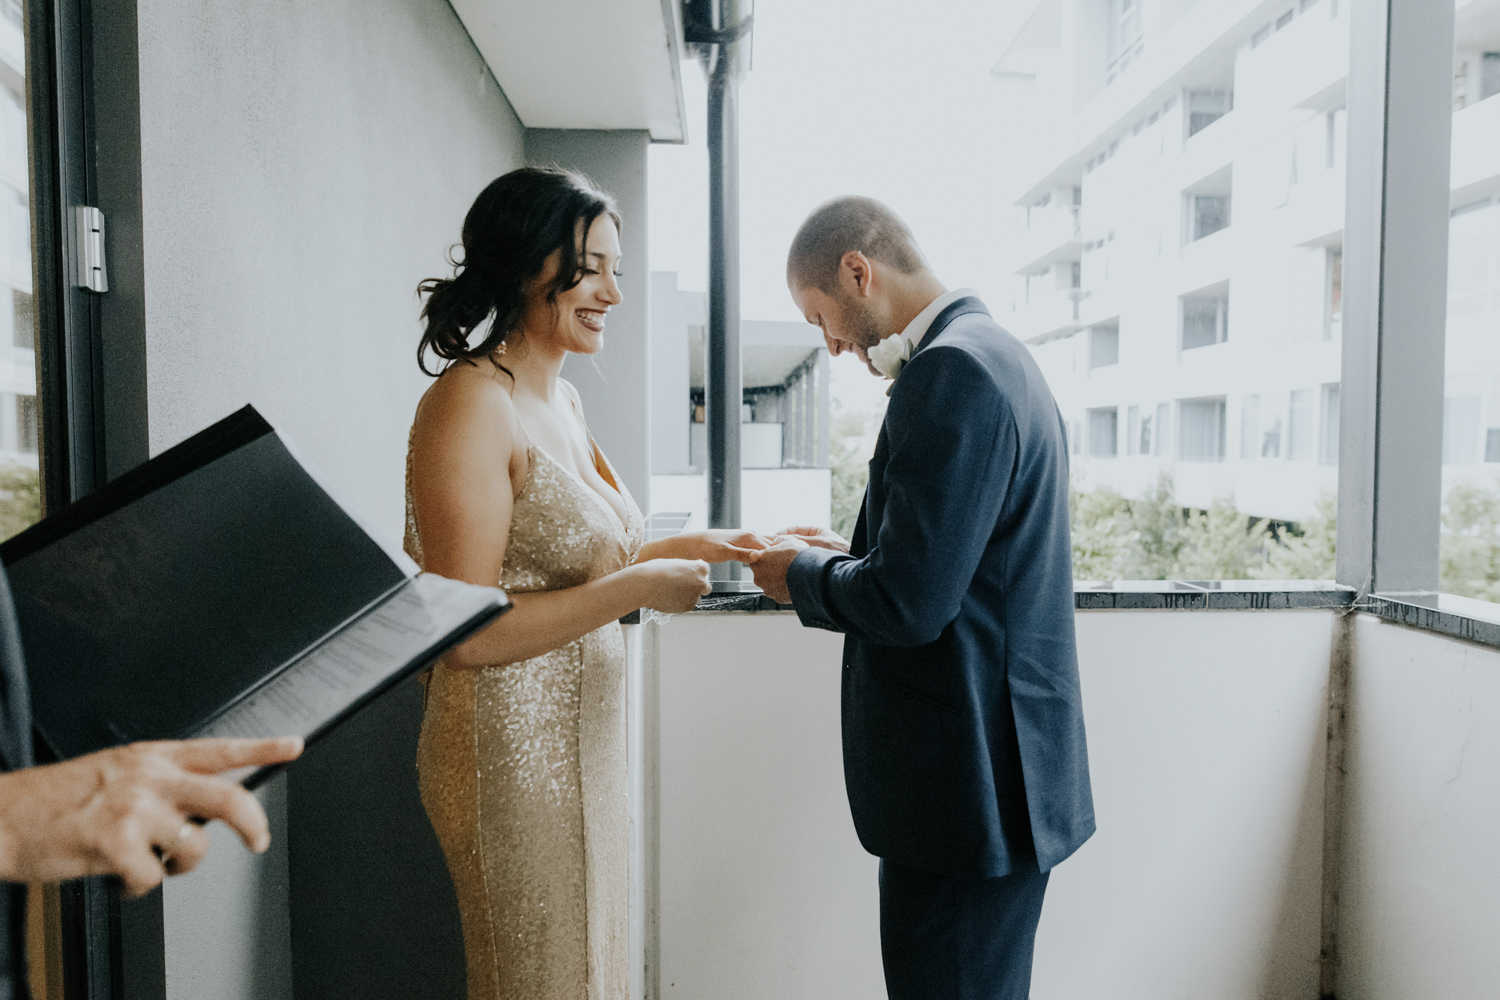
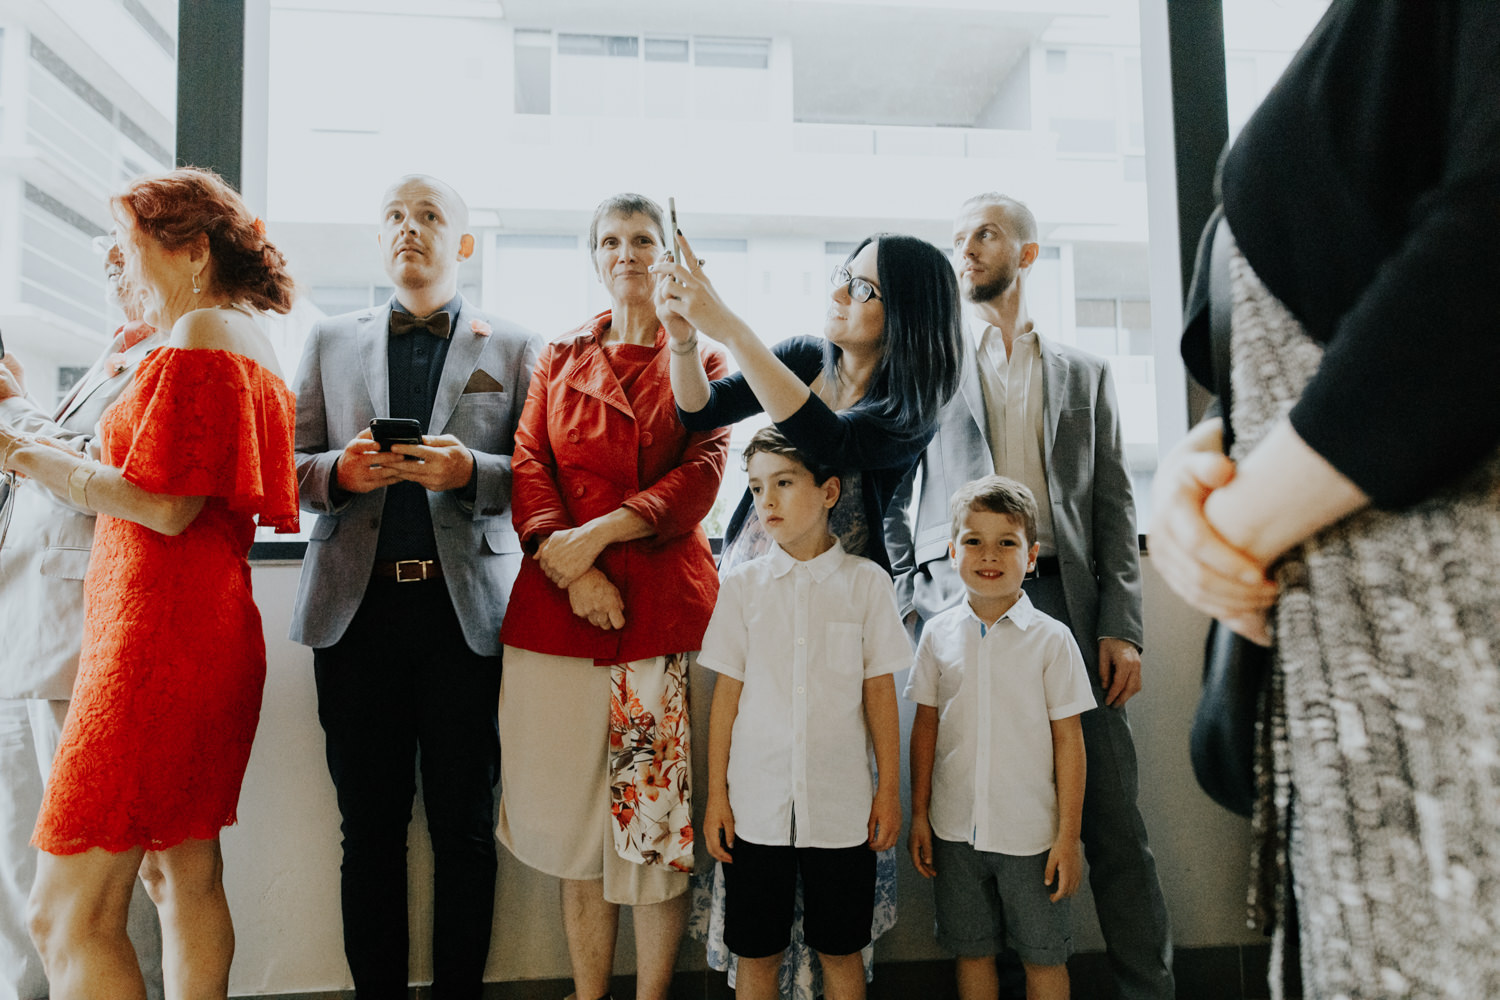
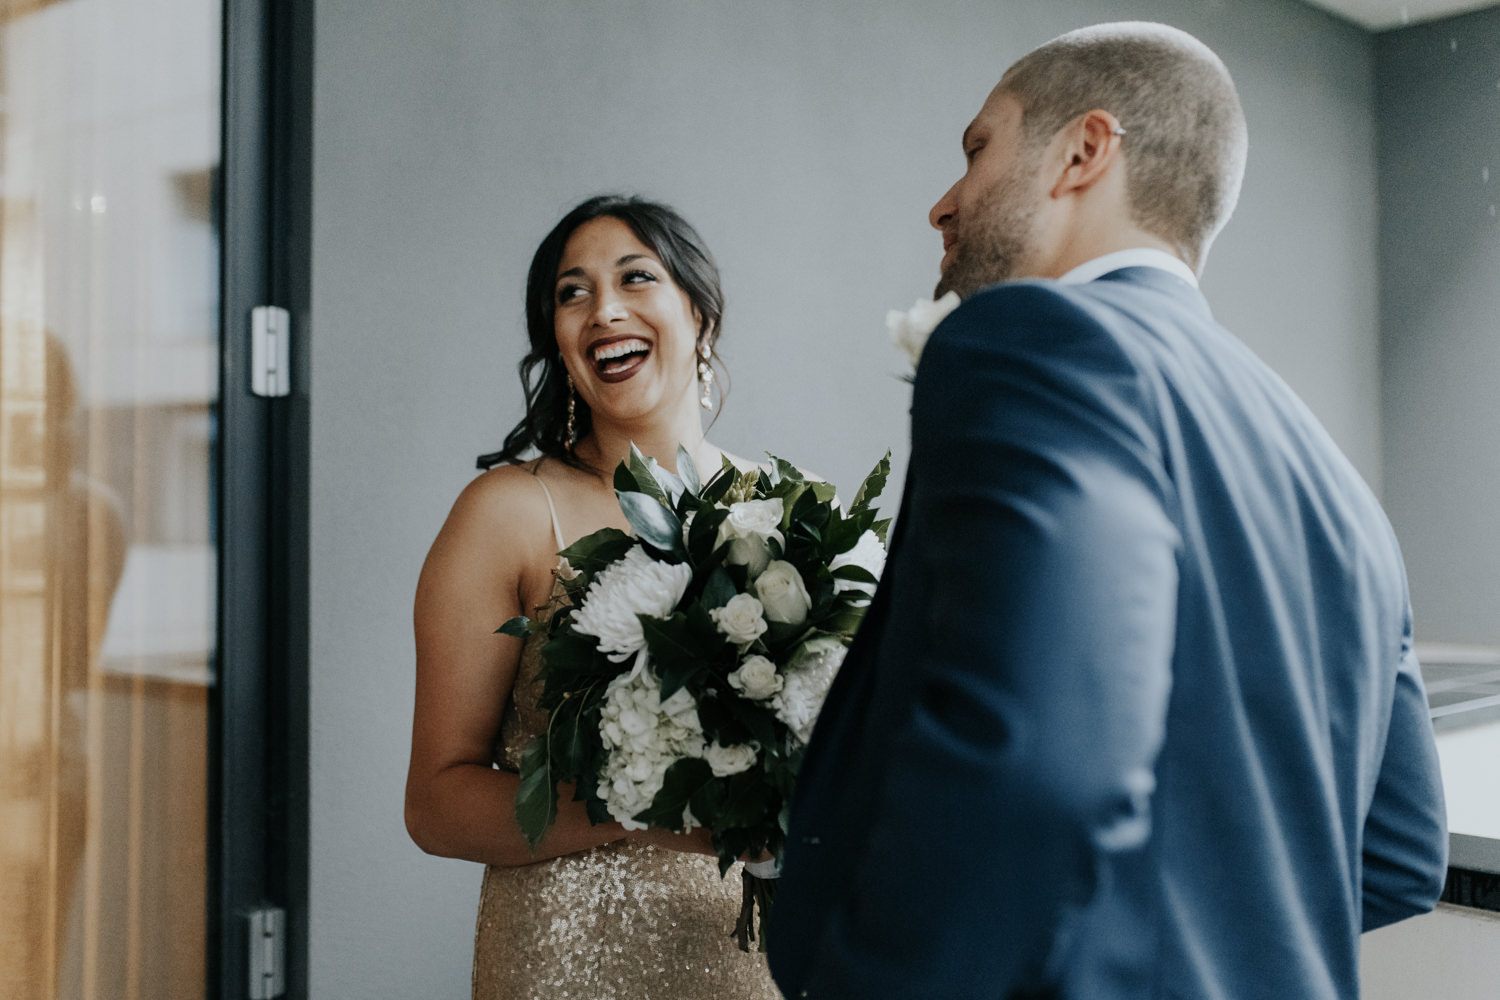
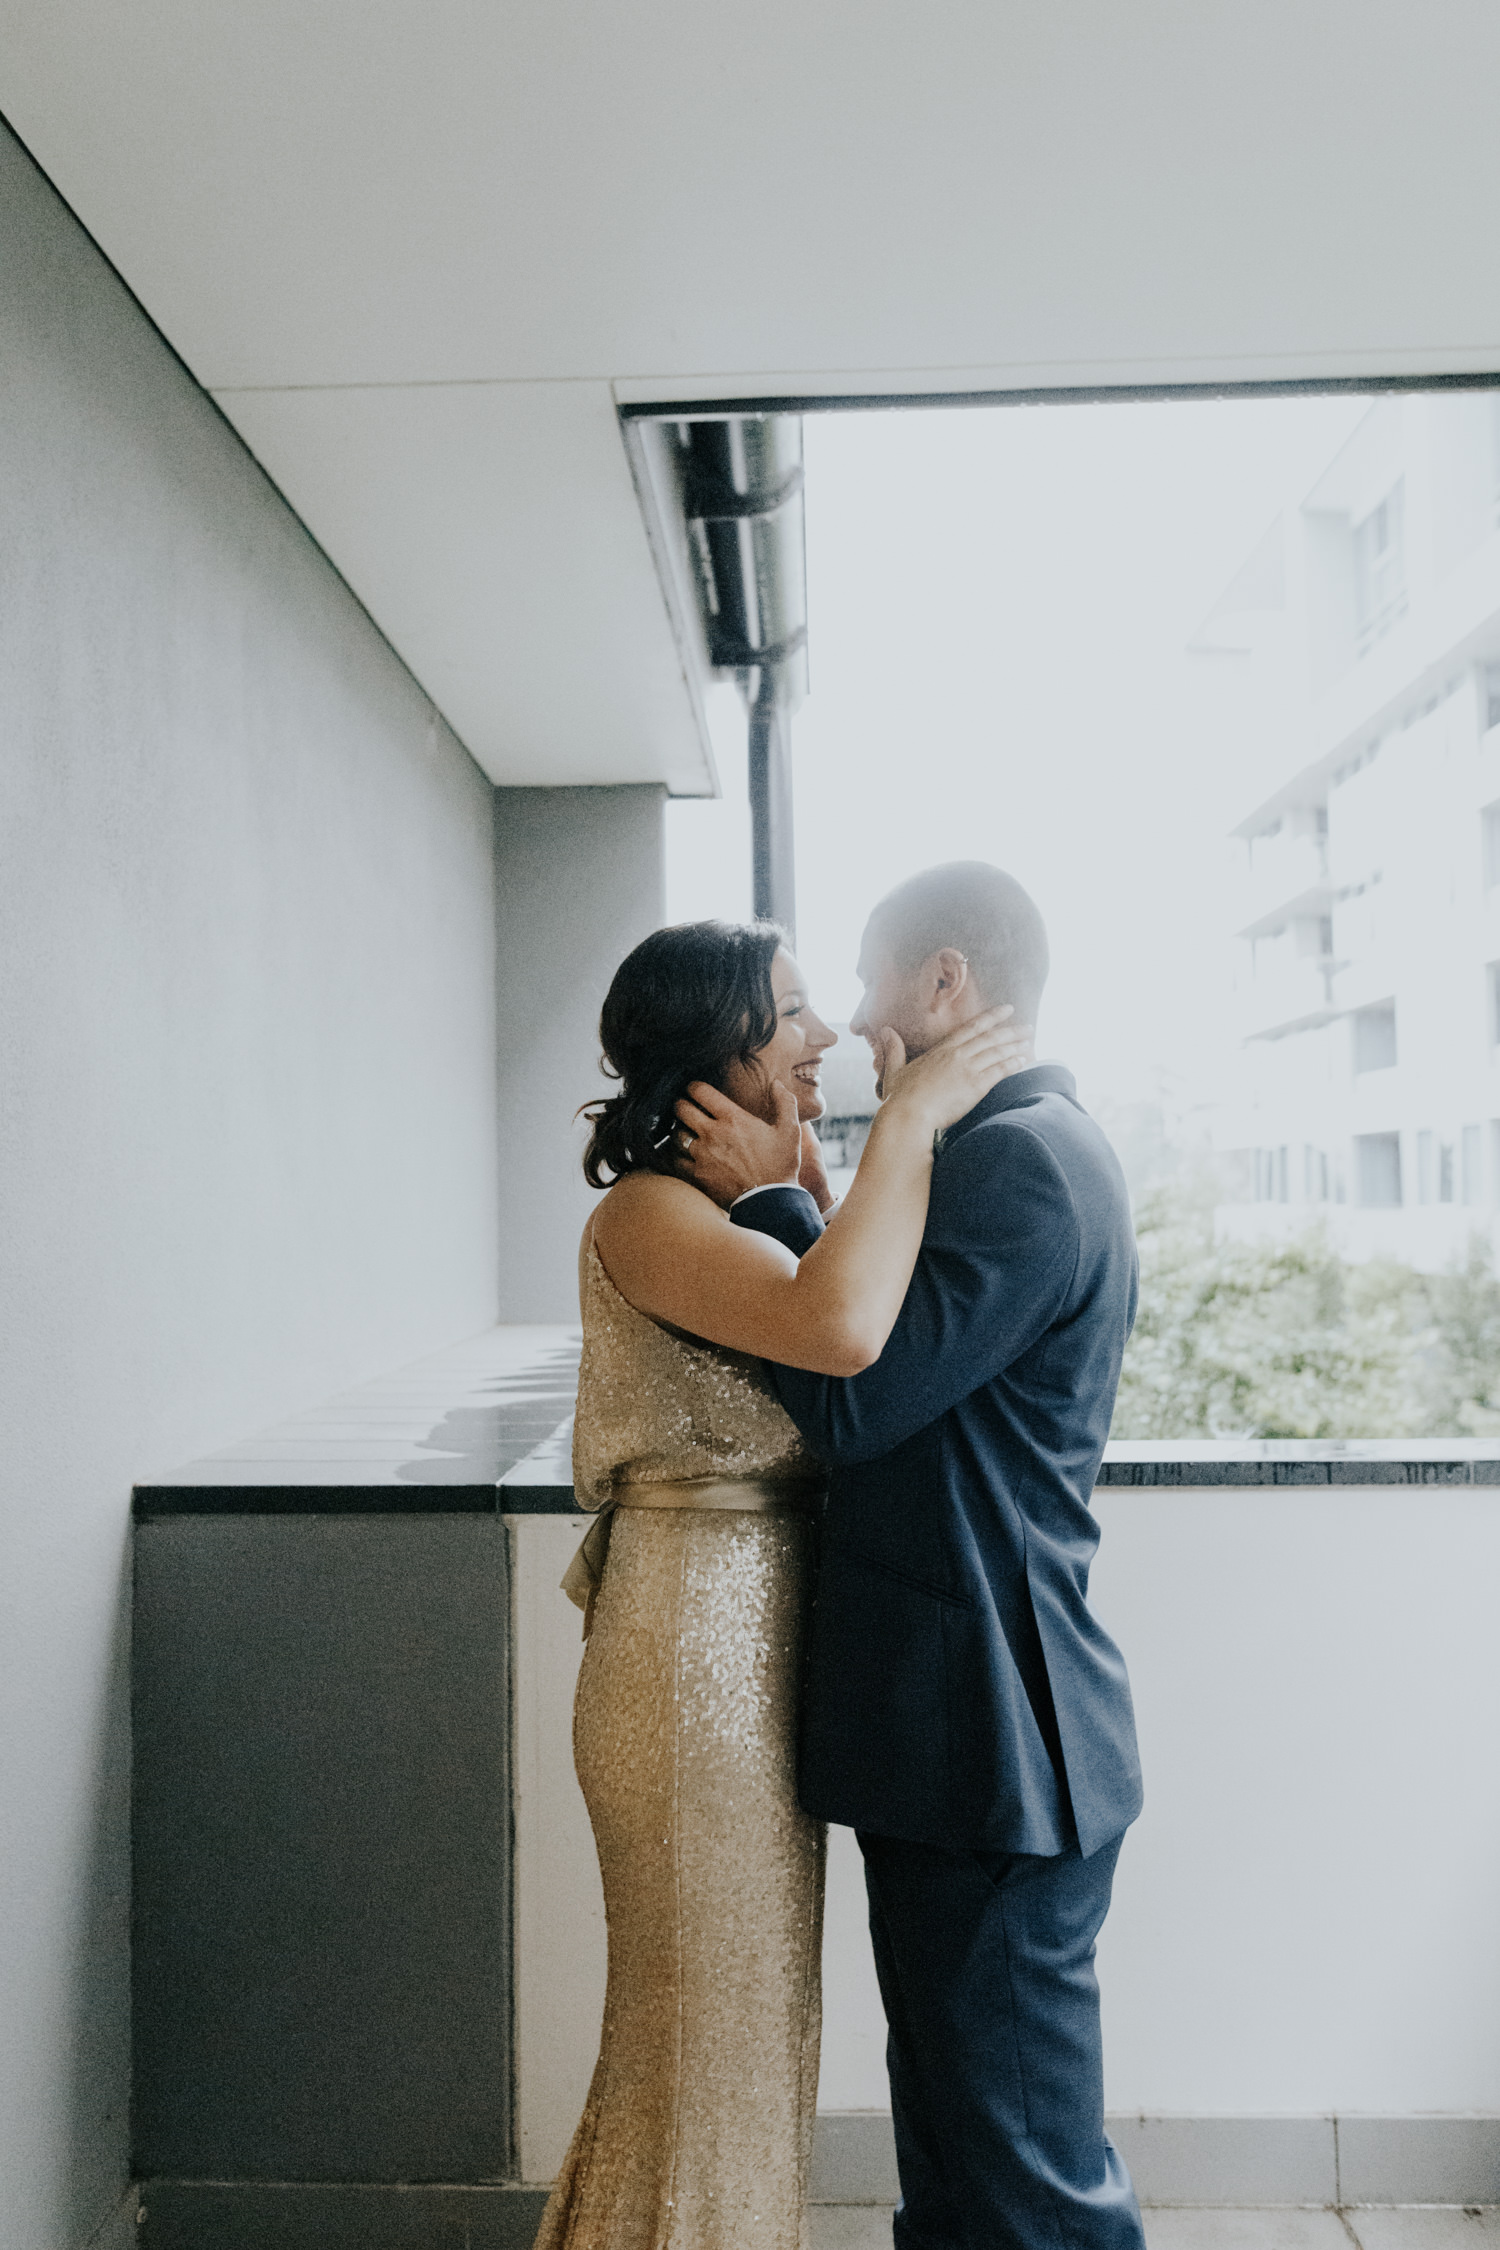
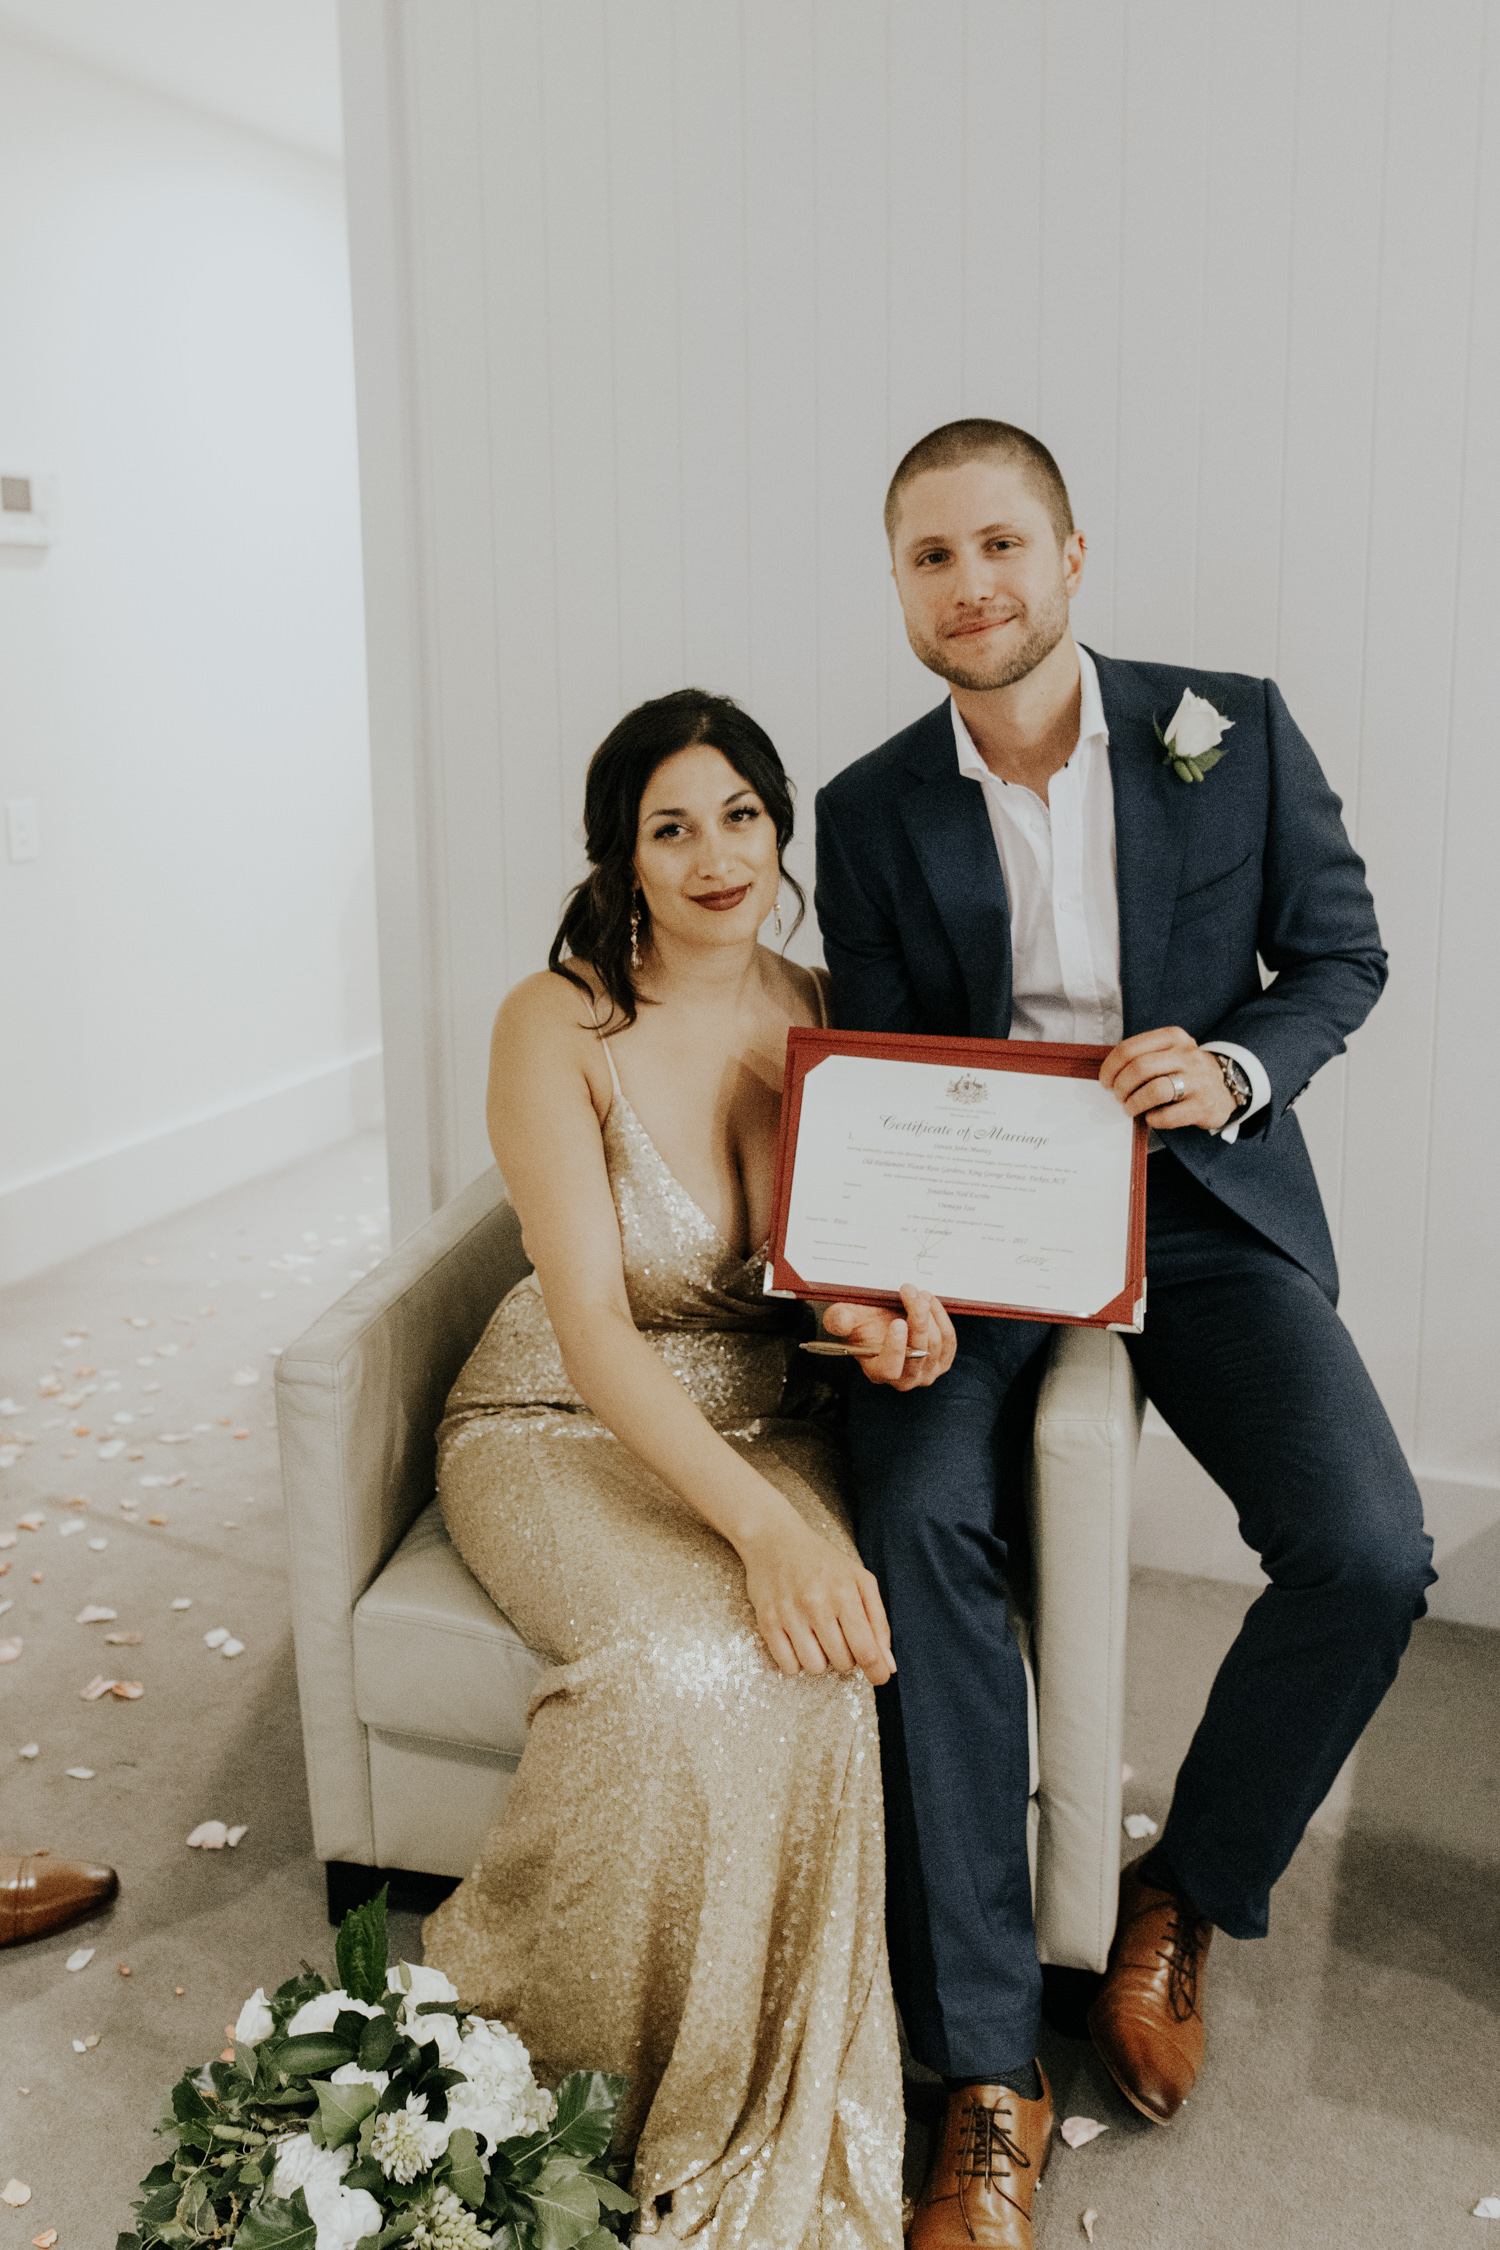
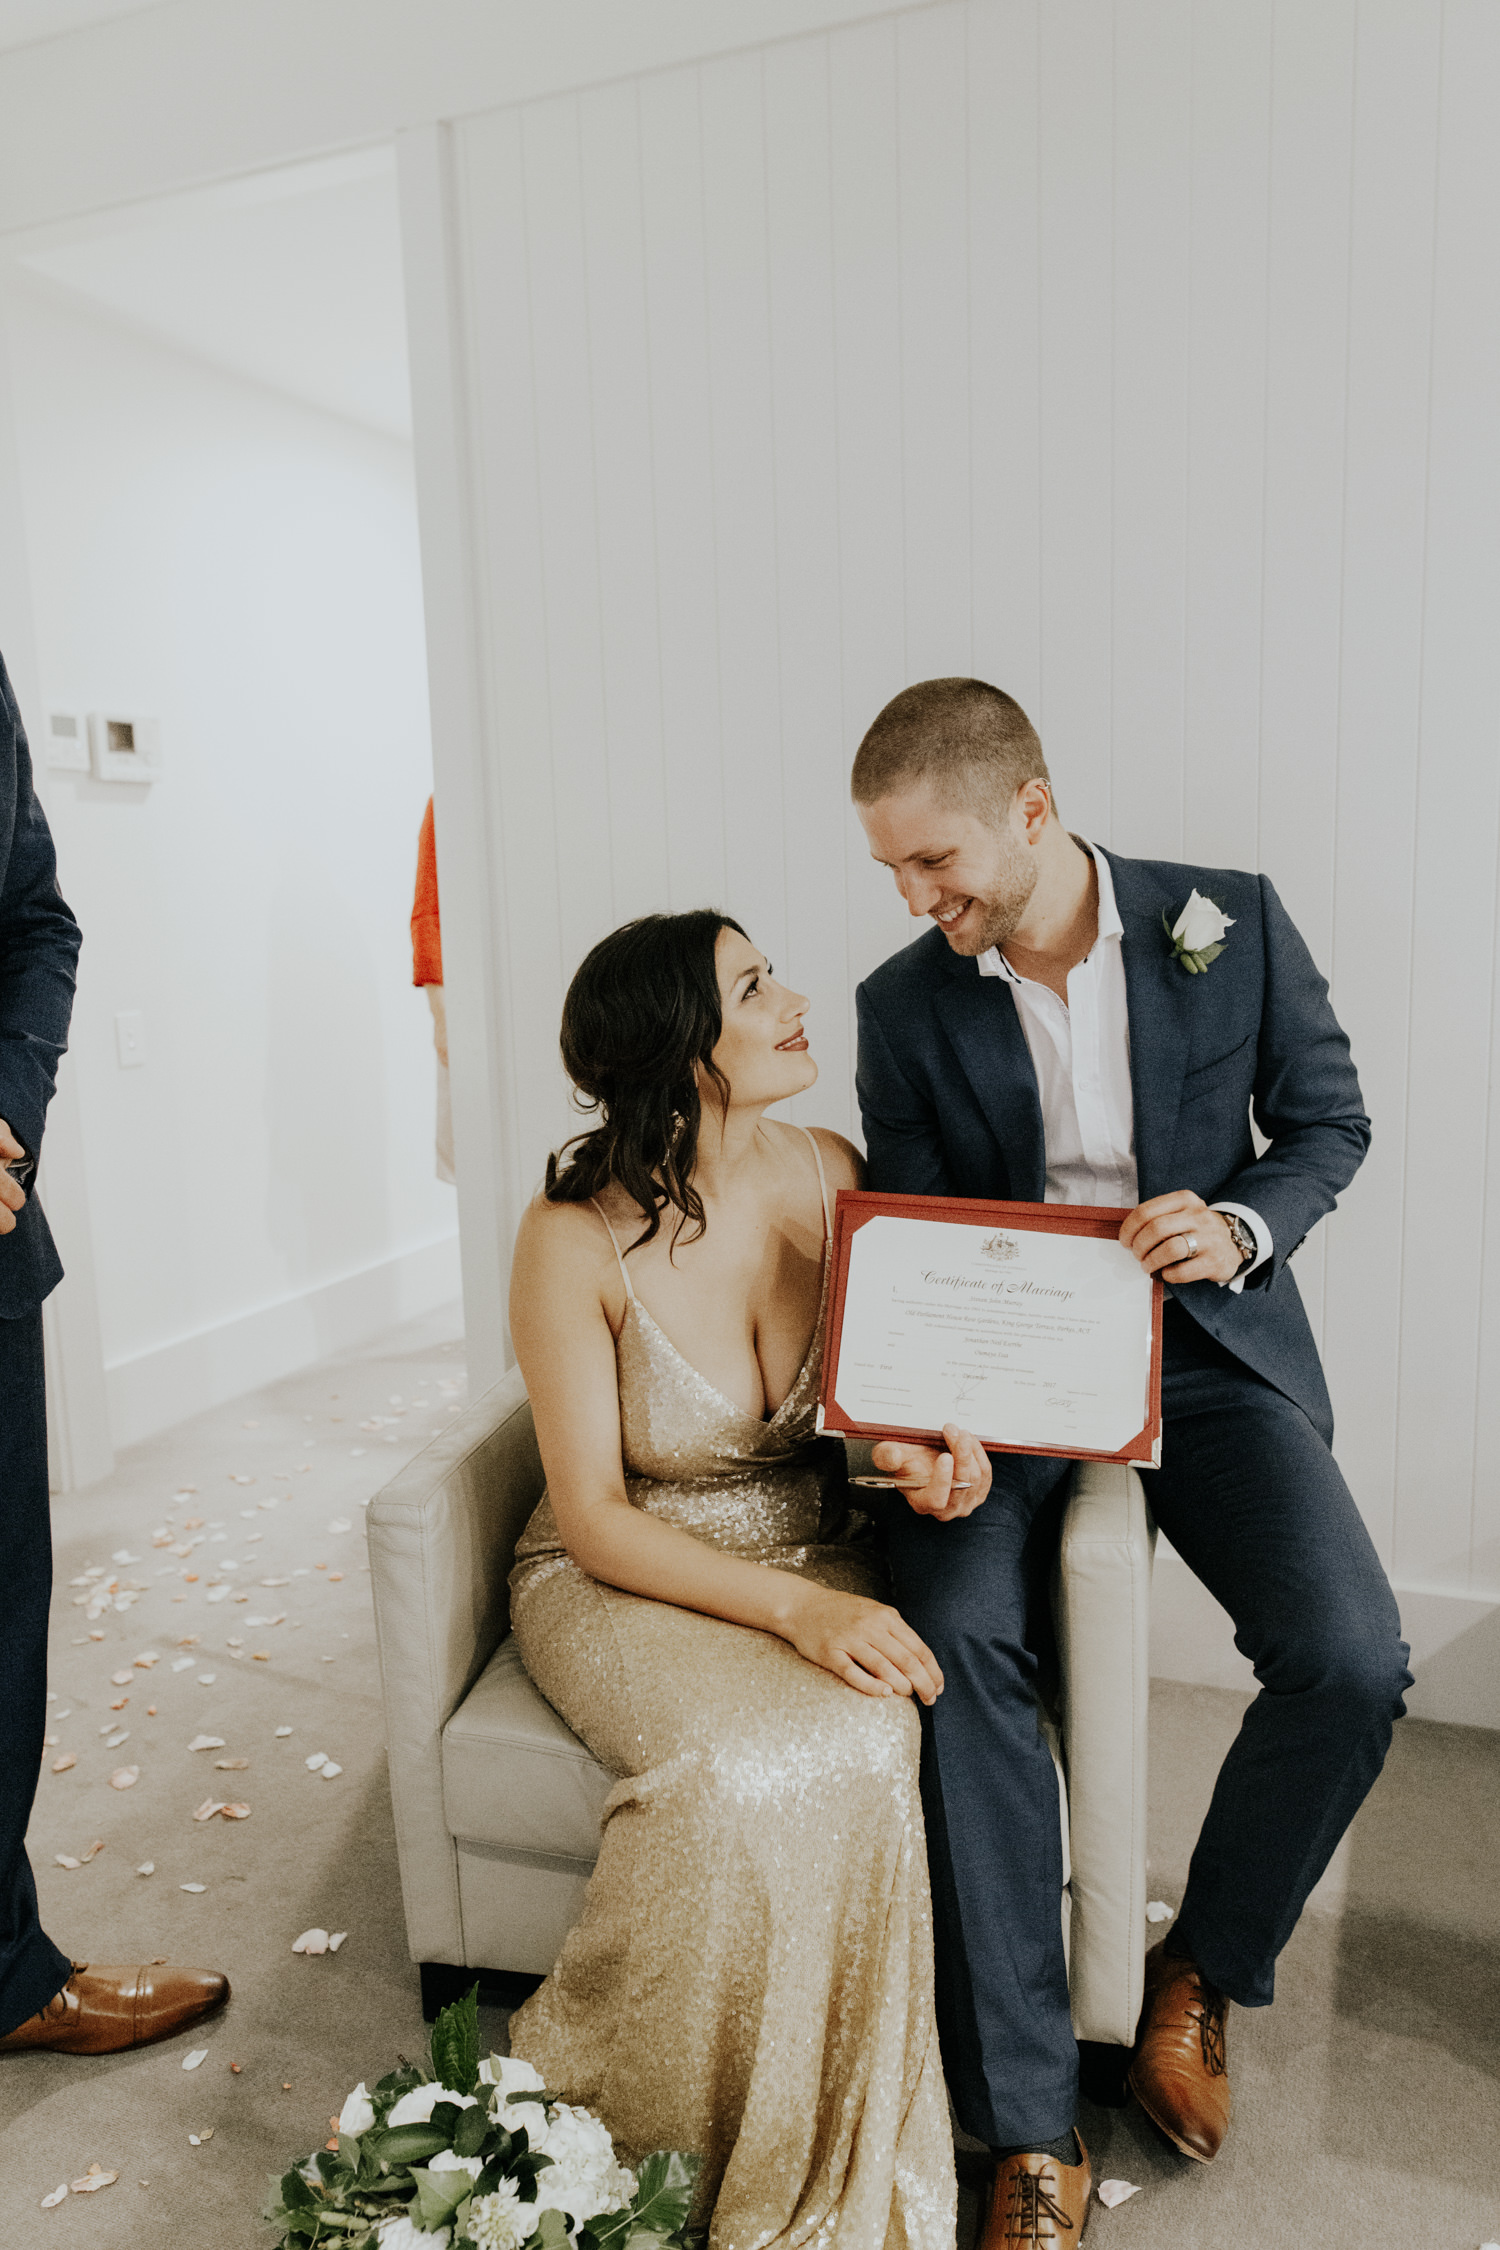
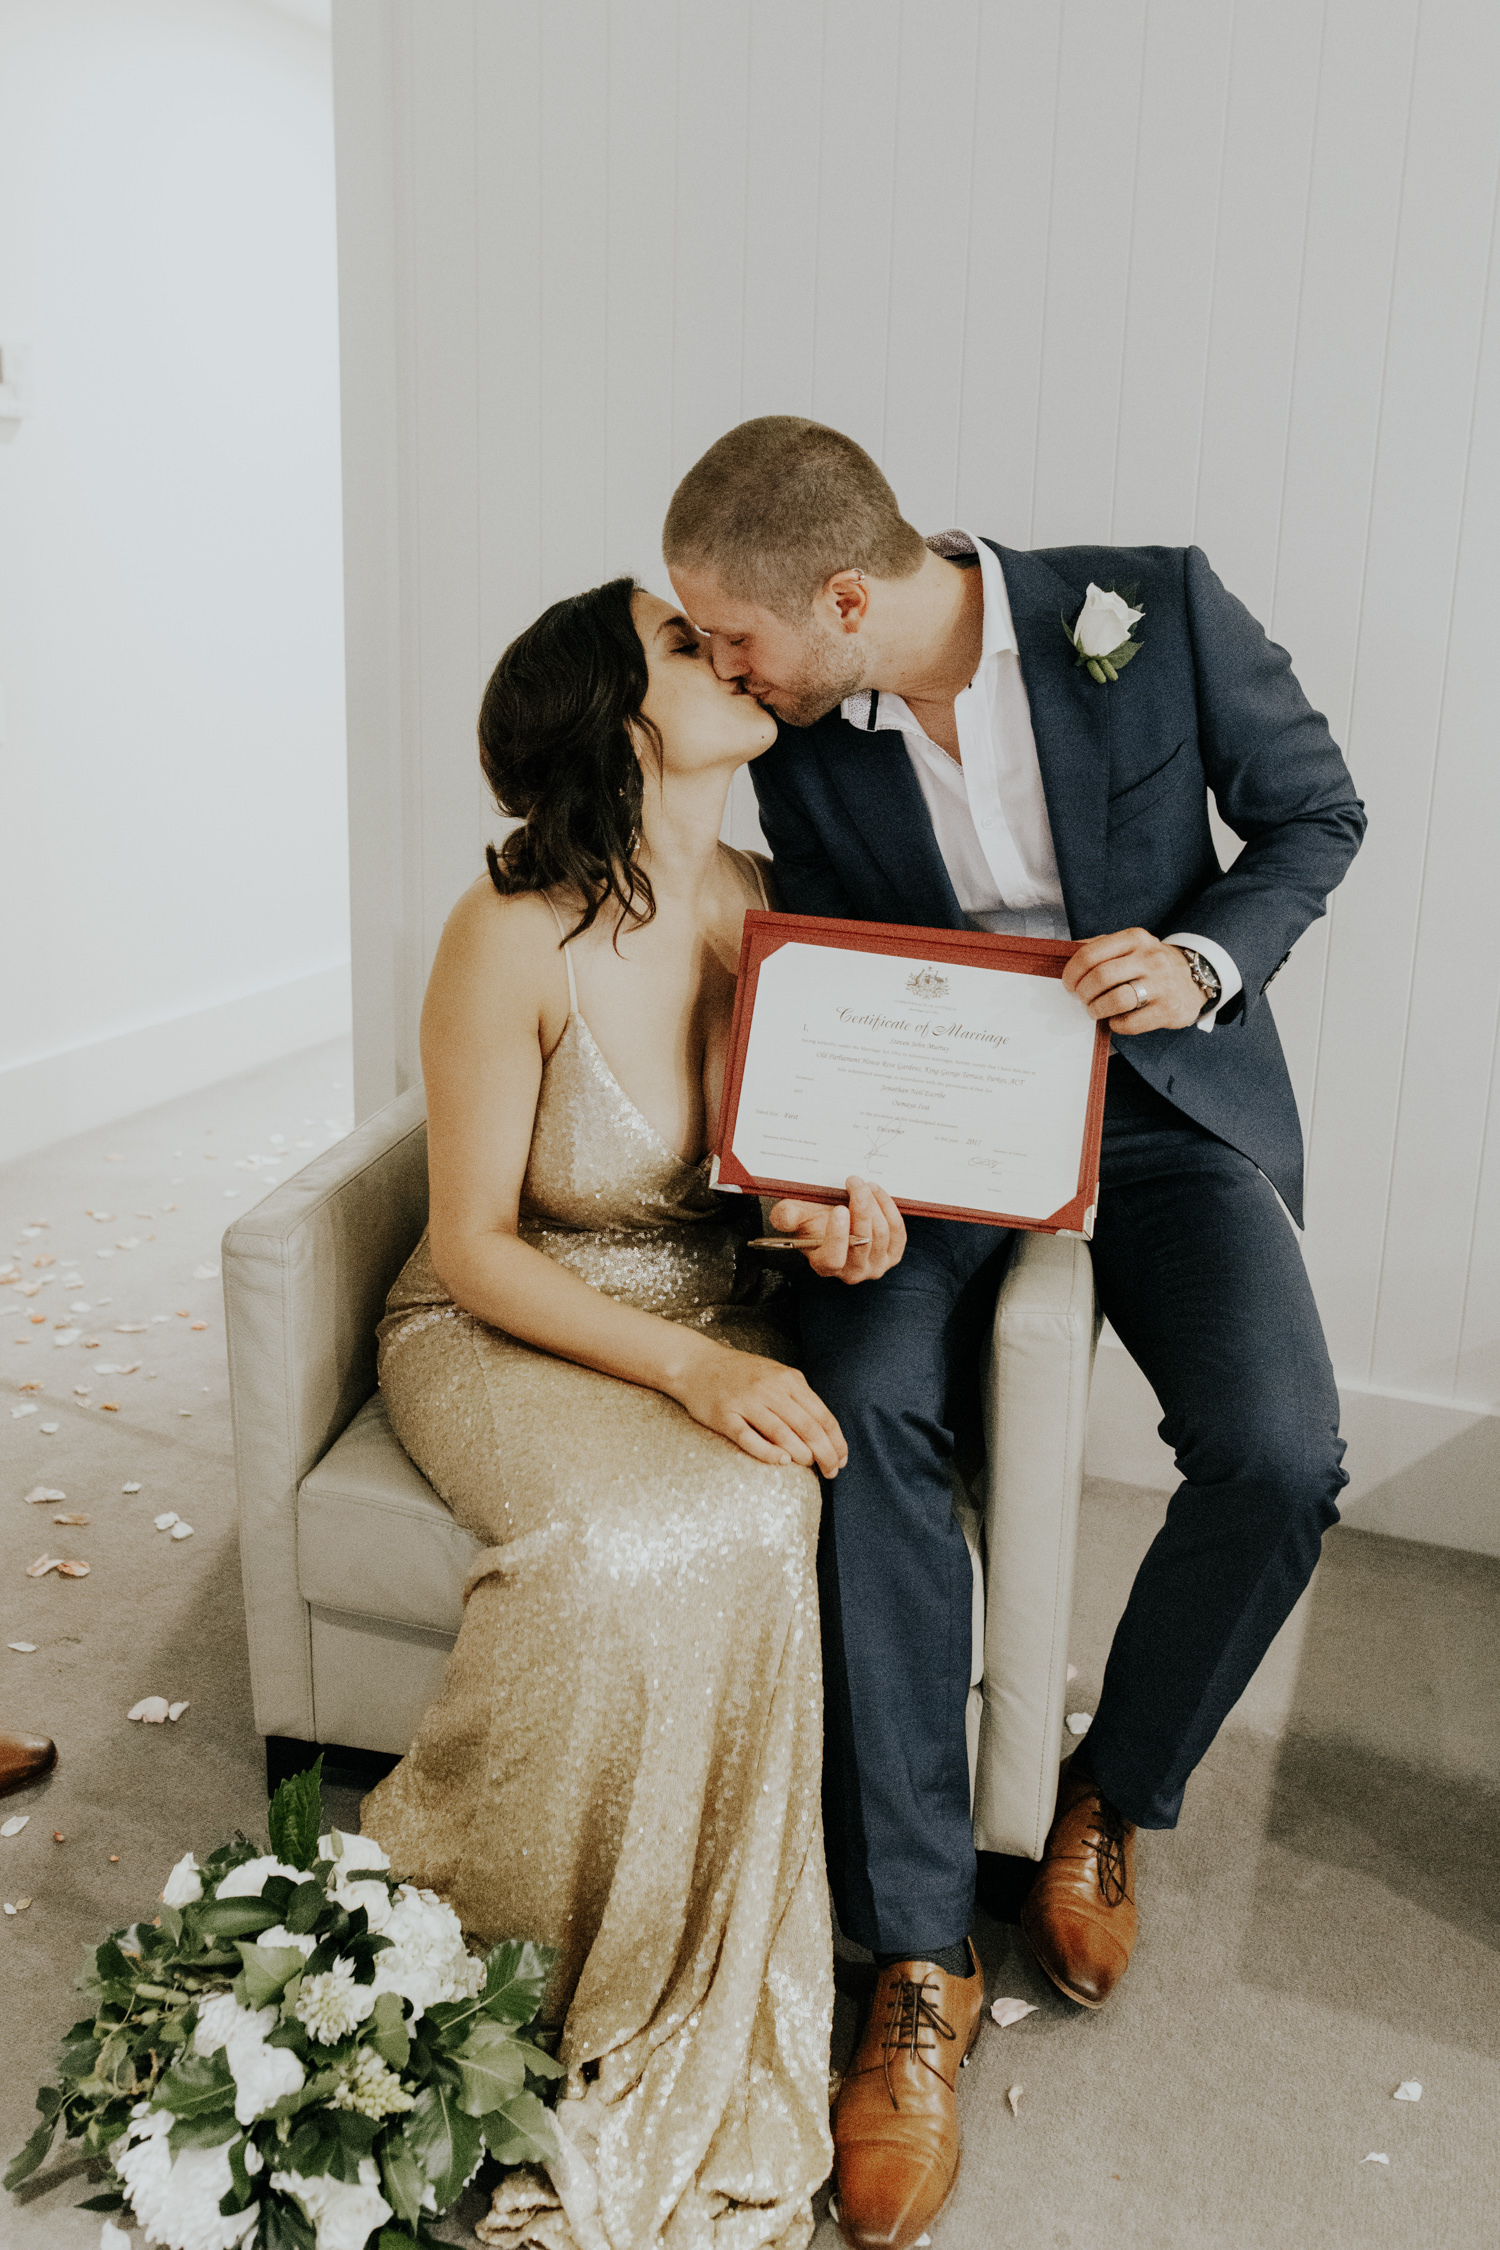
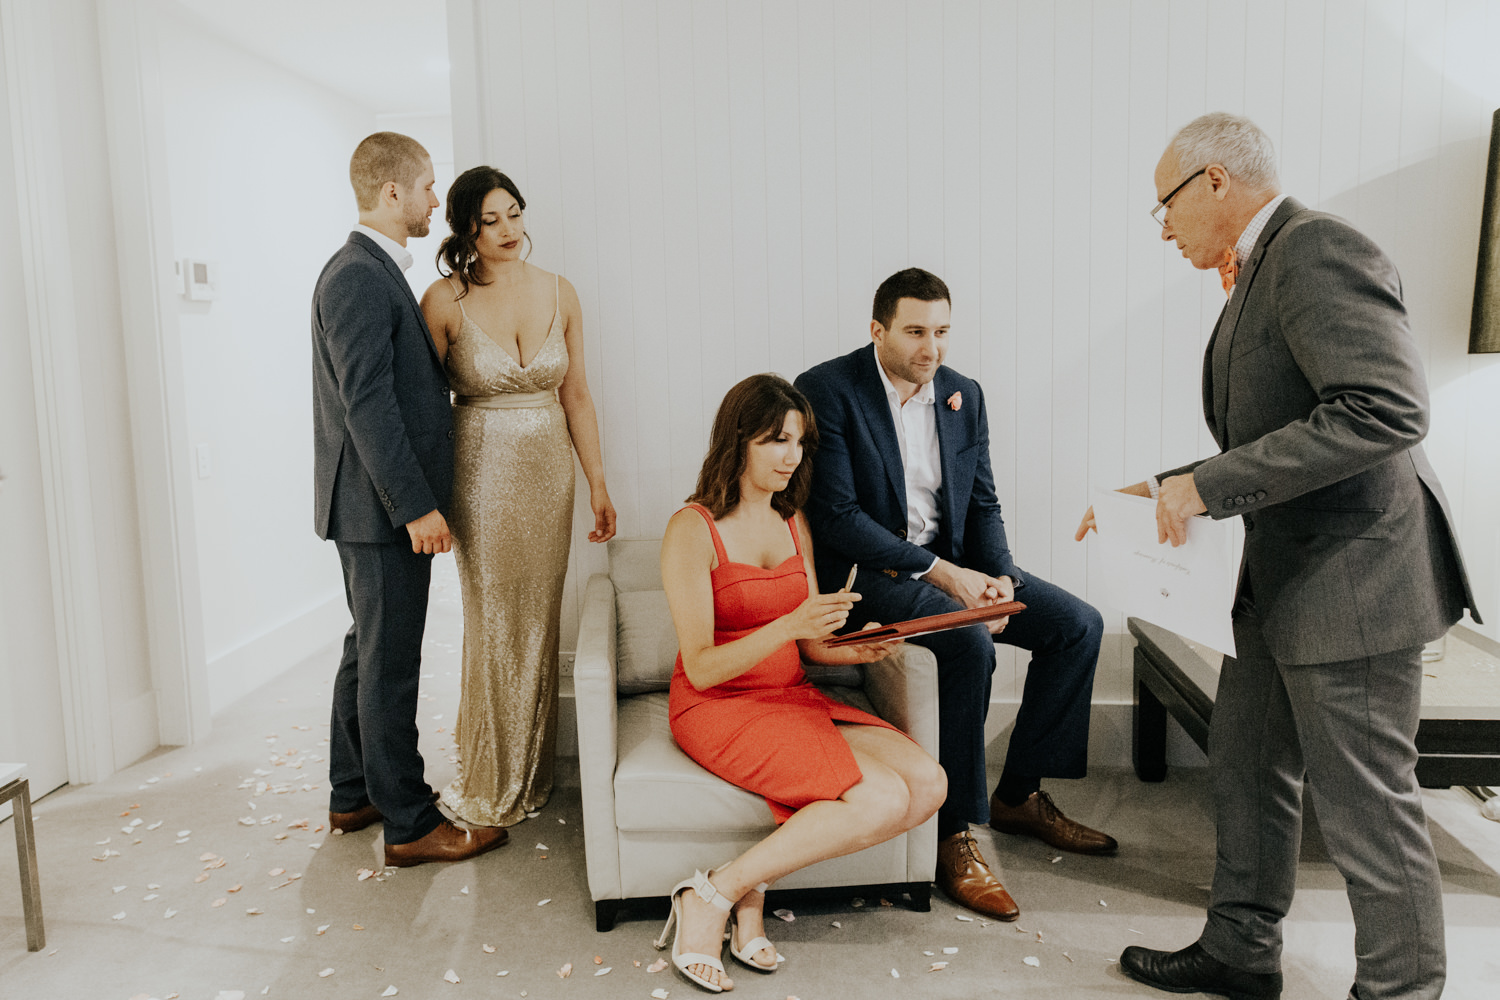
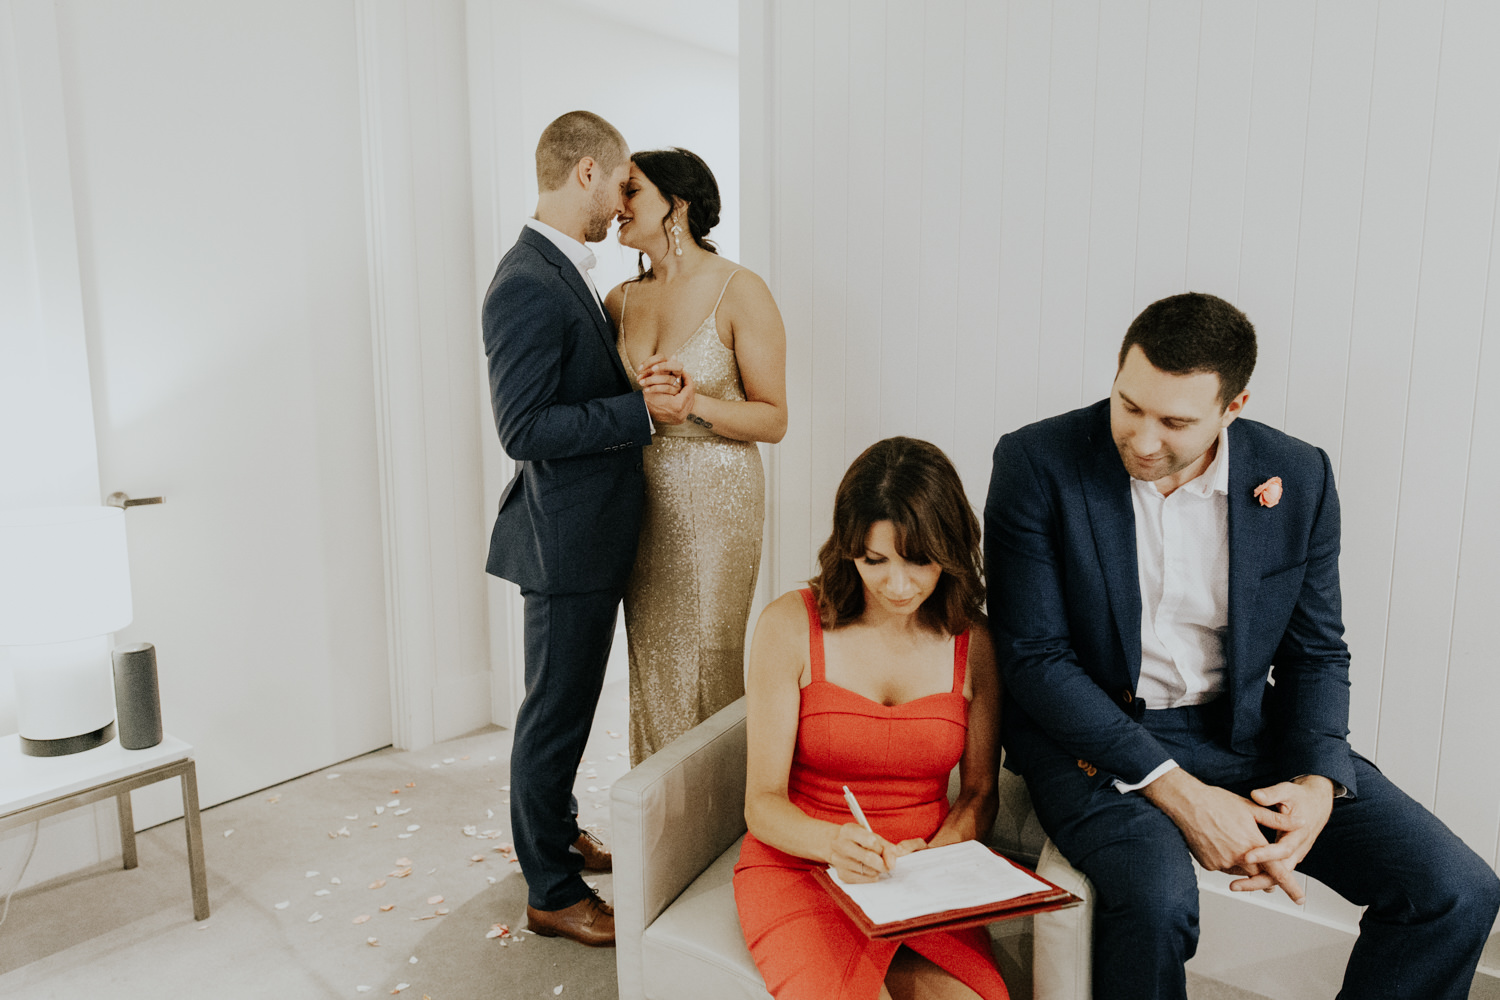
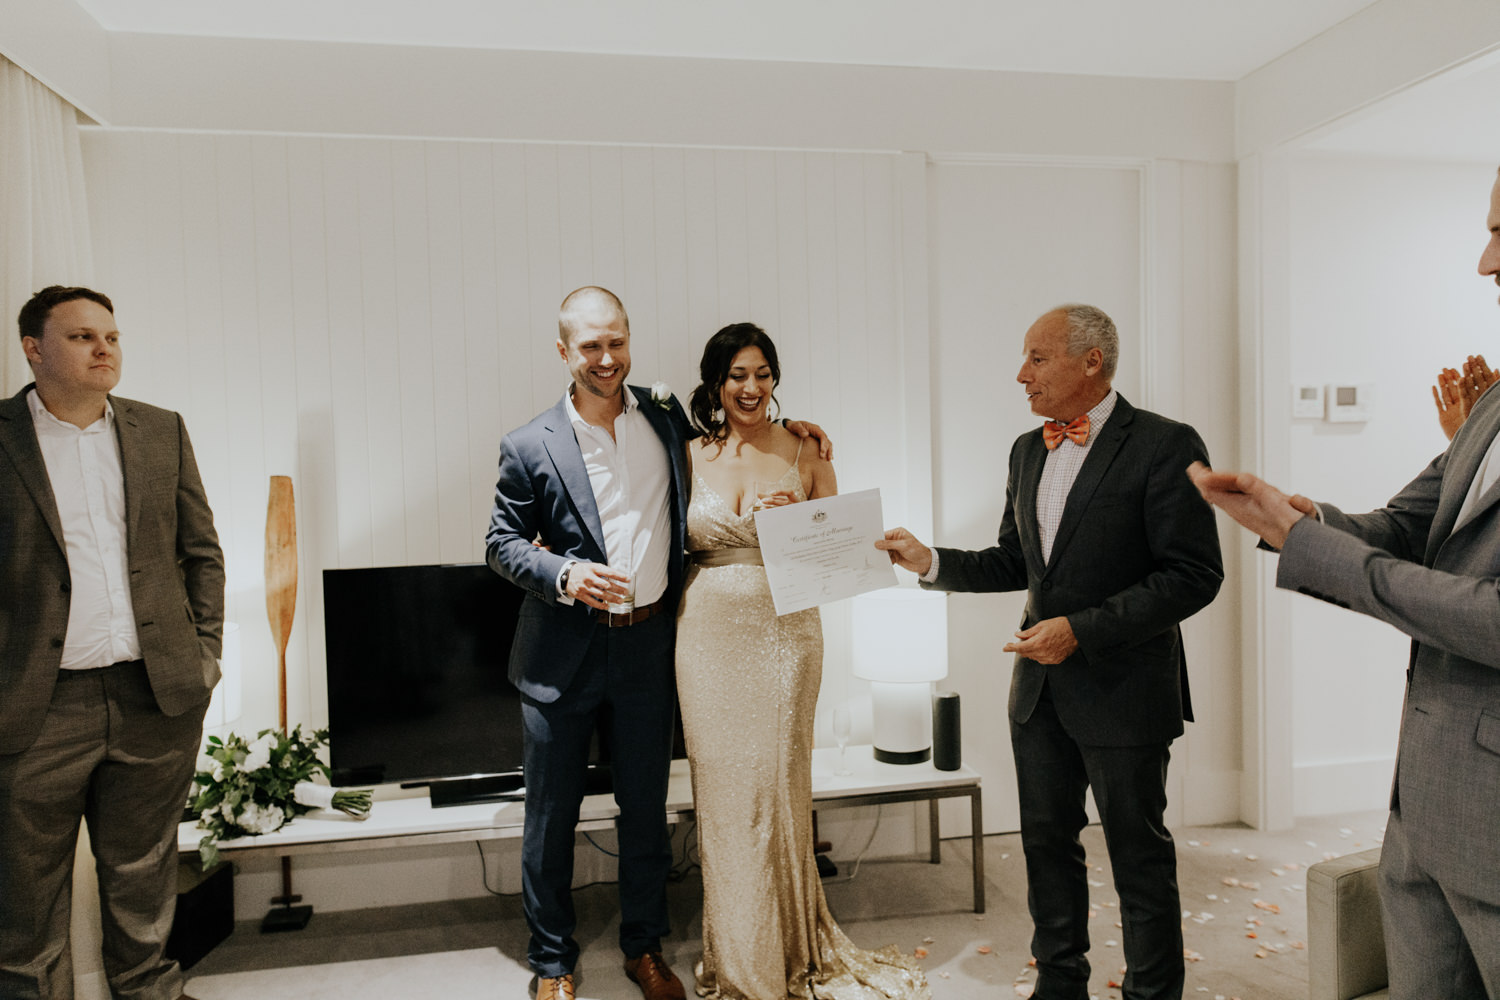
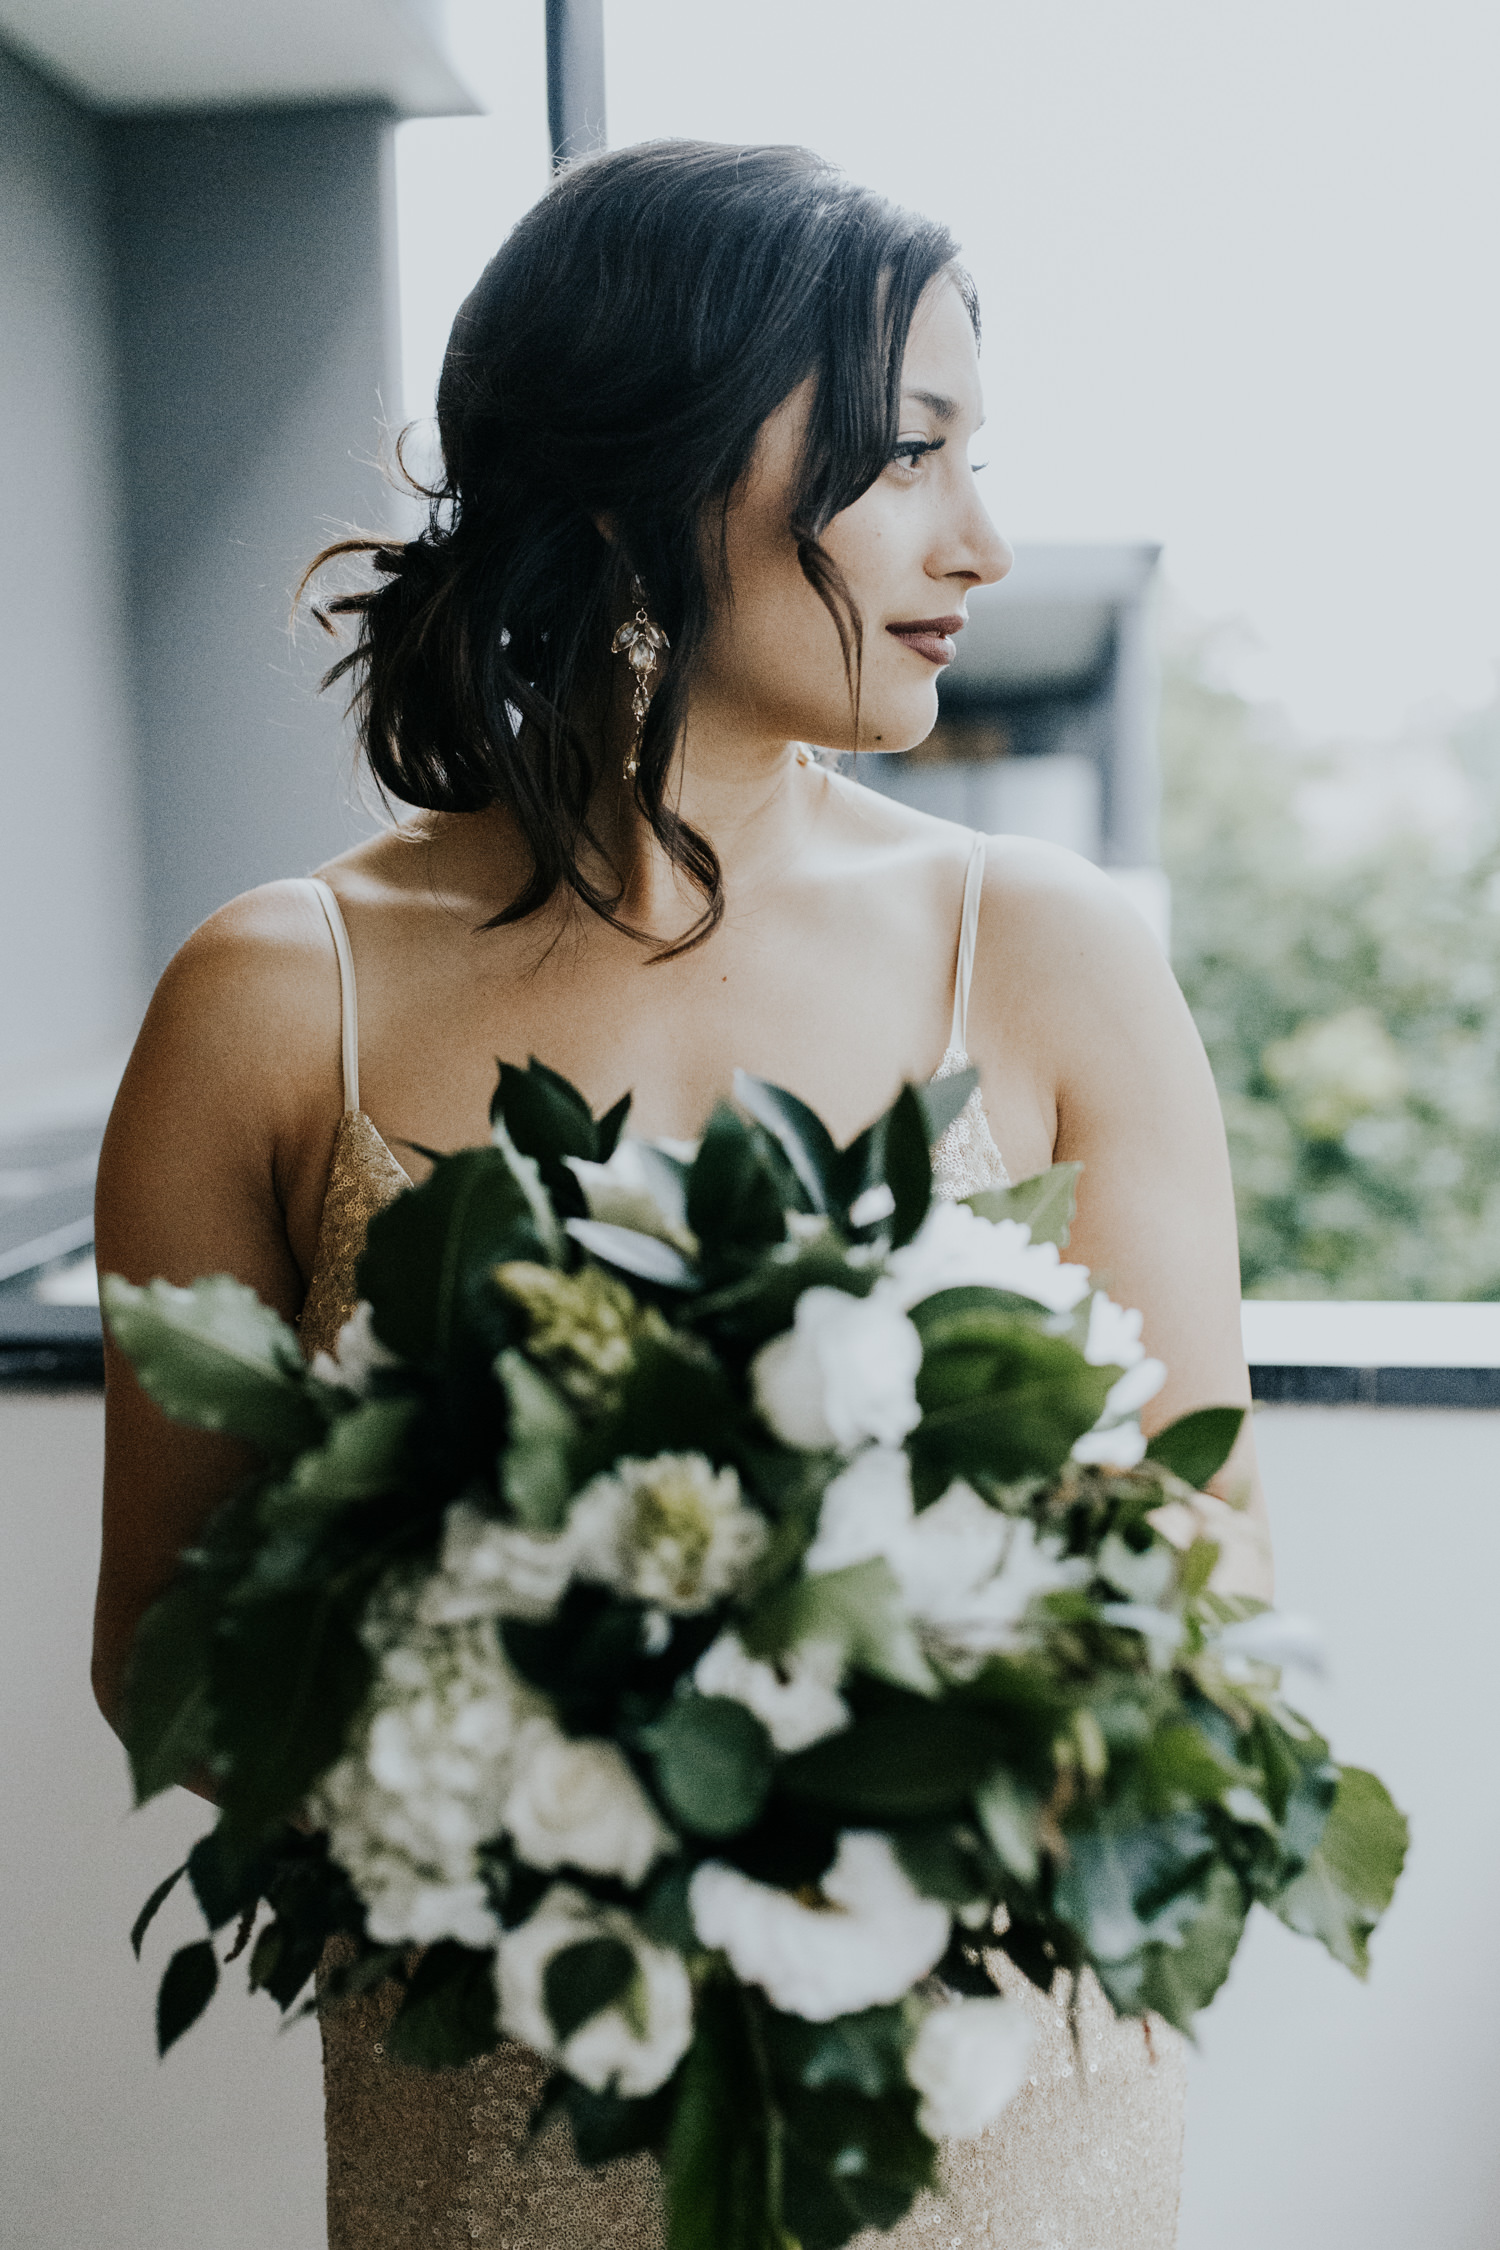
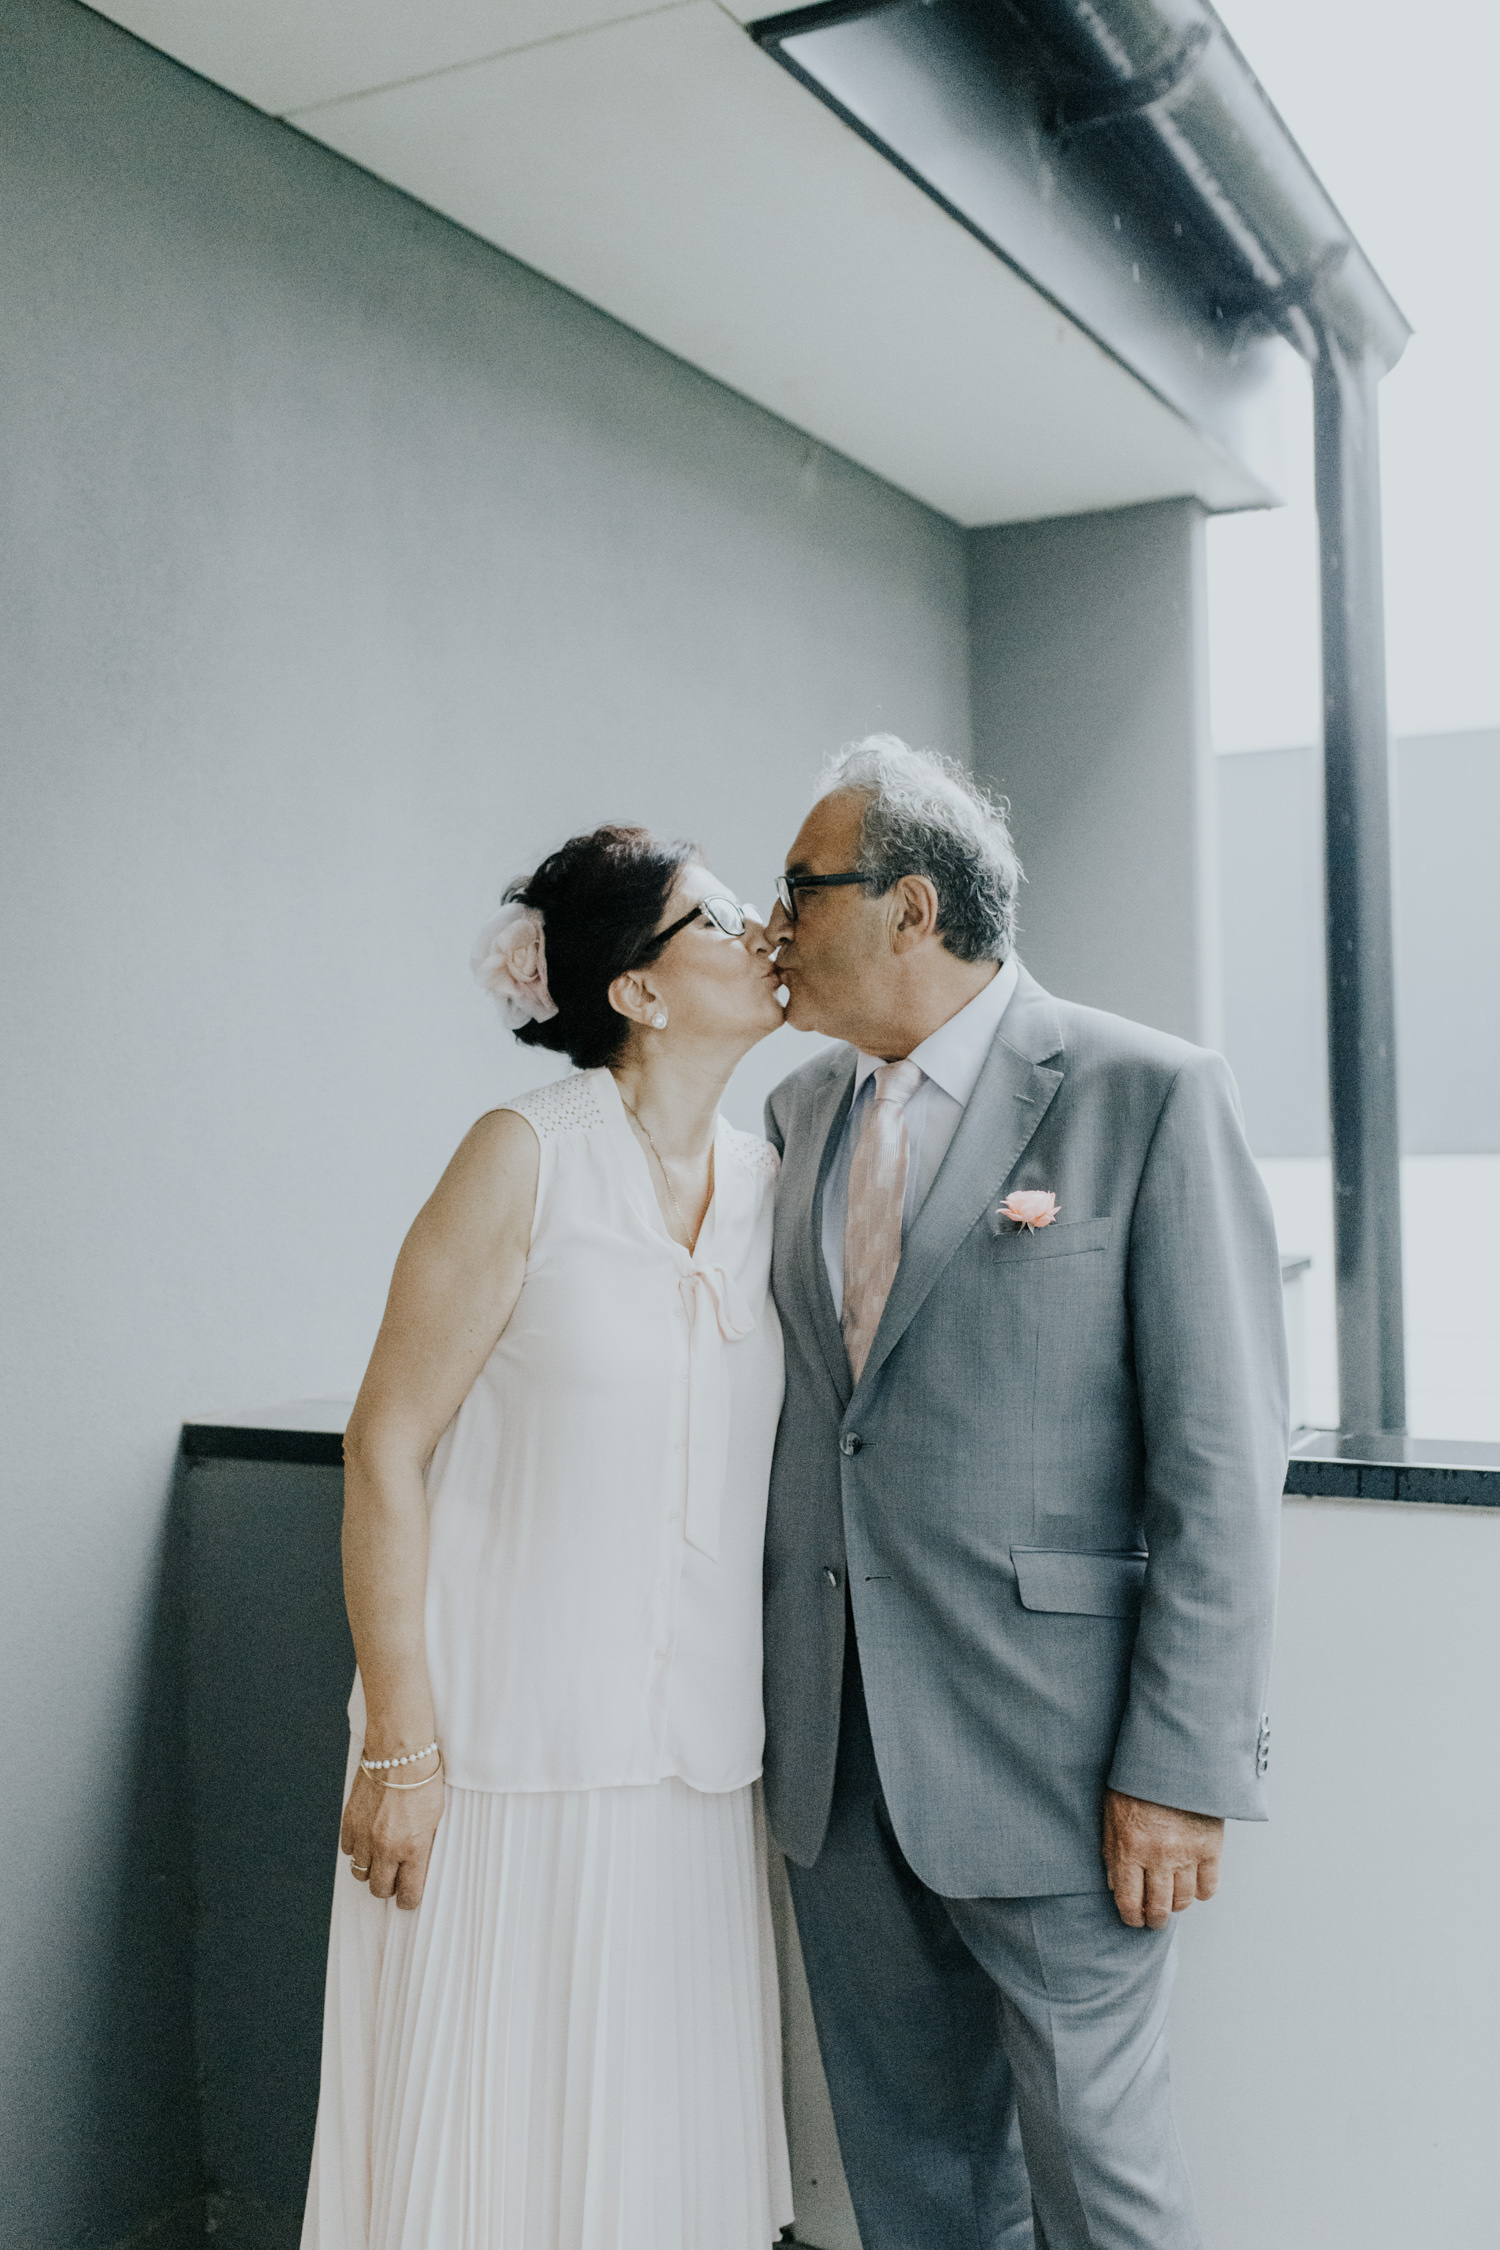
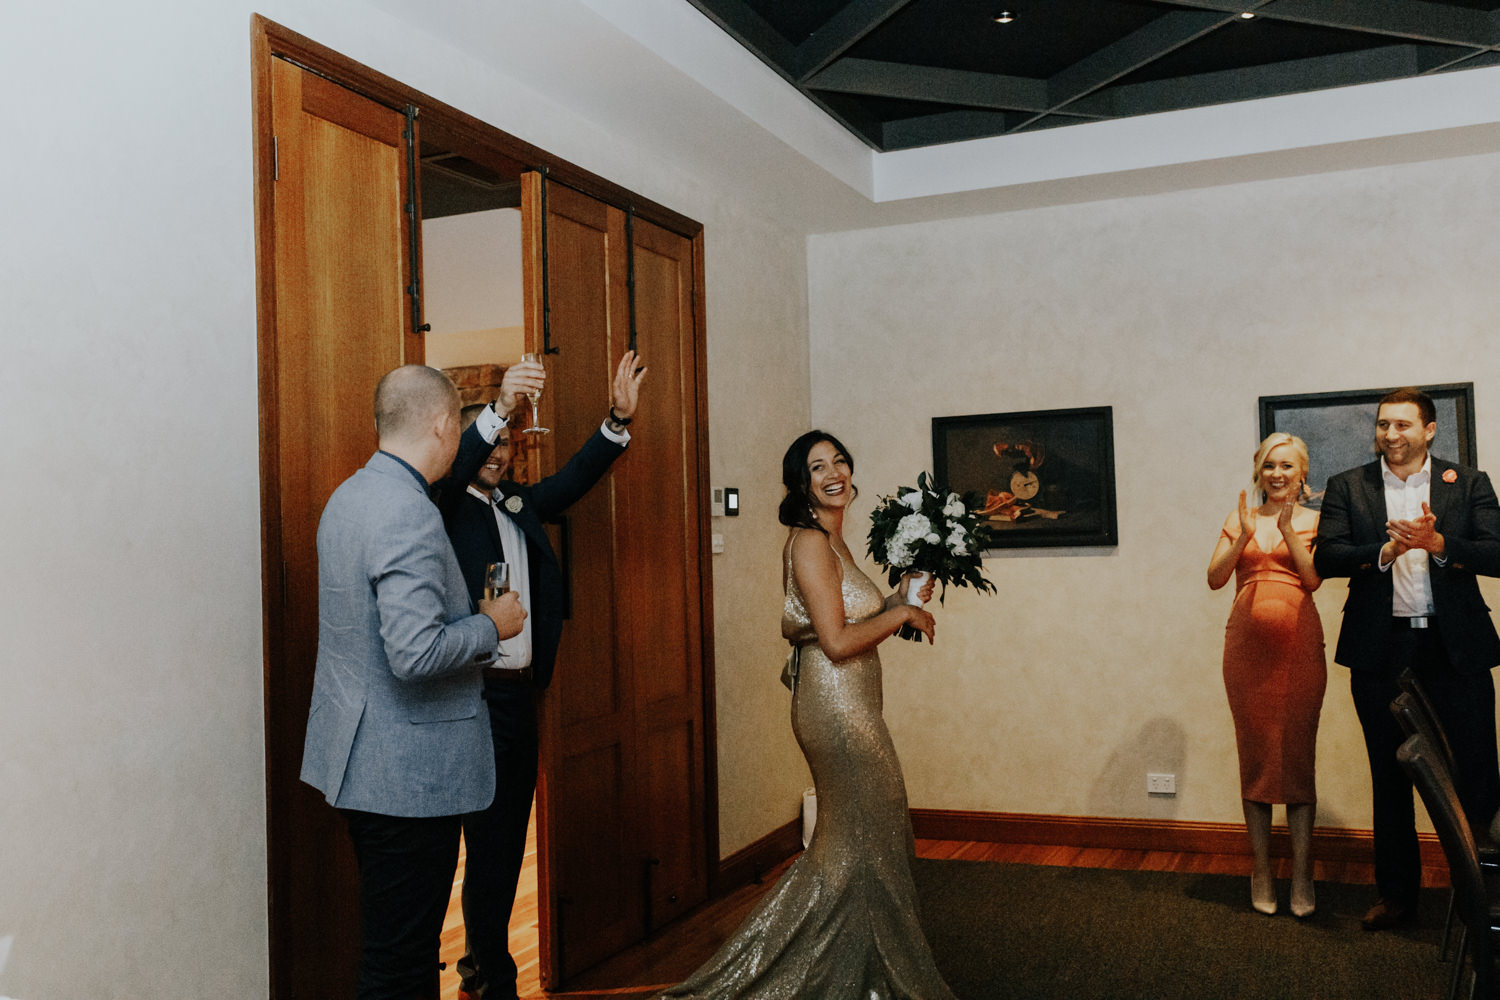
Luckily, our couple were quick-thinking and creative. We moved the wedding to their Burbury hotel room, and had the intimate ceremony with their 22 guests on their balcony. The girls laid out a flower petal aisle leading from the bedroom to the balcony, and Oumaya's beaming father walked her down to meet Jonathan on the balcony. It was one of sweetest, most touching ceremonies I've seen.

We had a run of wild weather in November and early December this year. On the Friday of Oumaya's and Jonathan's wedding, it absolutely bucketed down- we ended up getting rained out of our option A (A pergola at the Old Parliament House Rose Gardens), and also our option B (a small undercover area nearby), and had to come up with an option C real fast.
Luckily, our couple were quick-thinking and creative. We moved the wedding to their Burbury hotel room, and had the intimate ceremony with their 22 guests on their balcony. The girls laid out a flower petal aisle leading from the bedroom to the balcony, and Oumaya's beaming father walked her down to meet Jonathan on the balcony. It was one of sweetest, most touching ceremonies I've seen.


Ceremony: Old Parliament House / Burbury Hotel
Reception: The Boathouse
Celebrant: Steve Murray
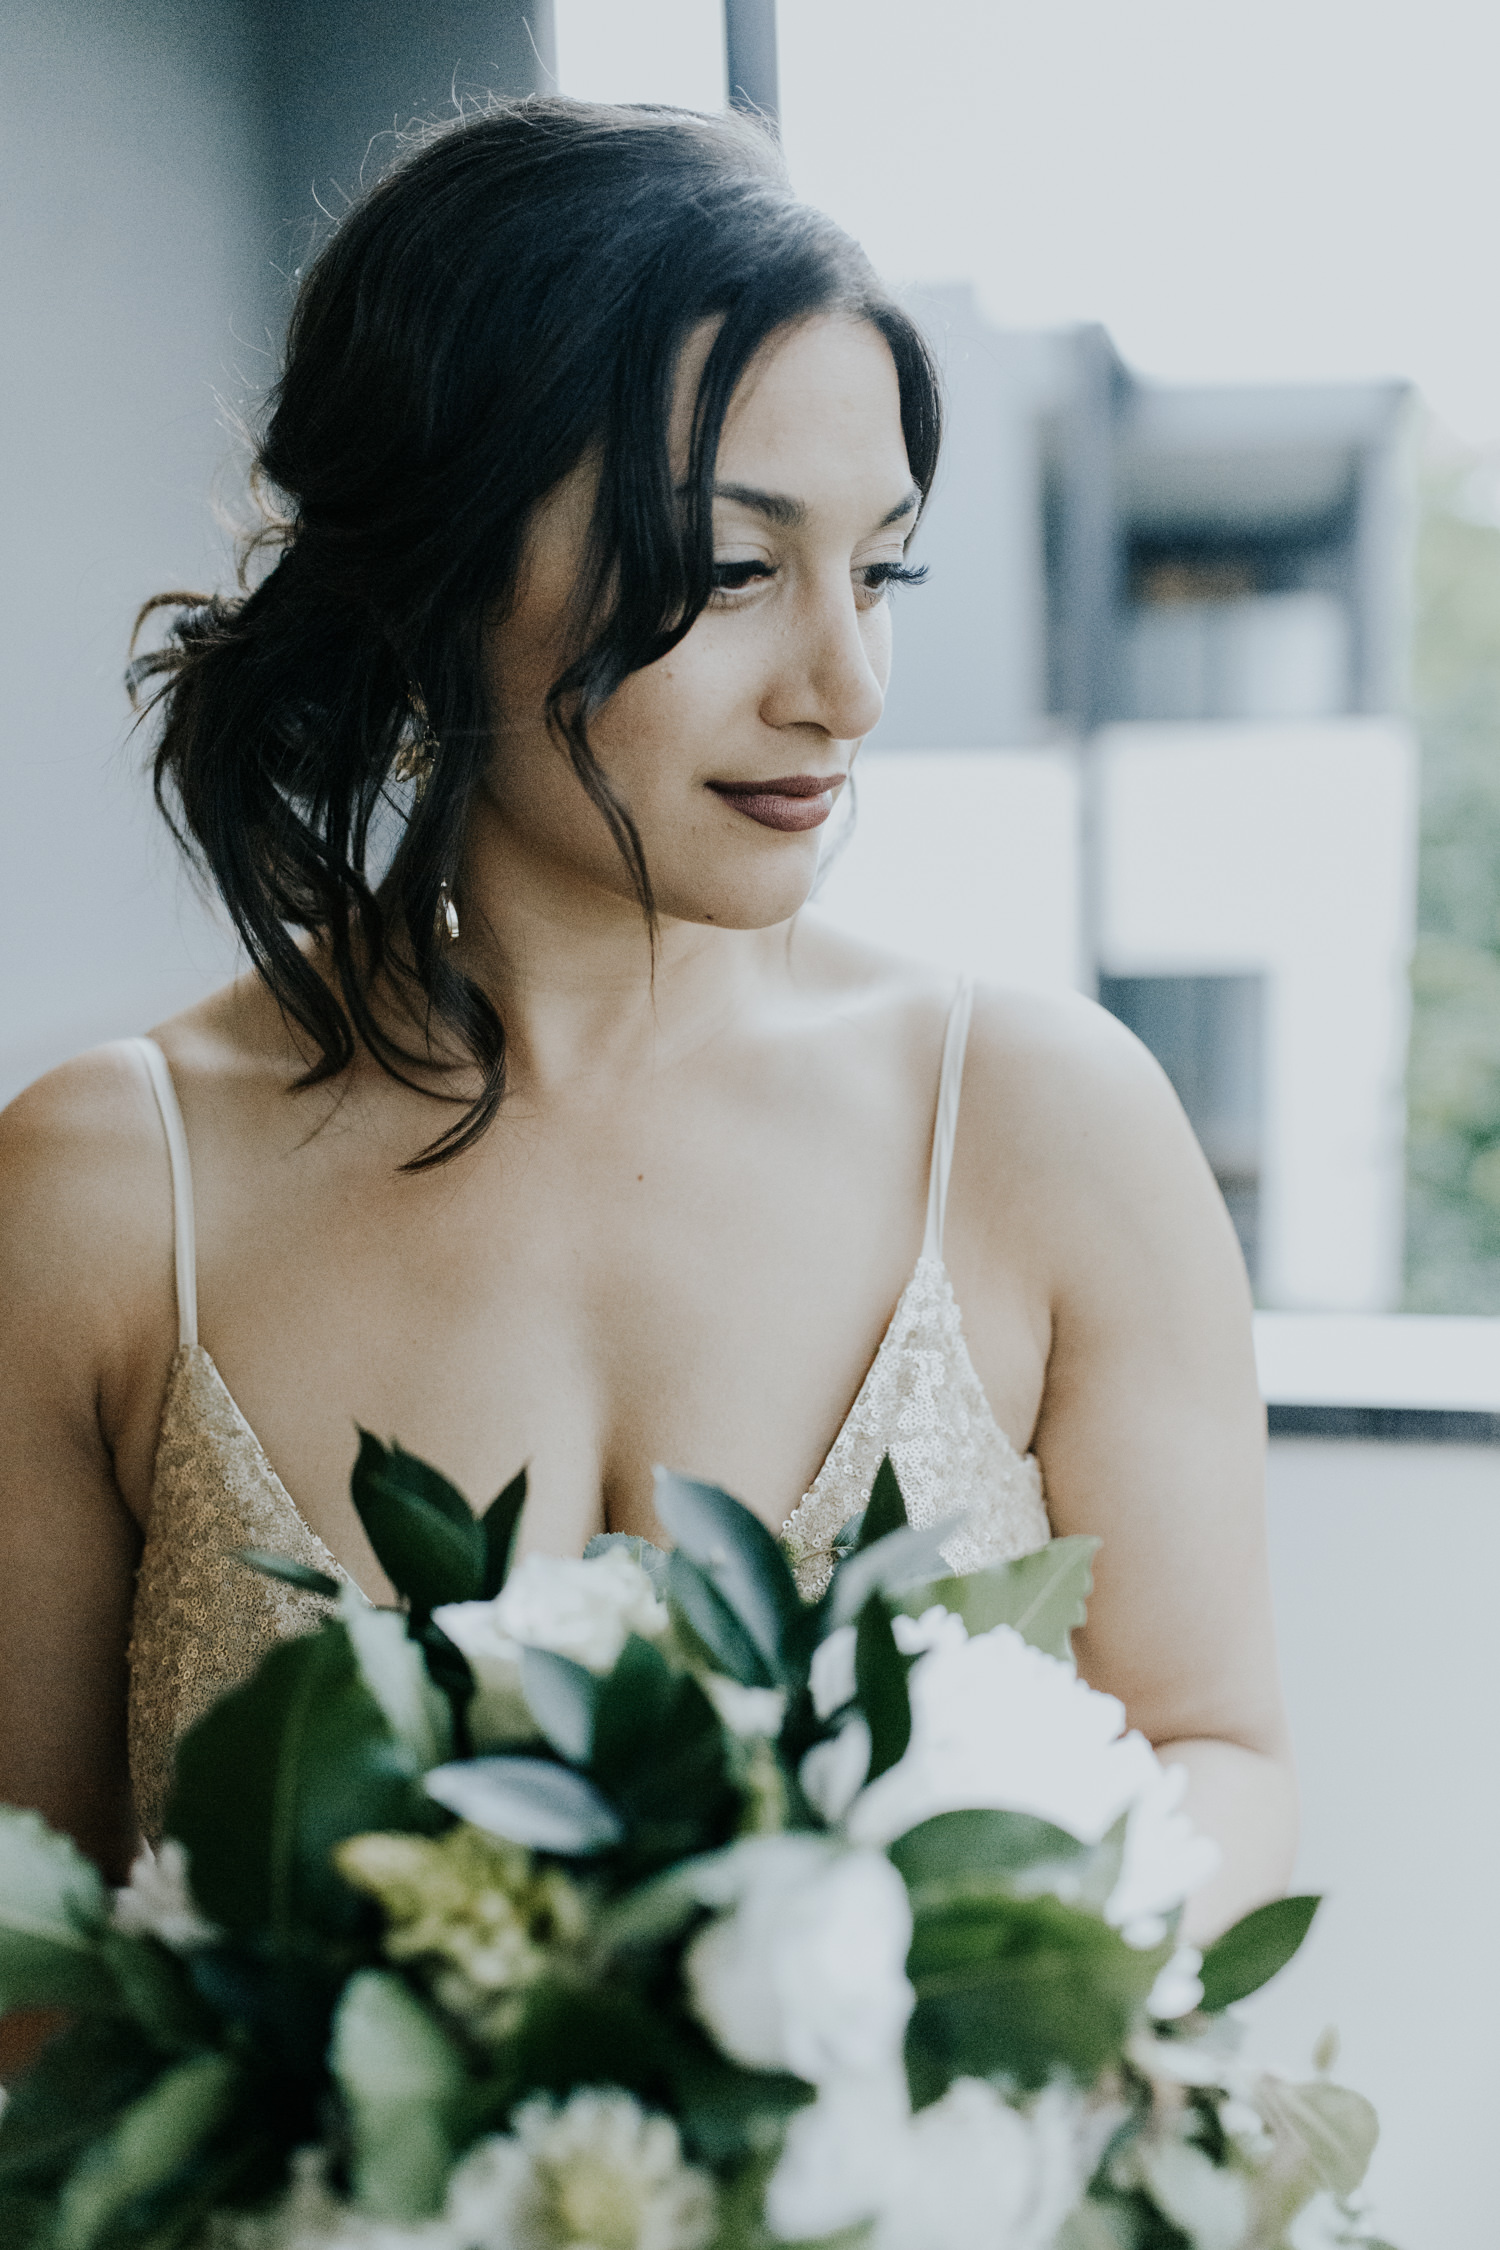
Florals: Orchid and Vine Florist
Dress: Elle Zeitoune
Suit: Peter Jackson
Hair: Hair connection

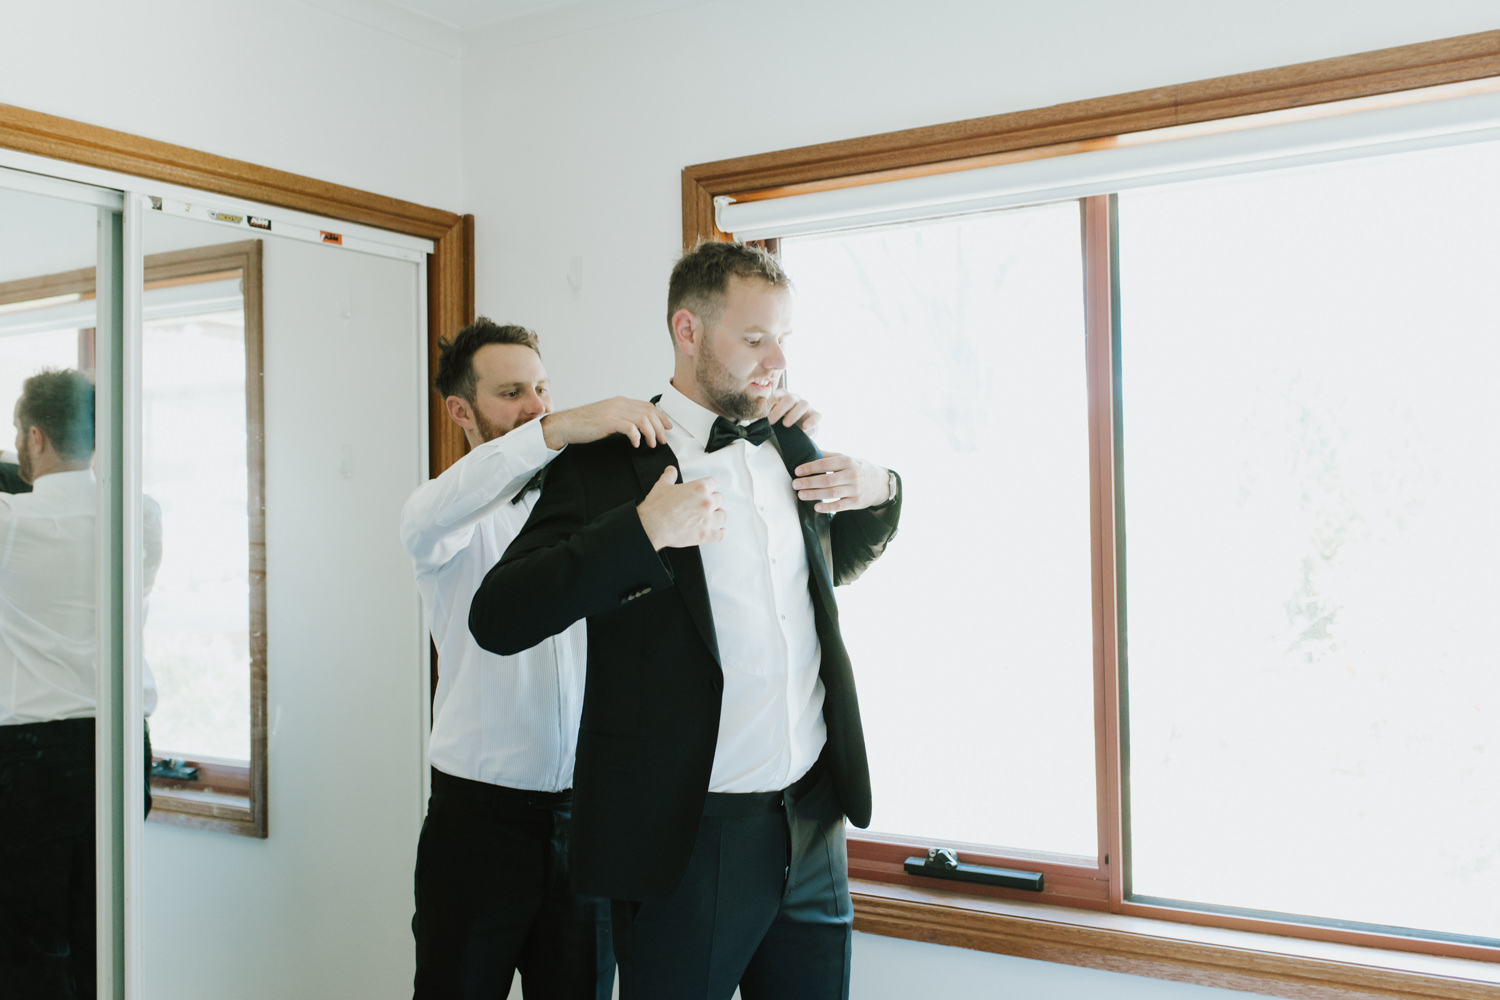
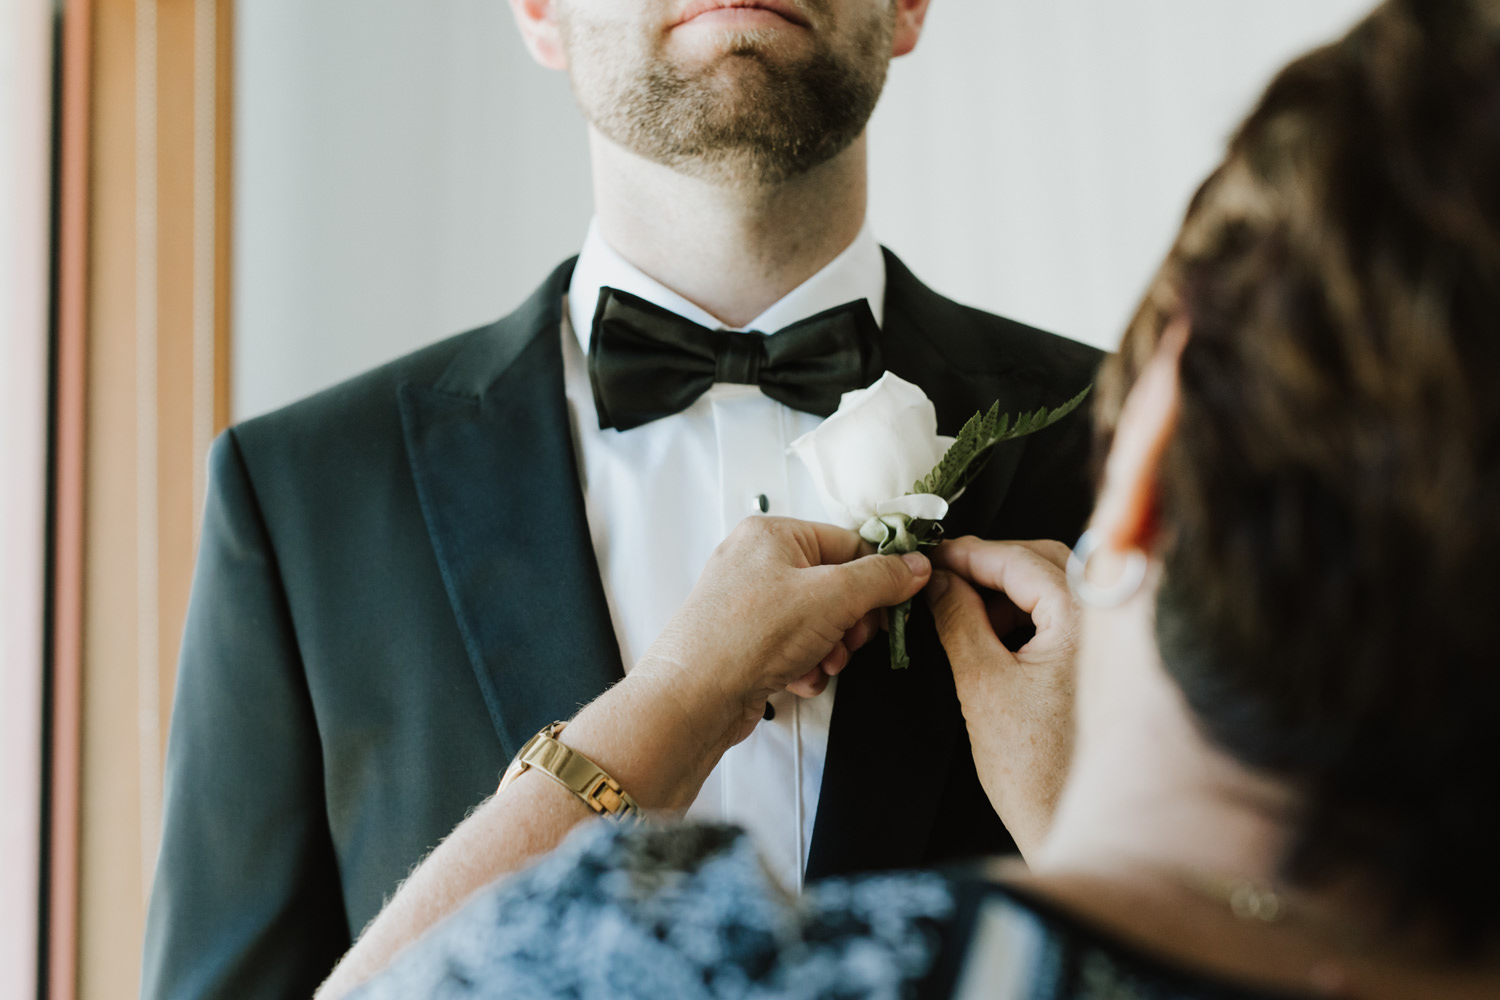
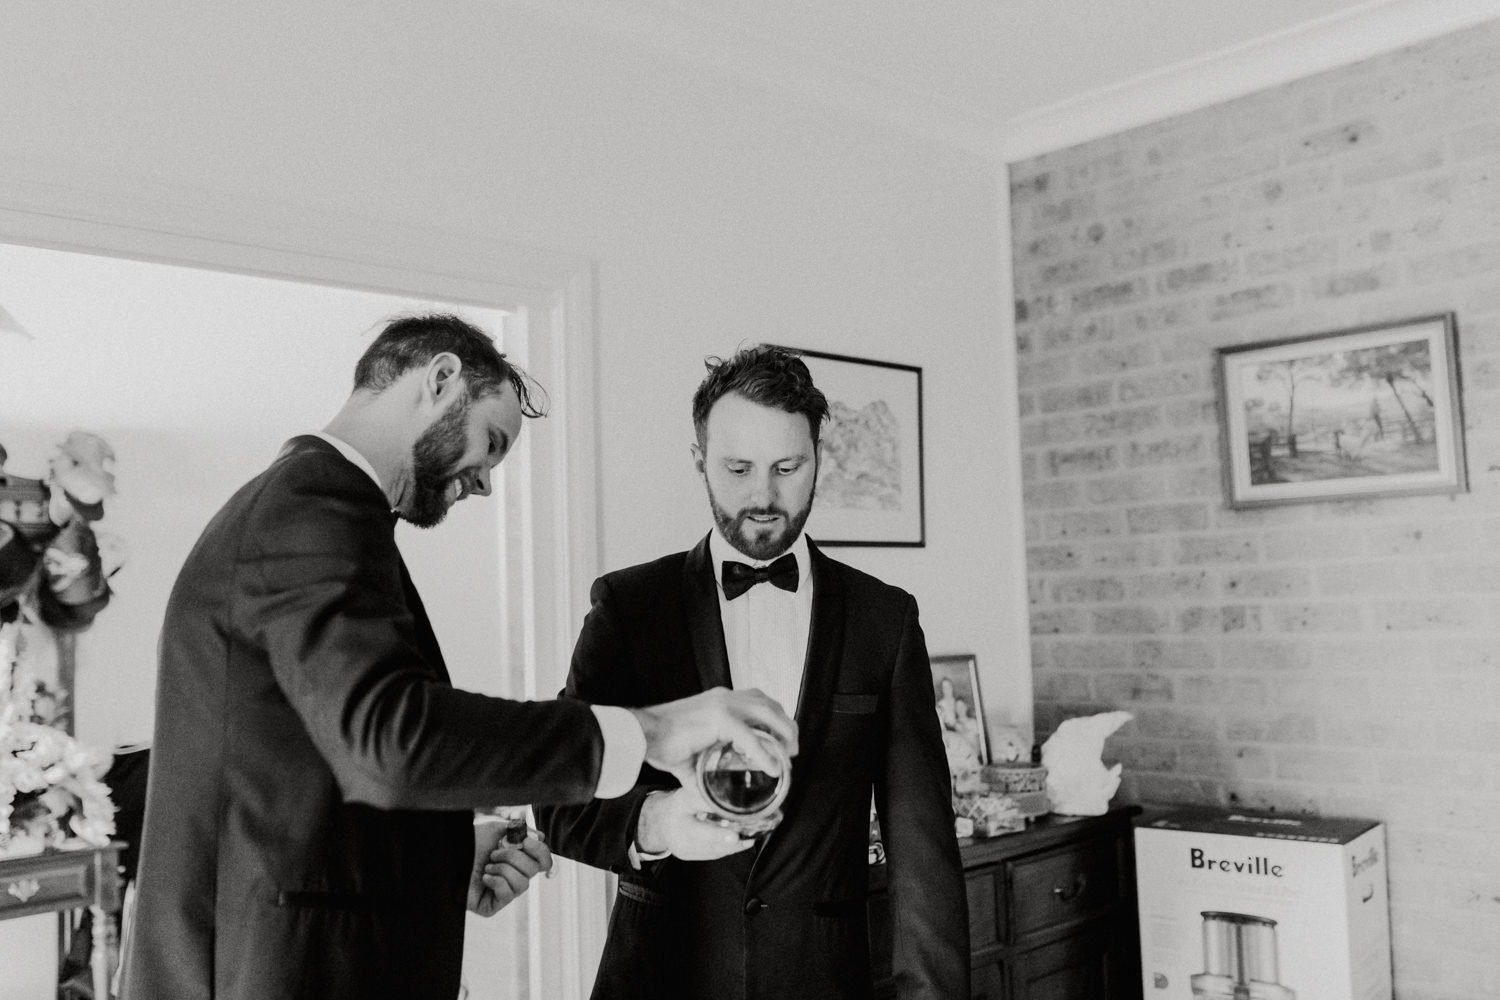
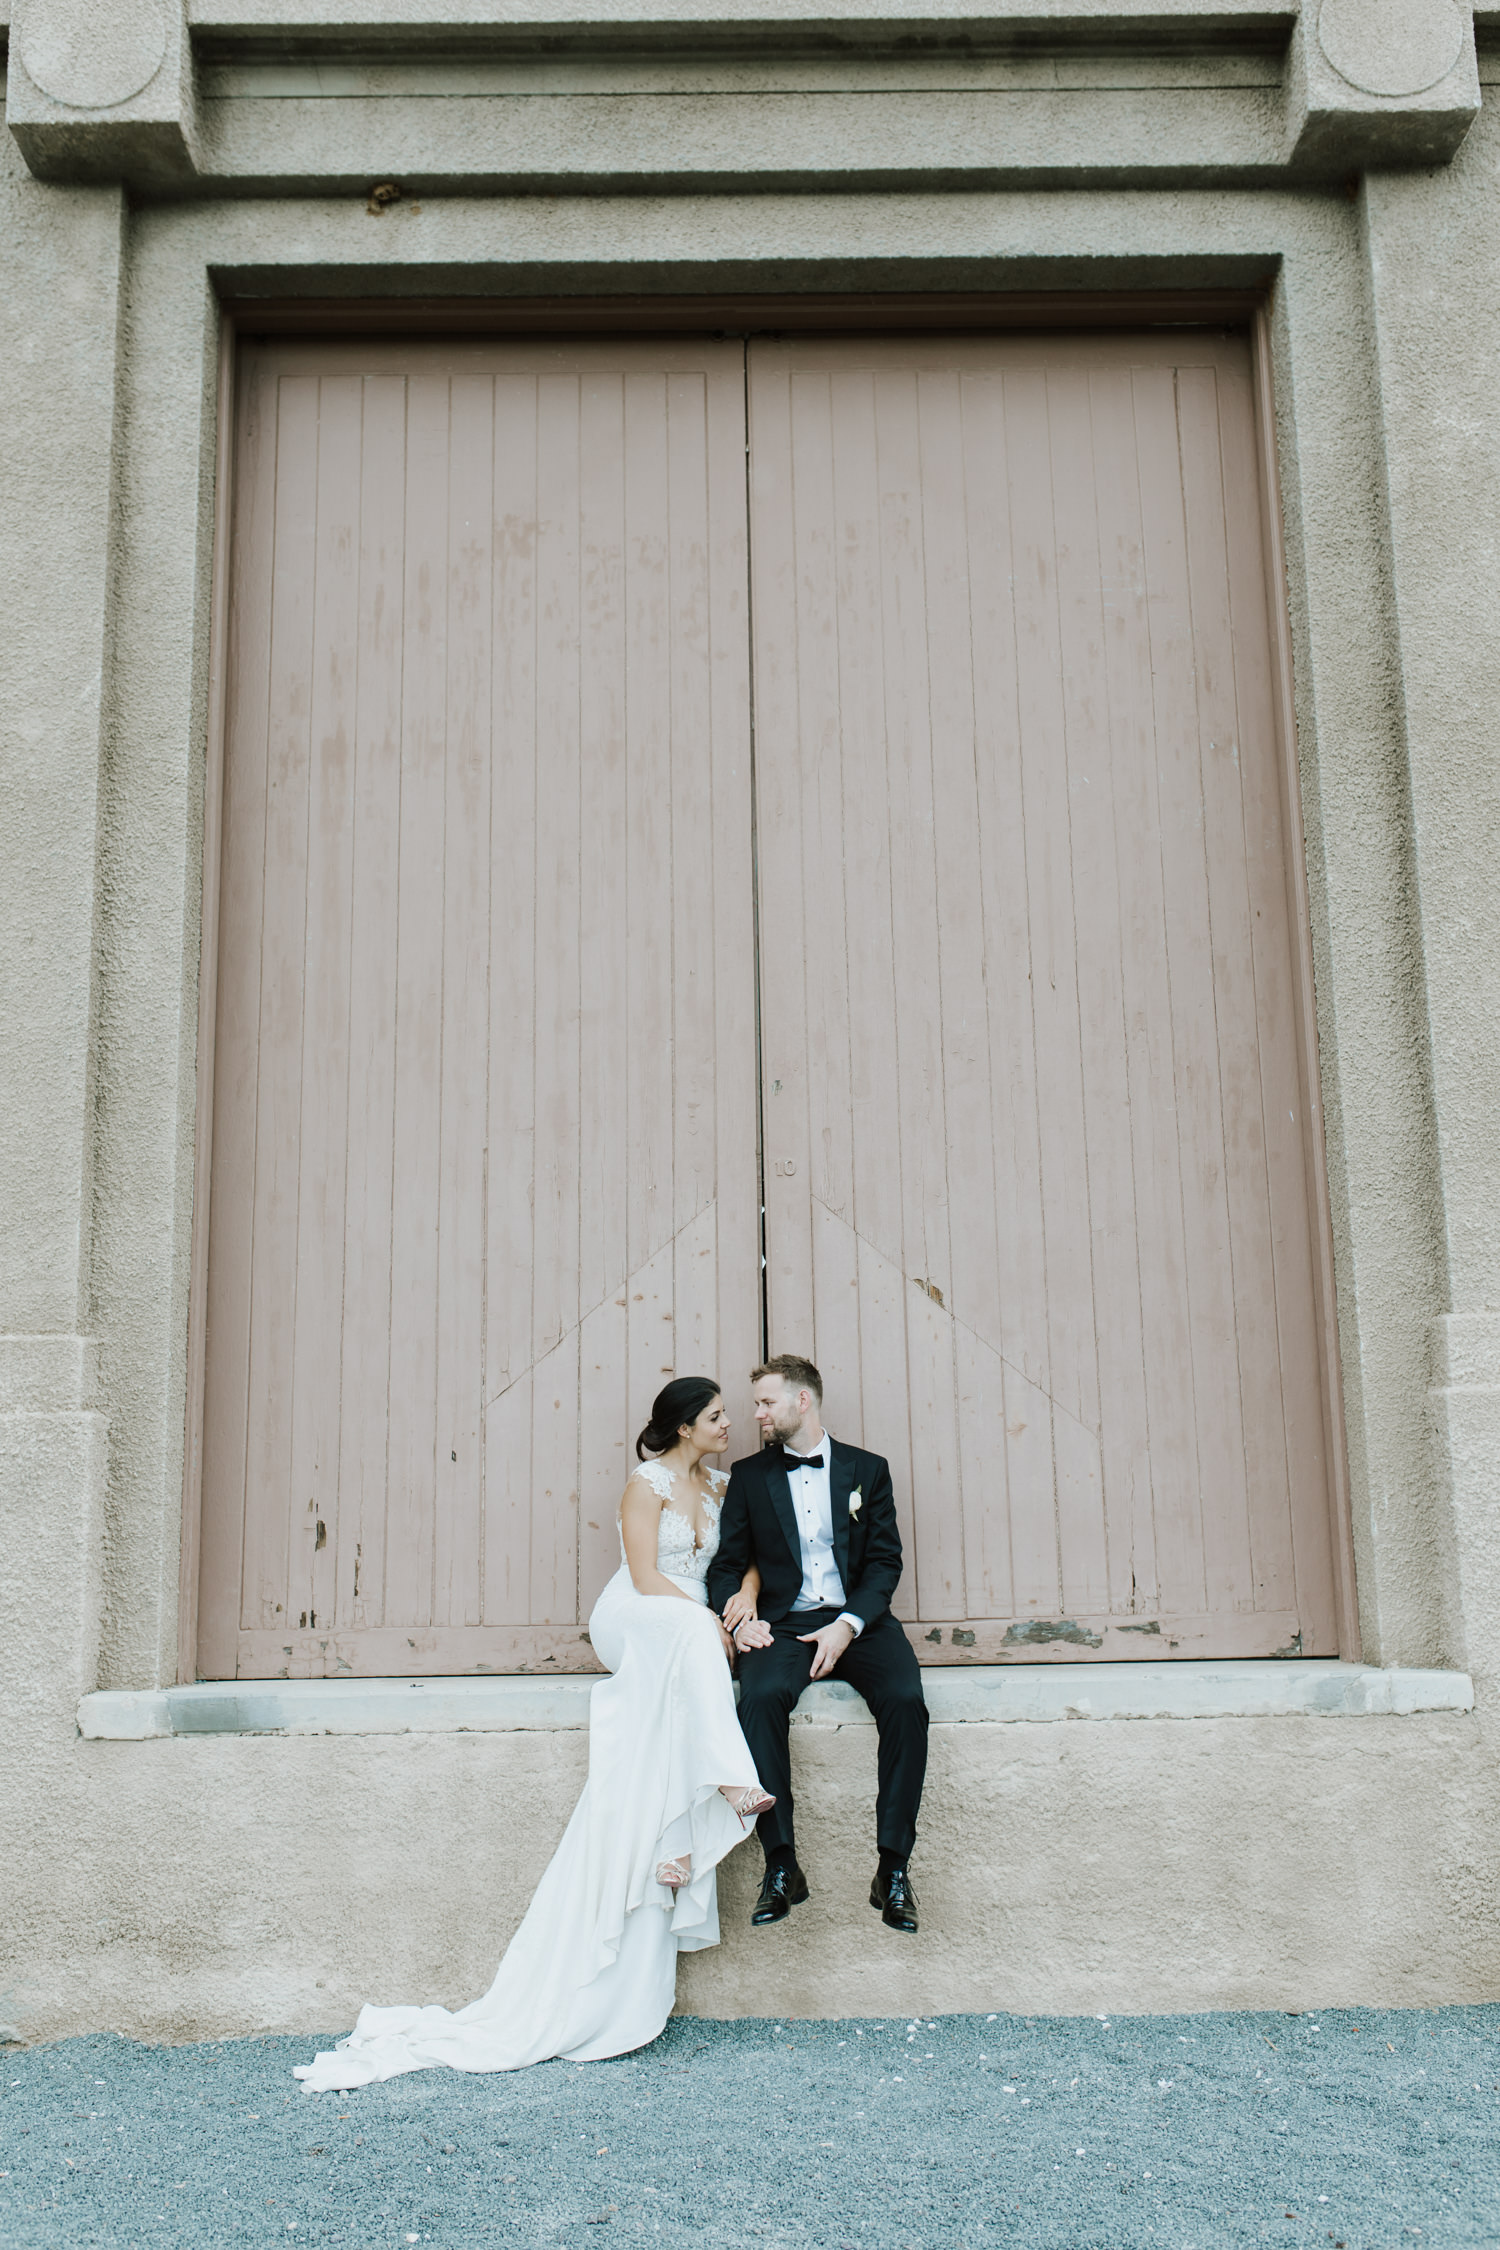
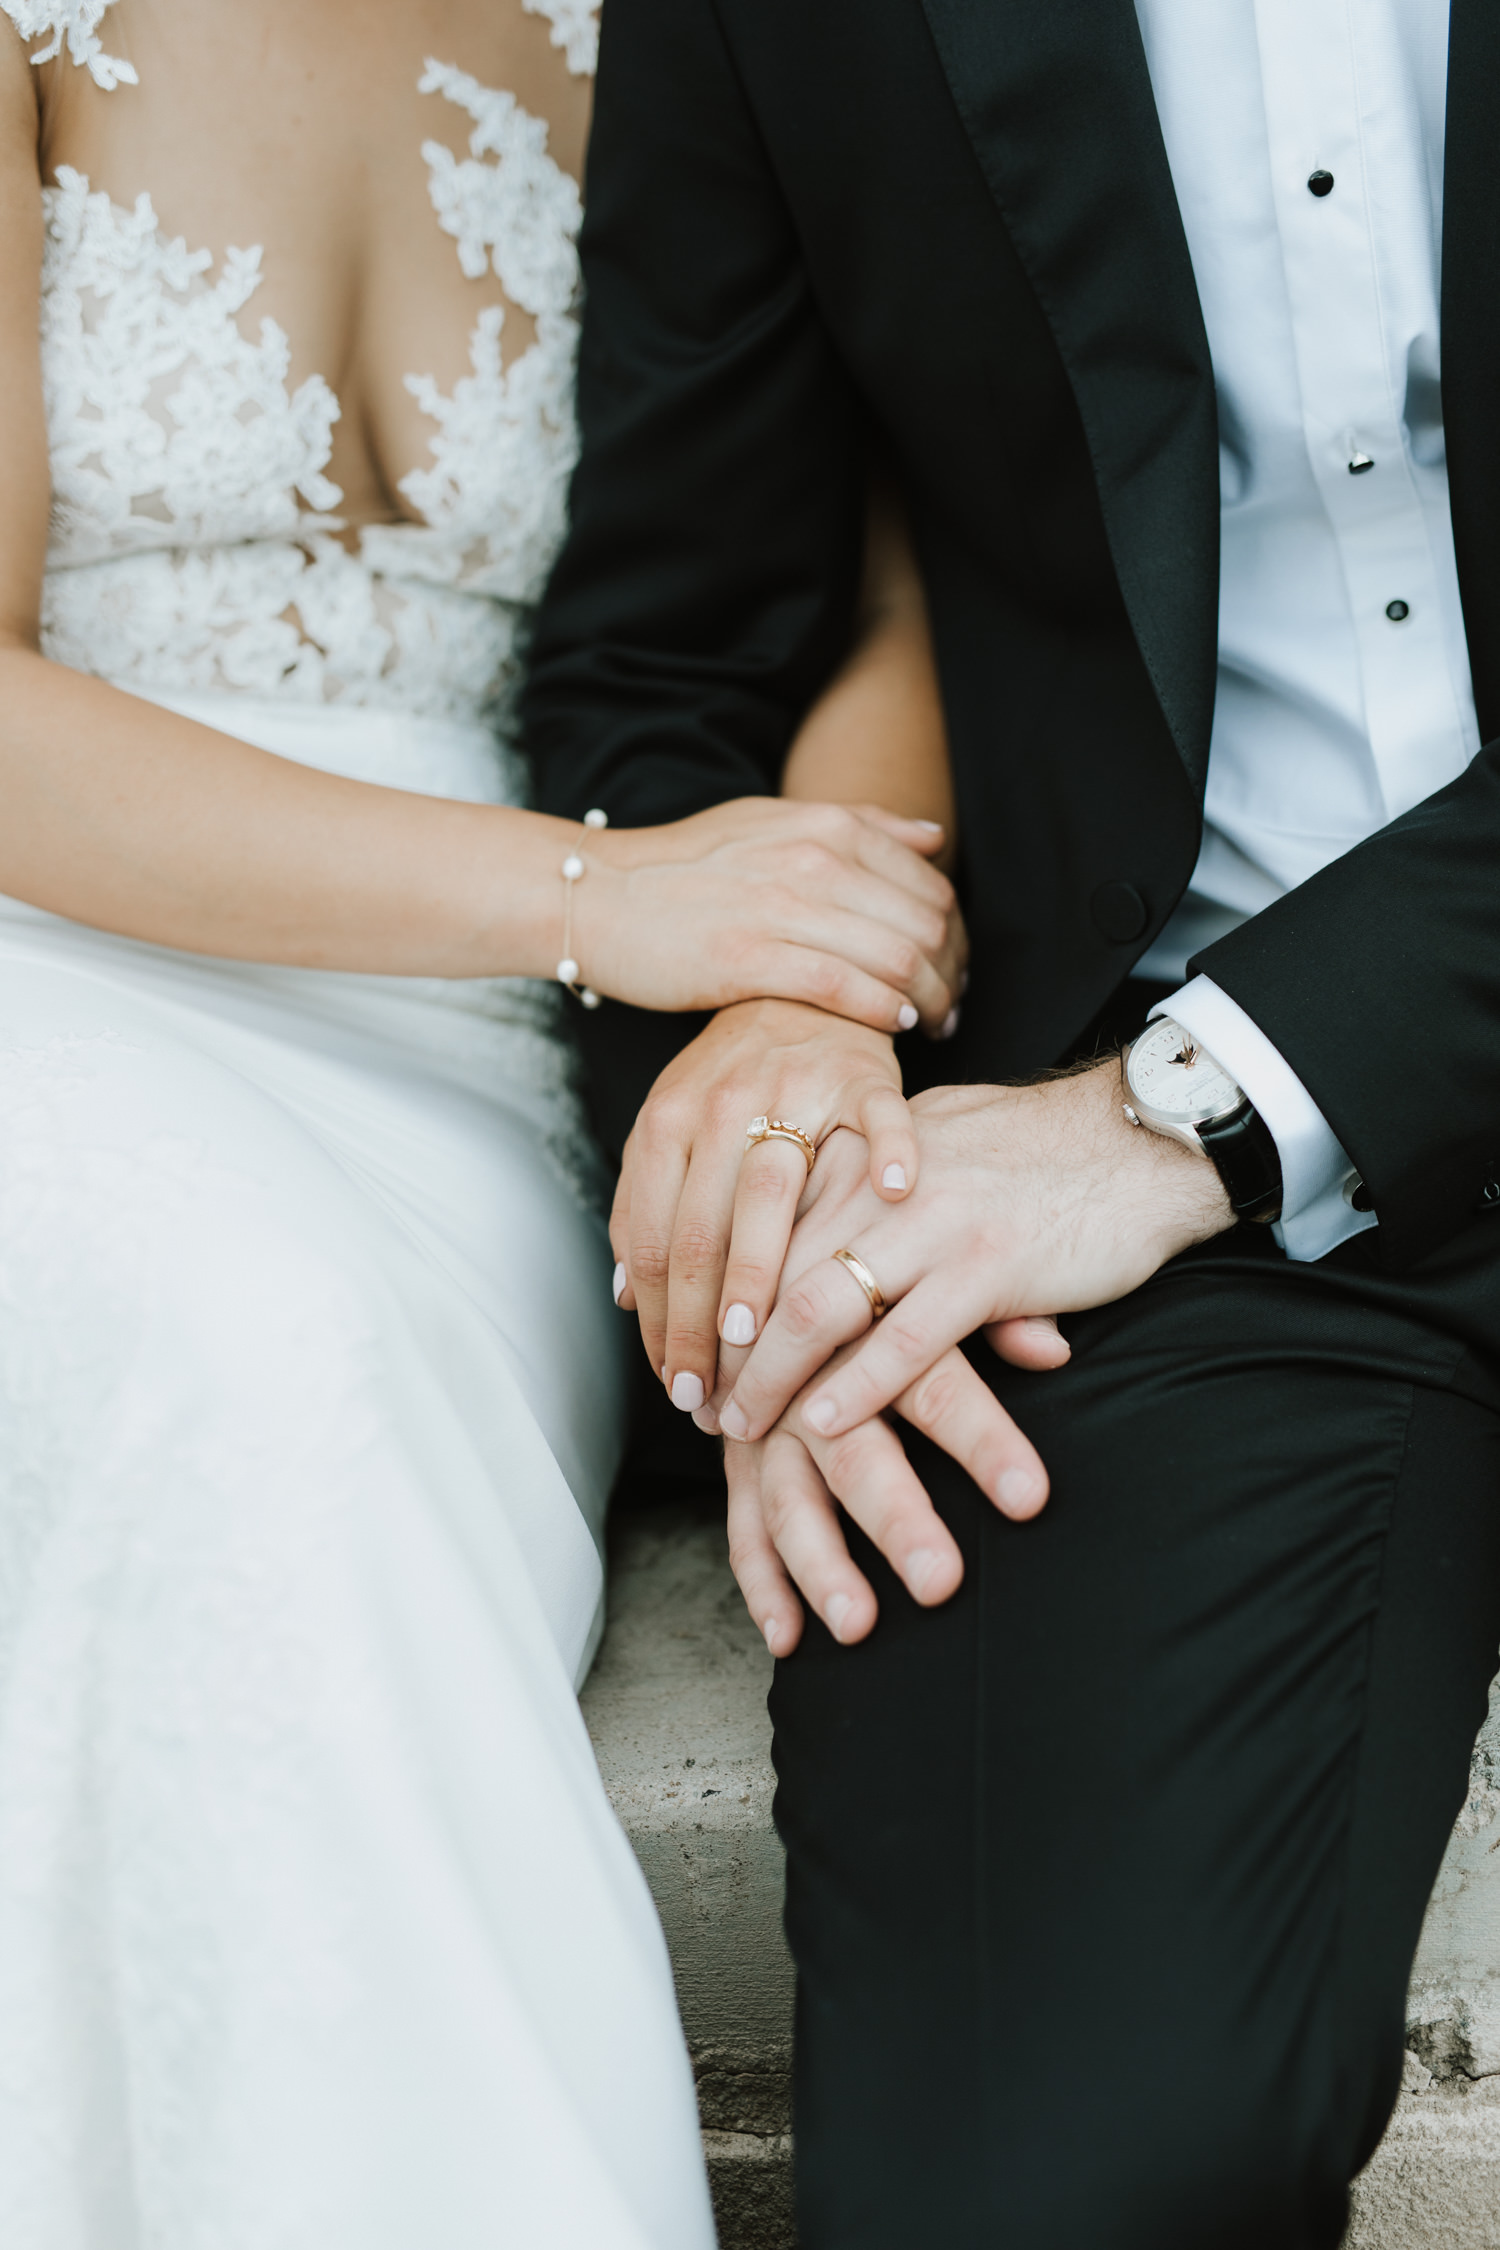
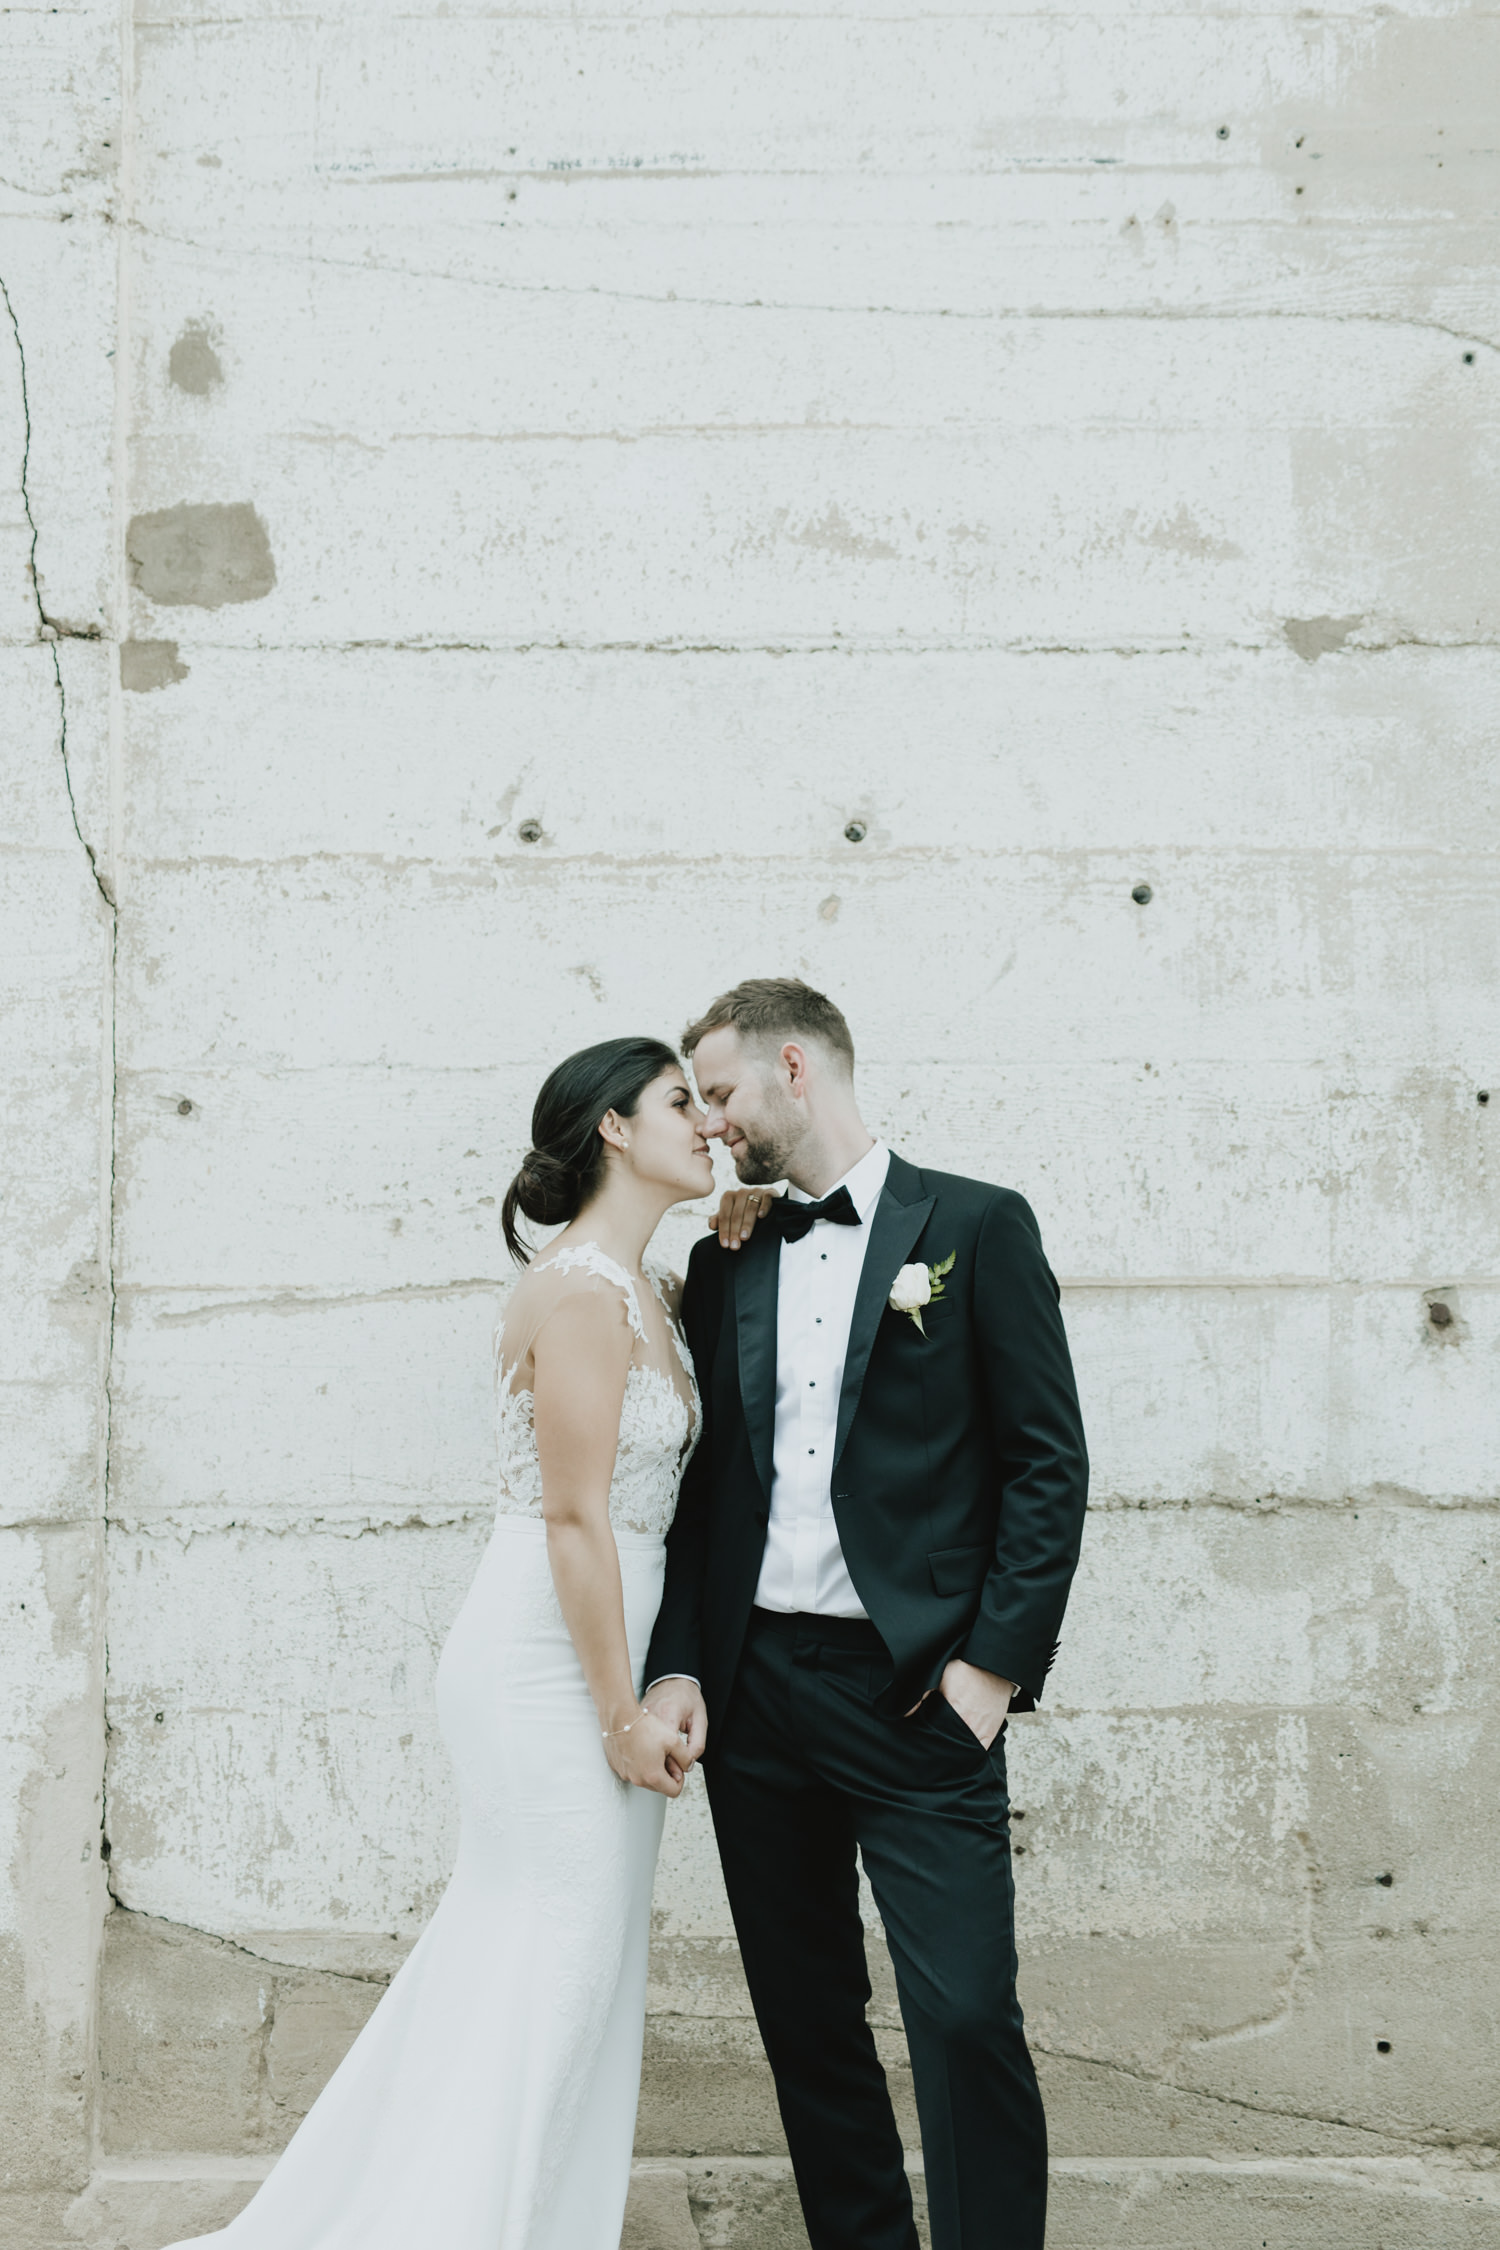
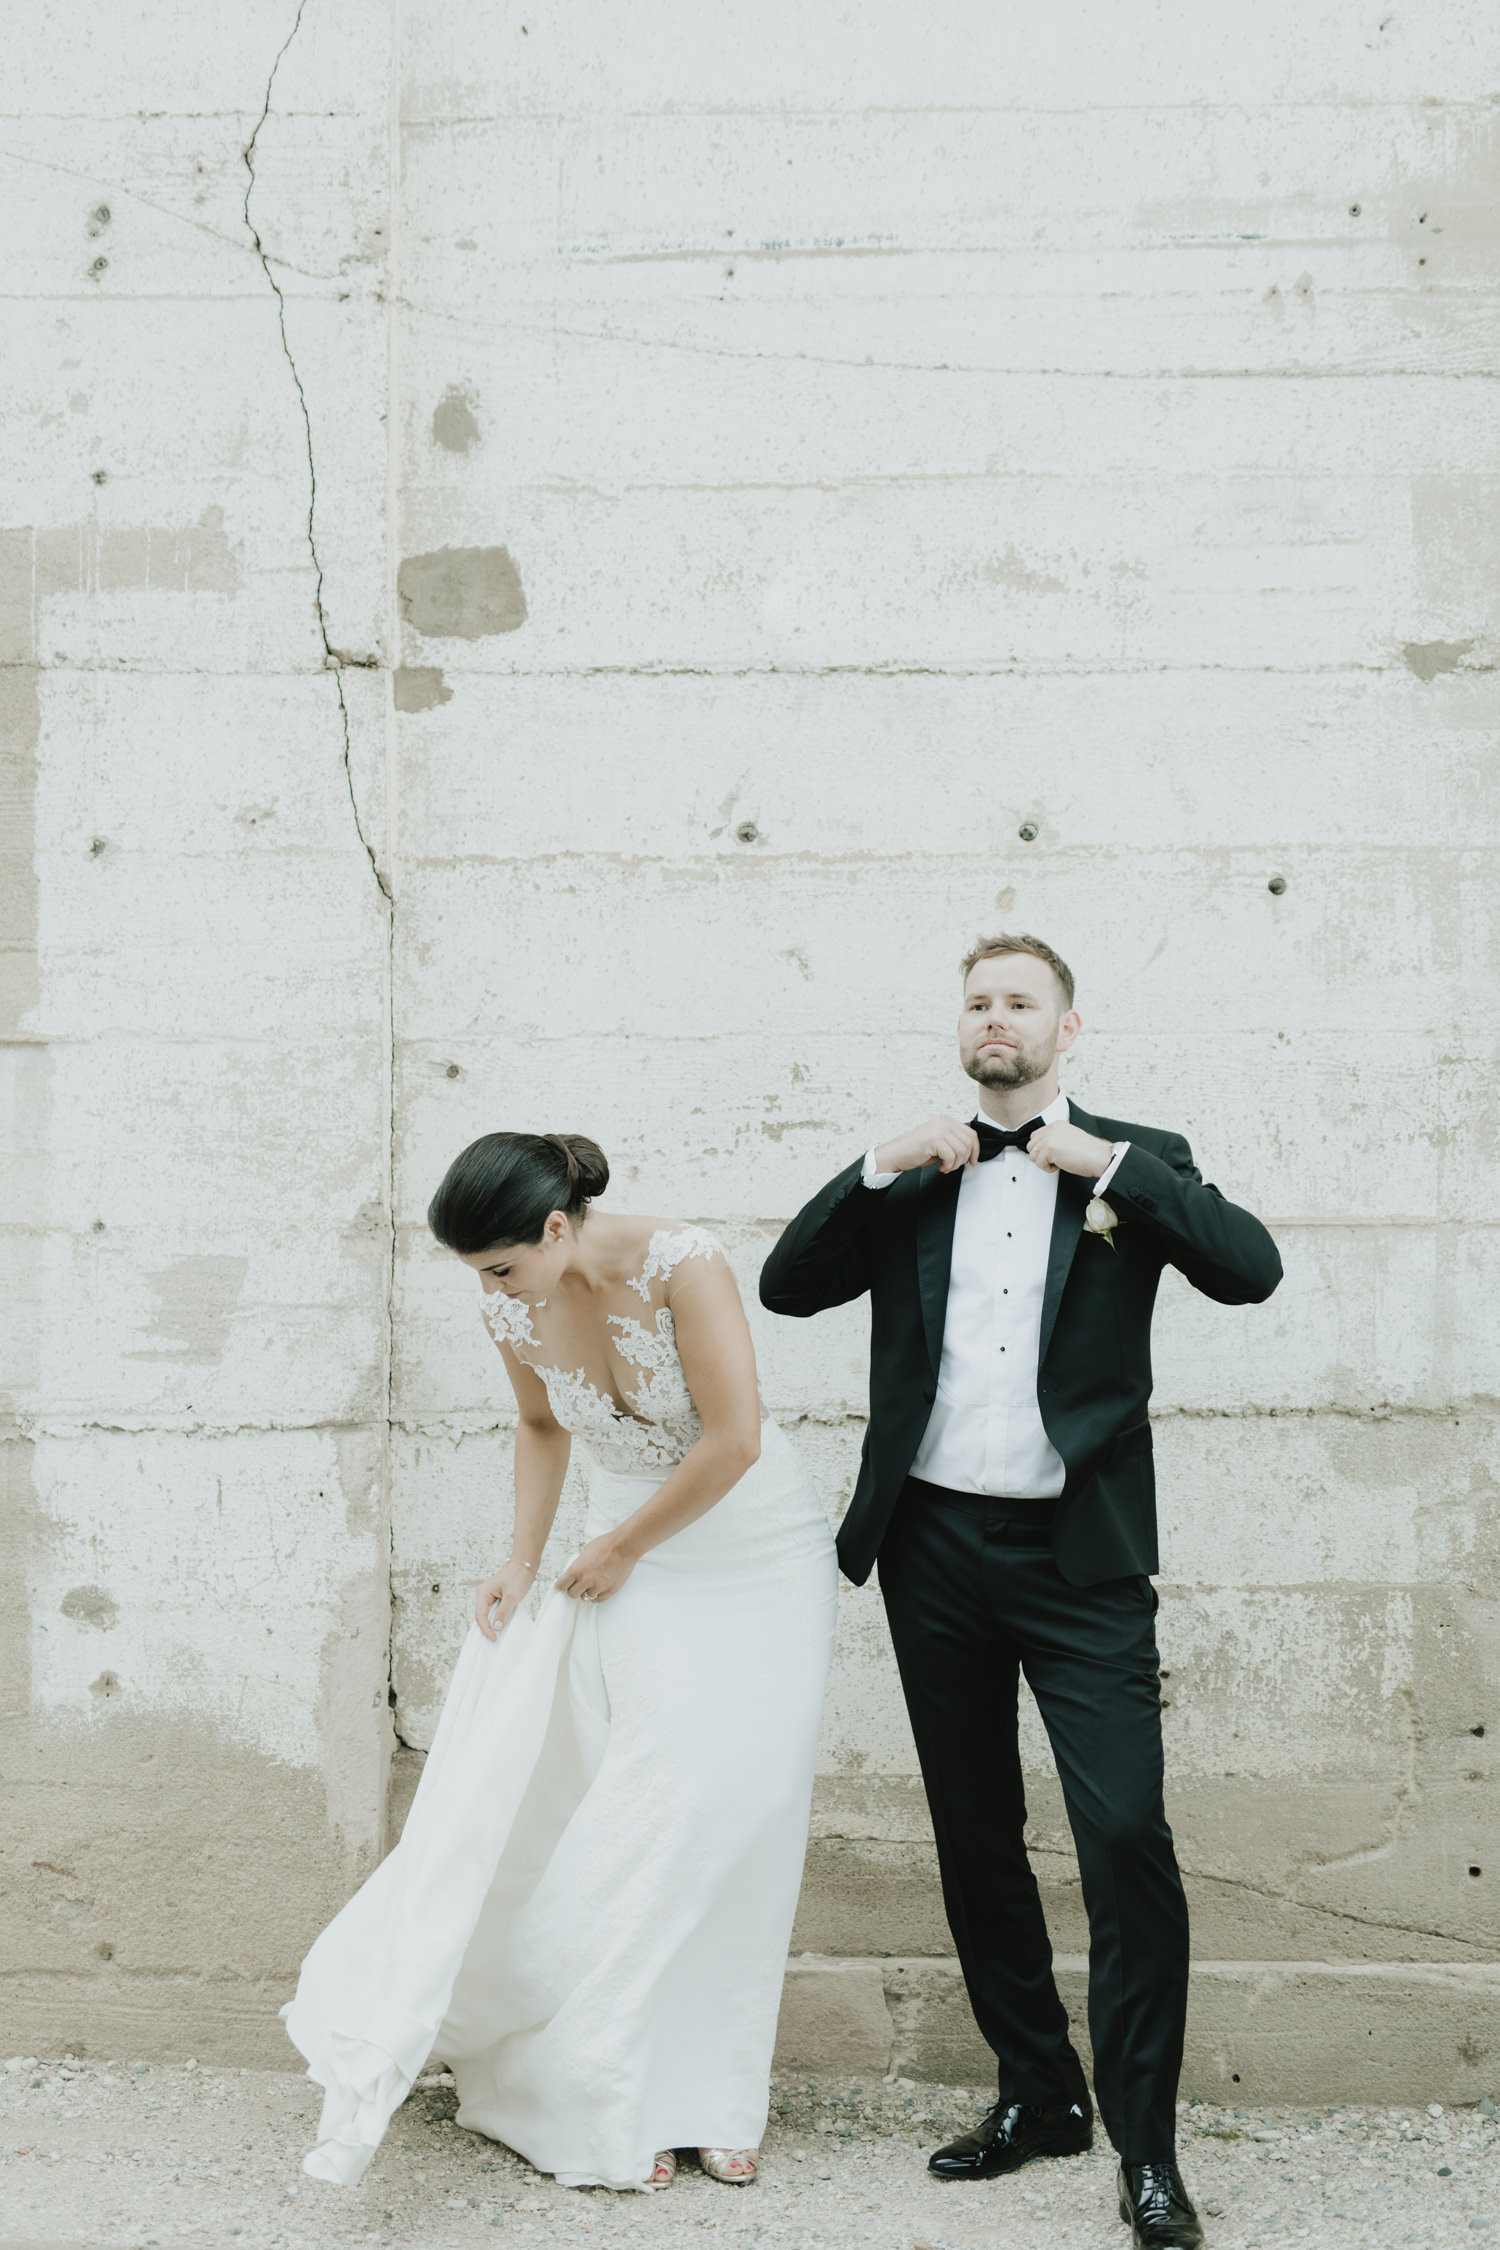
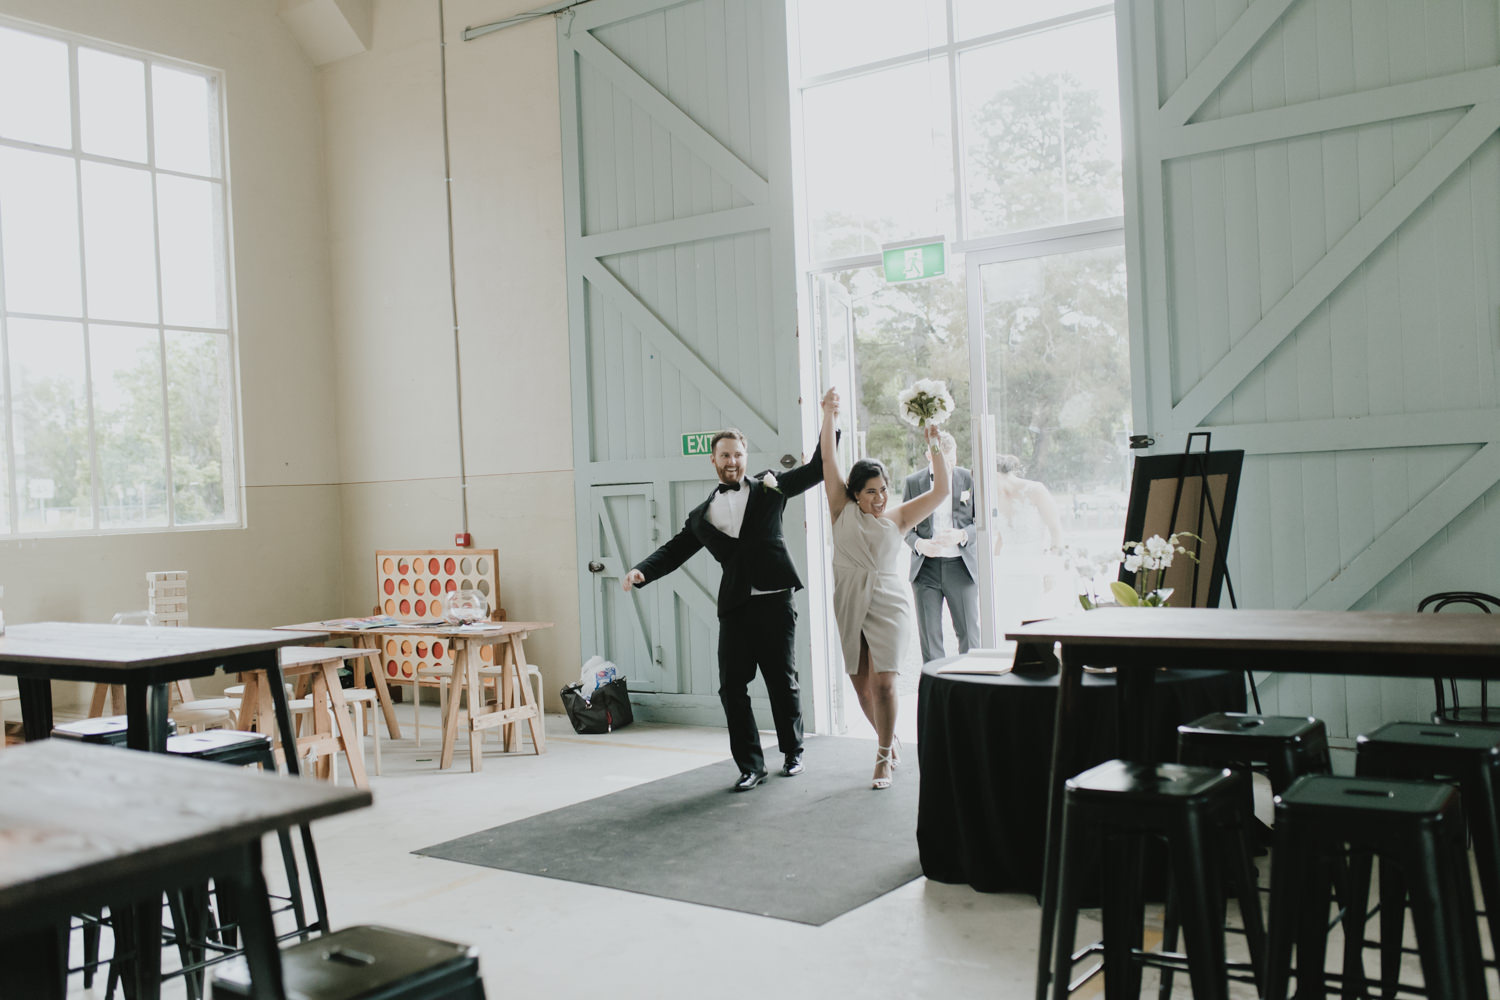
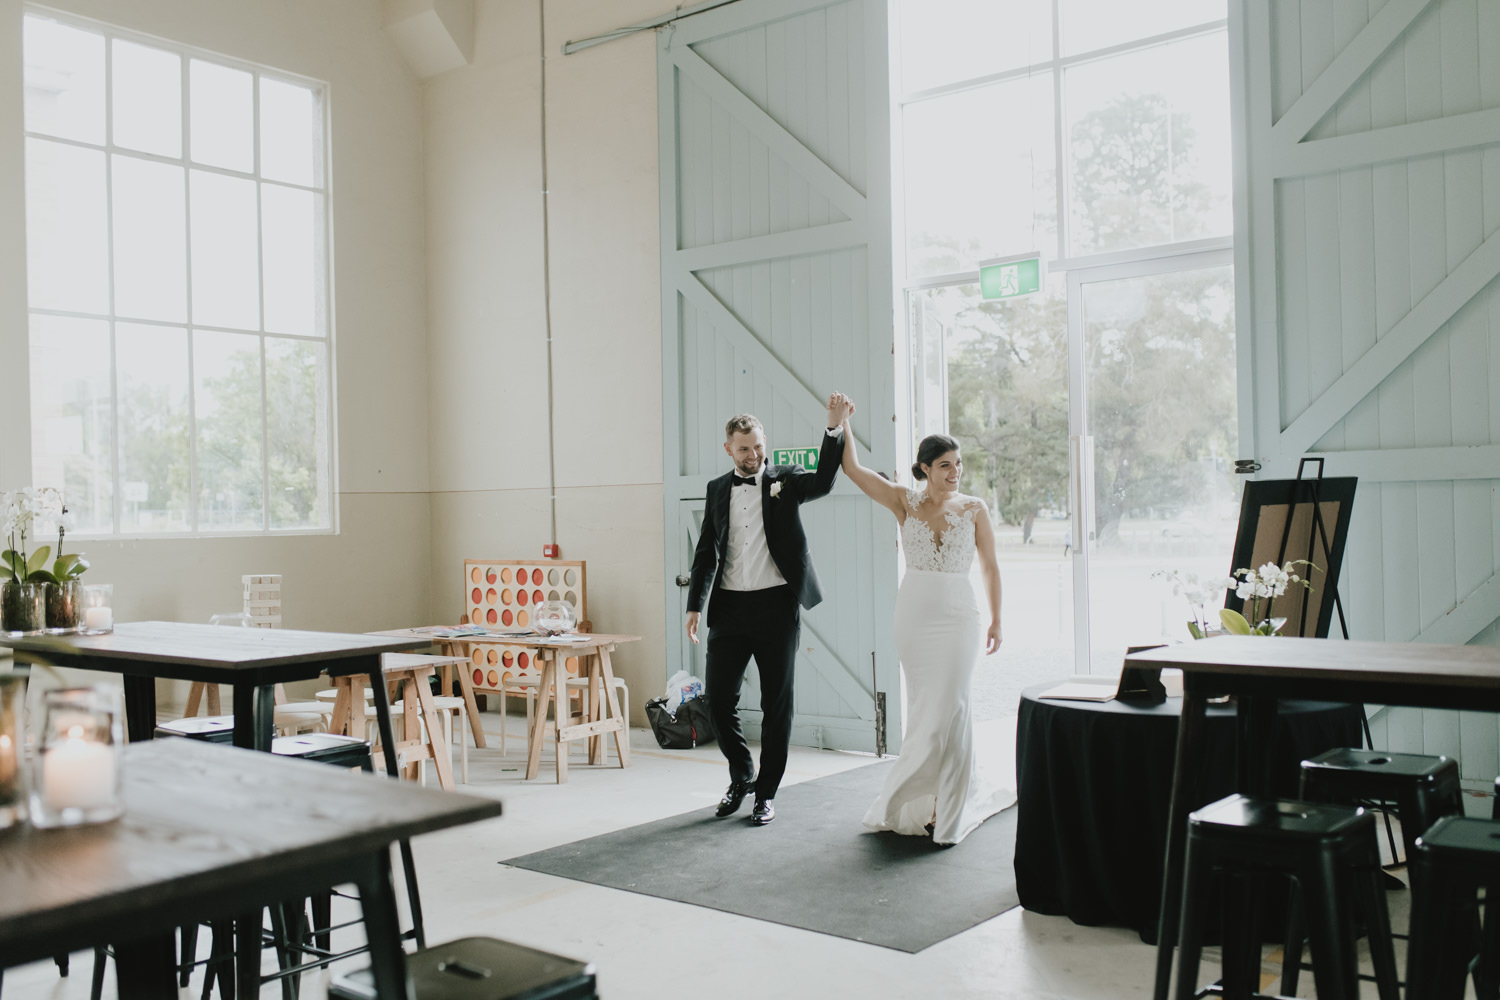
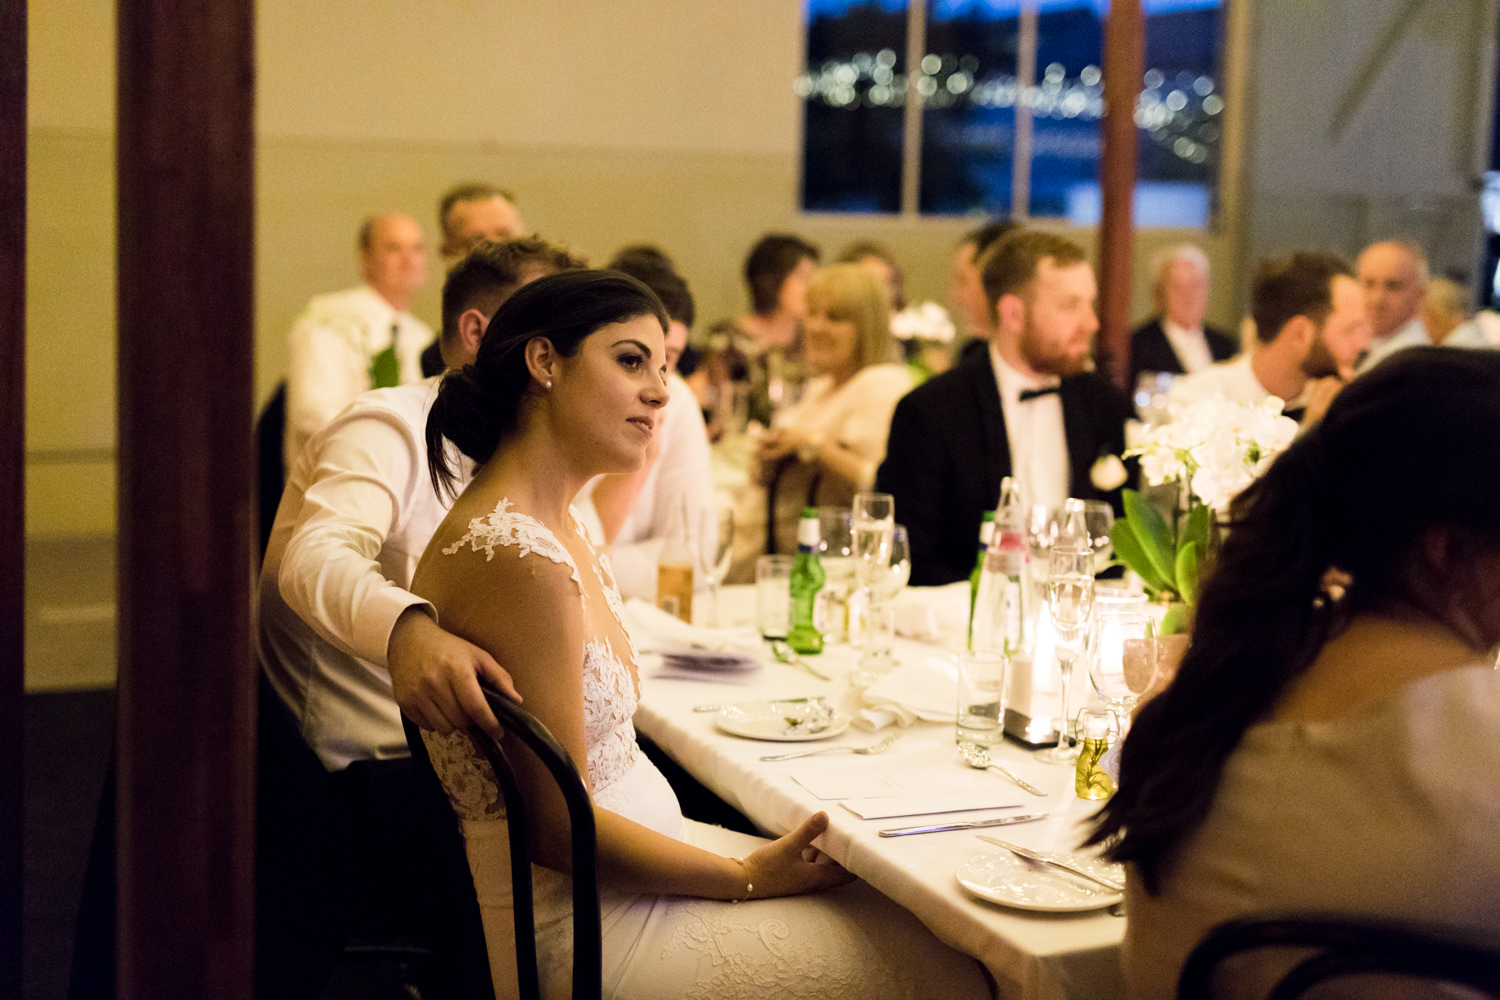
Sandra & Daniel: Fitters' Workshop Wedding Canberra
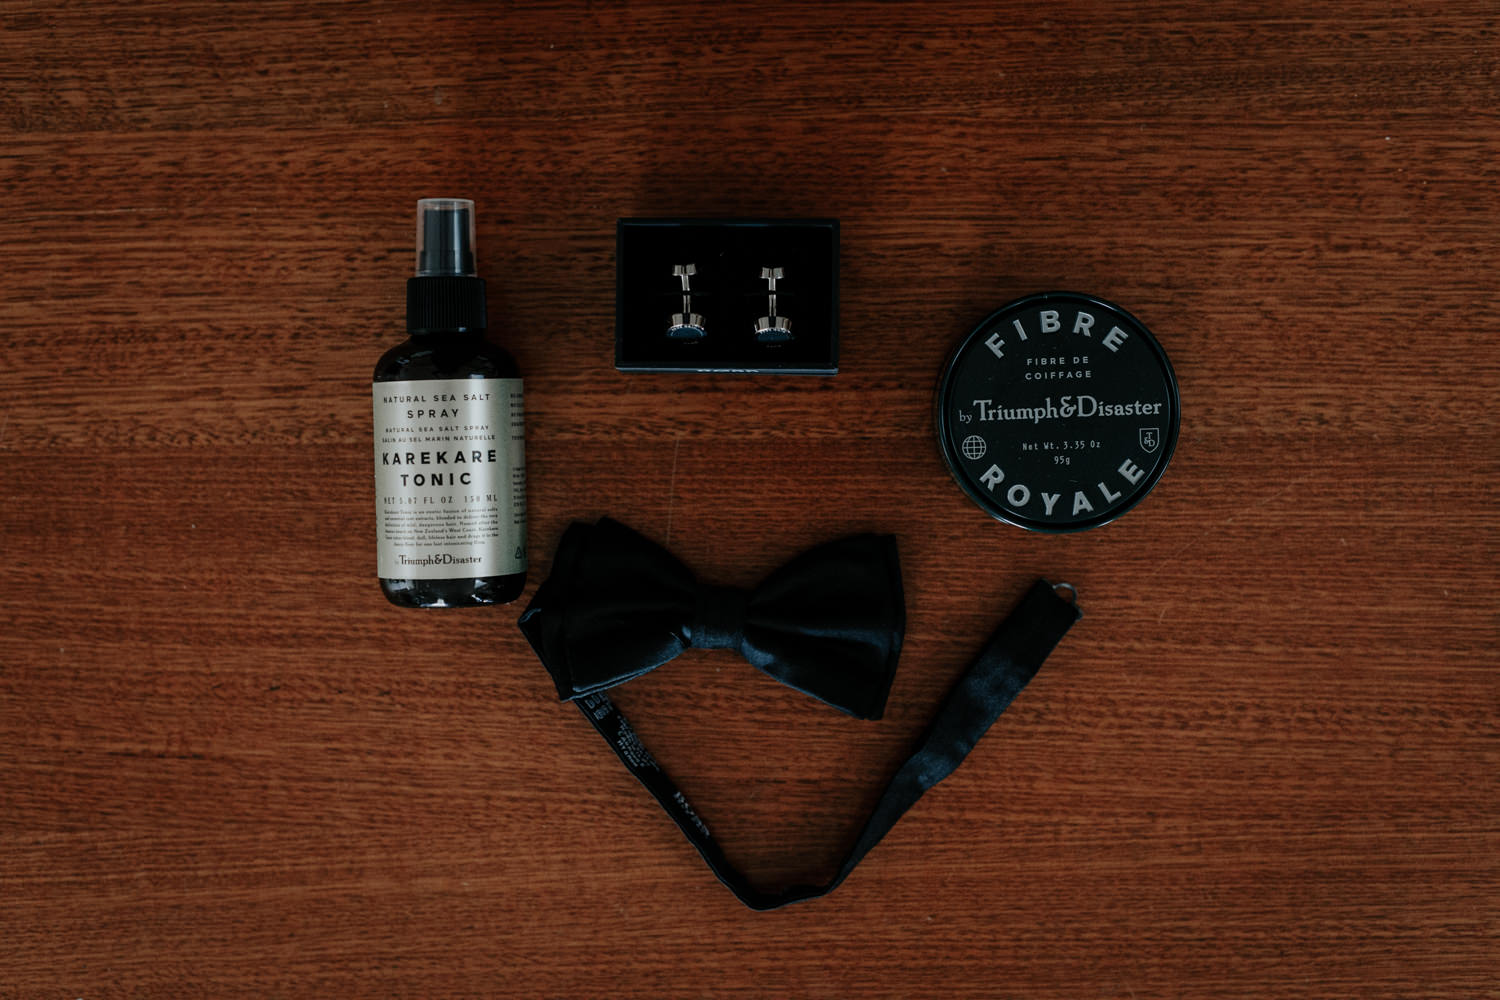
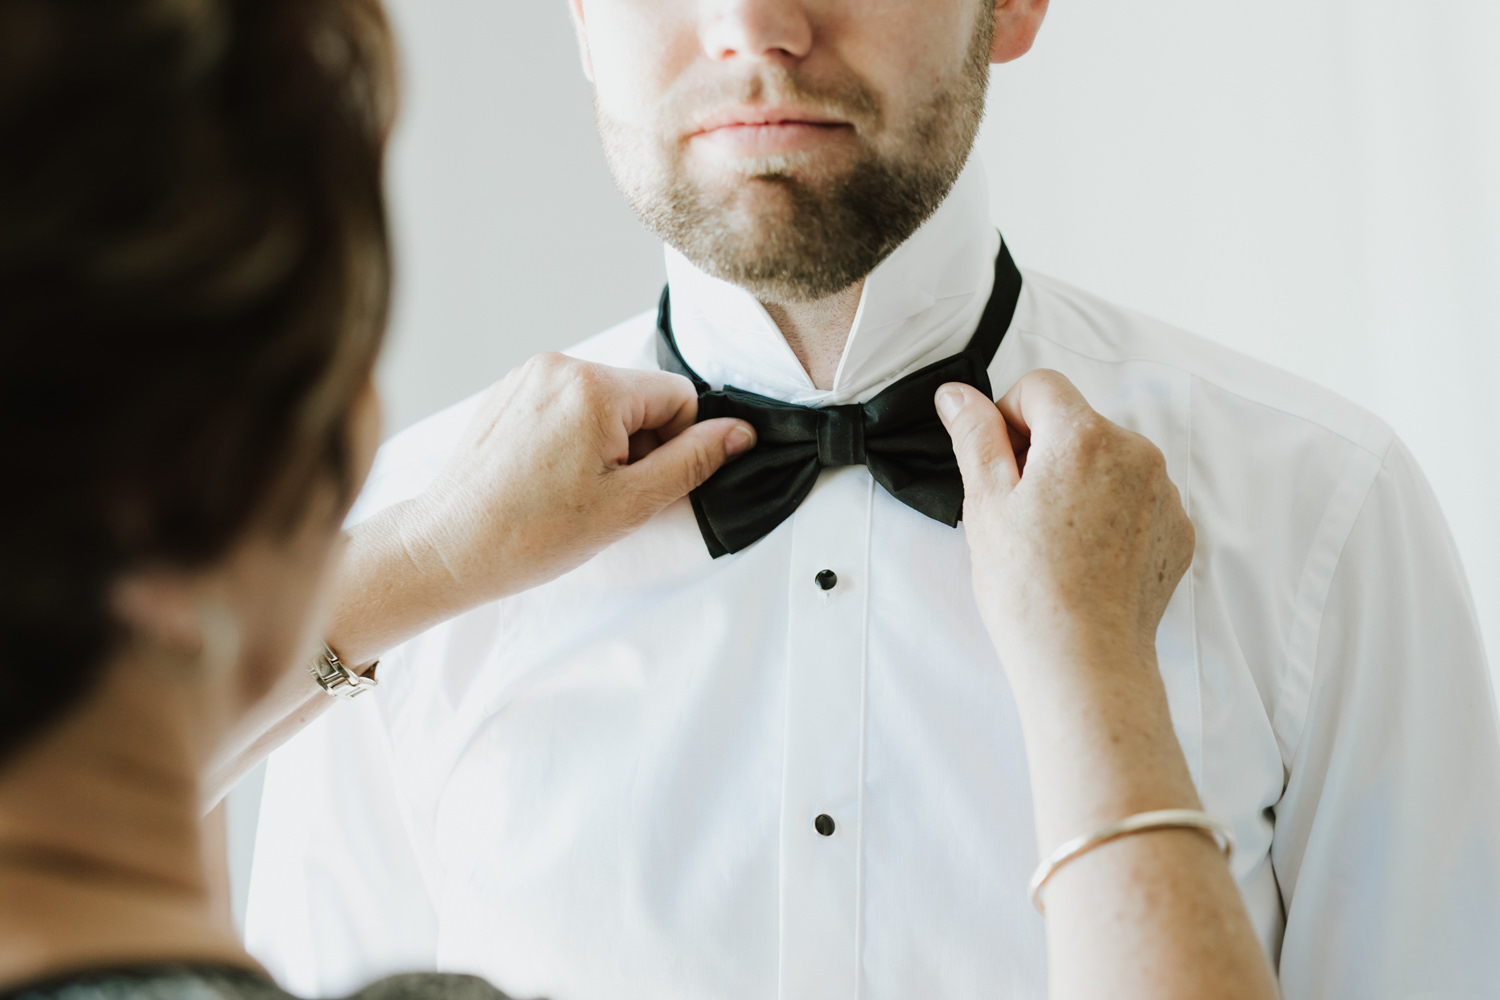
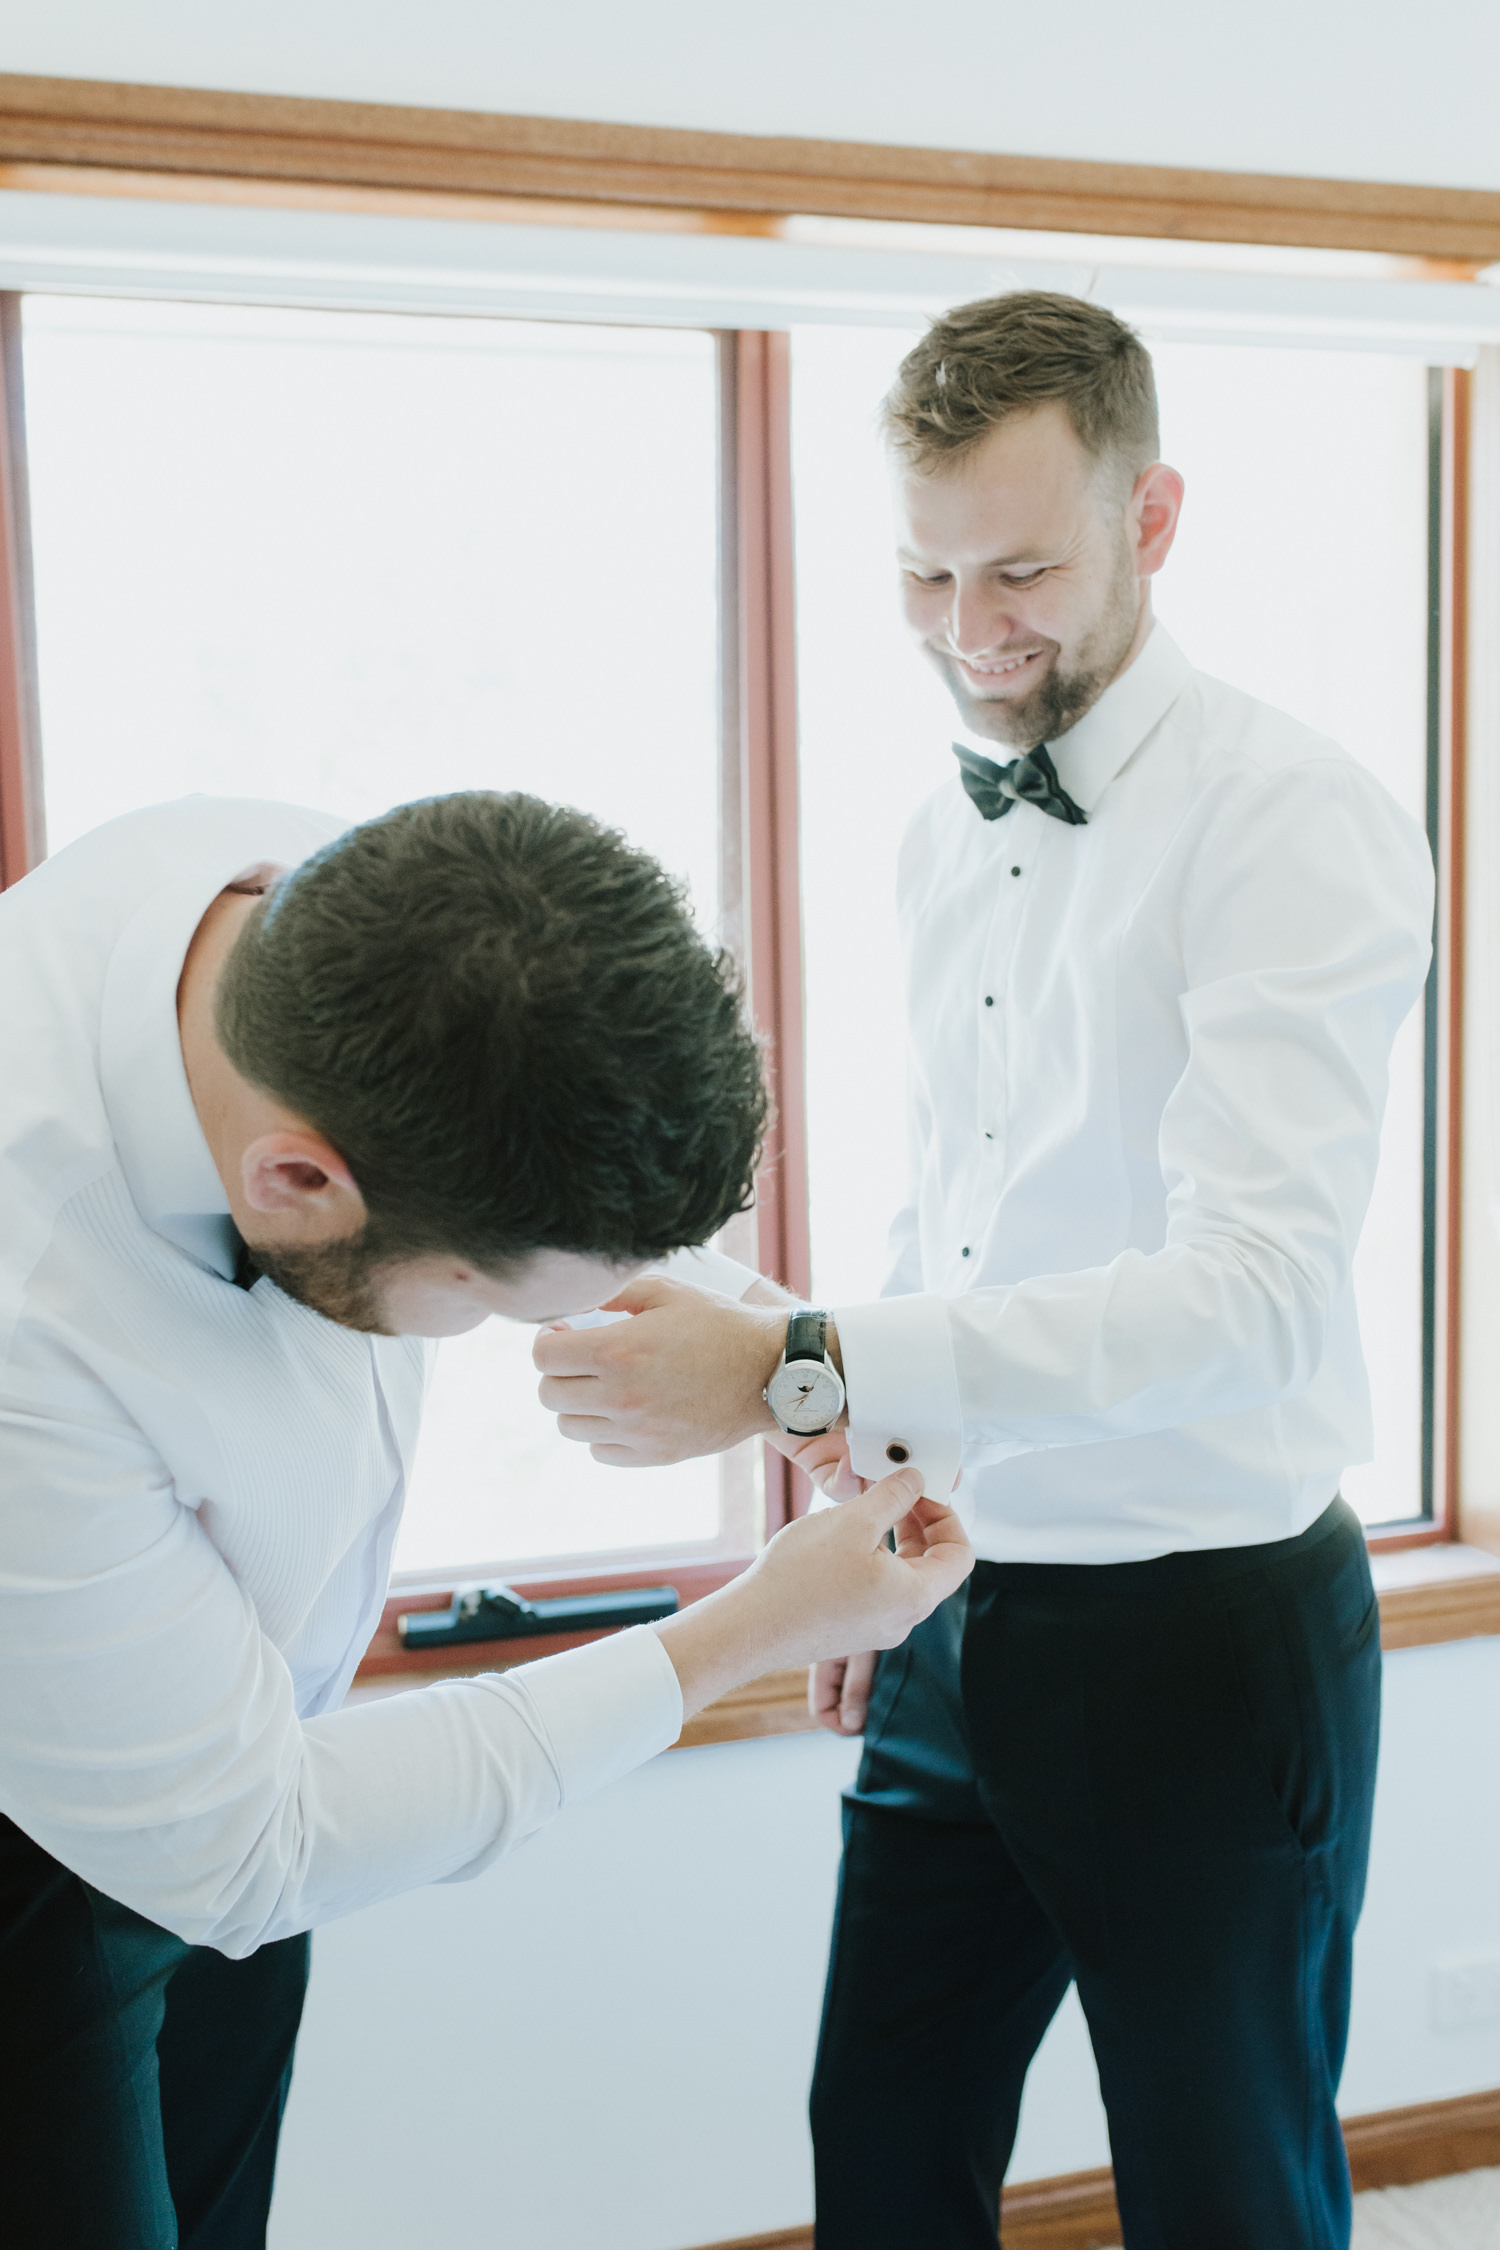
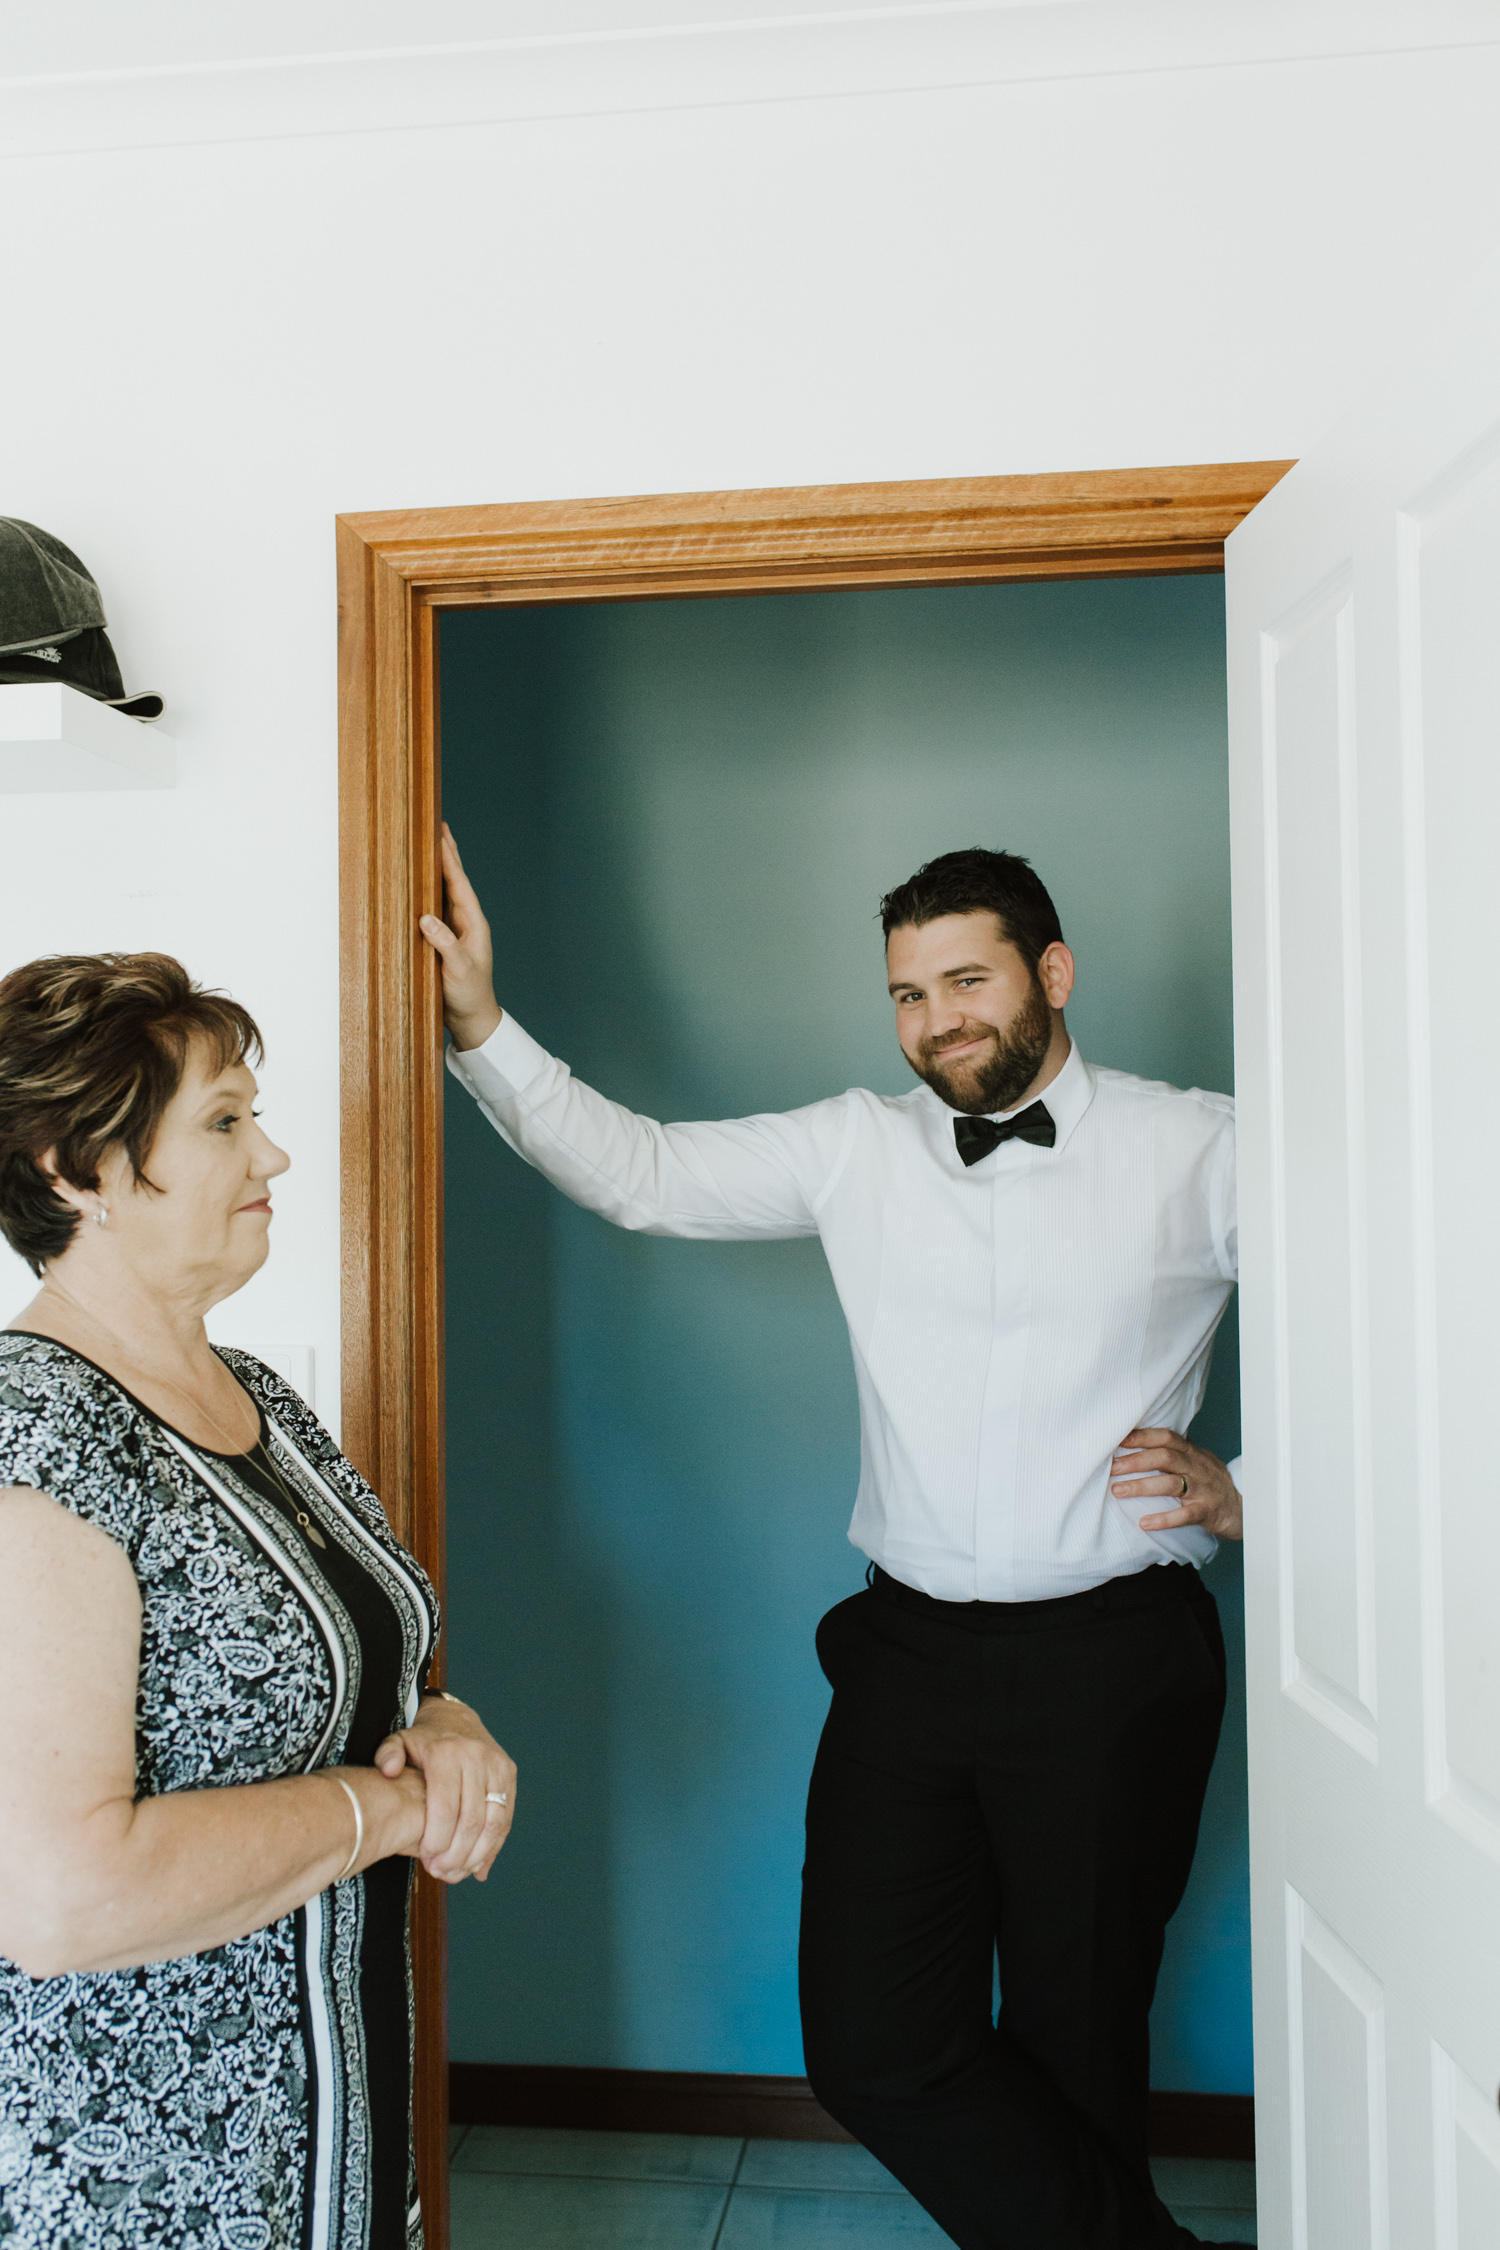
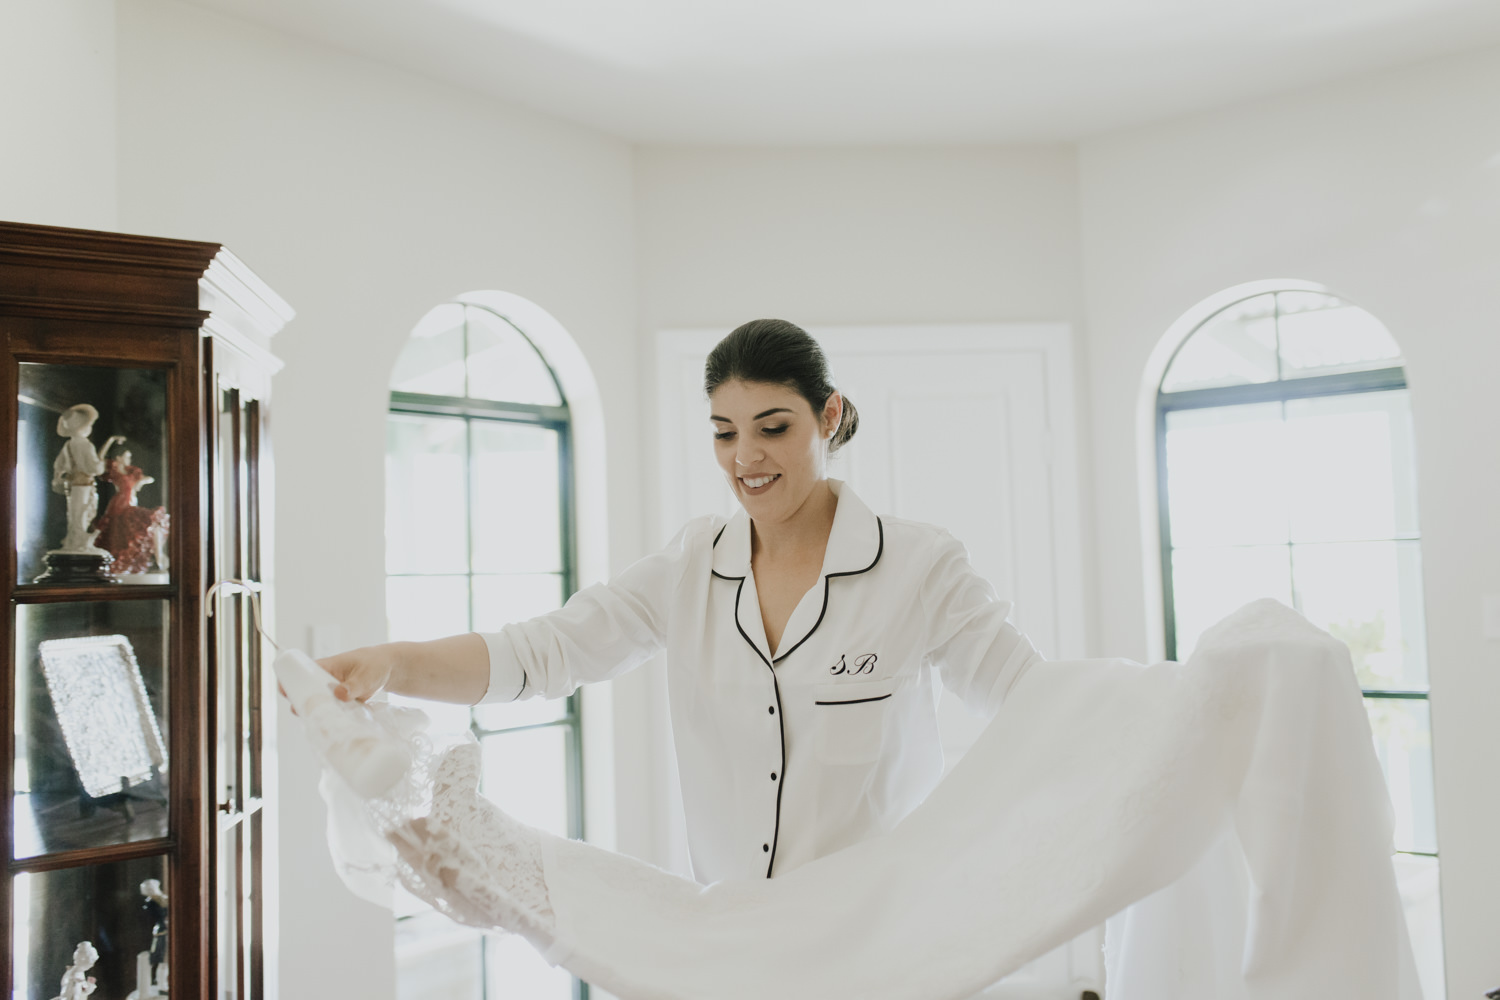
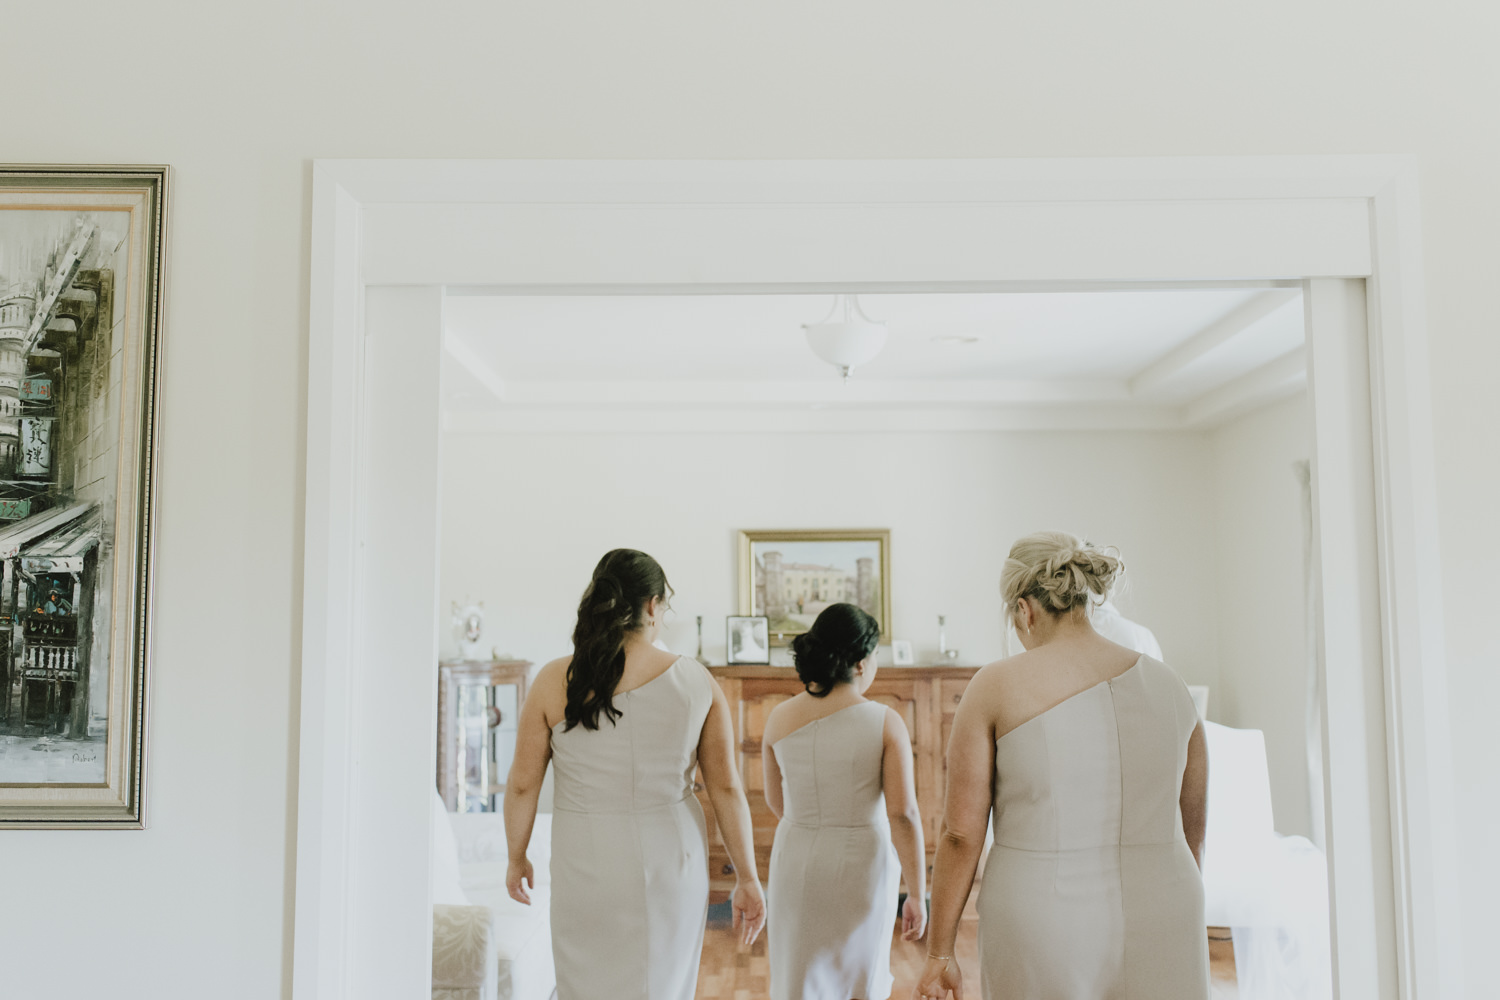
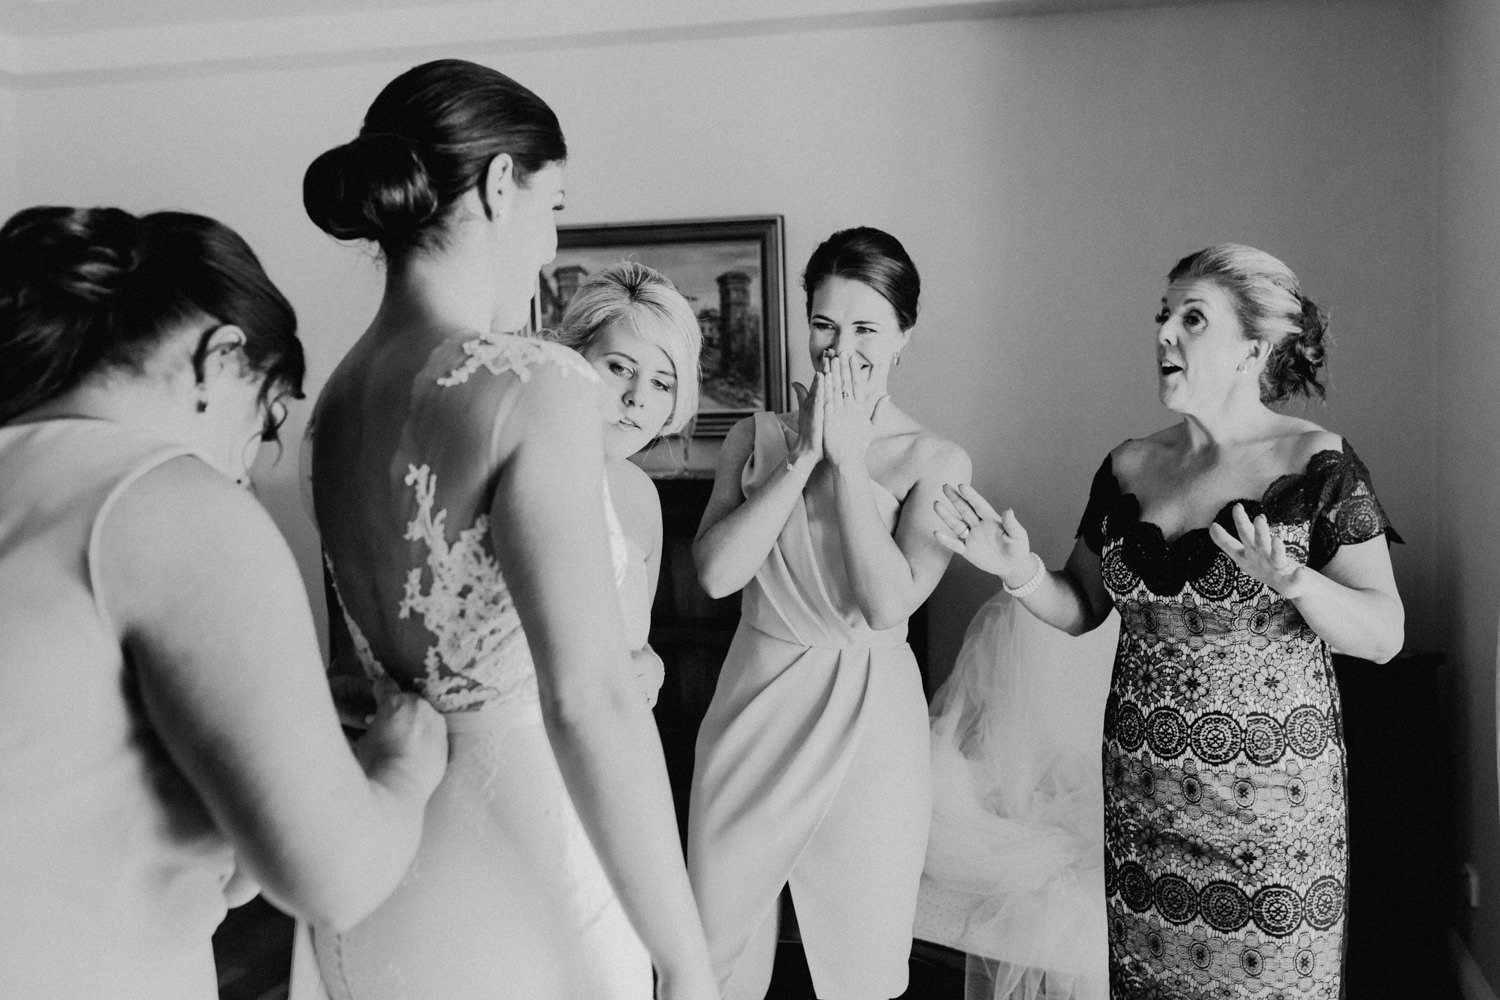
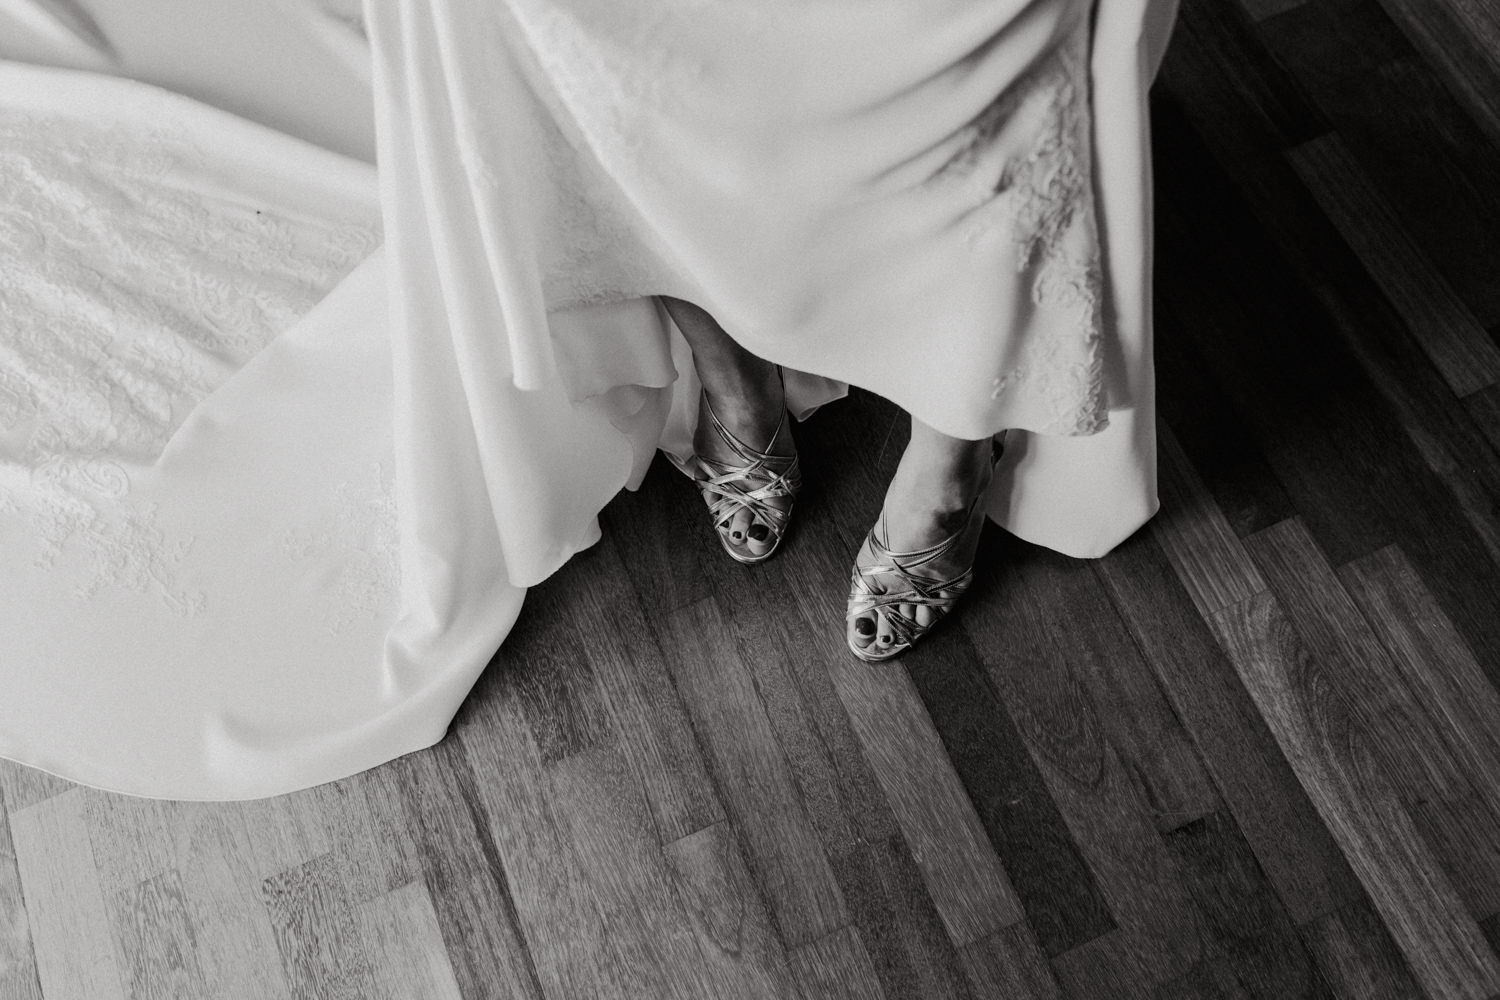
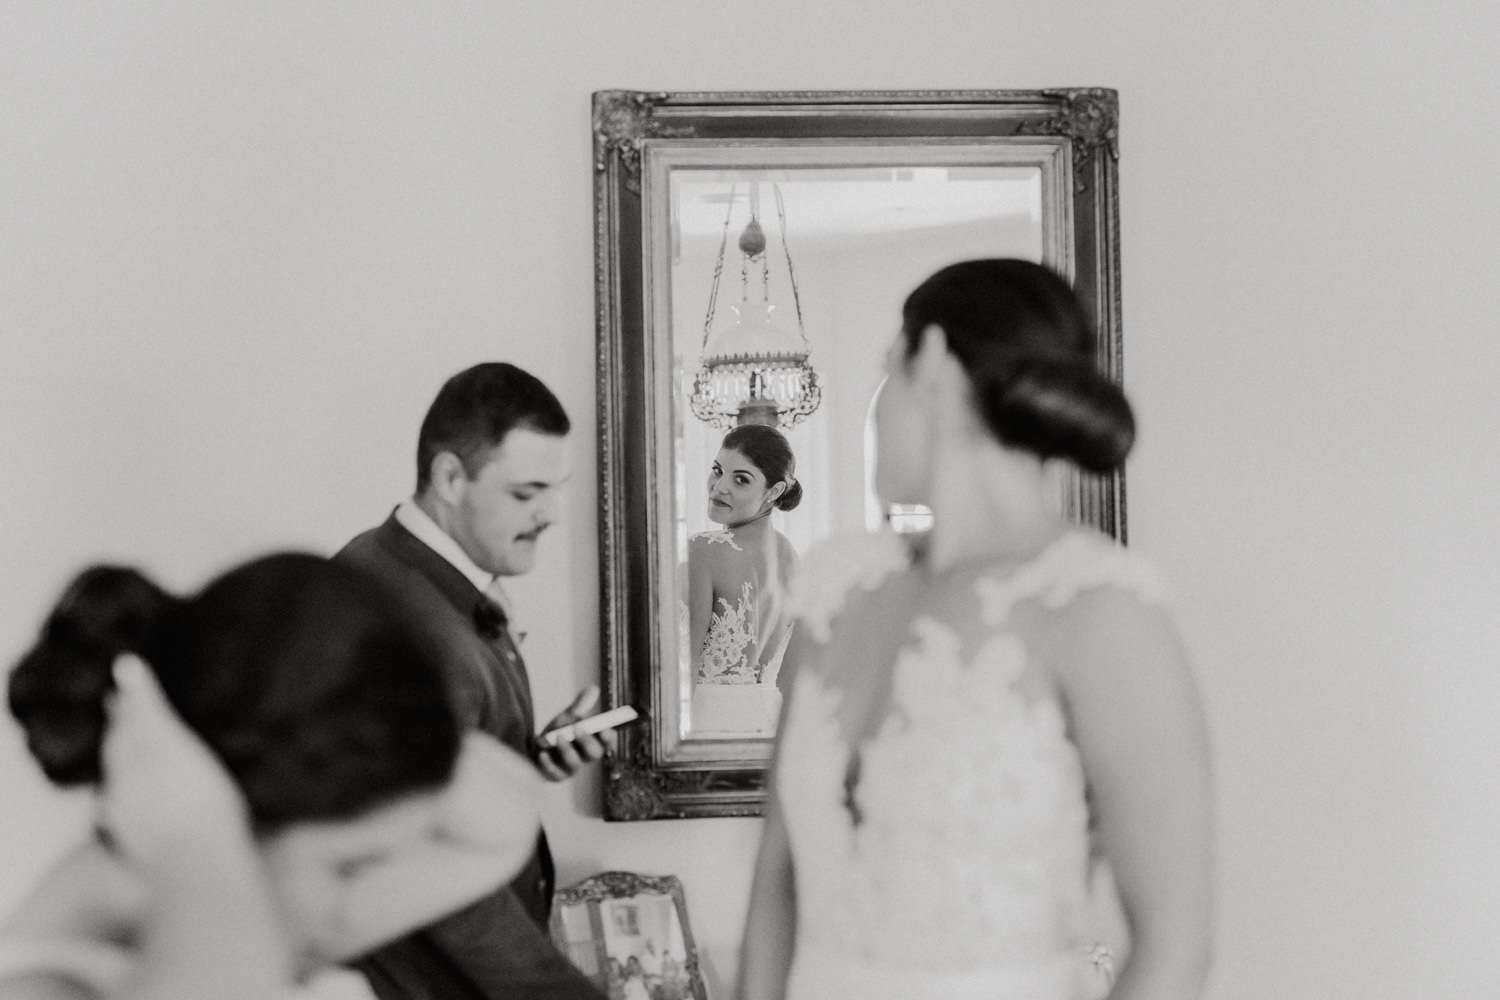
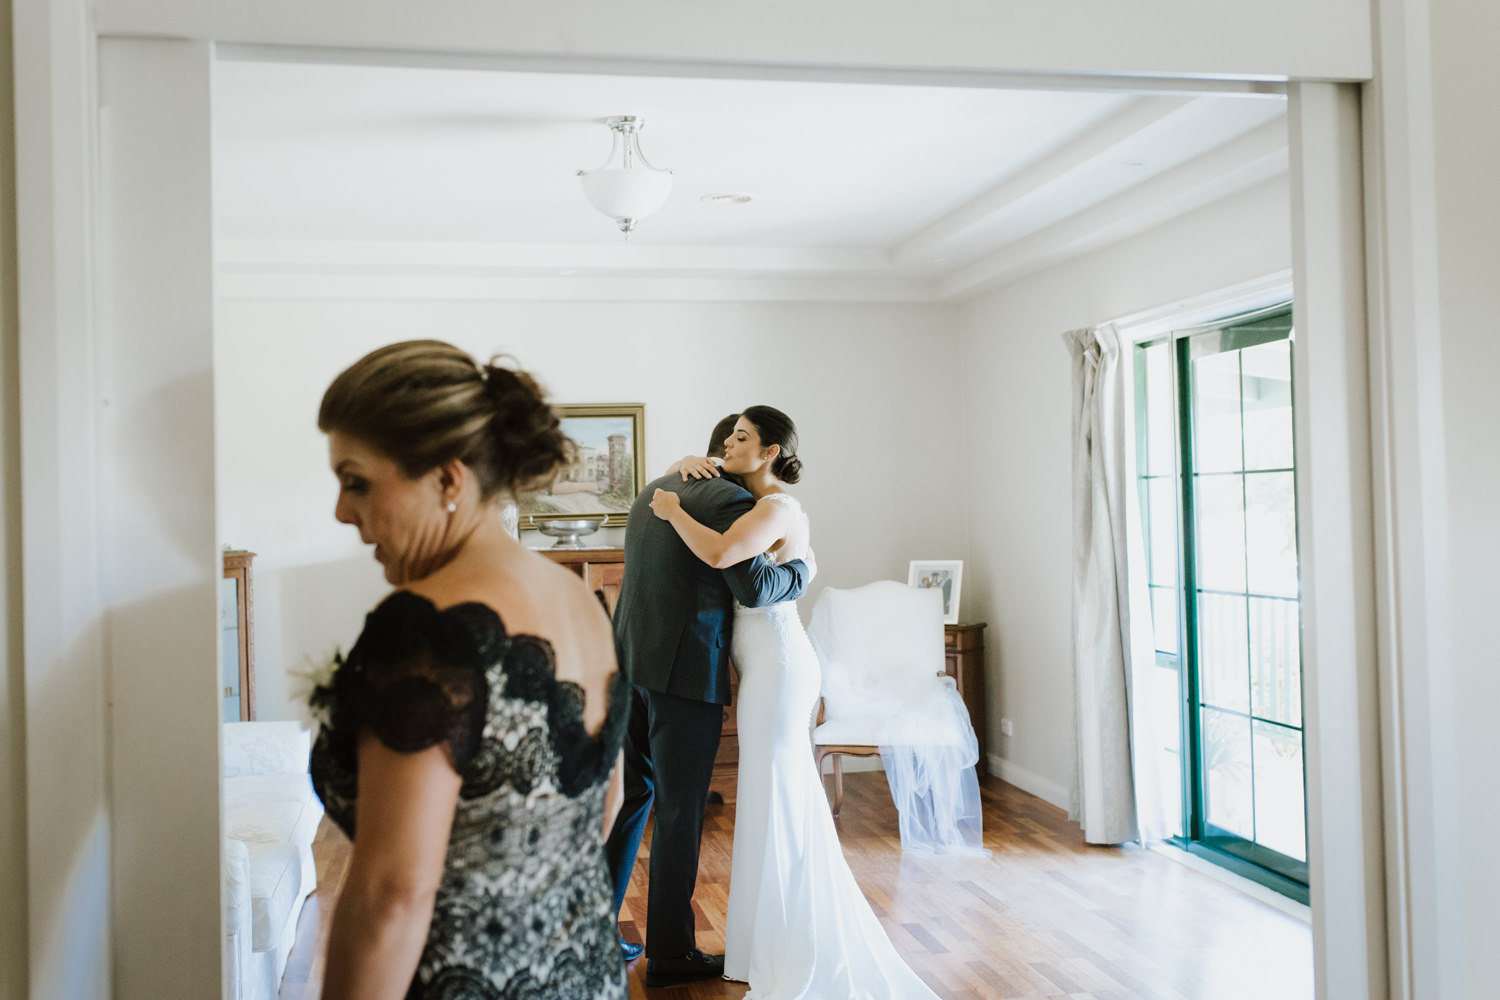
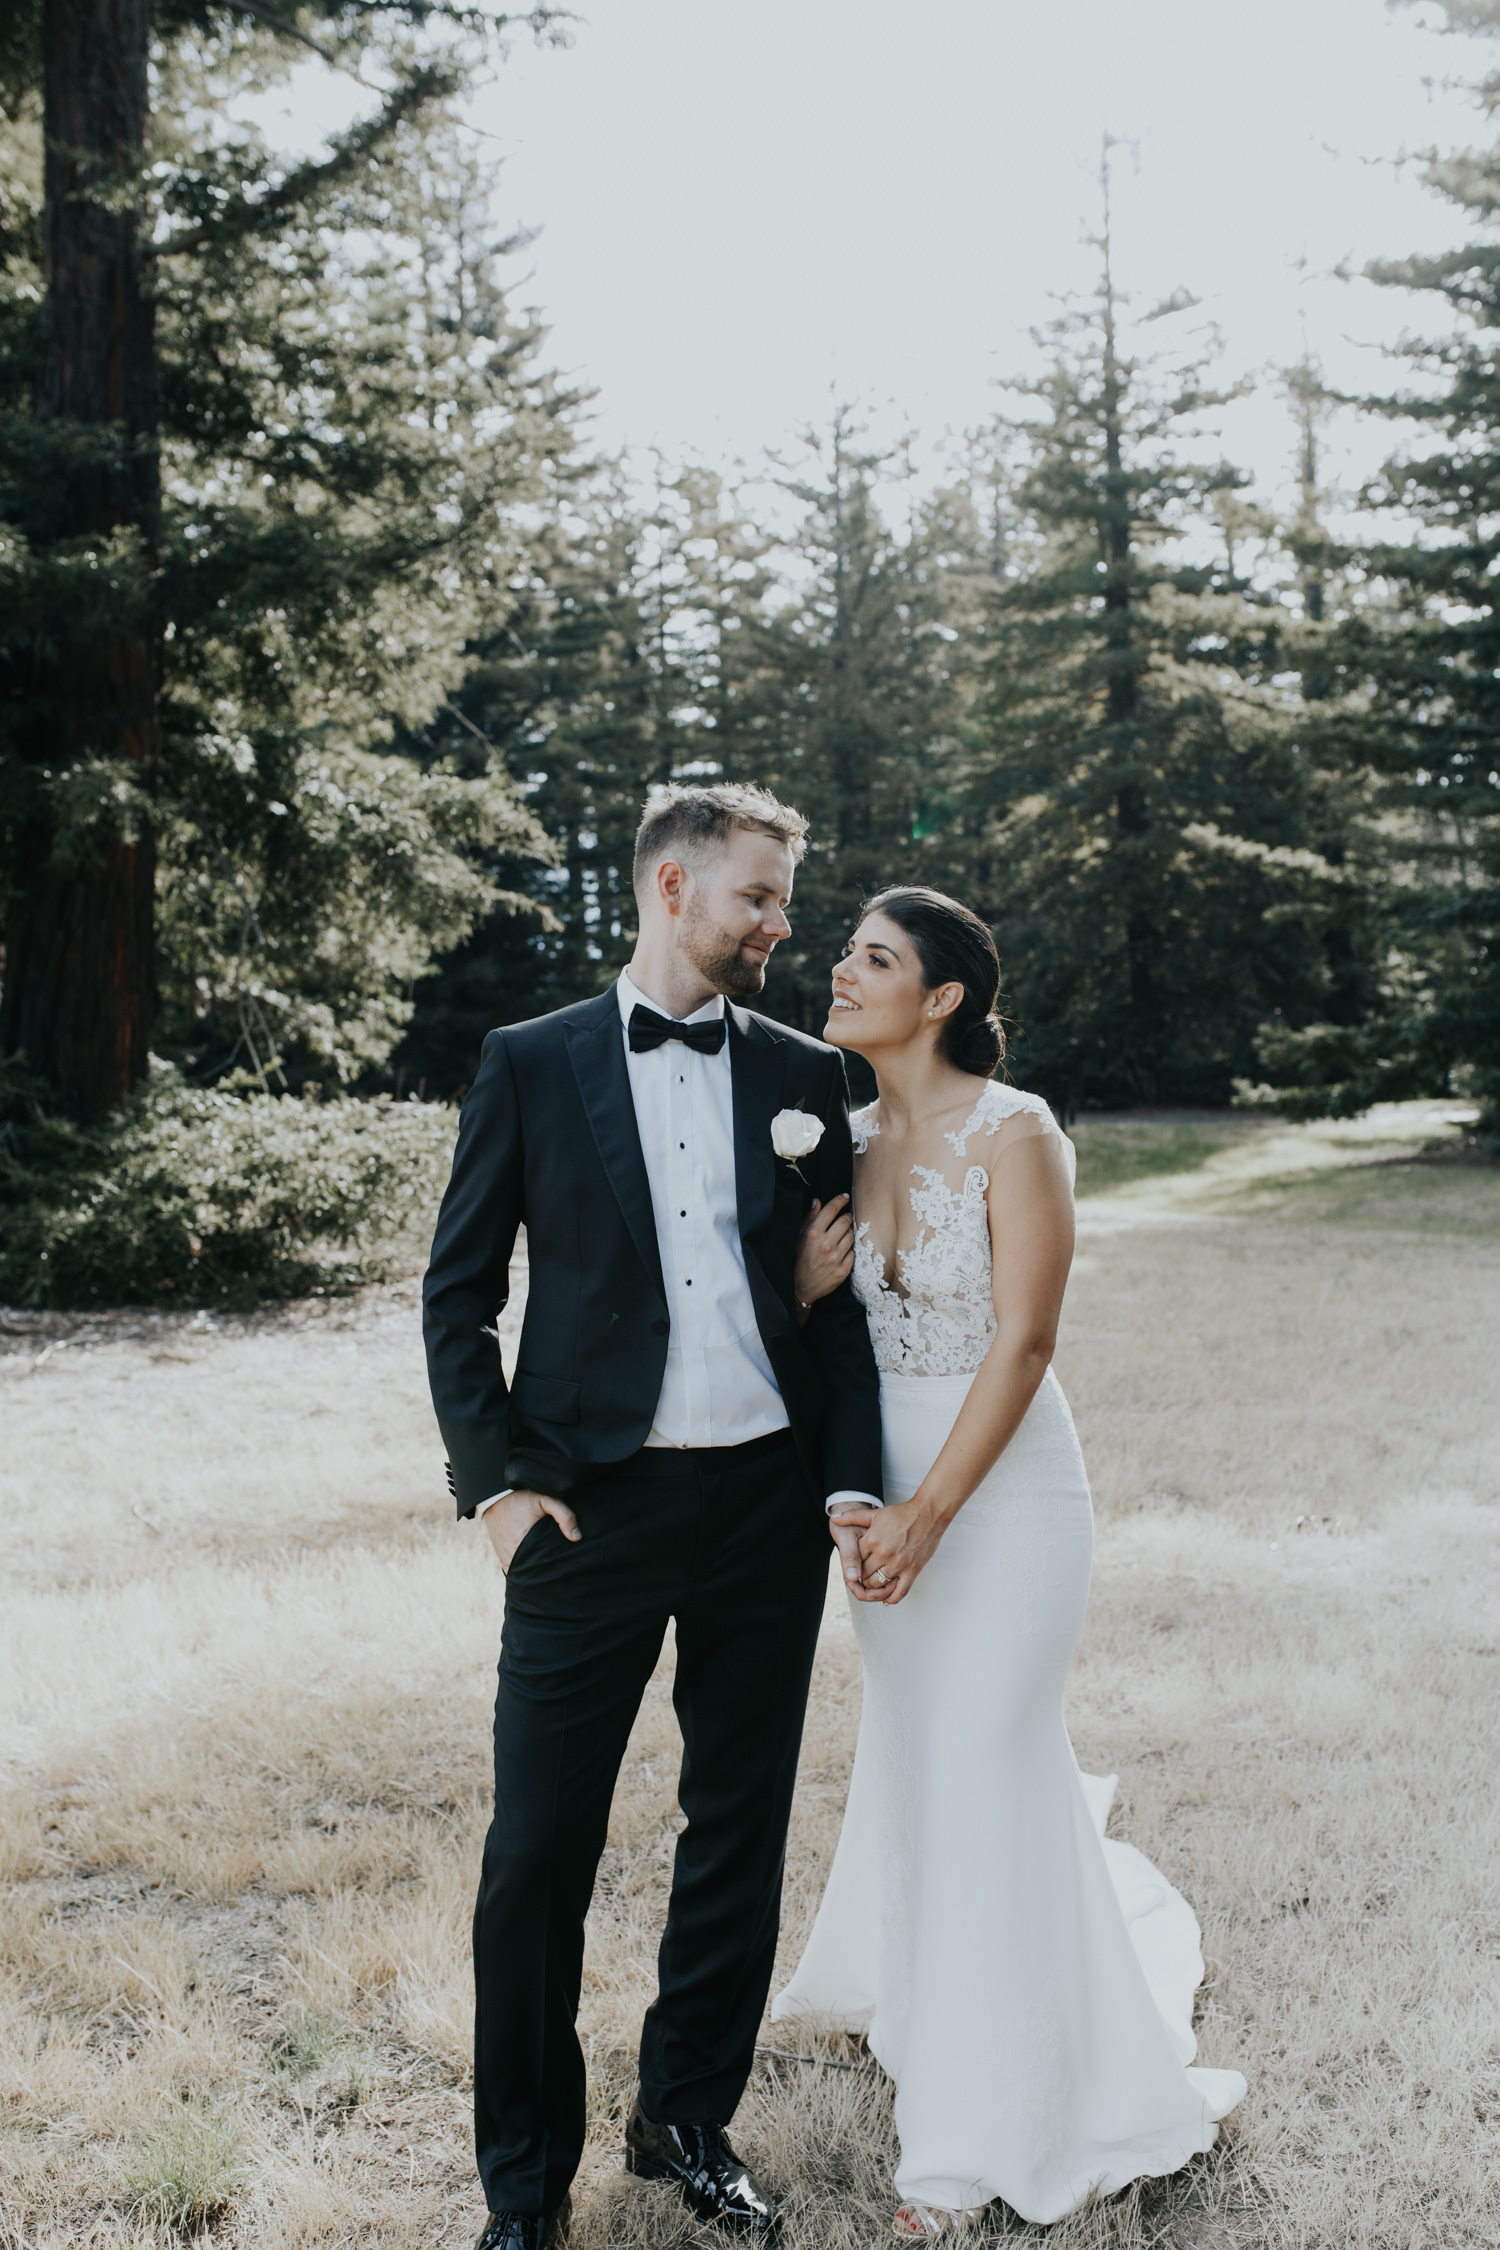
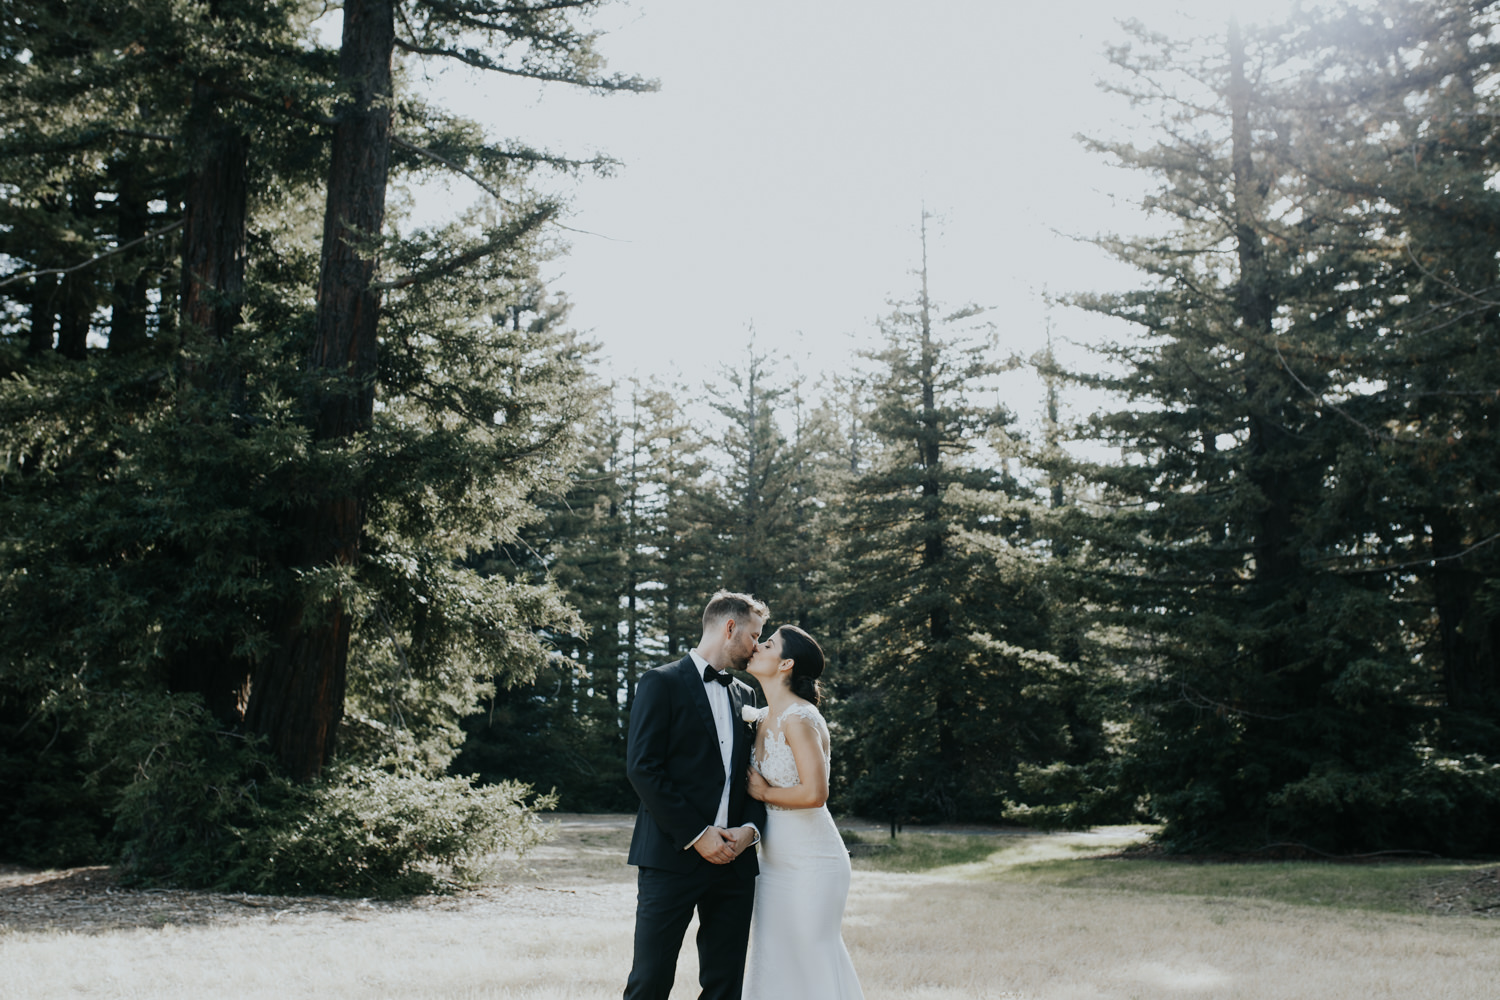
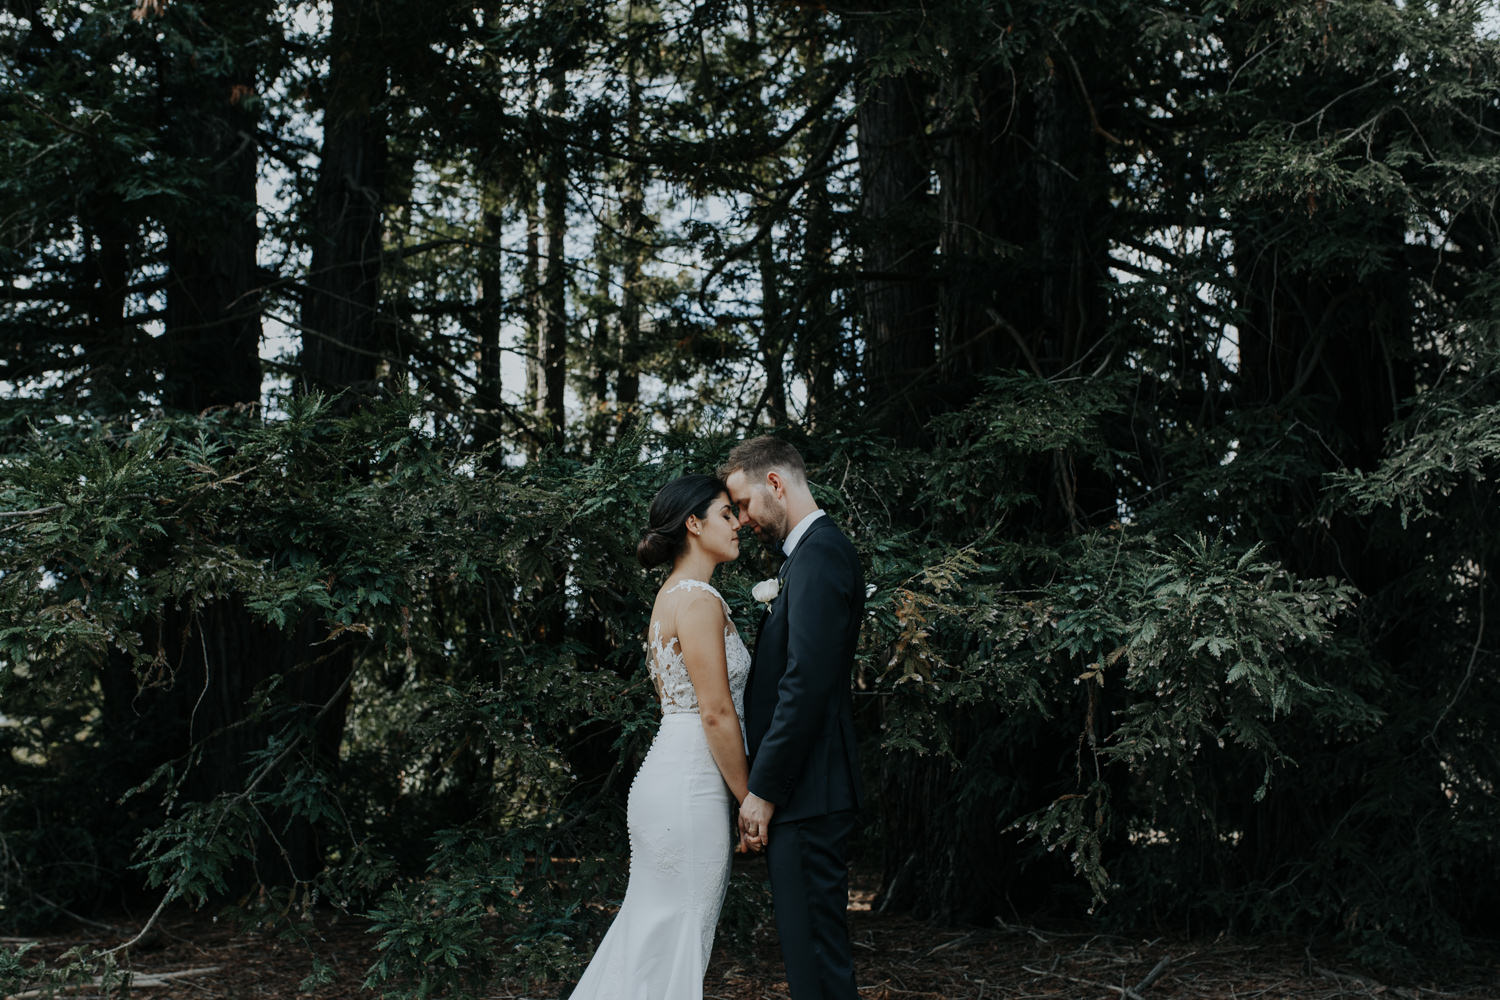
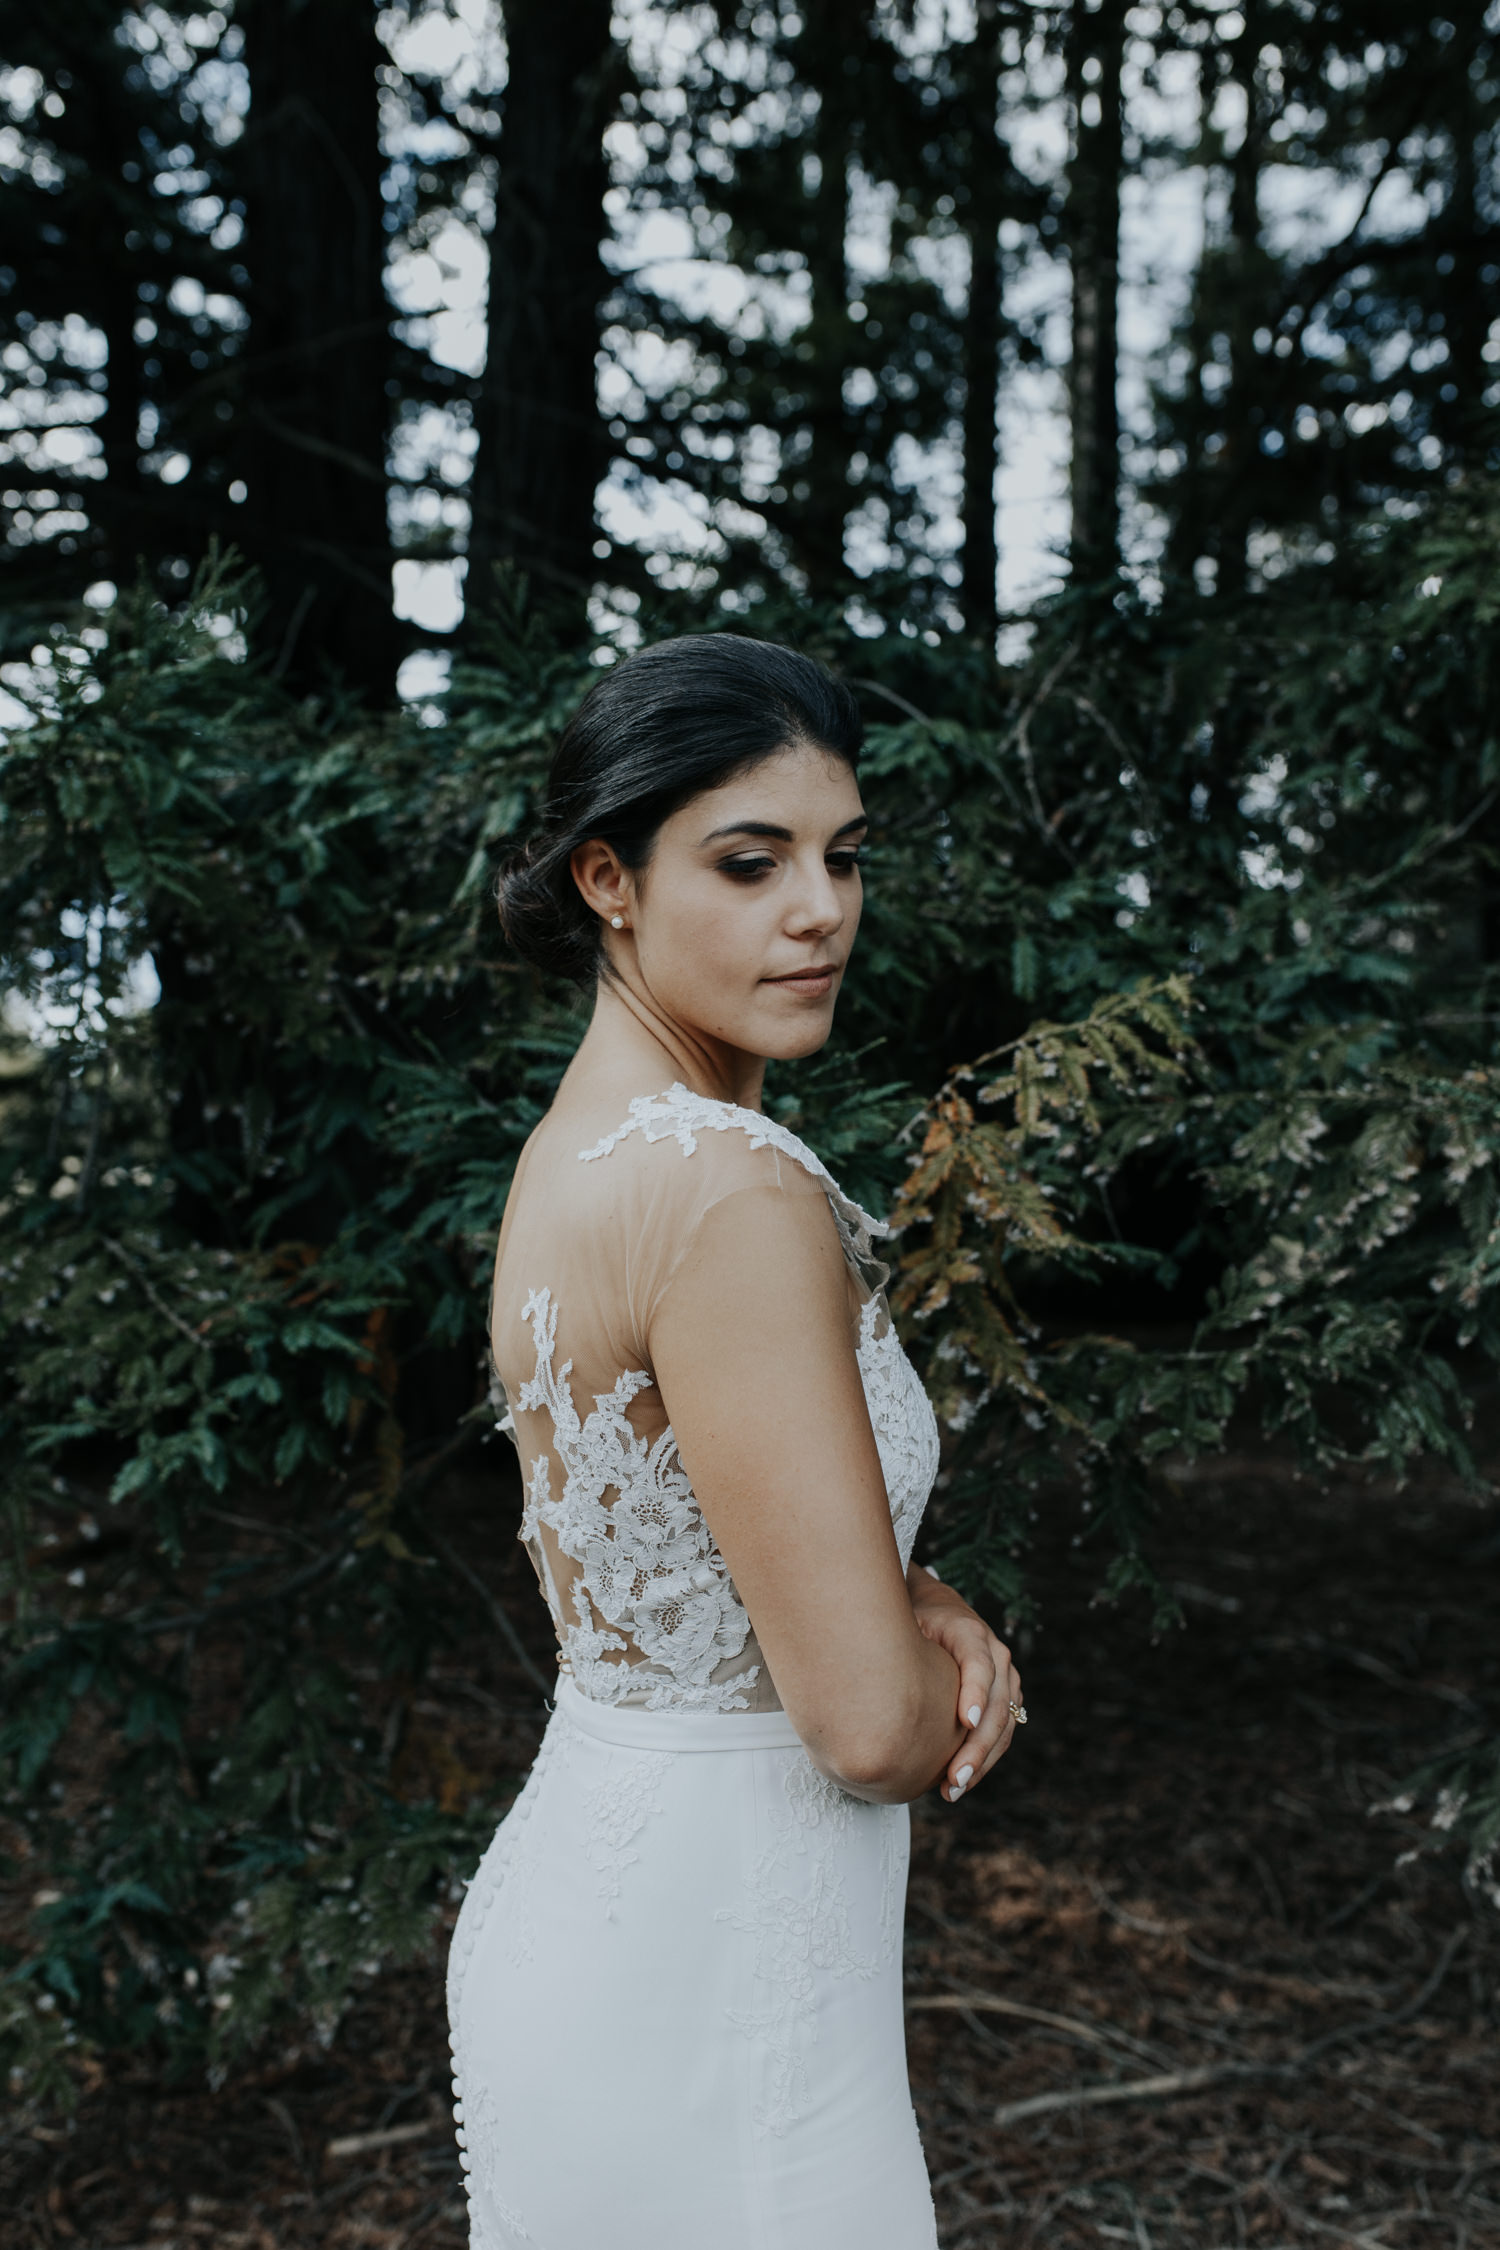
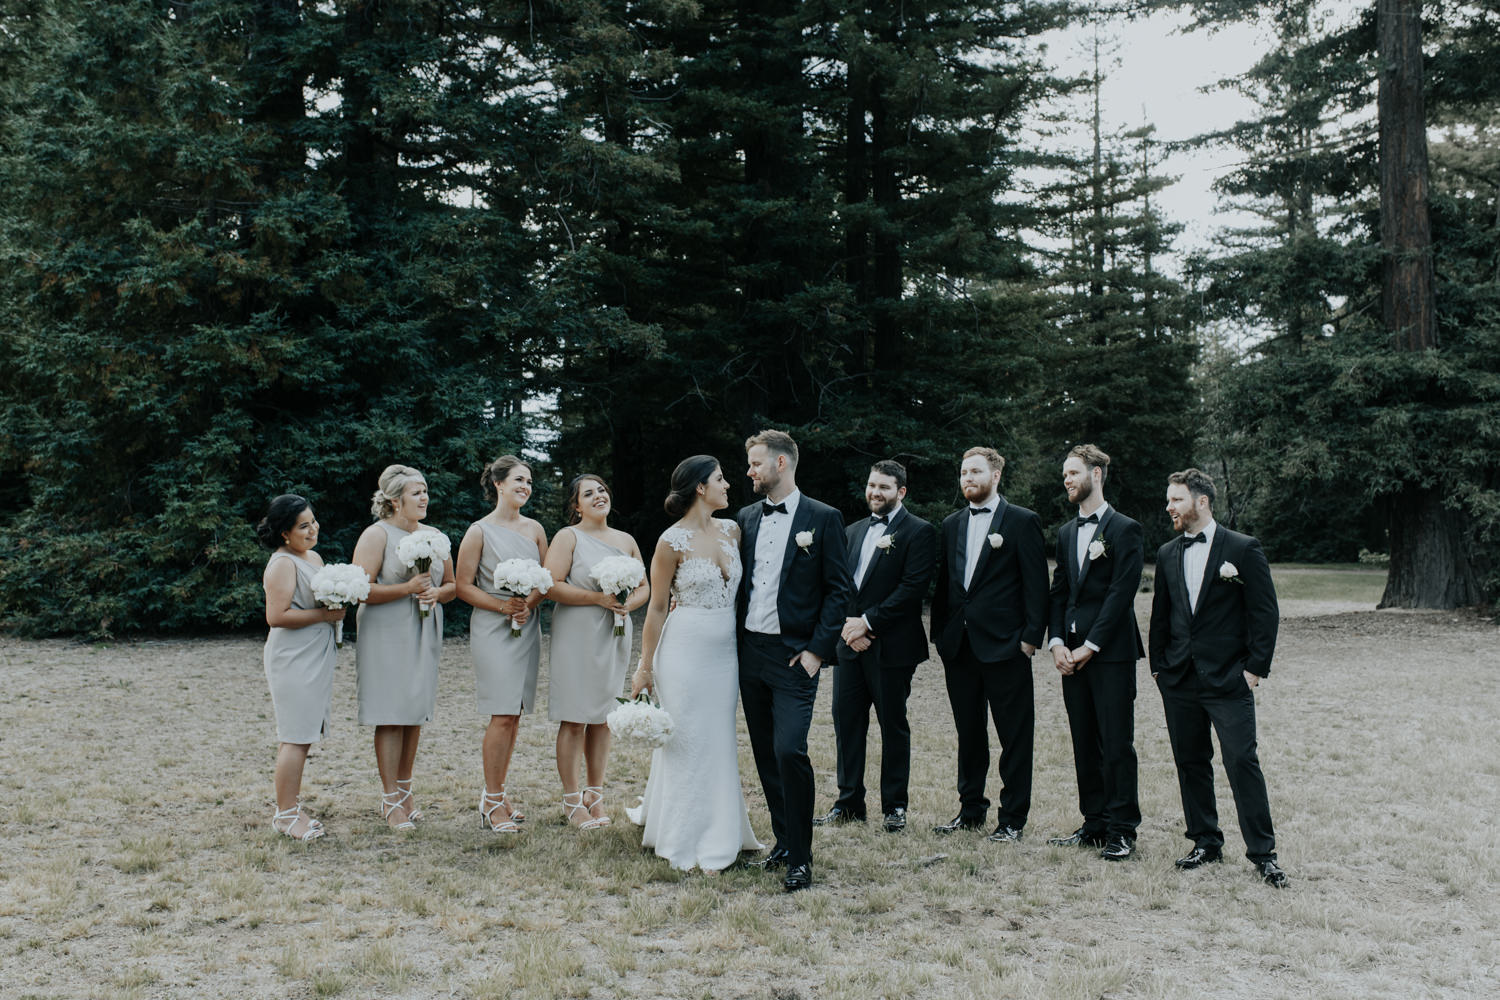
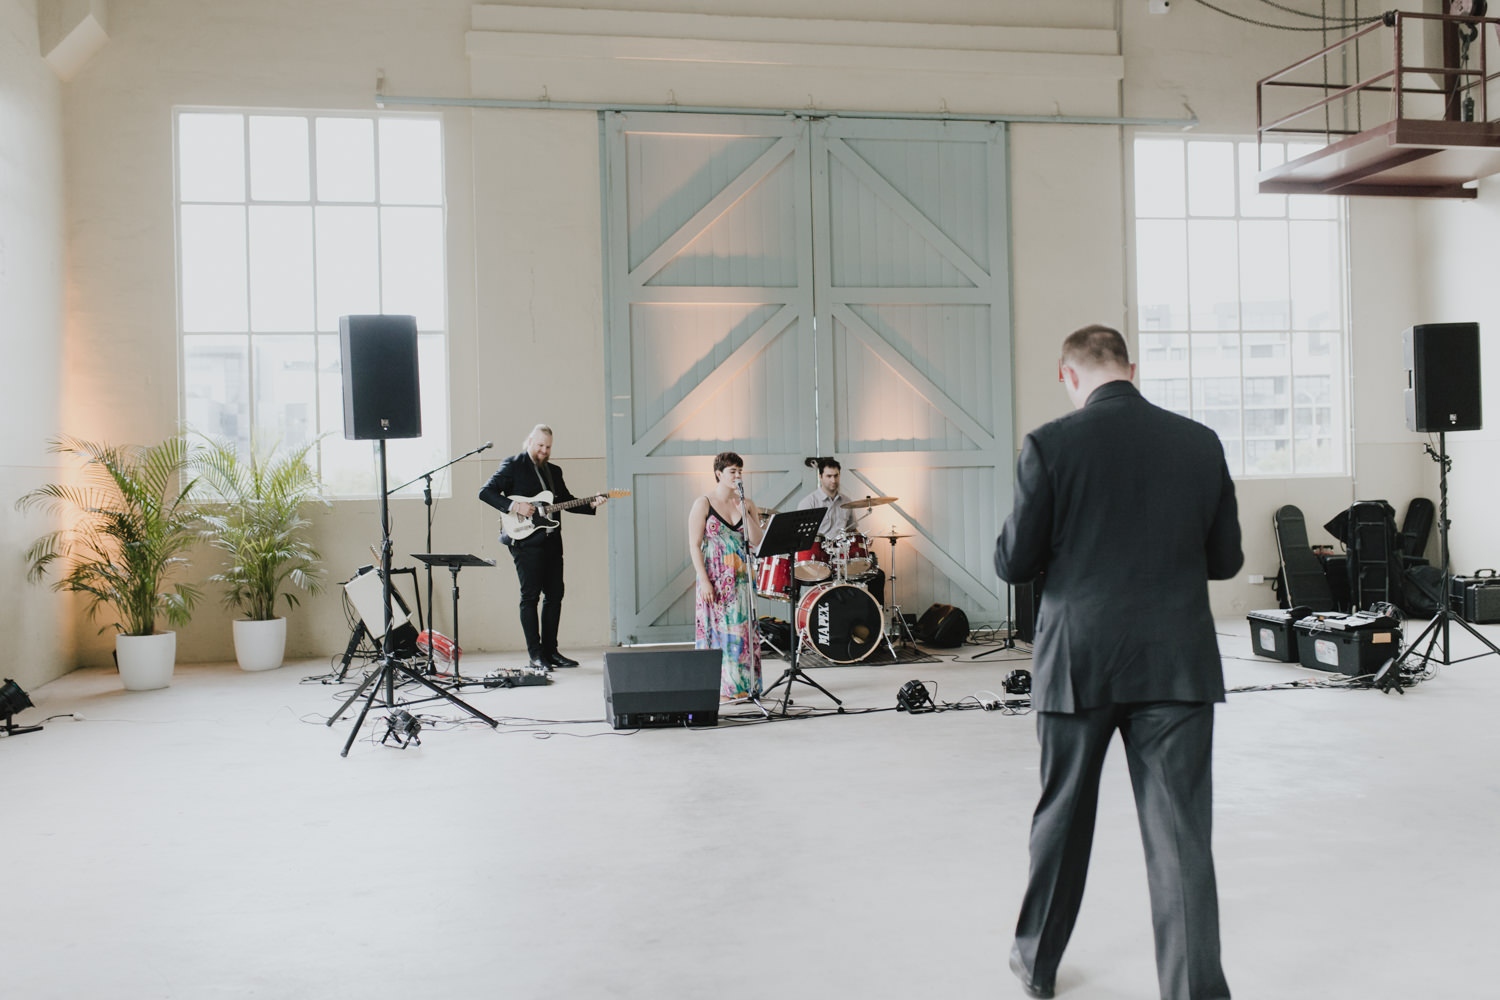
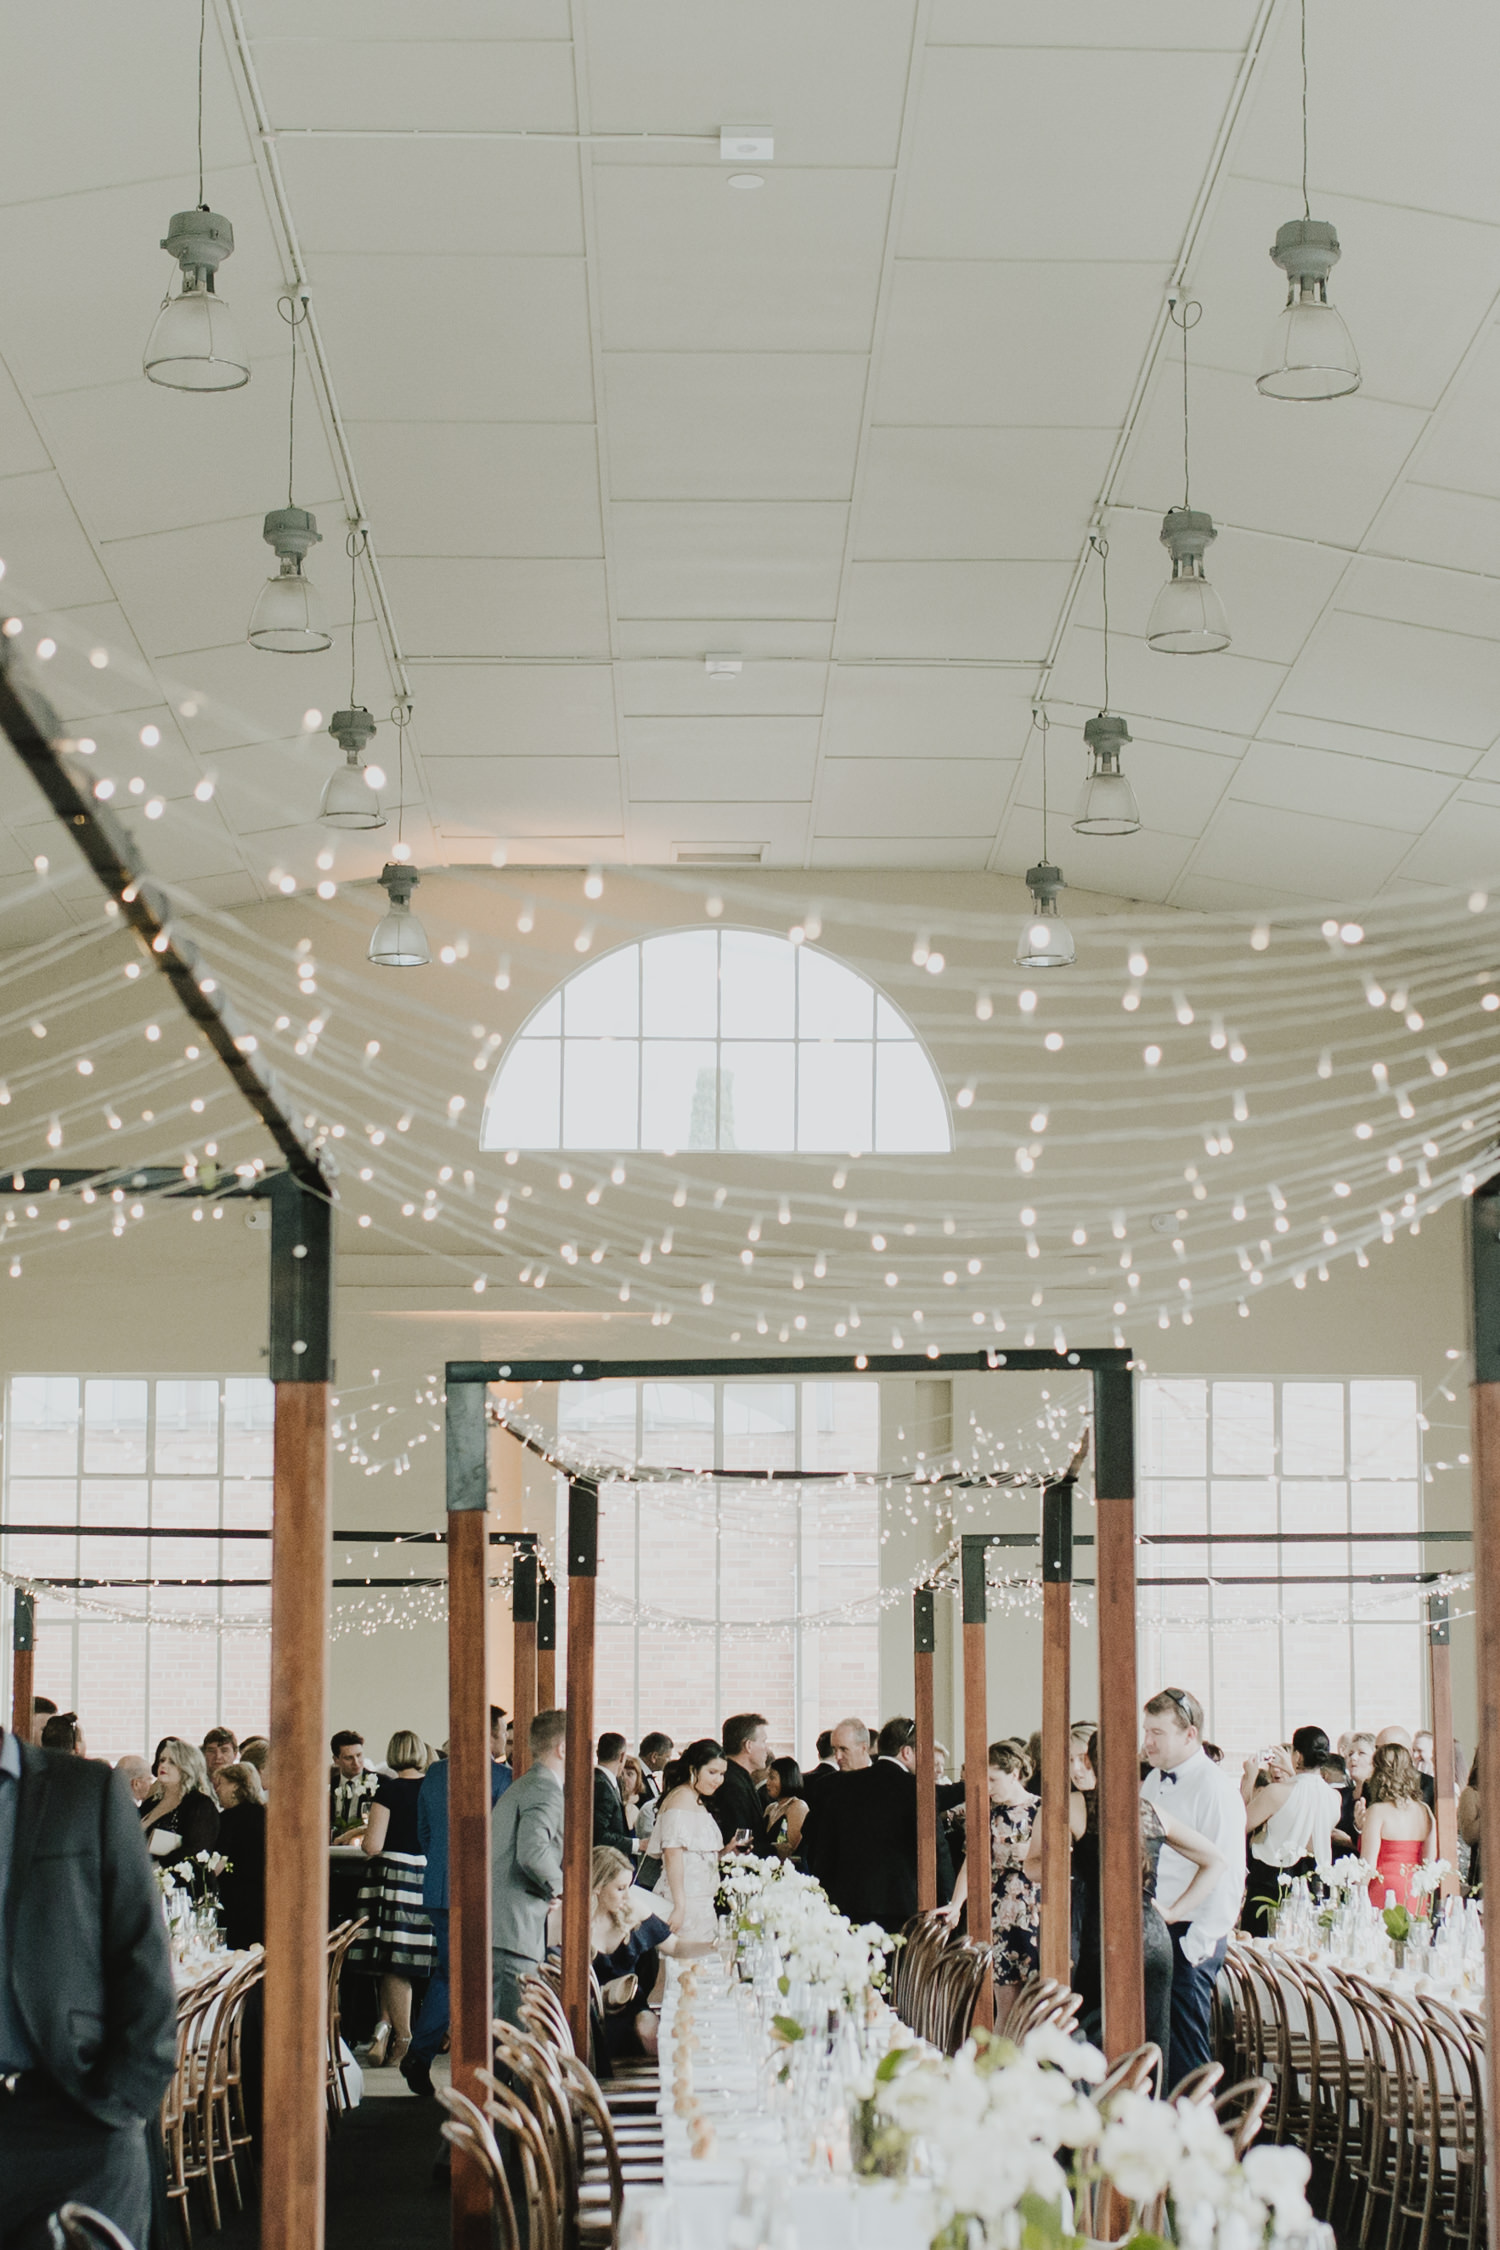
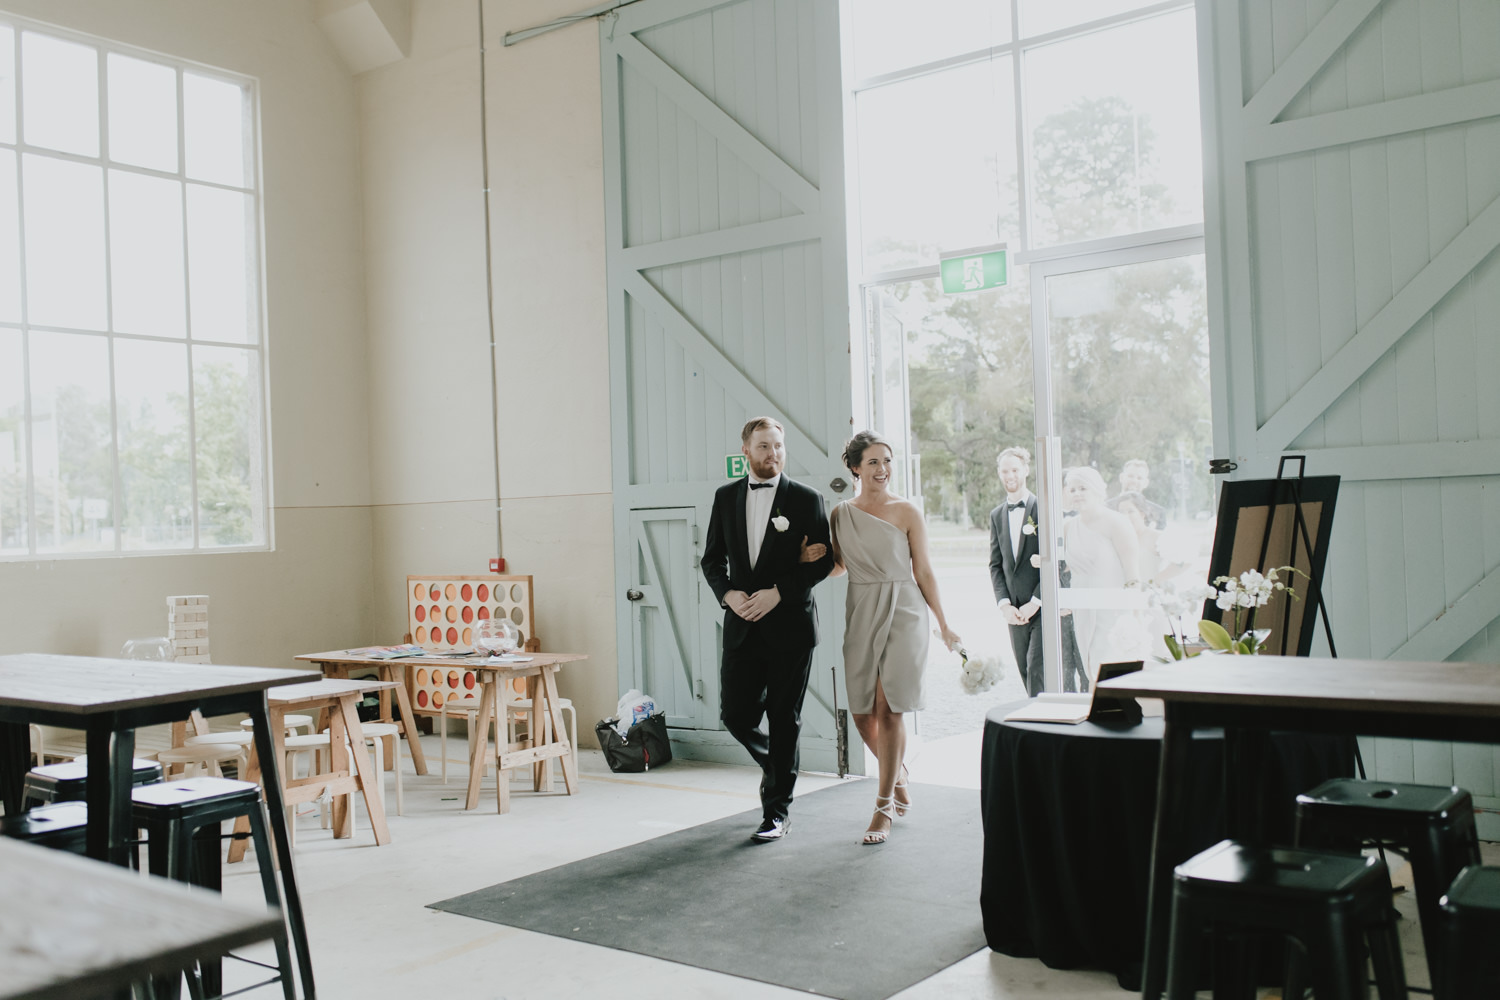
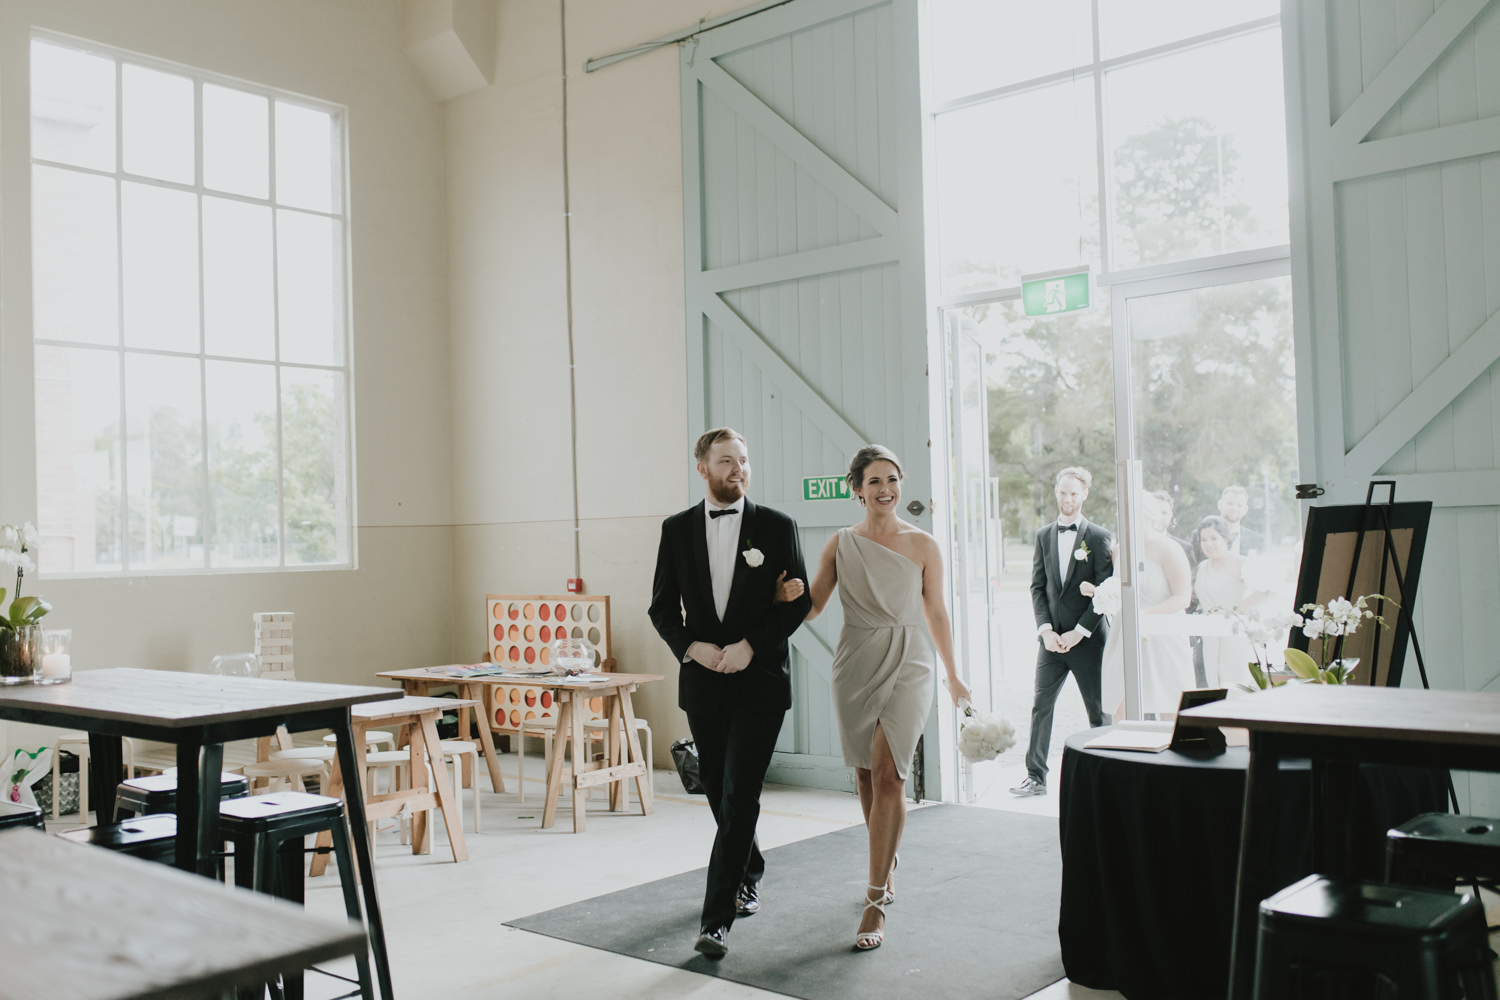
Sandra and Daniel got married at St Gregory's Church in Queanbeyan and then had their reception at The Fitters' Workshop in Kingston. I felt honoured to spend the day with them and their closest friends from the start of the day while they were getting ready, to the beautiful ceremony, exploring forests in Piallago with the bridal party, and then joining in the celebrations at the Fitters' Workshop.
Sandra and Daniel got married at St Gregory's Church in Queanbeyan and then had their reception at The Fitters' Workshop in Kingston. I felt honoured to spend the day with them and their closest friends from the start of the day while they were getting ready, to the beautiful ceremony, exploring forests in Piallago with the bridal party, and then joining in the celebrations at the Fitters' Workshop.


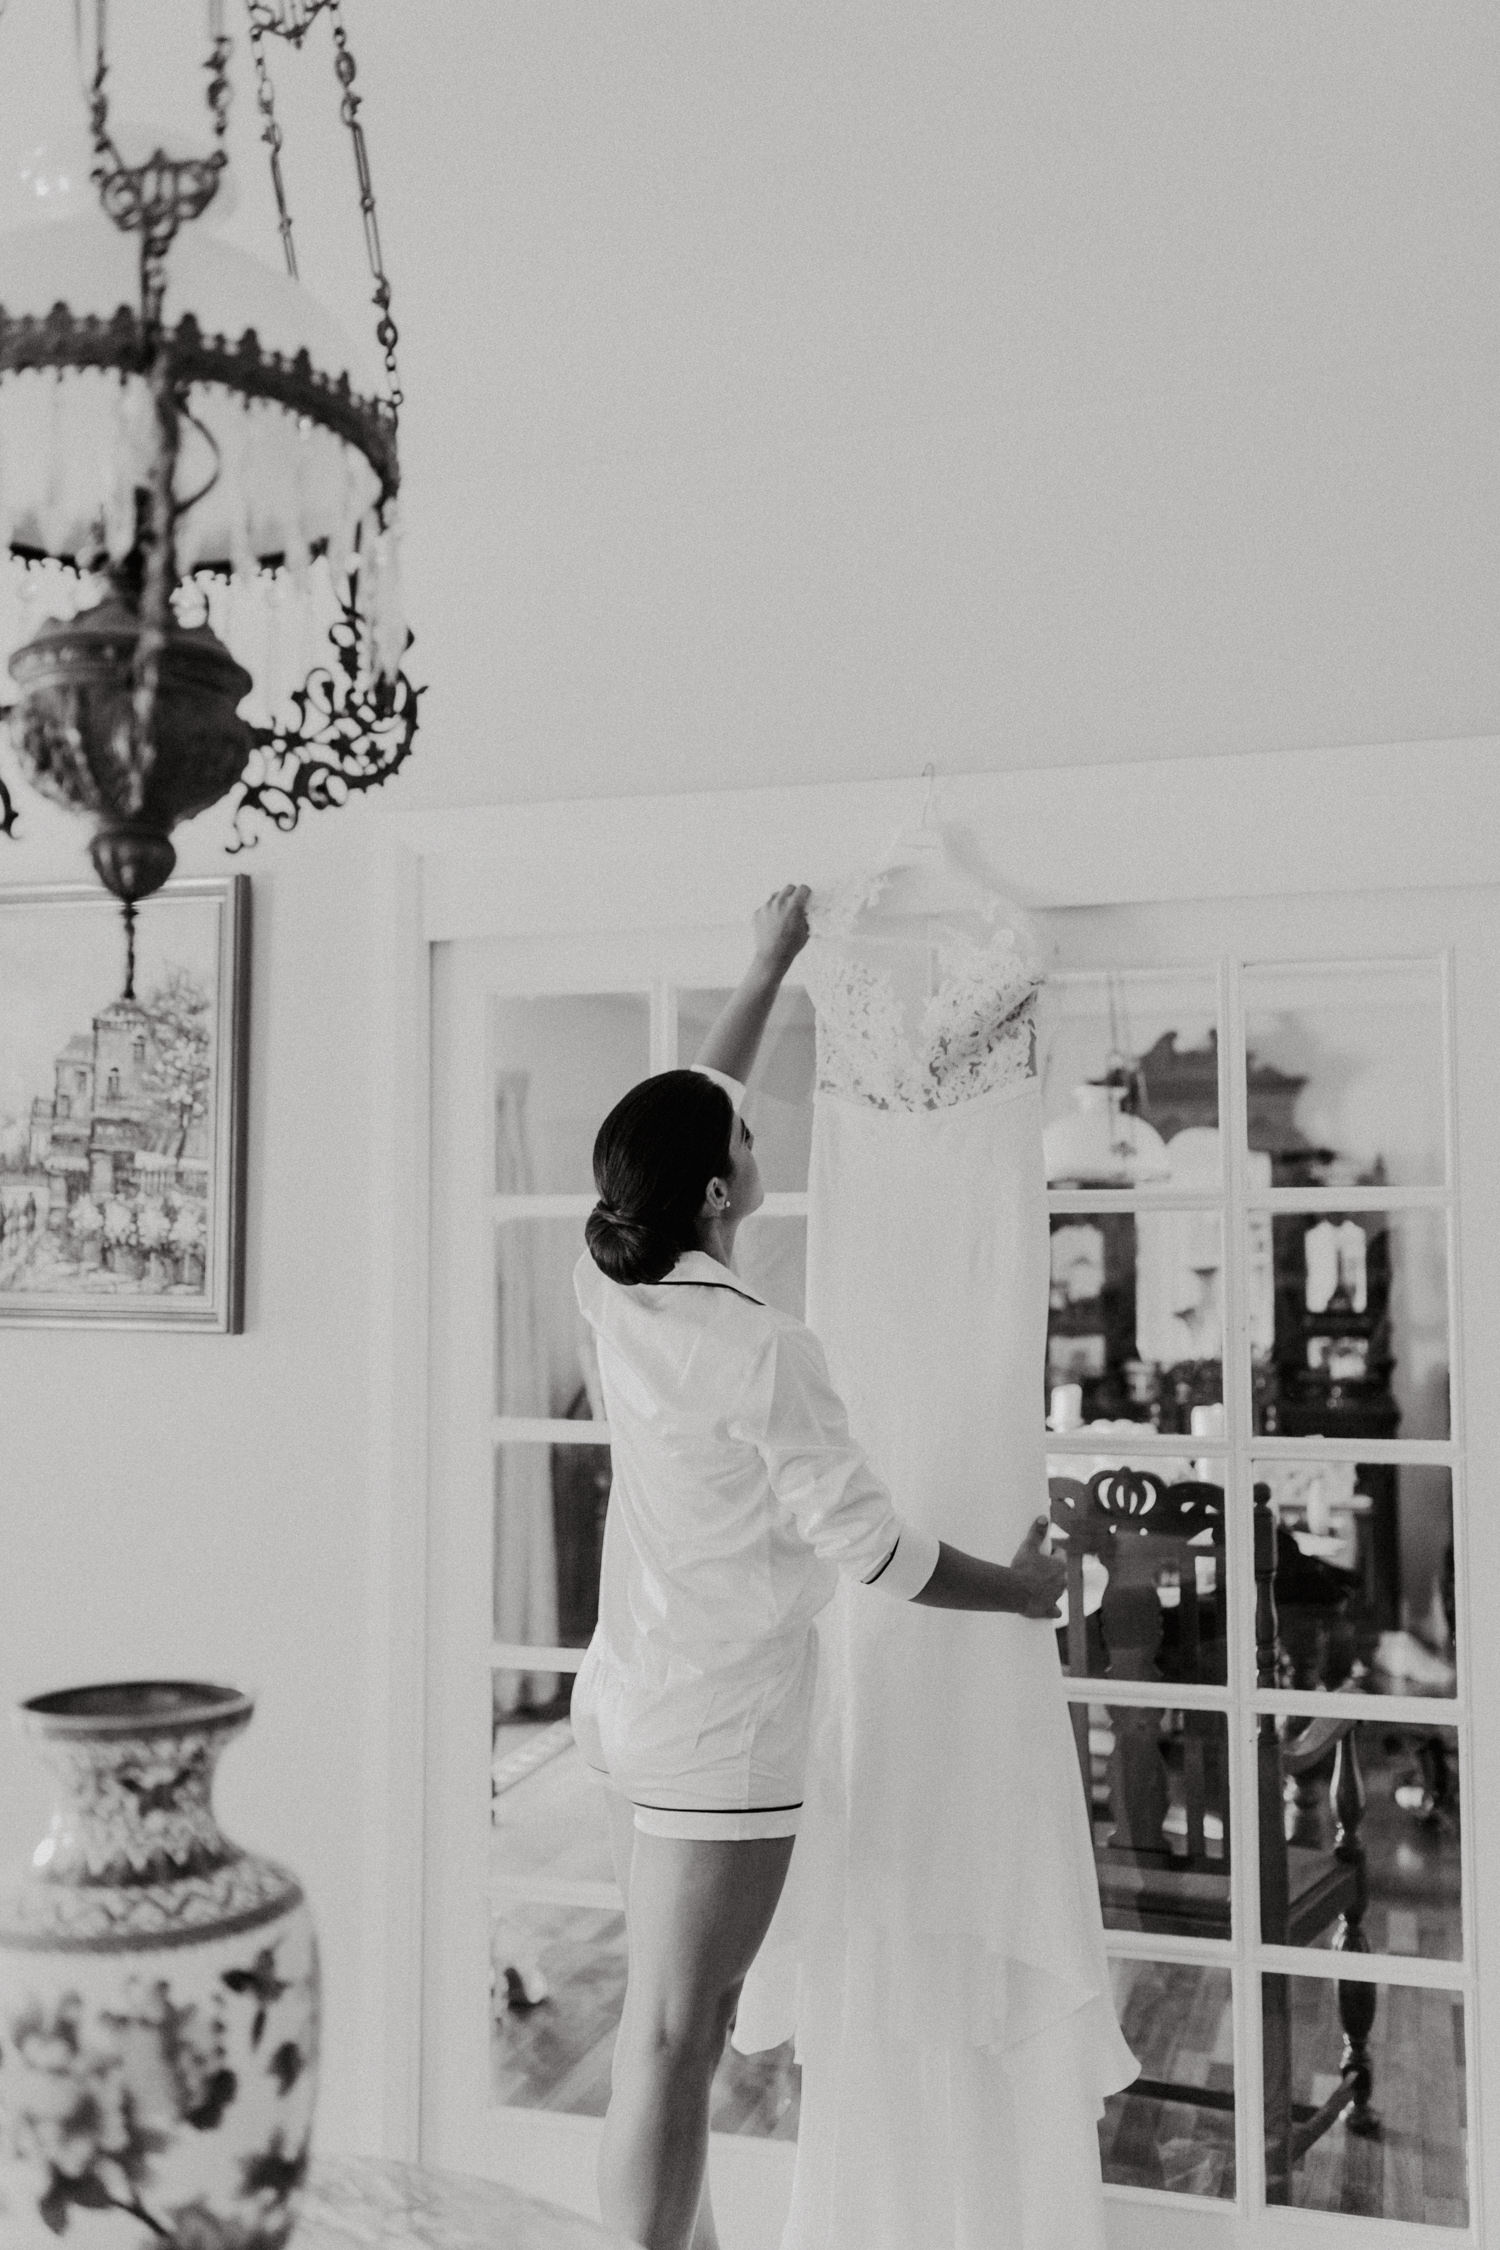


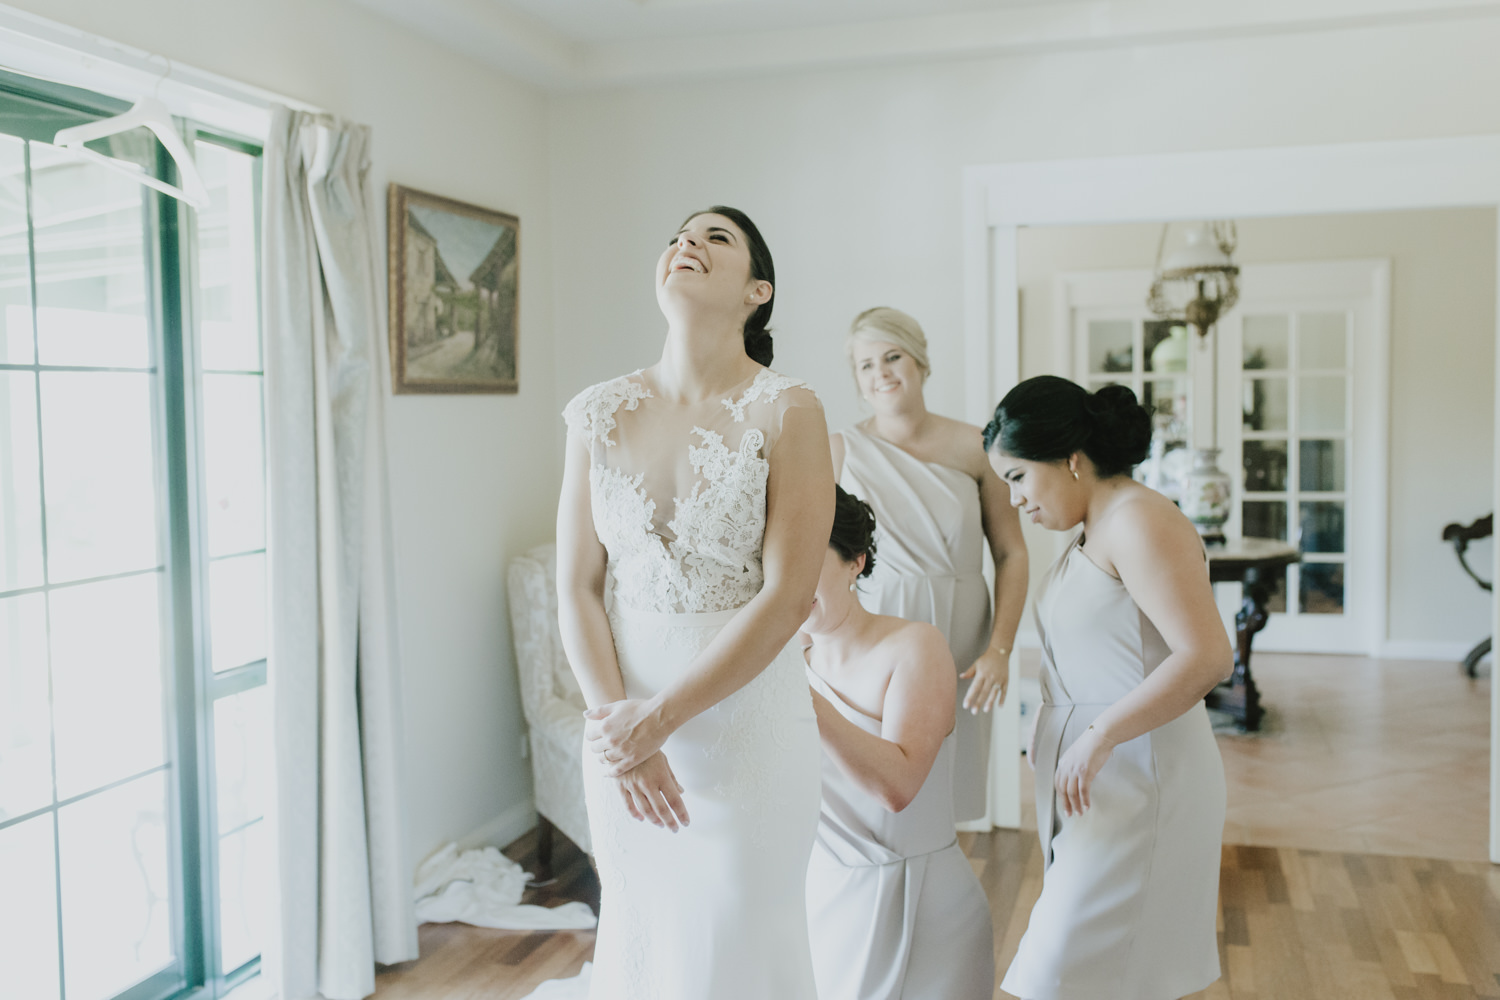


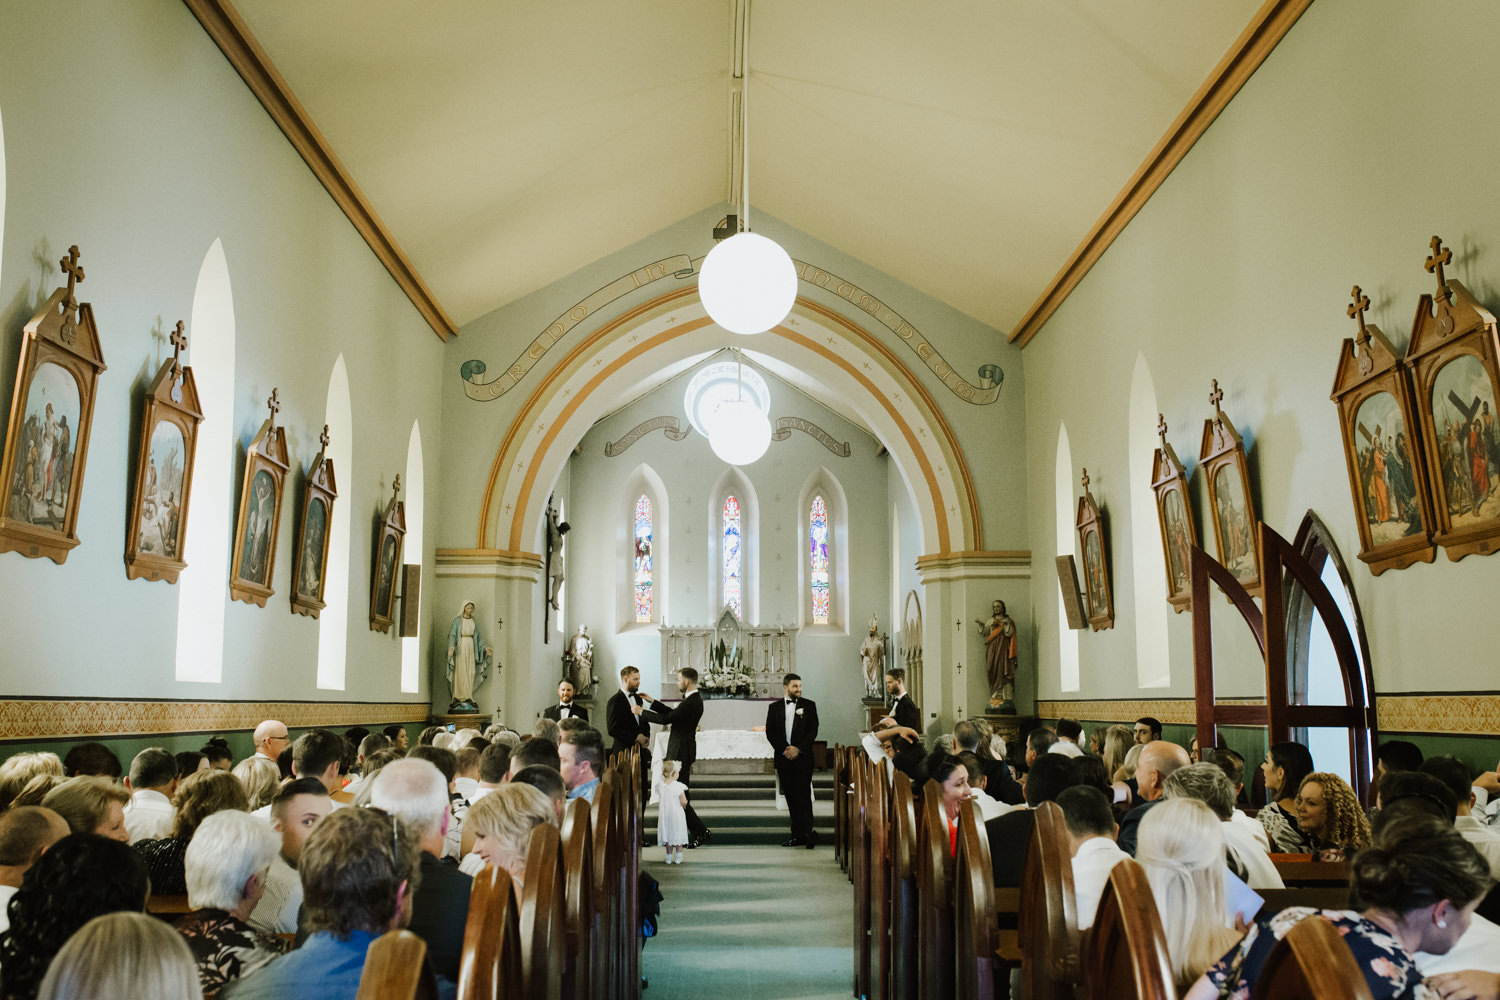
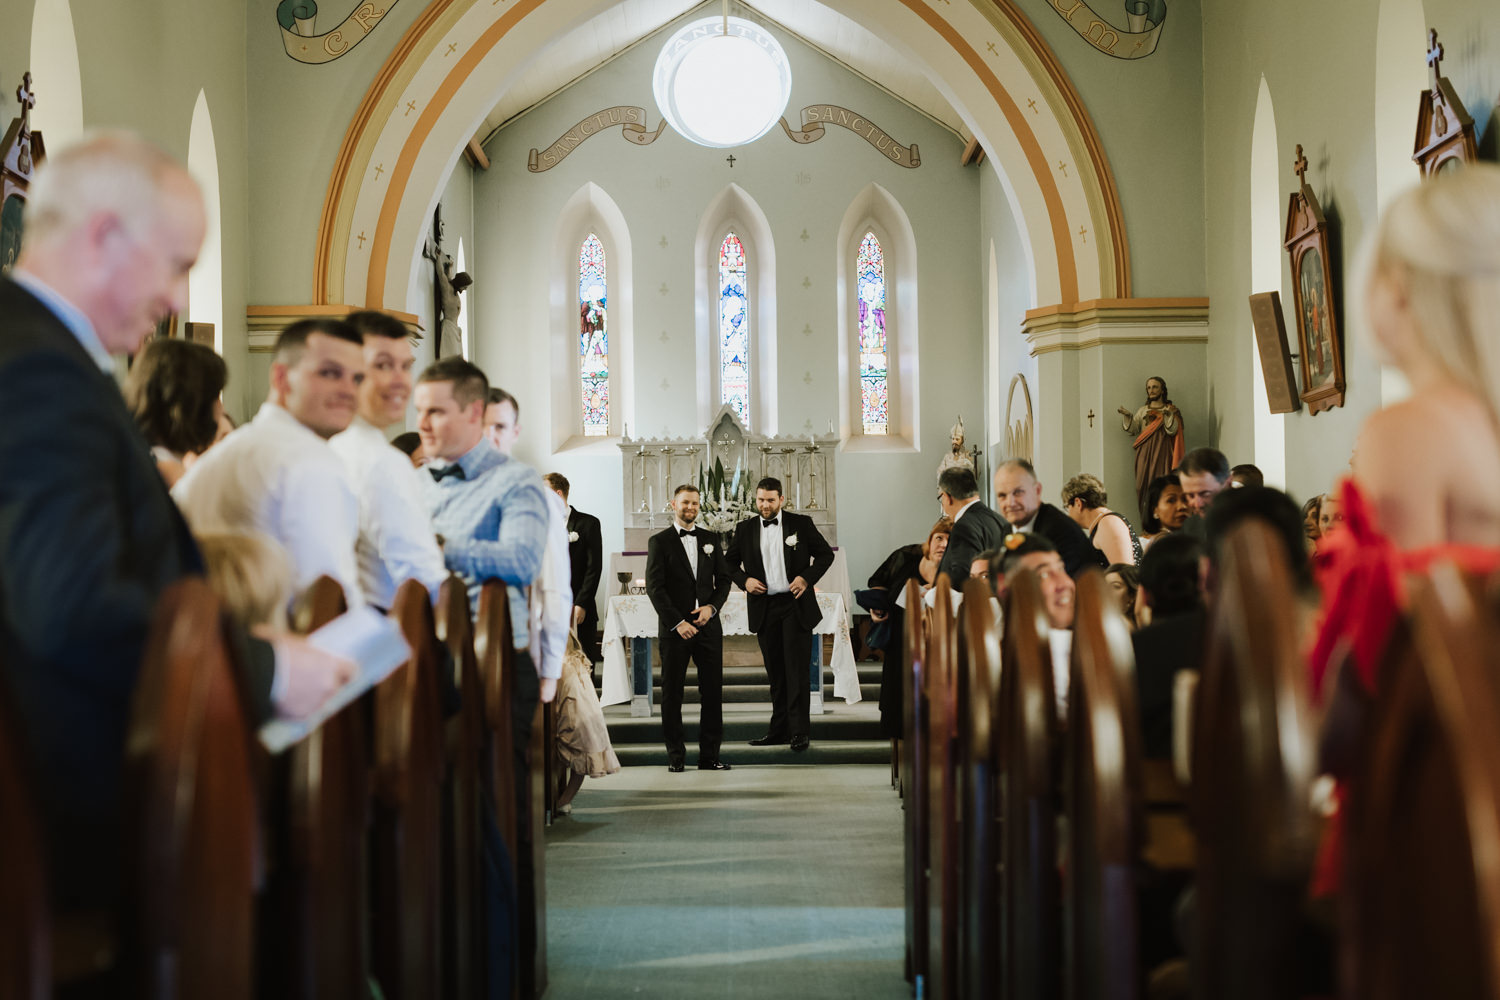

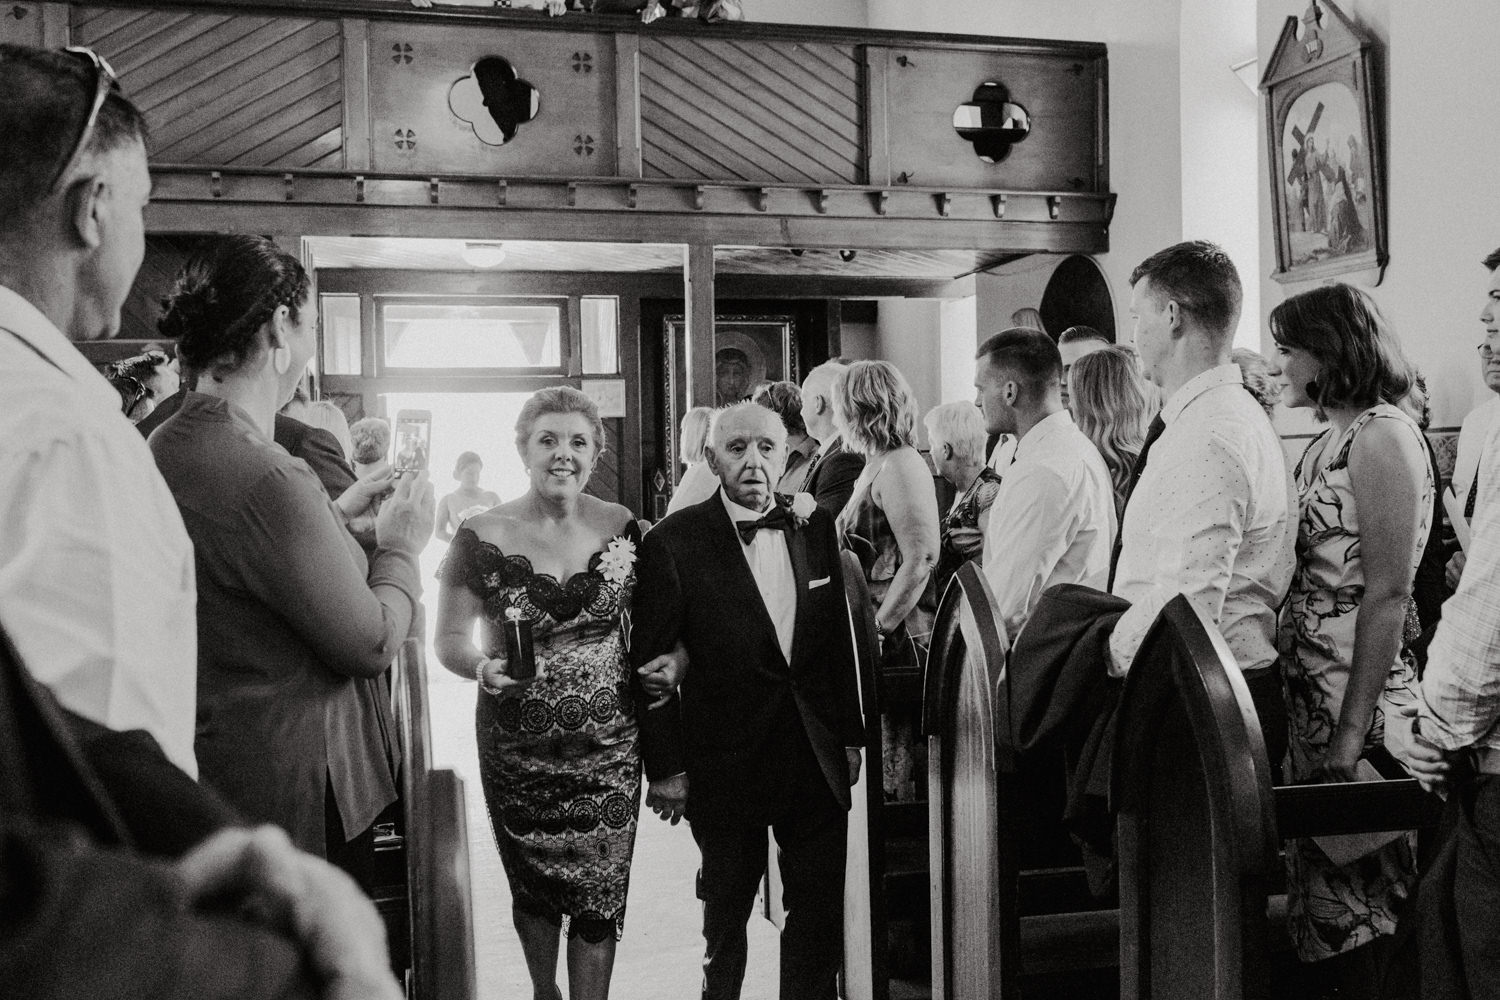
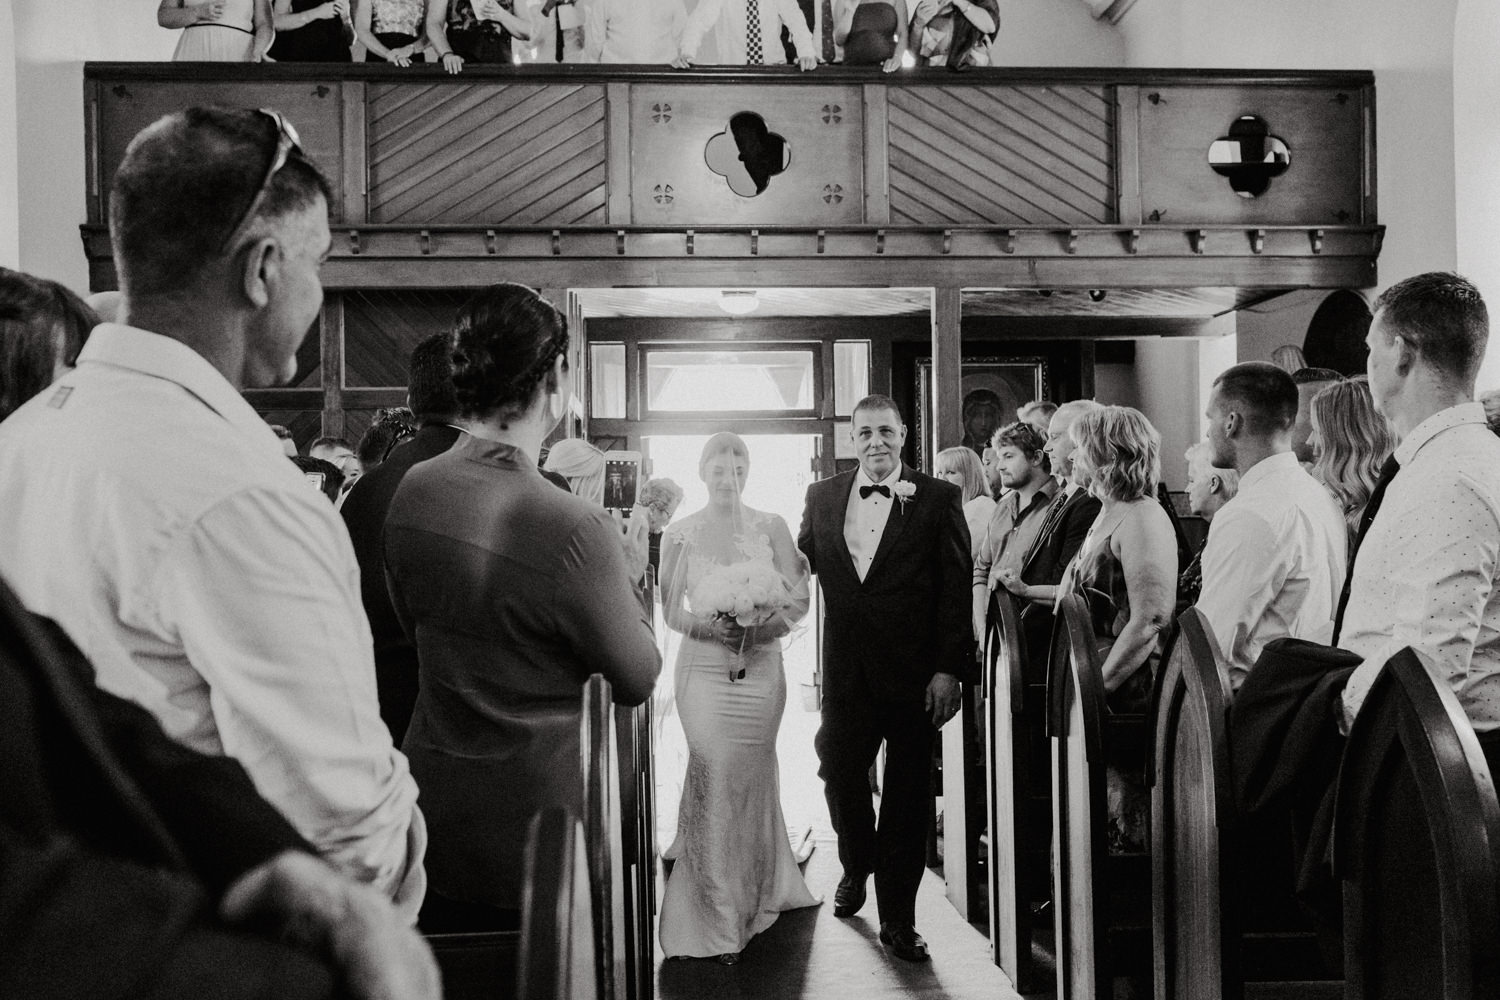


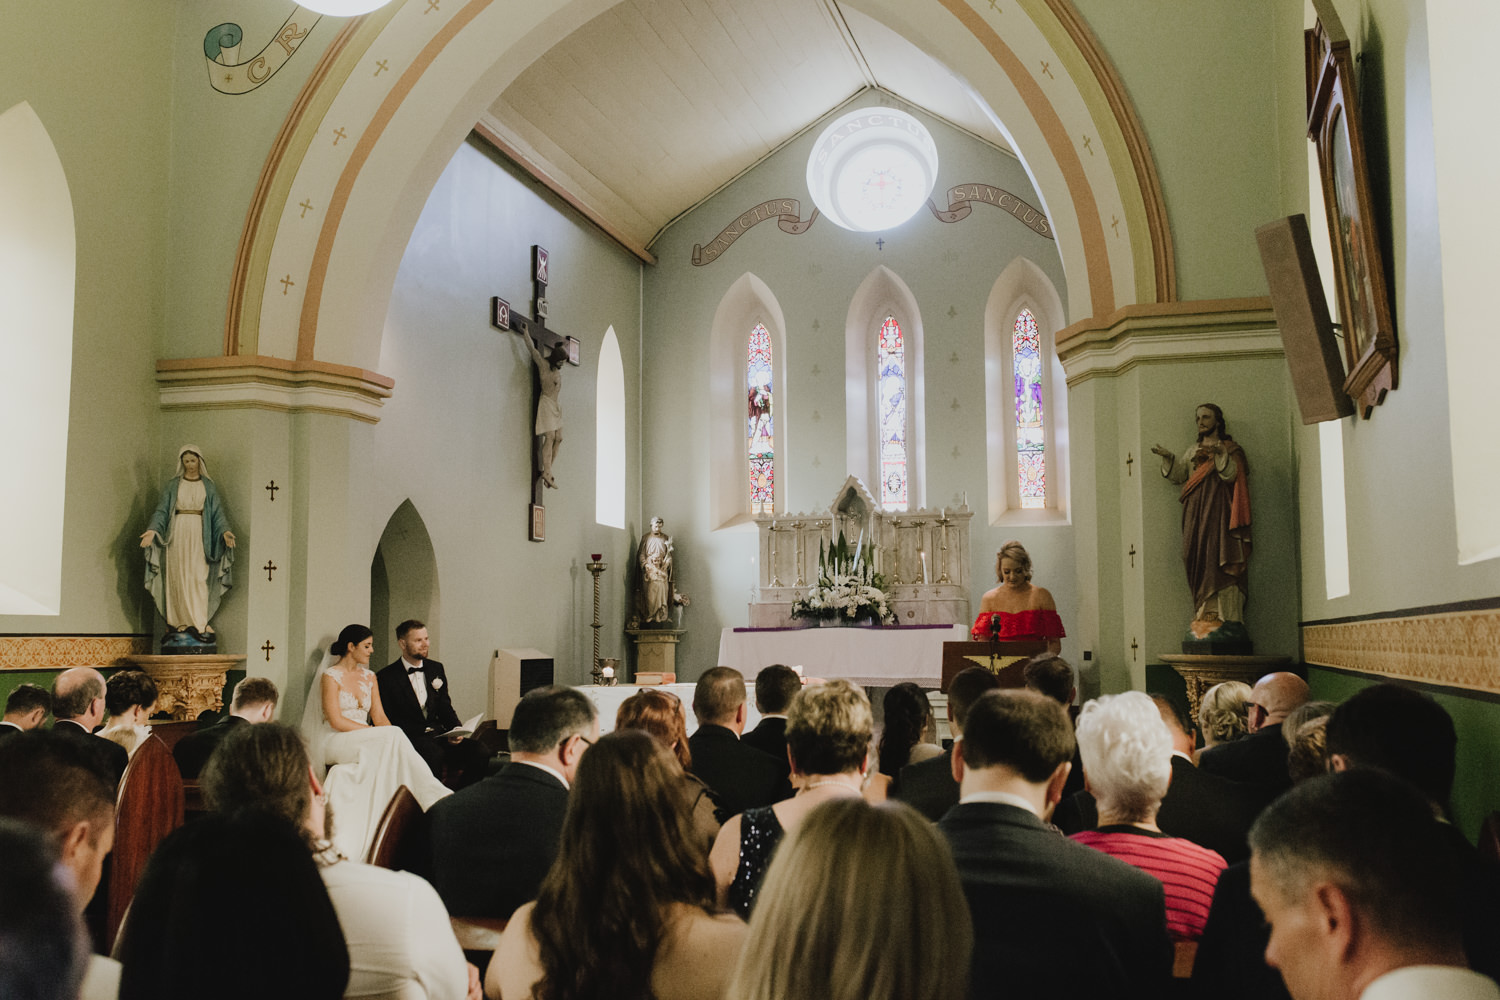
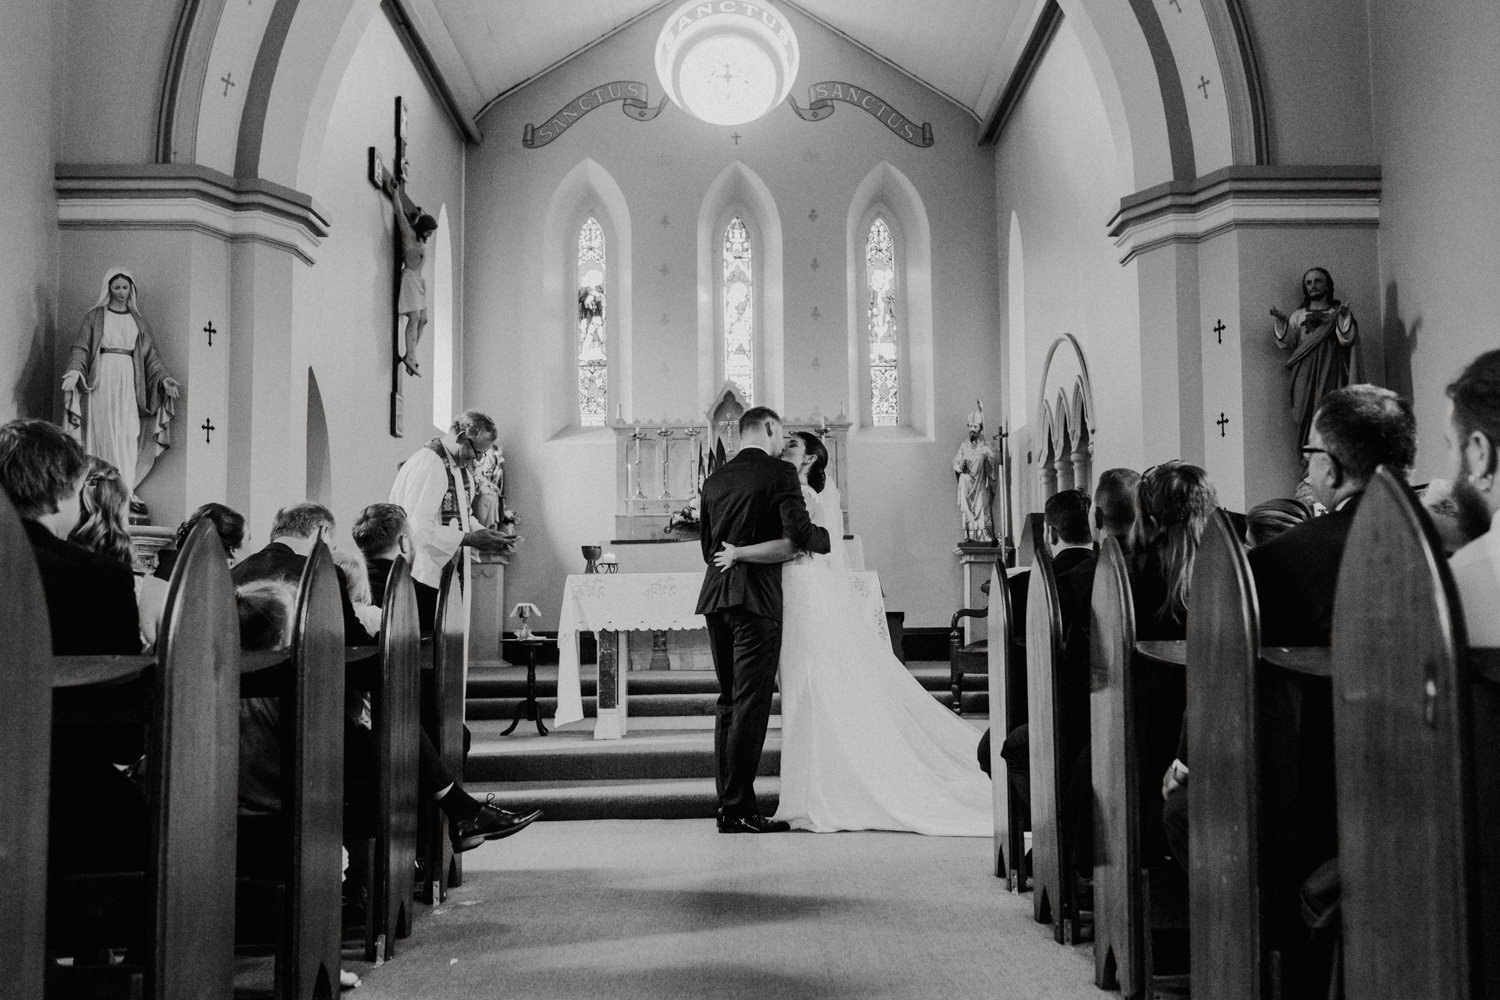
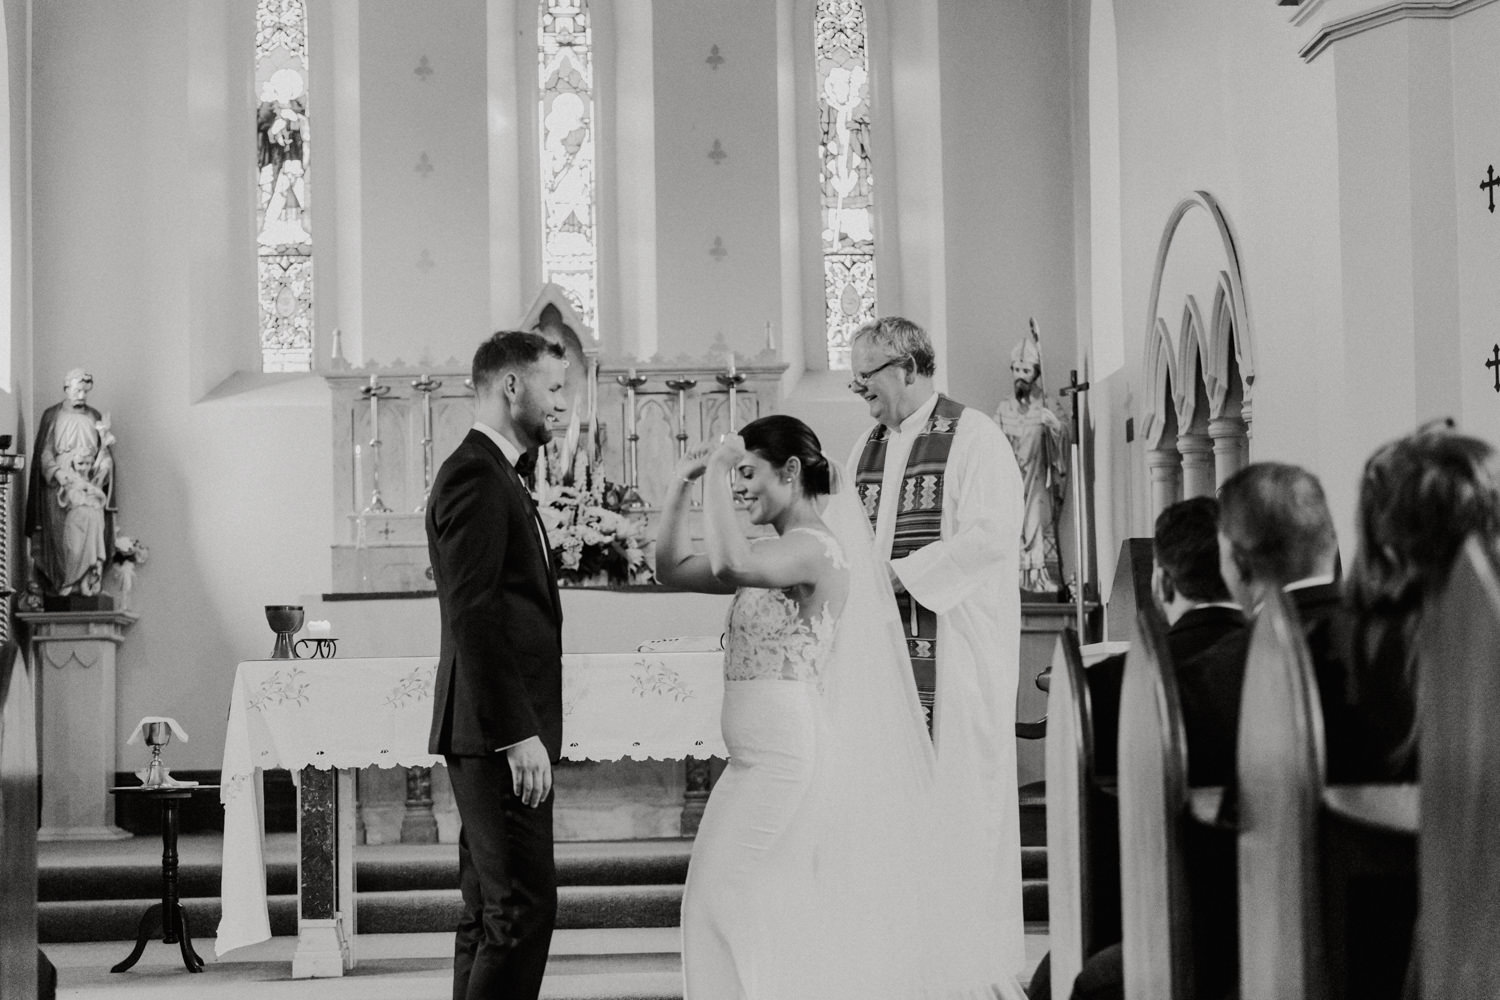
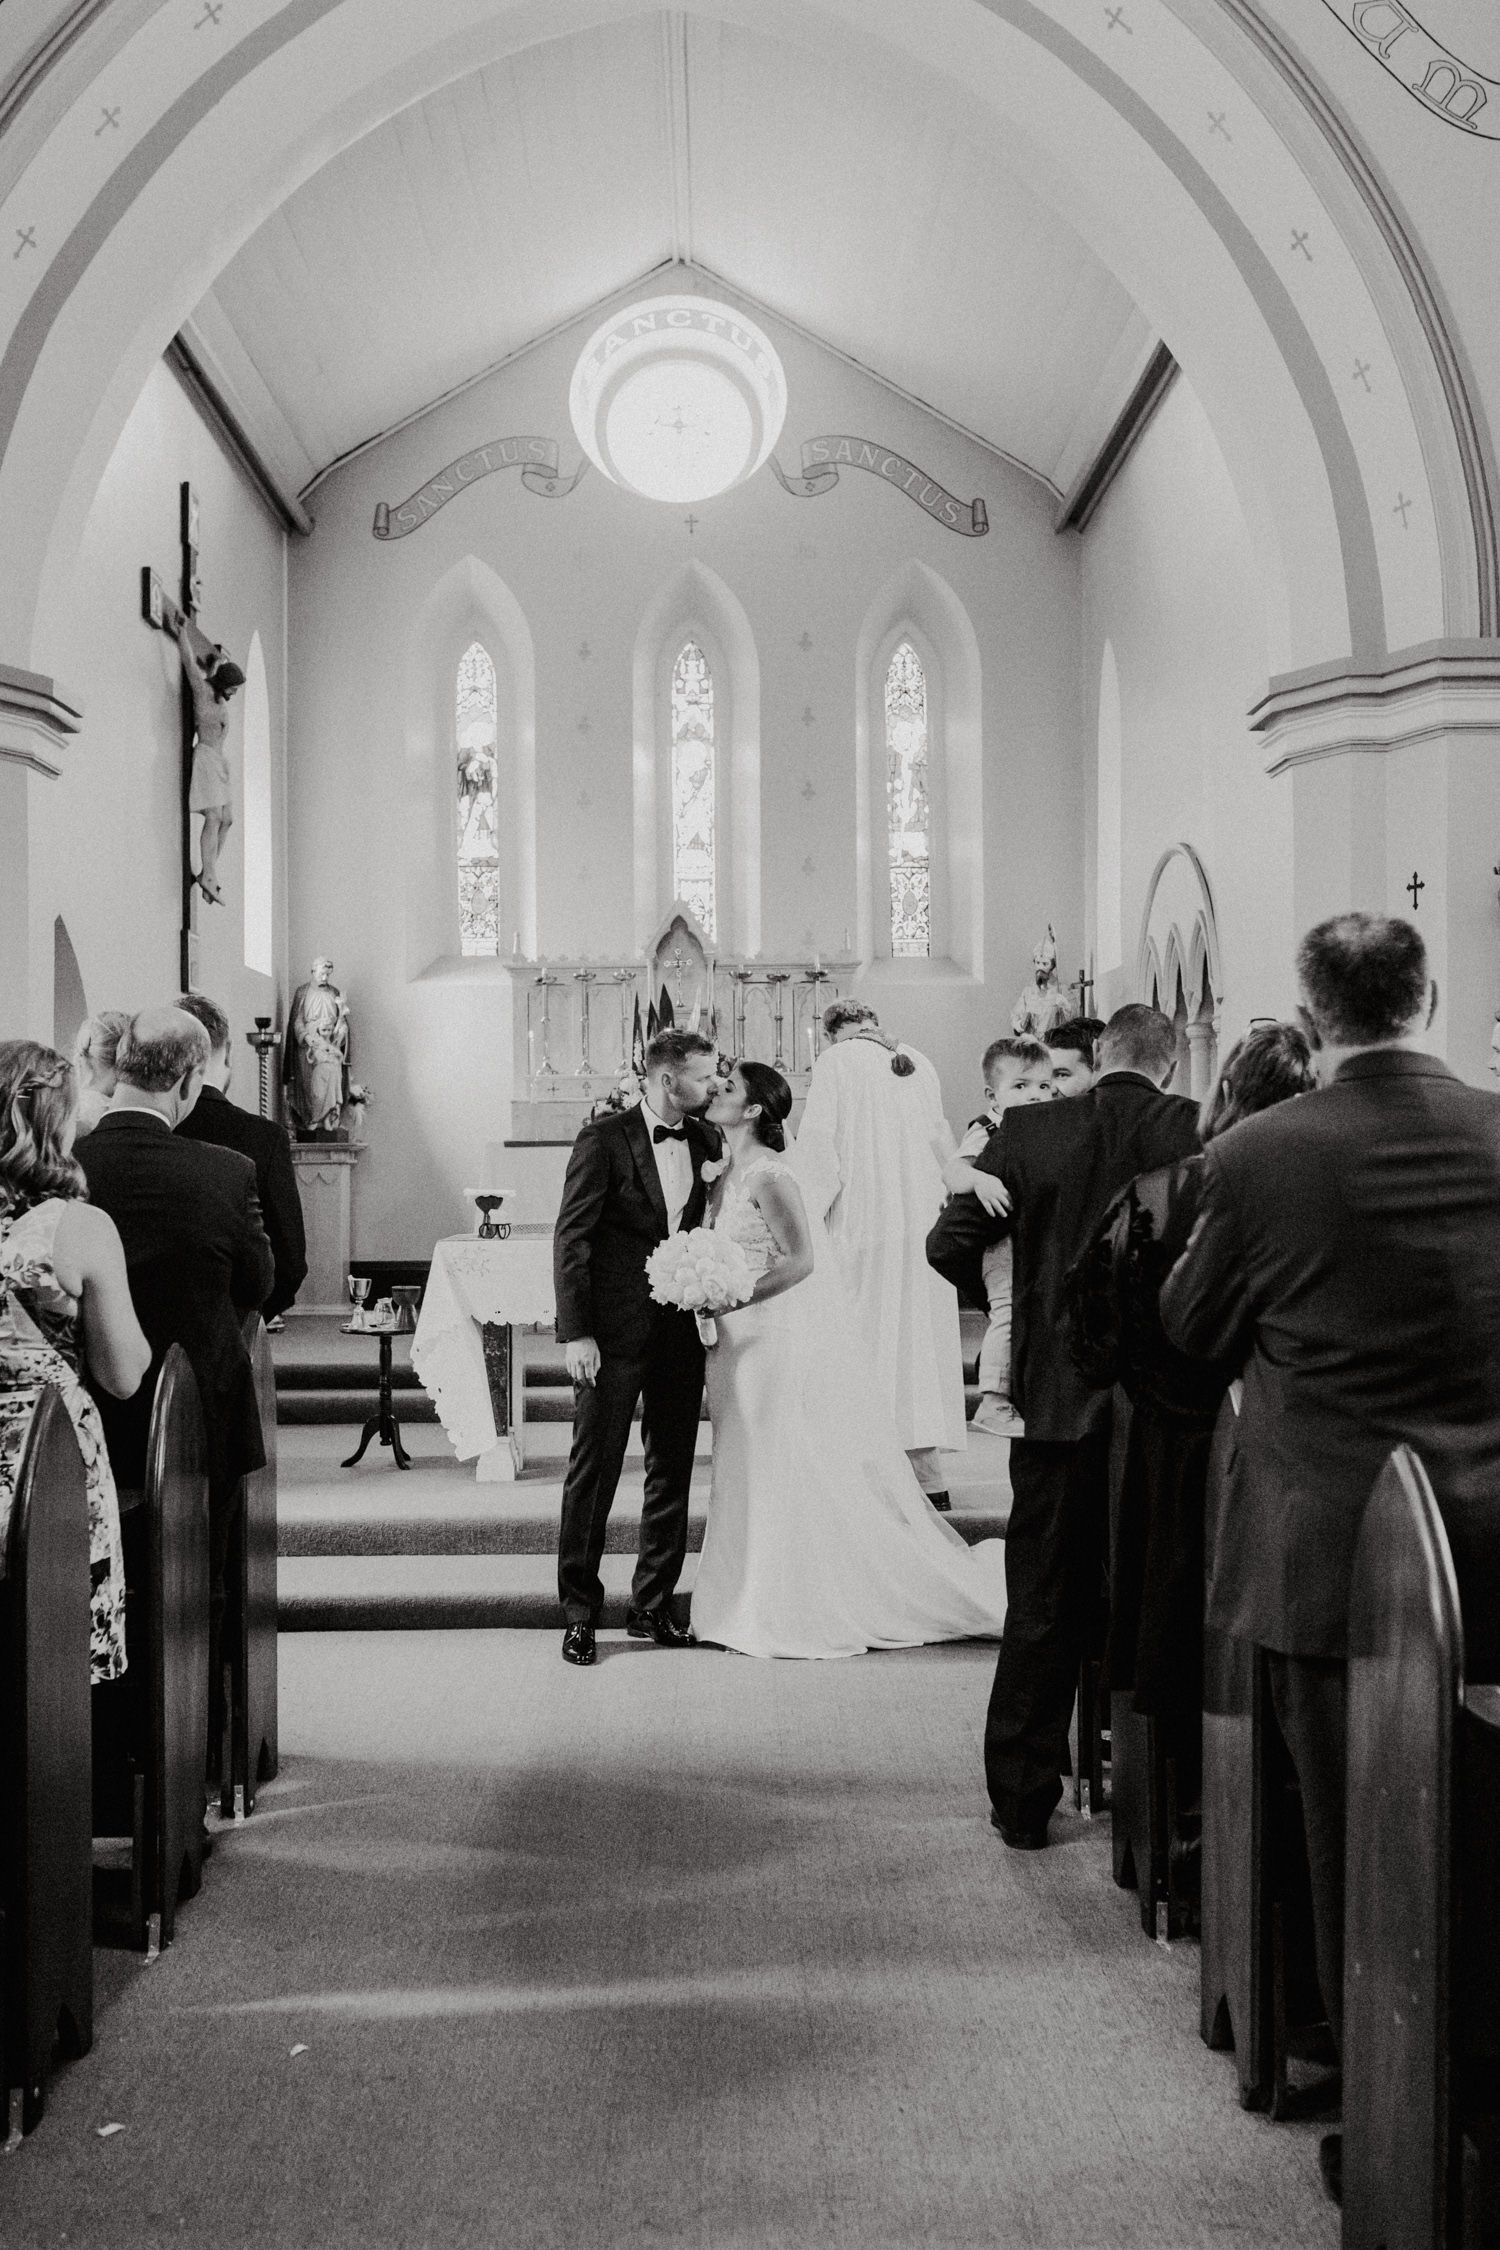
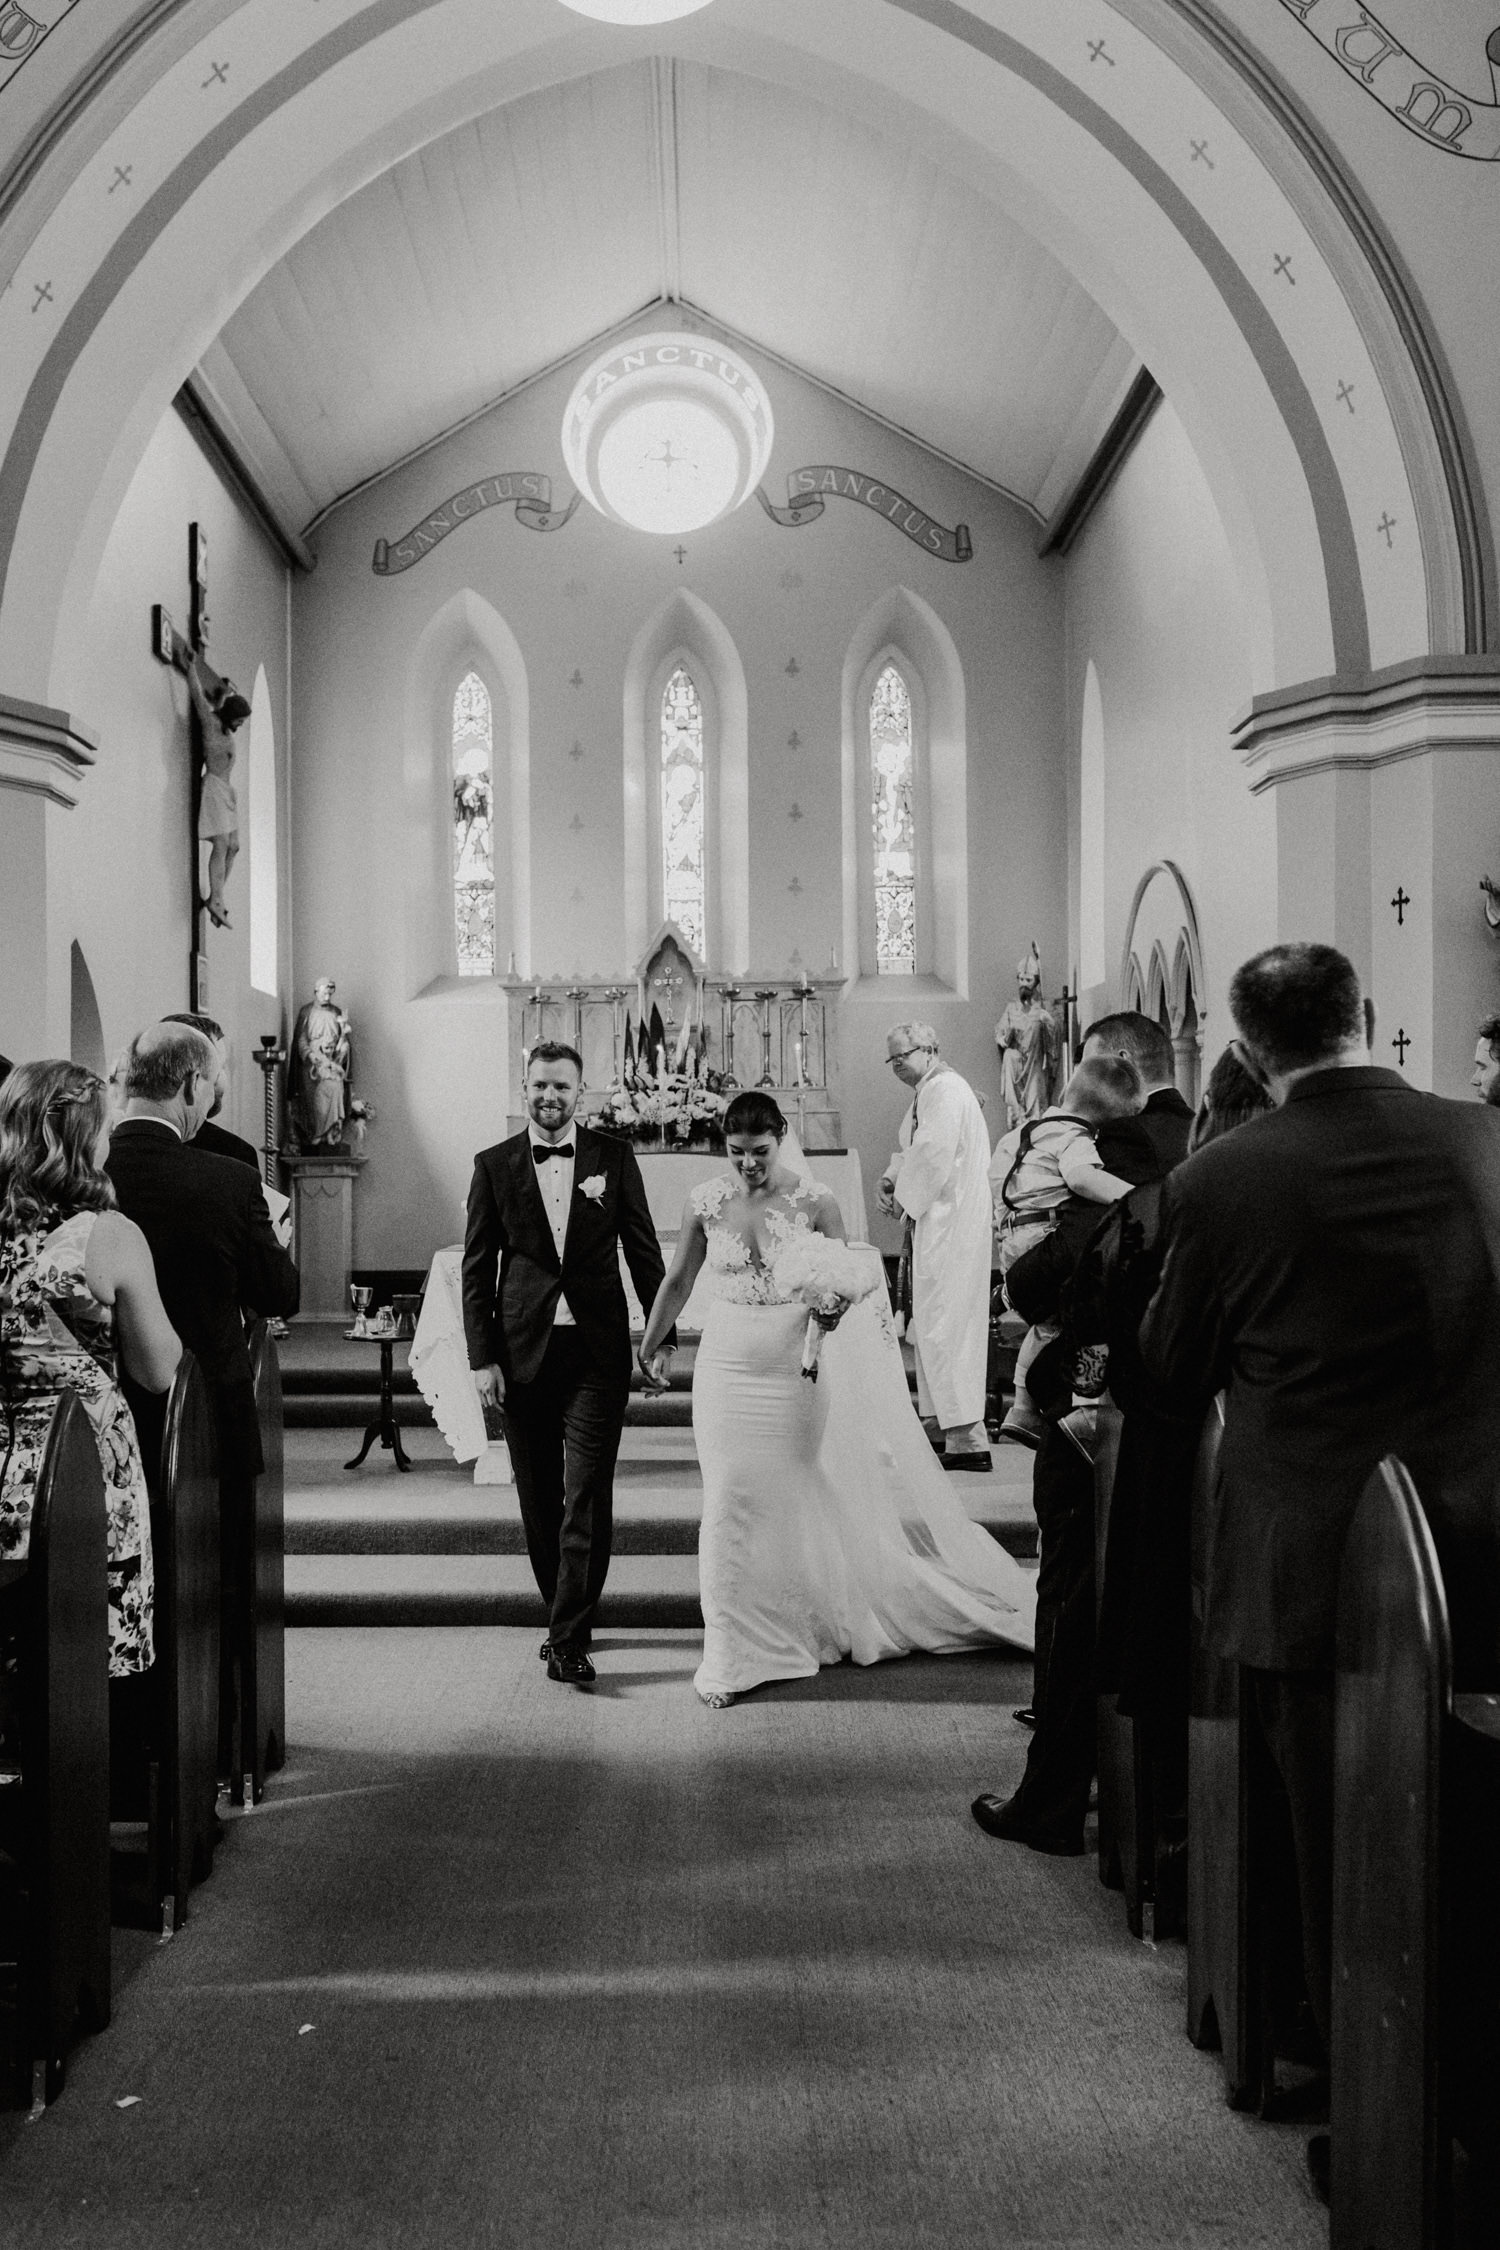
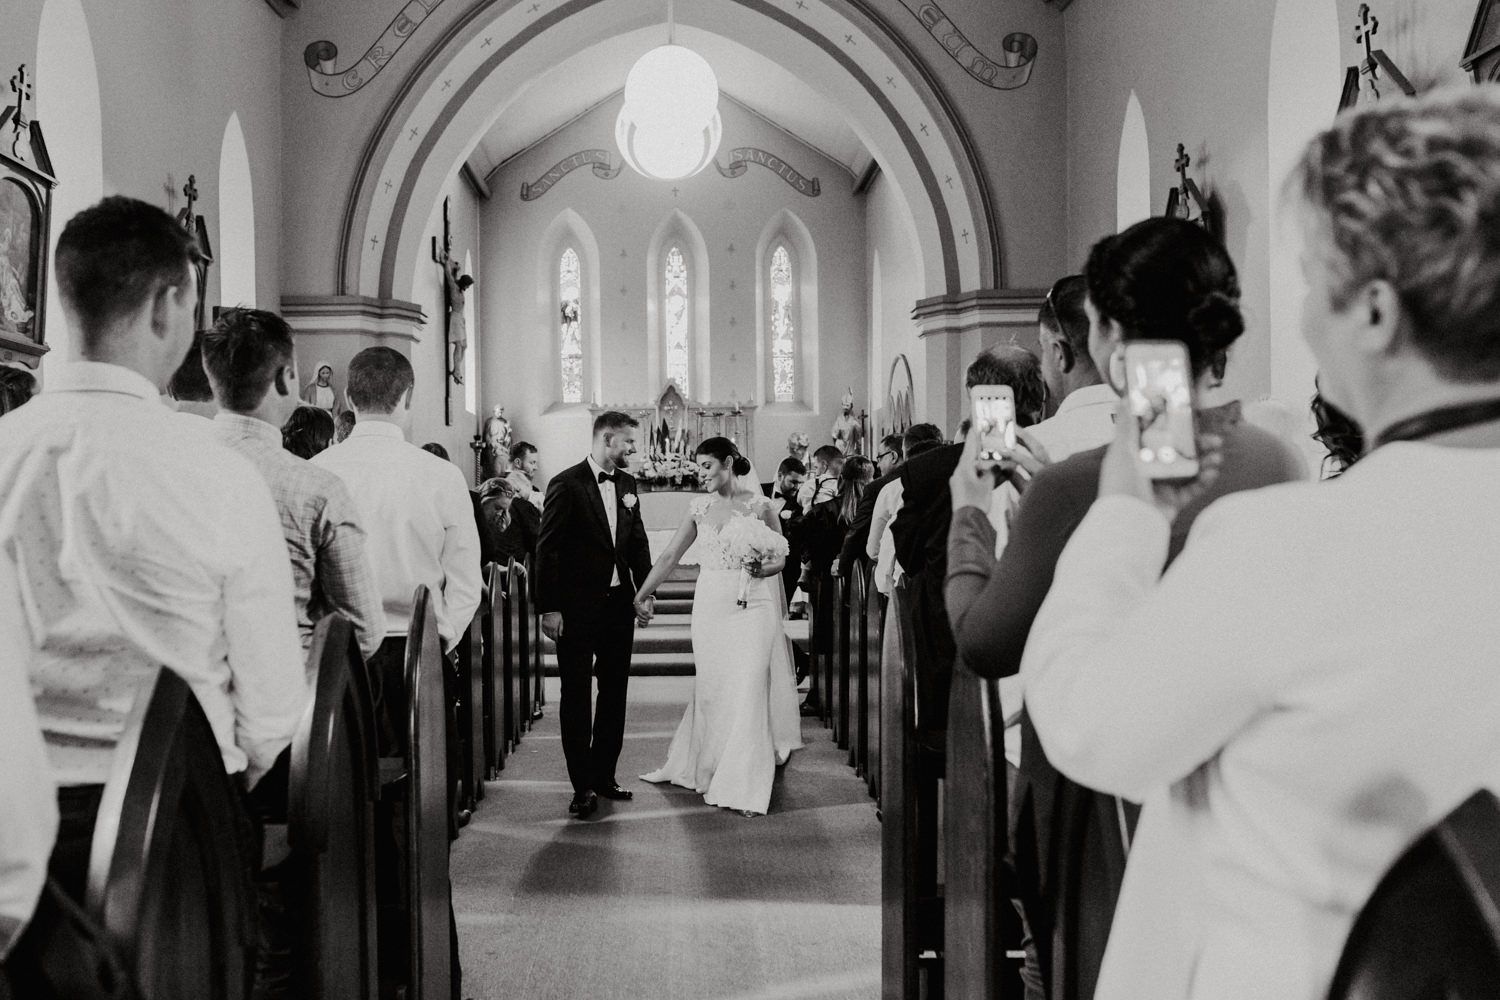
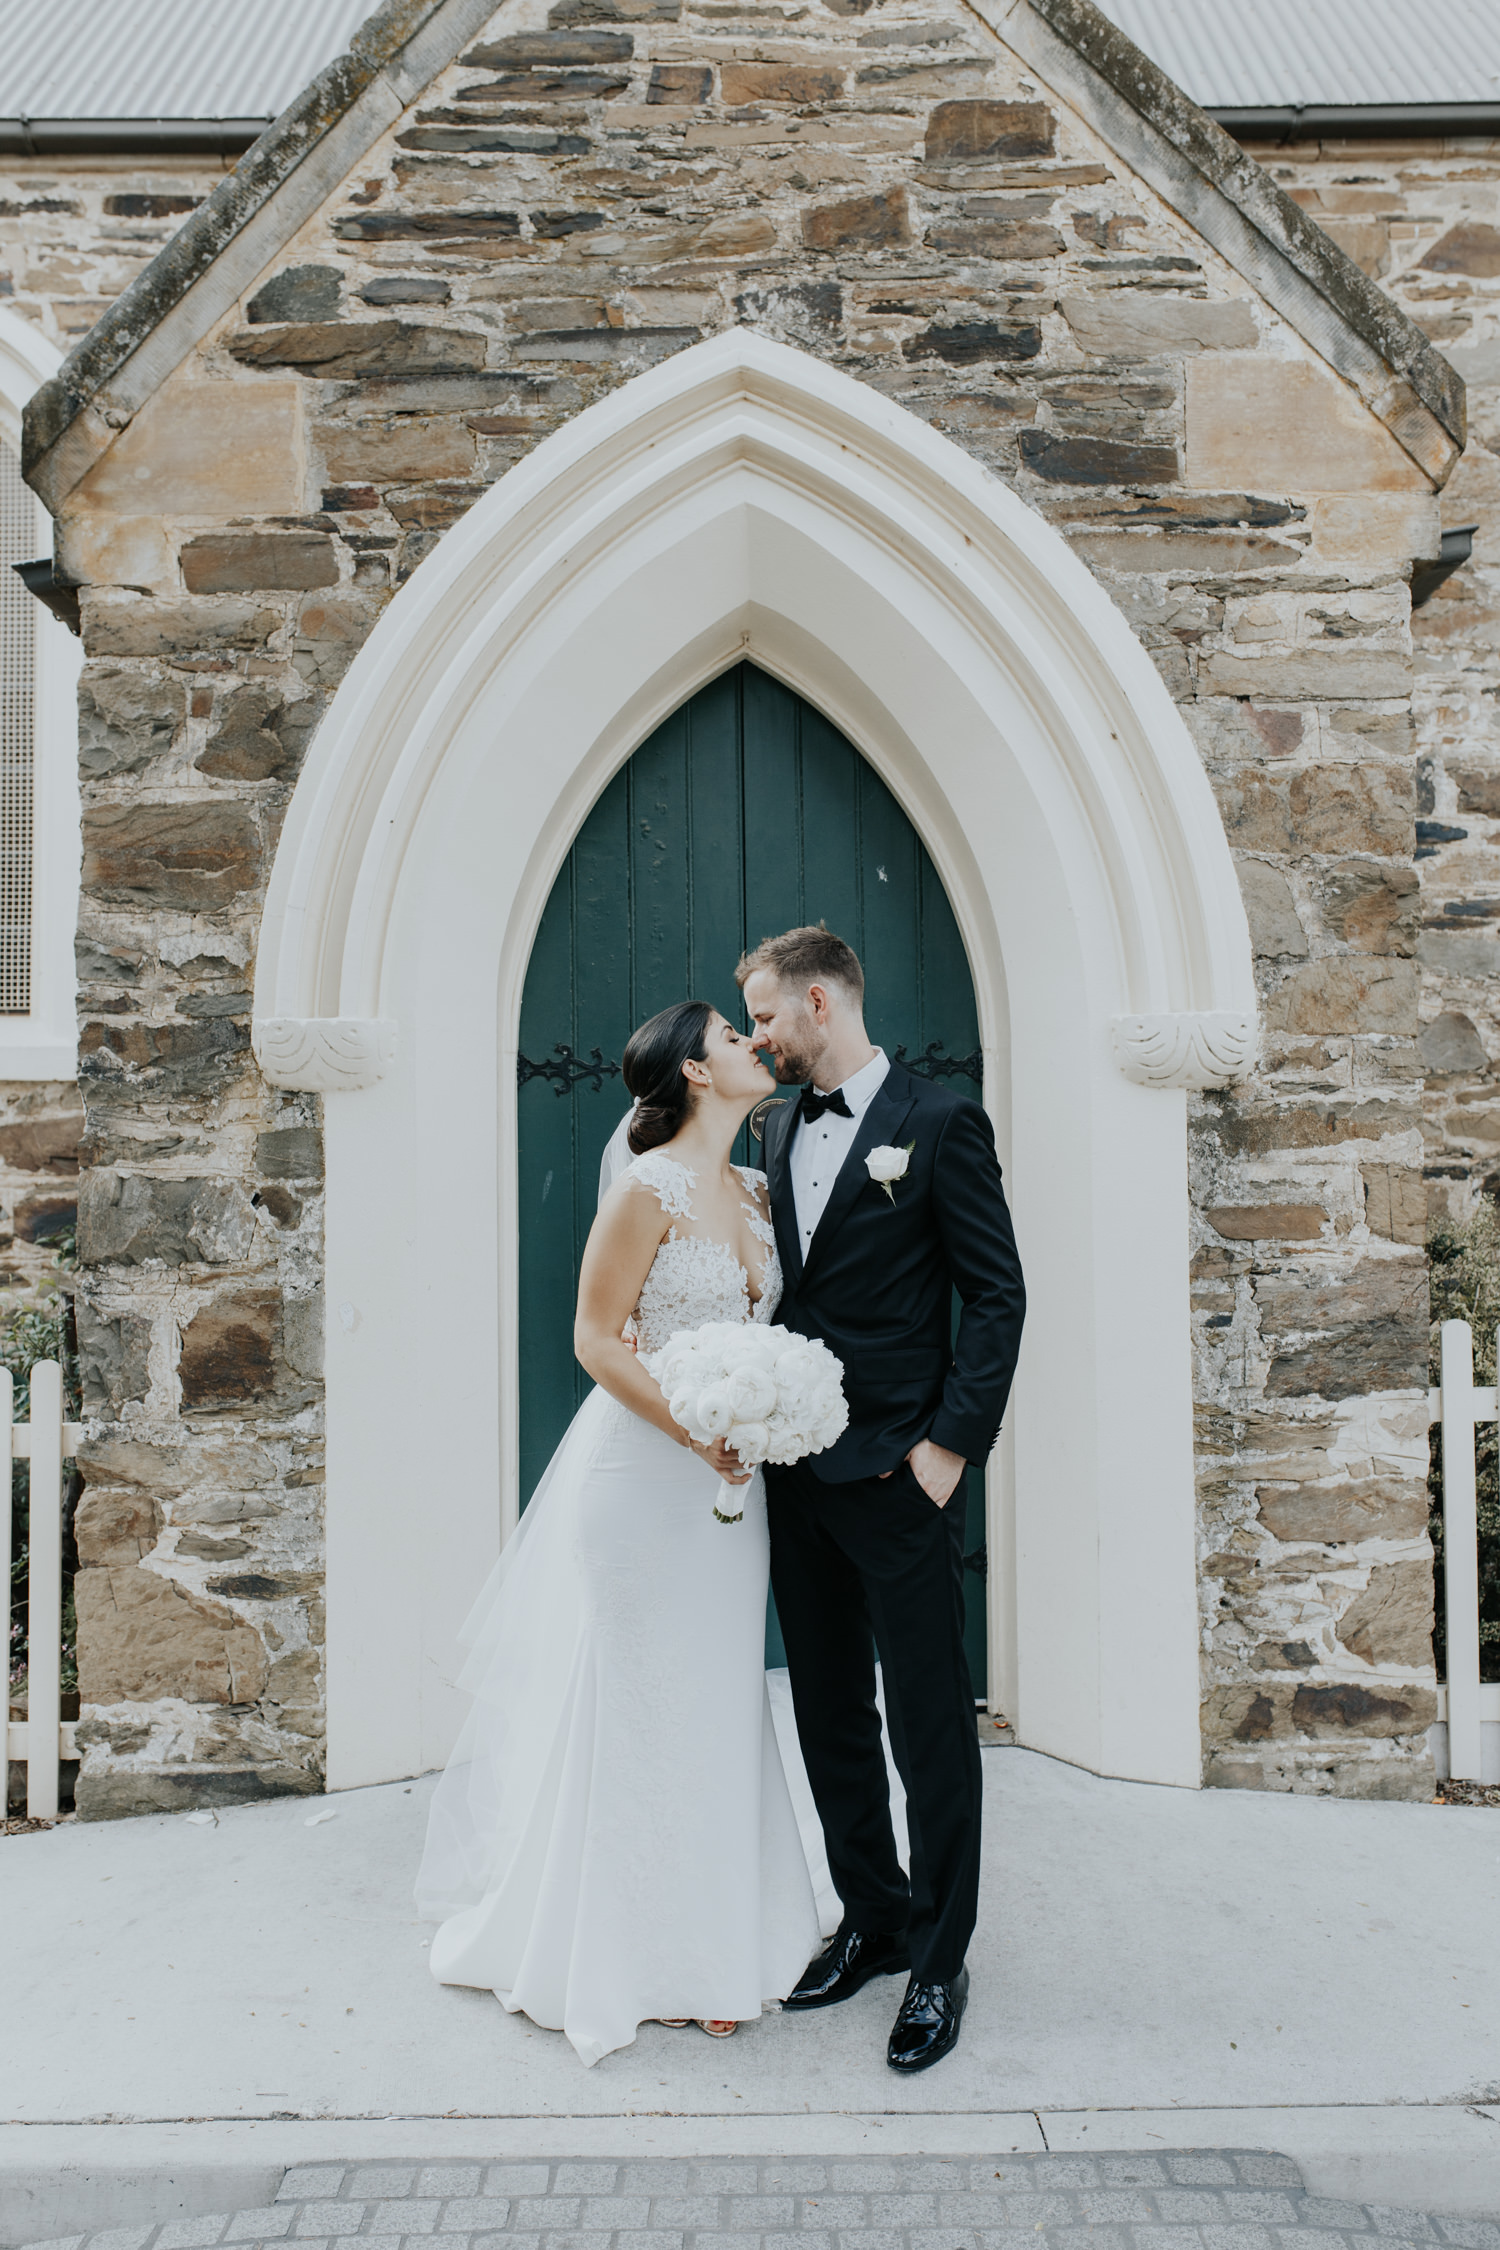


Ceremony - St Gregory's Church
Reception - Fitters' Workshop Kingston
Flowers - Capital Flowers (oaks estate)
Reception Styling - Show Pony
Dress - Pronovias from Marry Me Bridal
Rings - Cerrone Jewellers
Band - Baker Boys
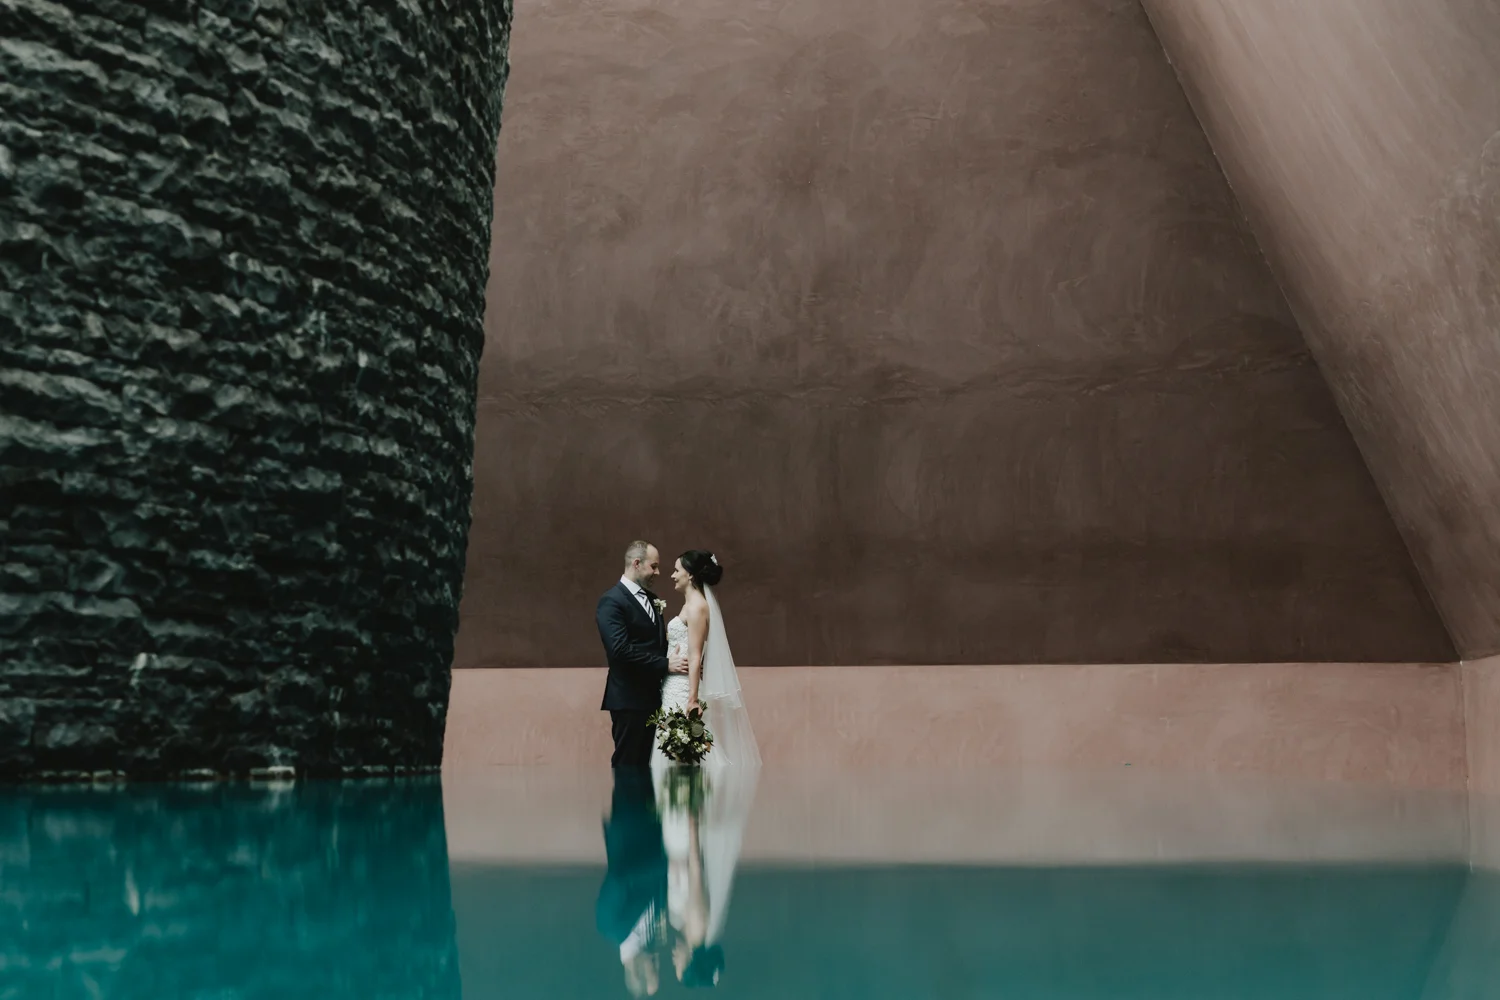
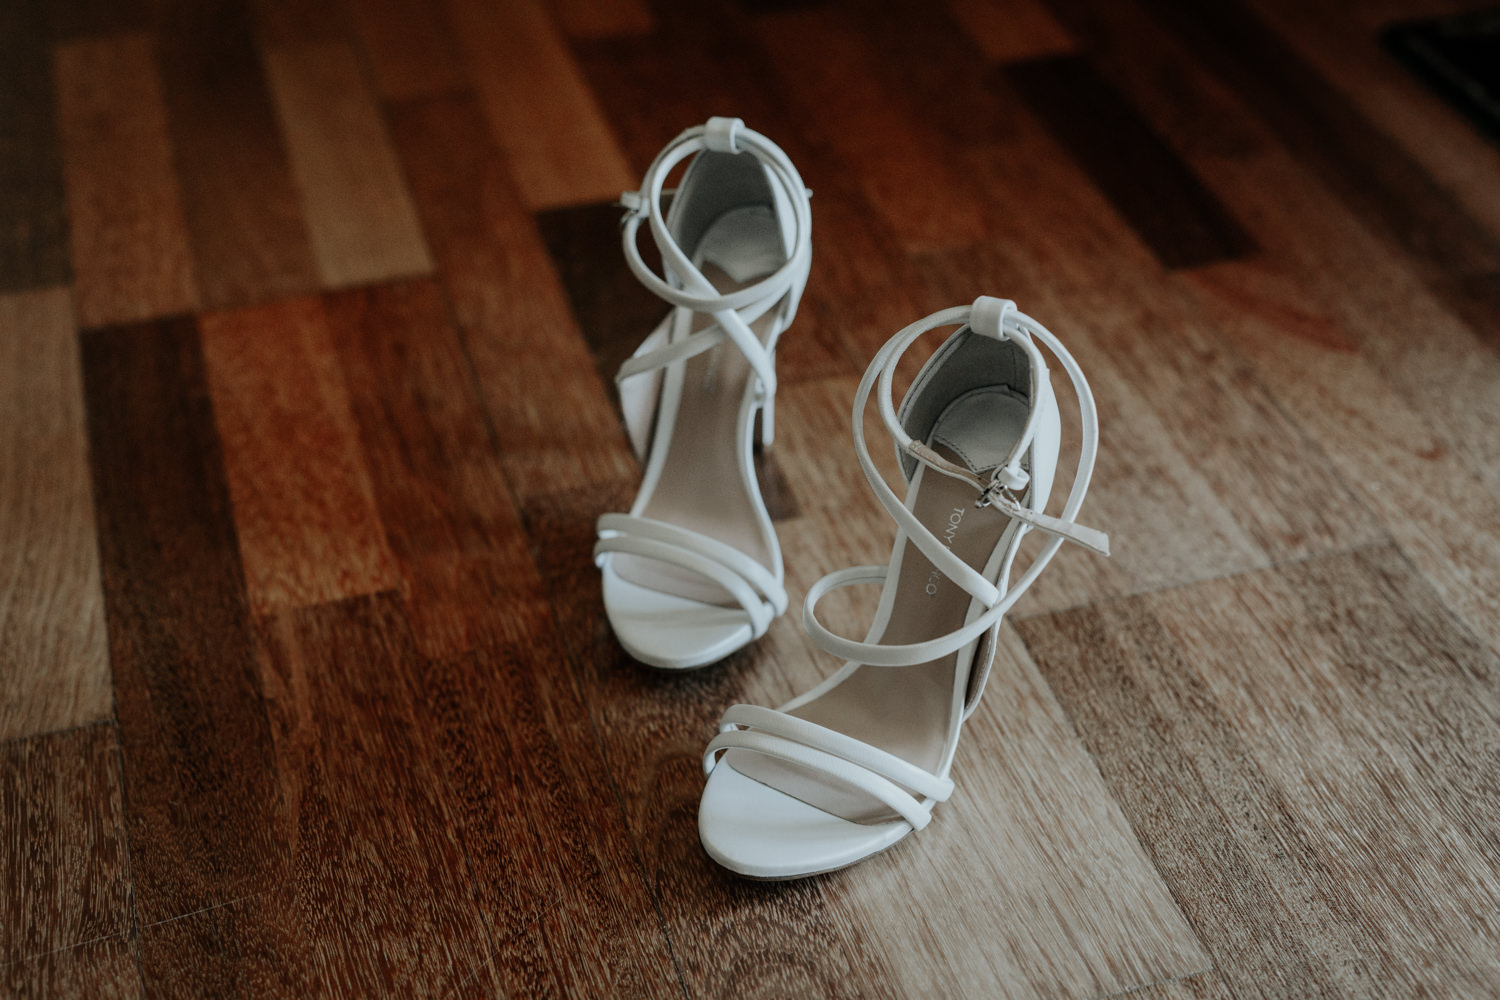
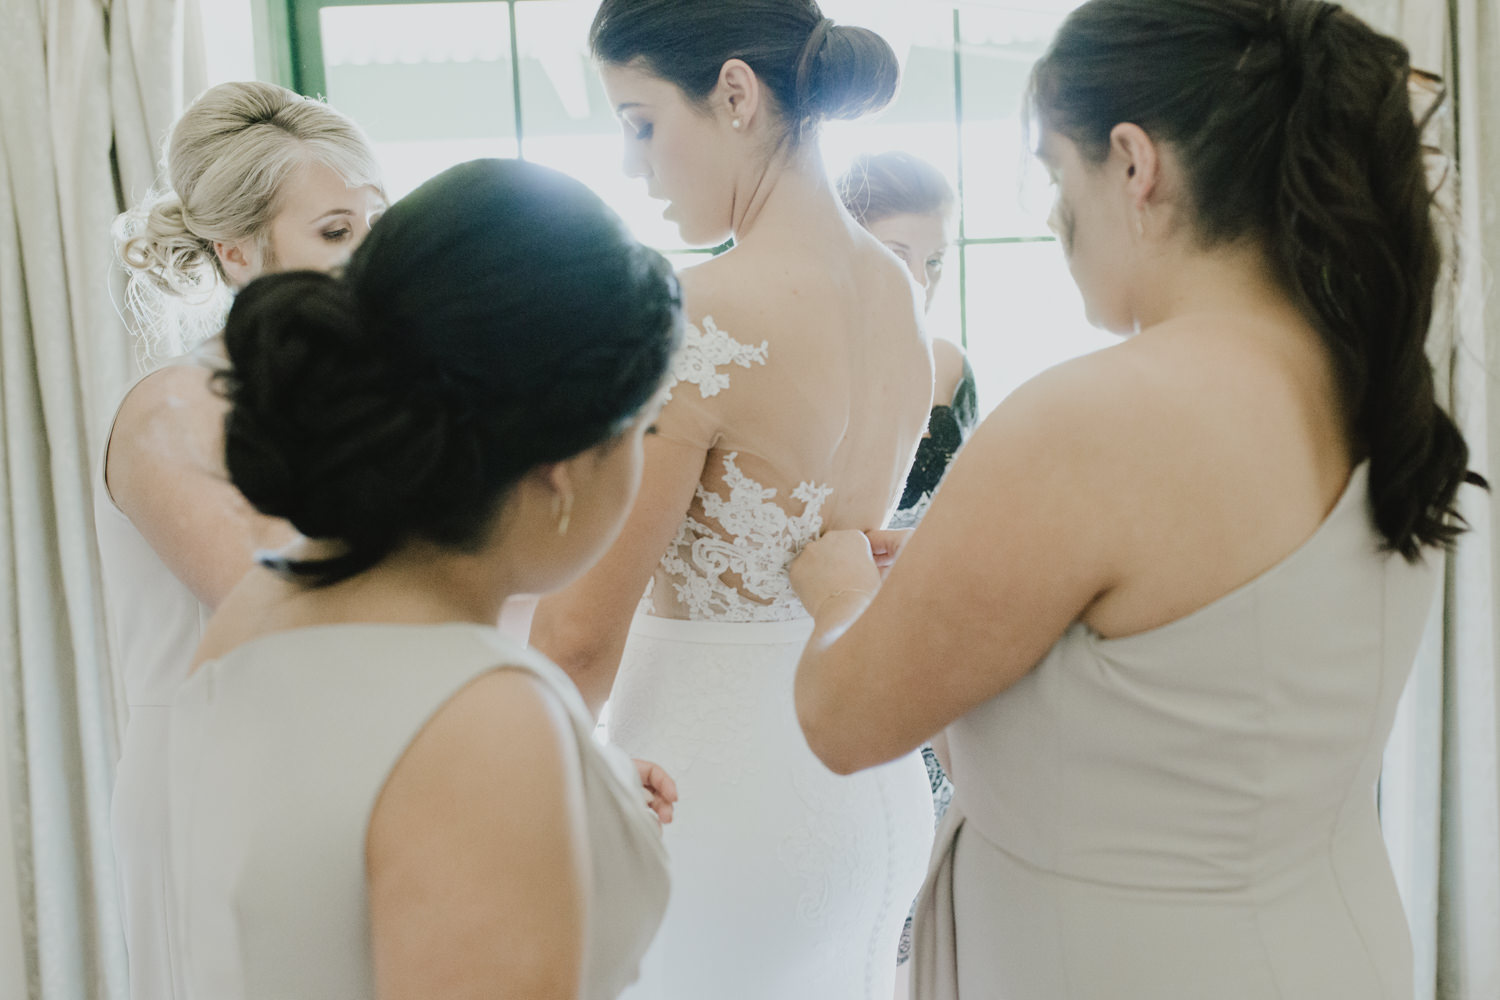
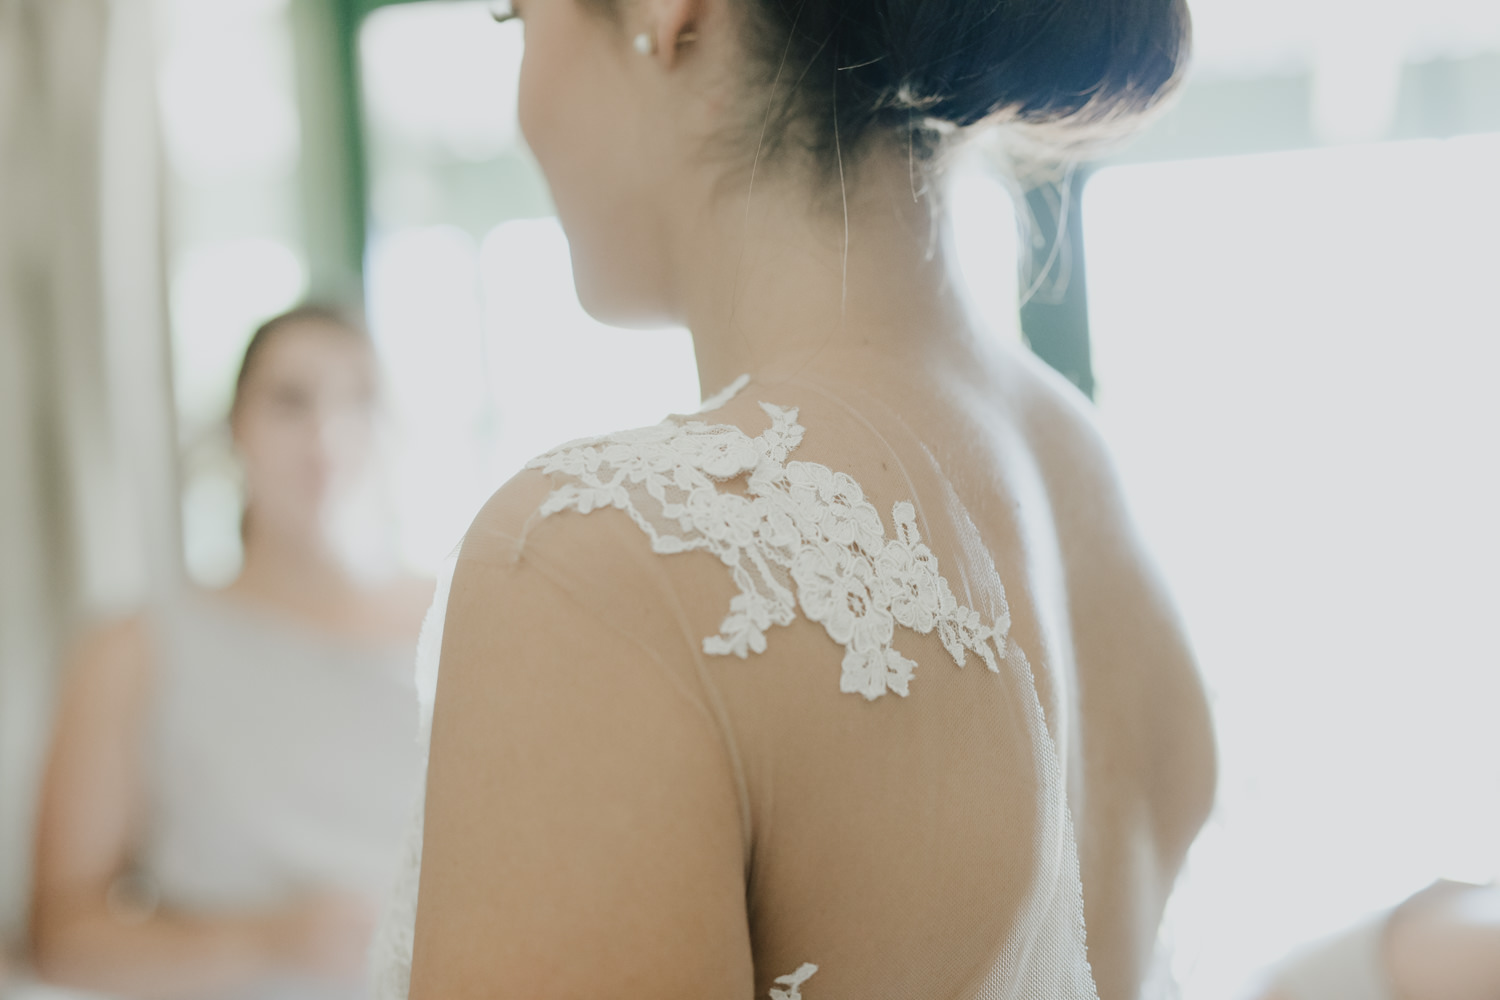
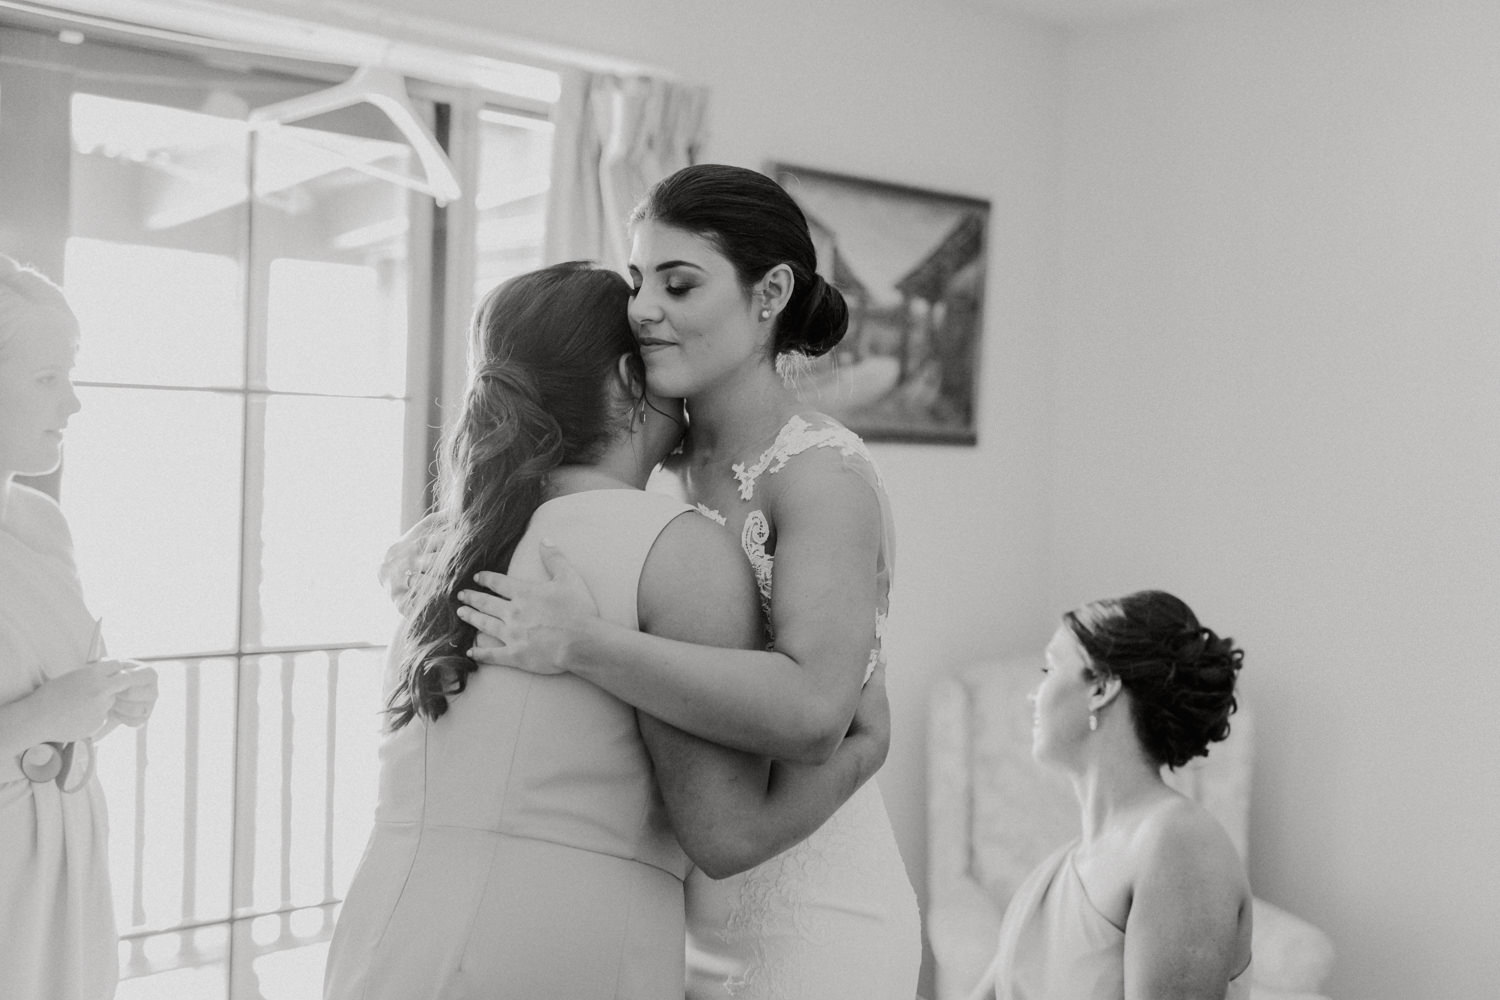
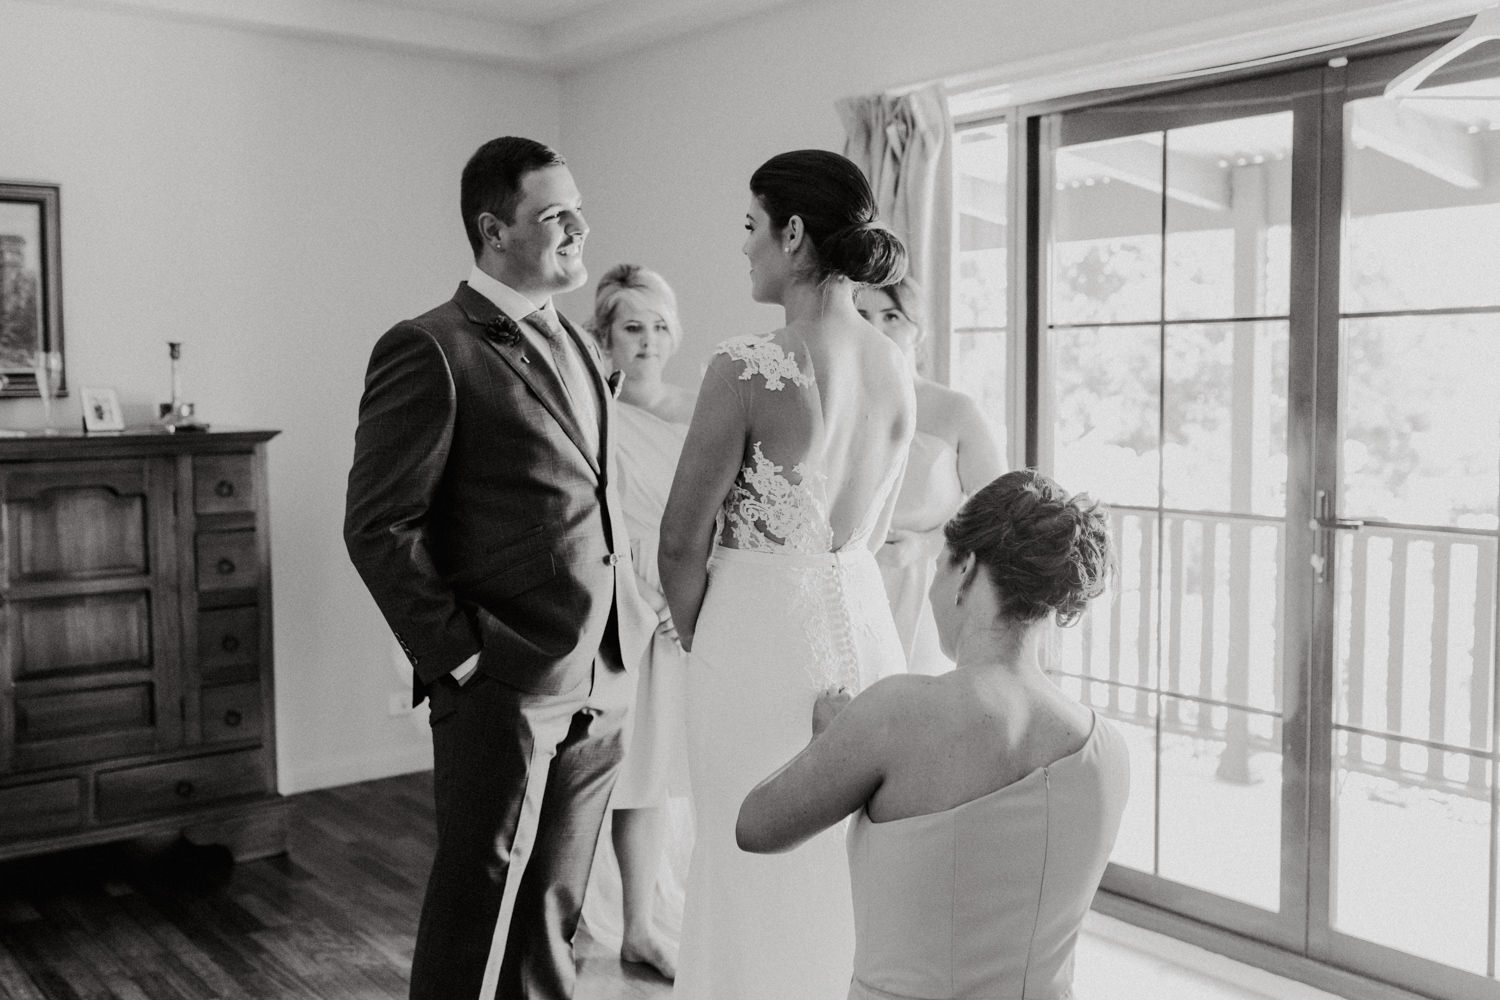
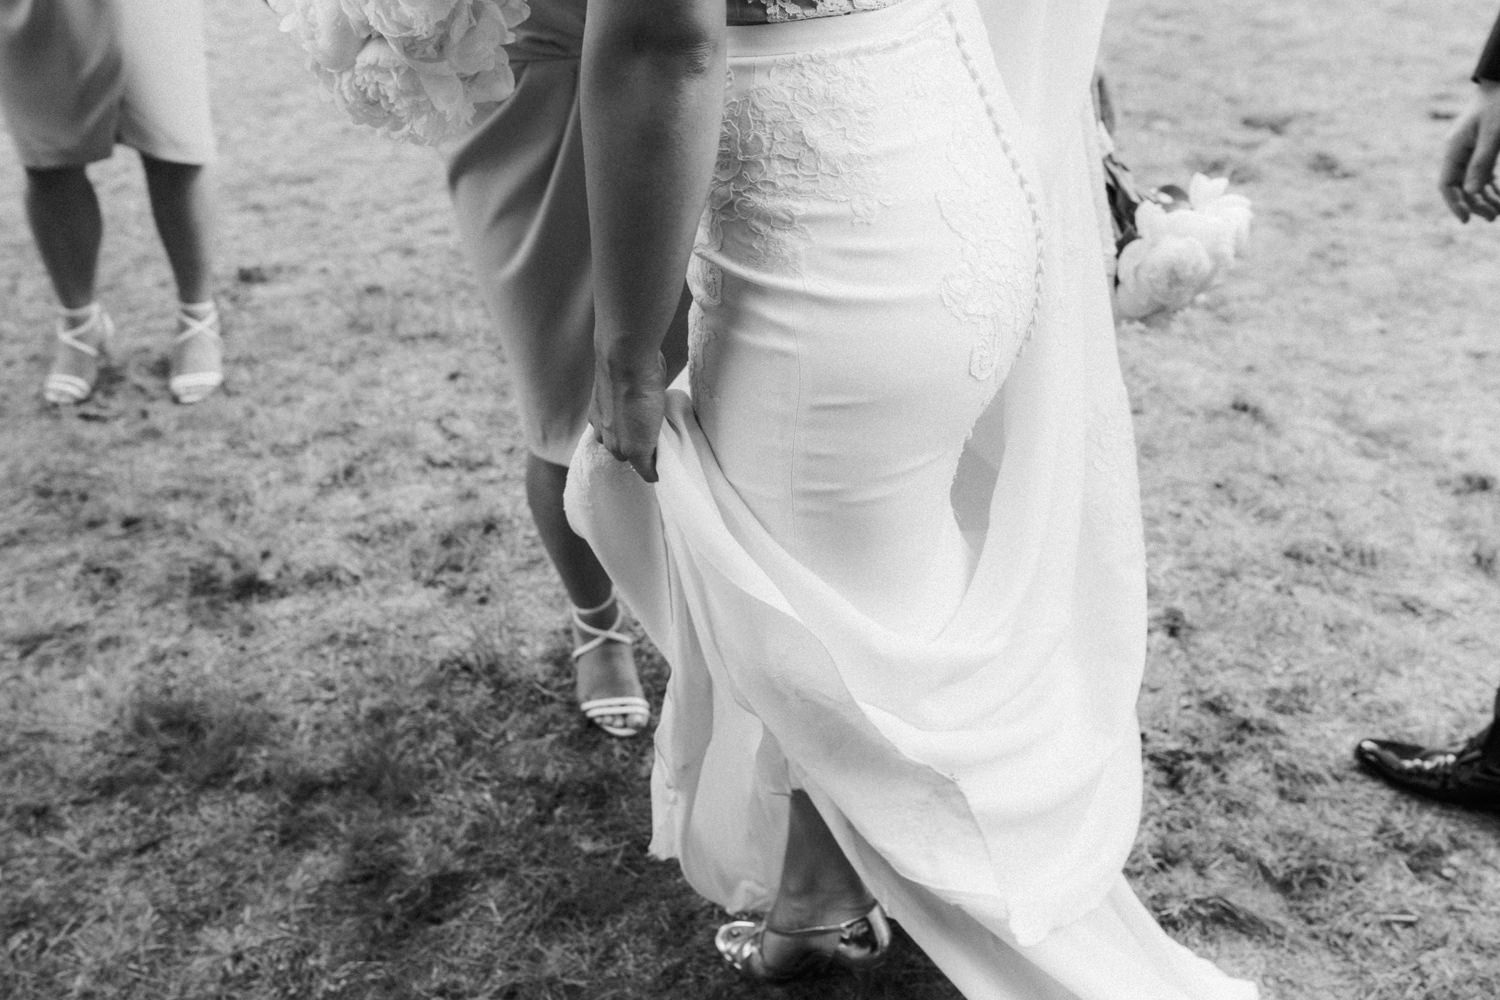
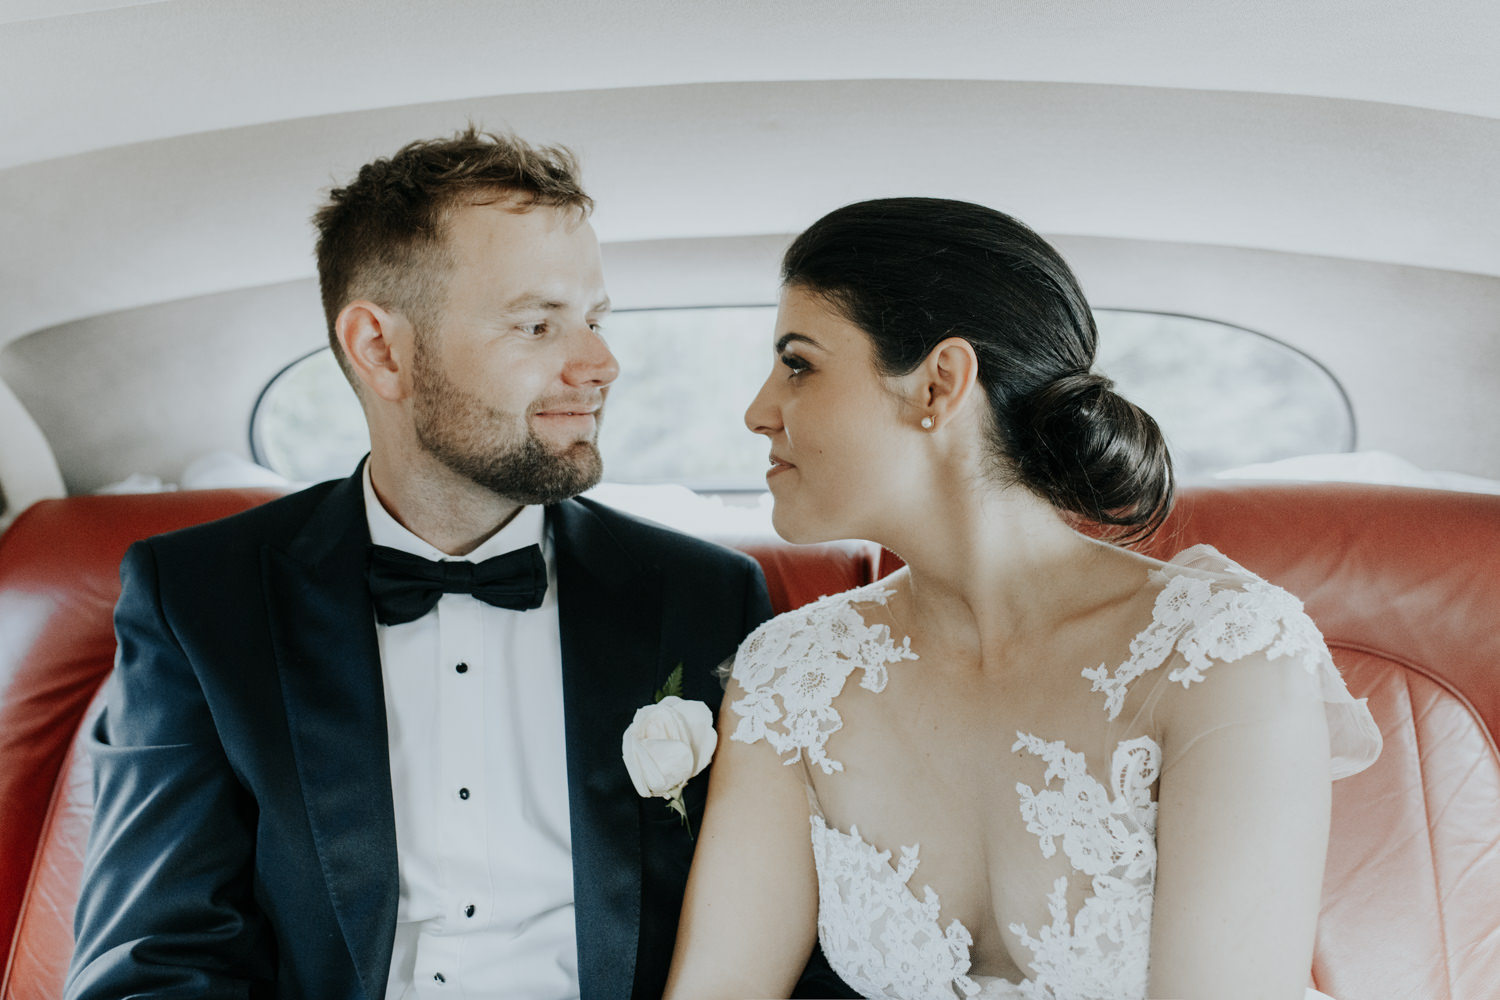
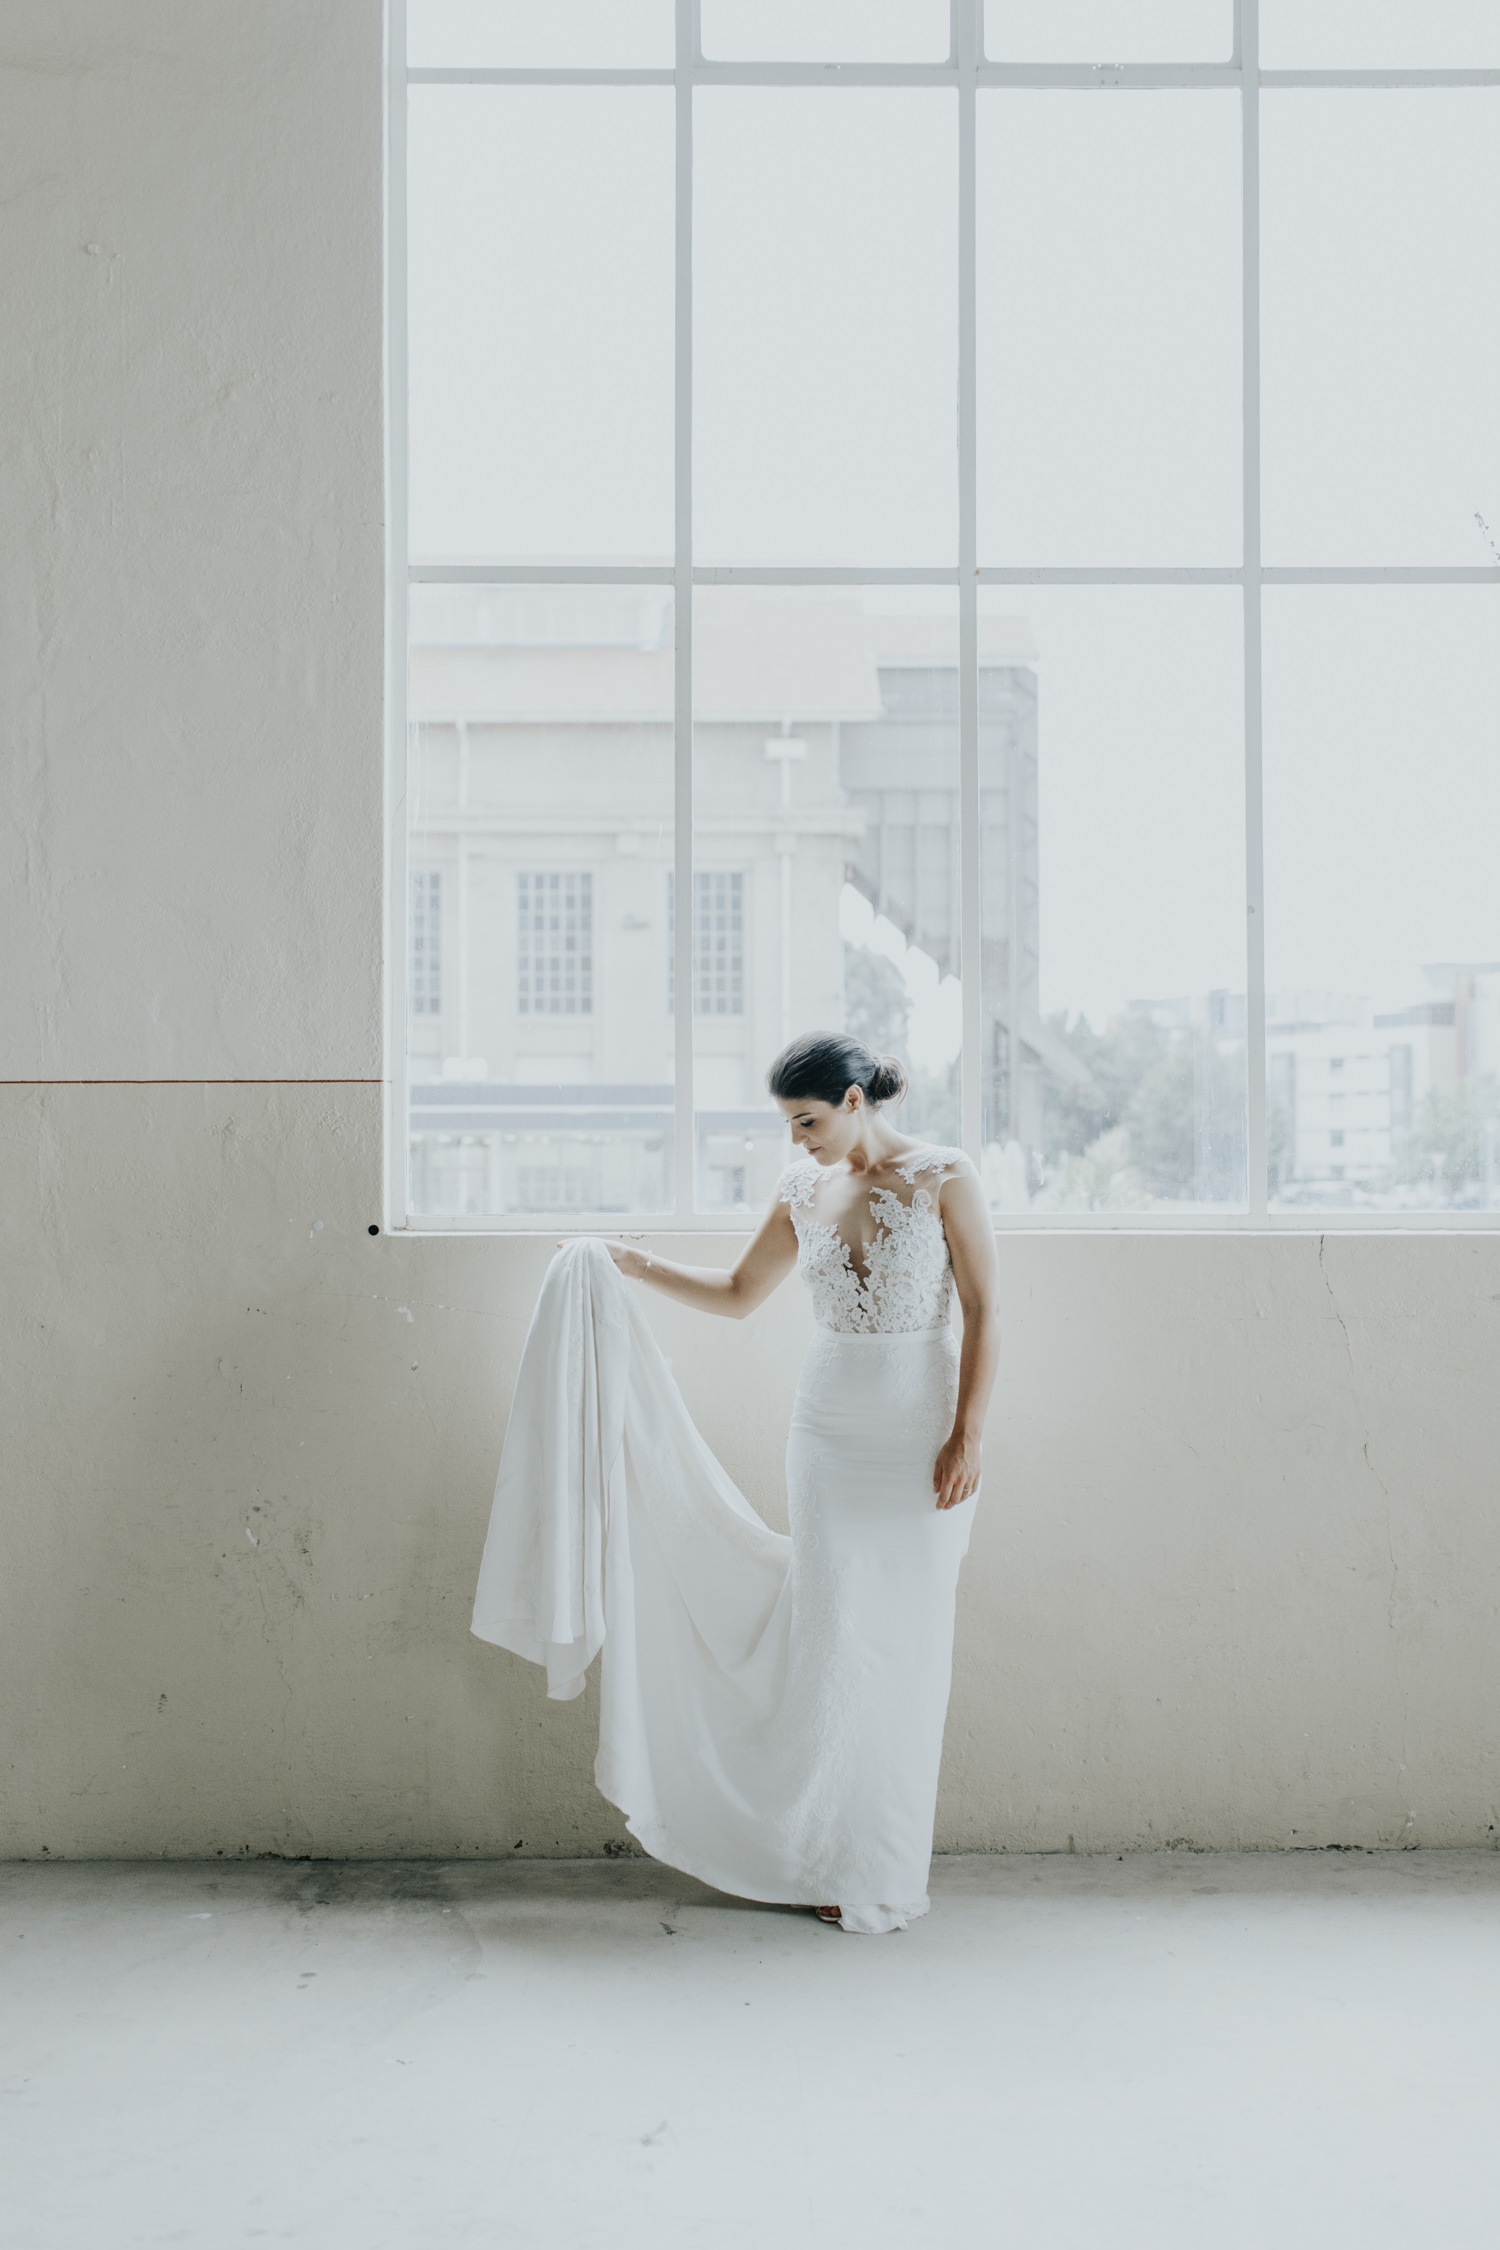
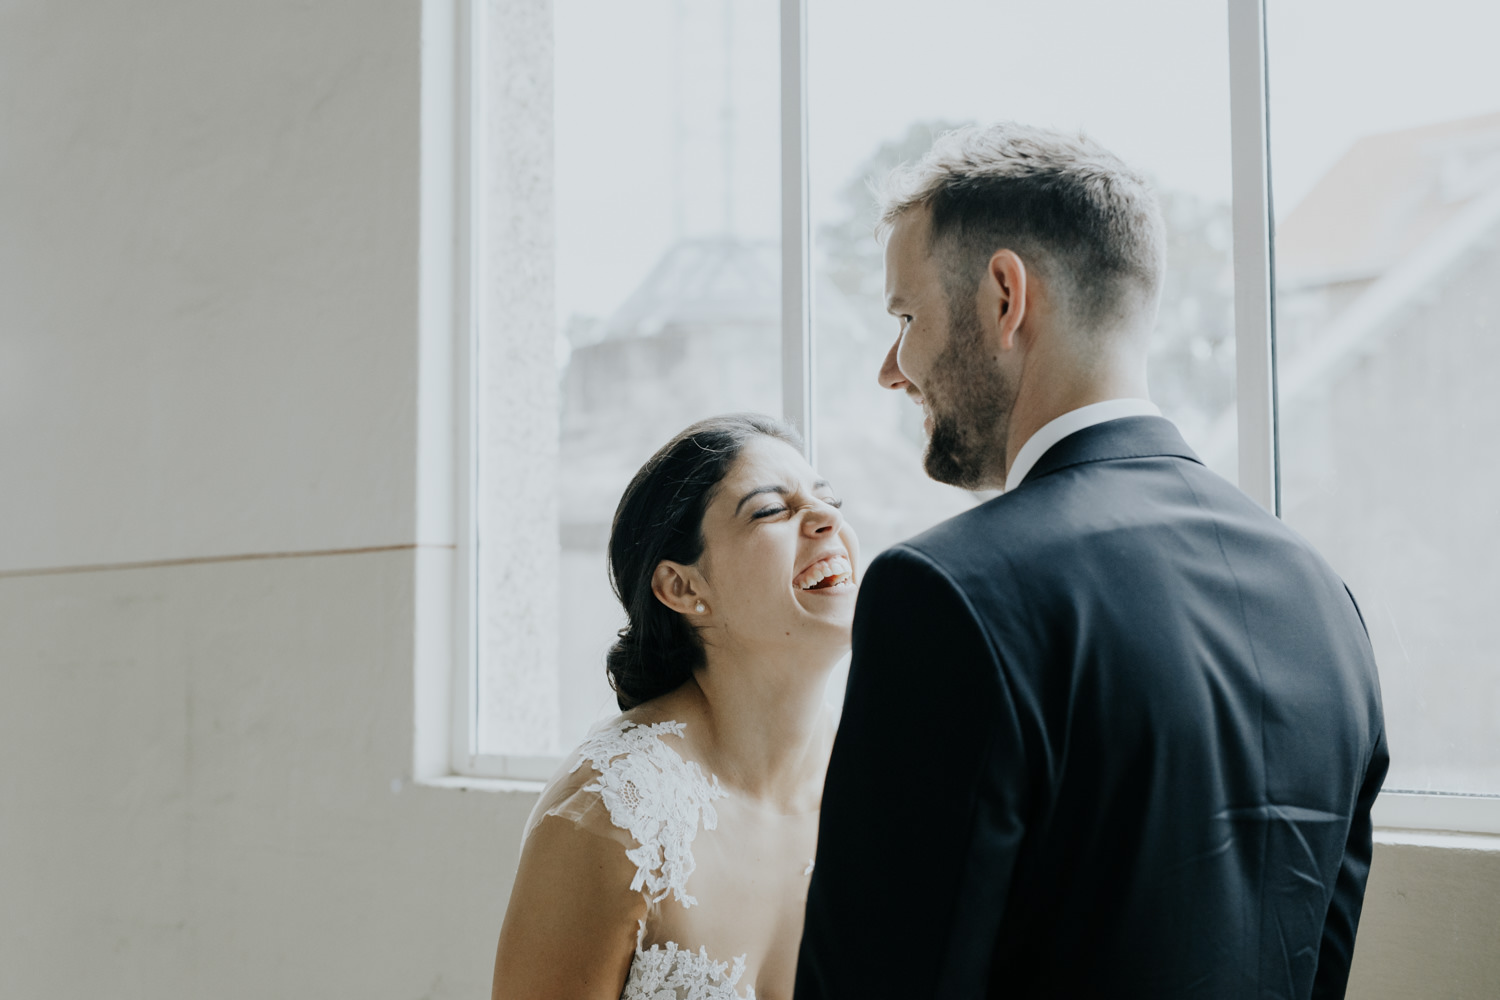
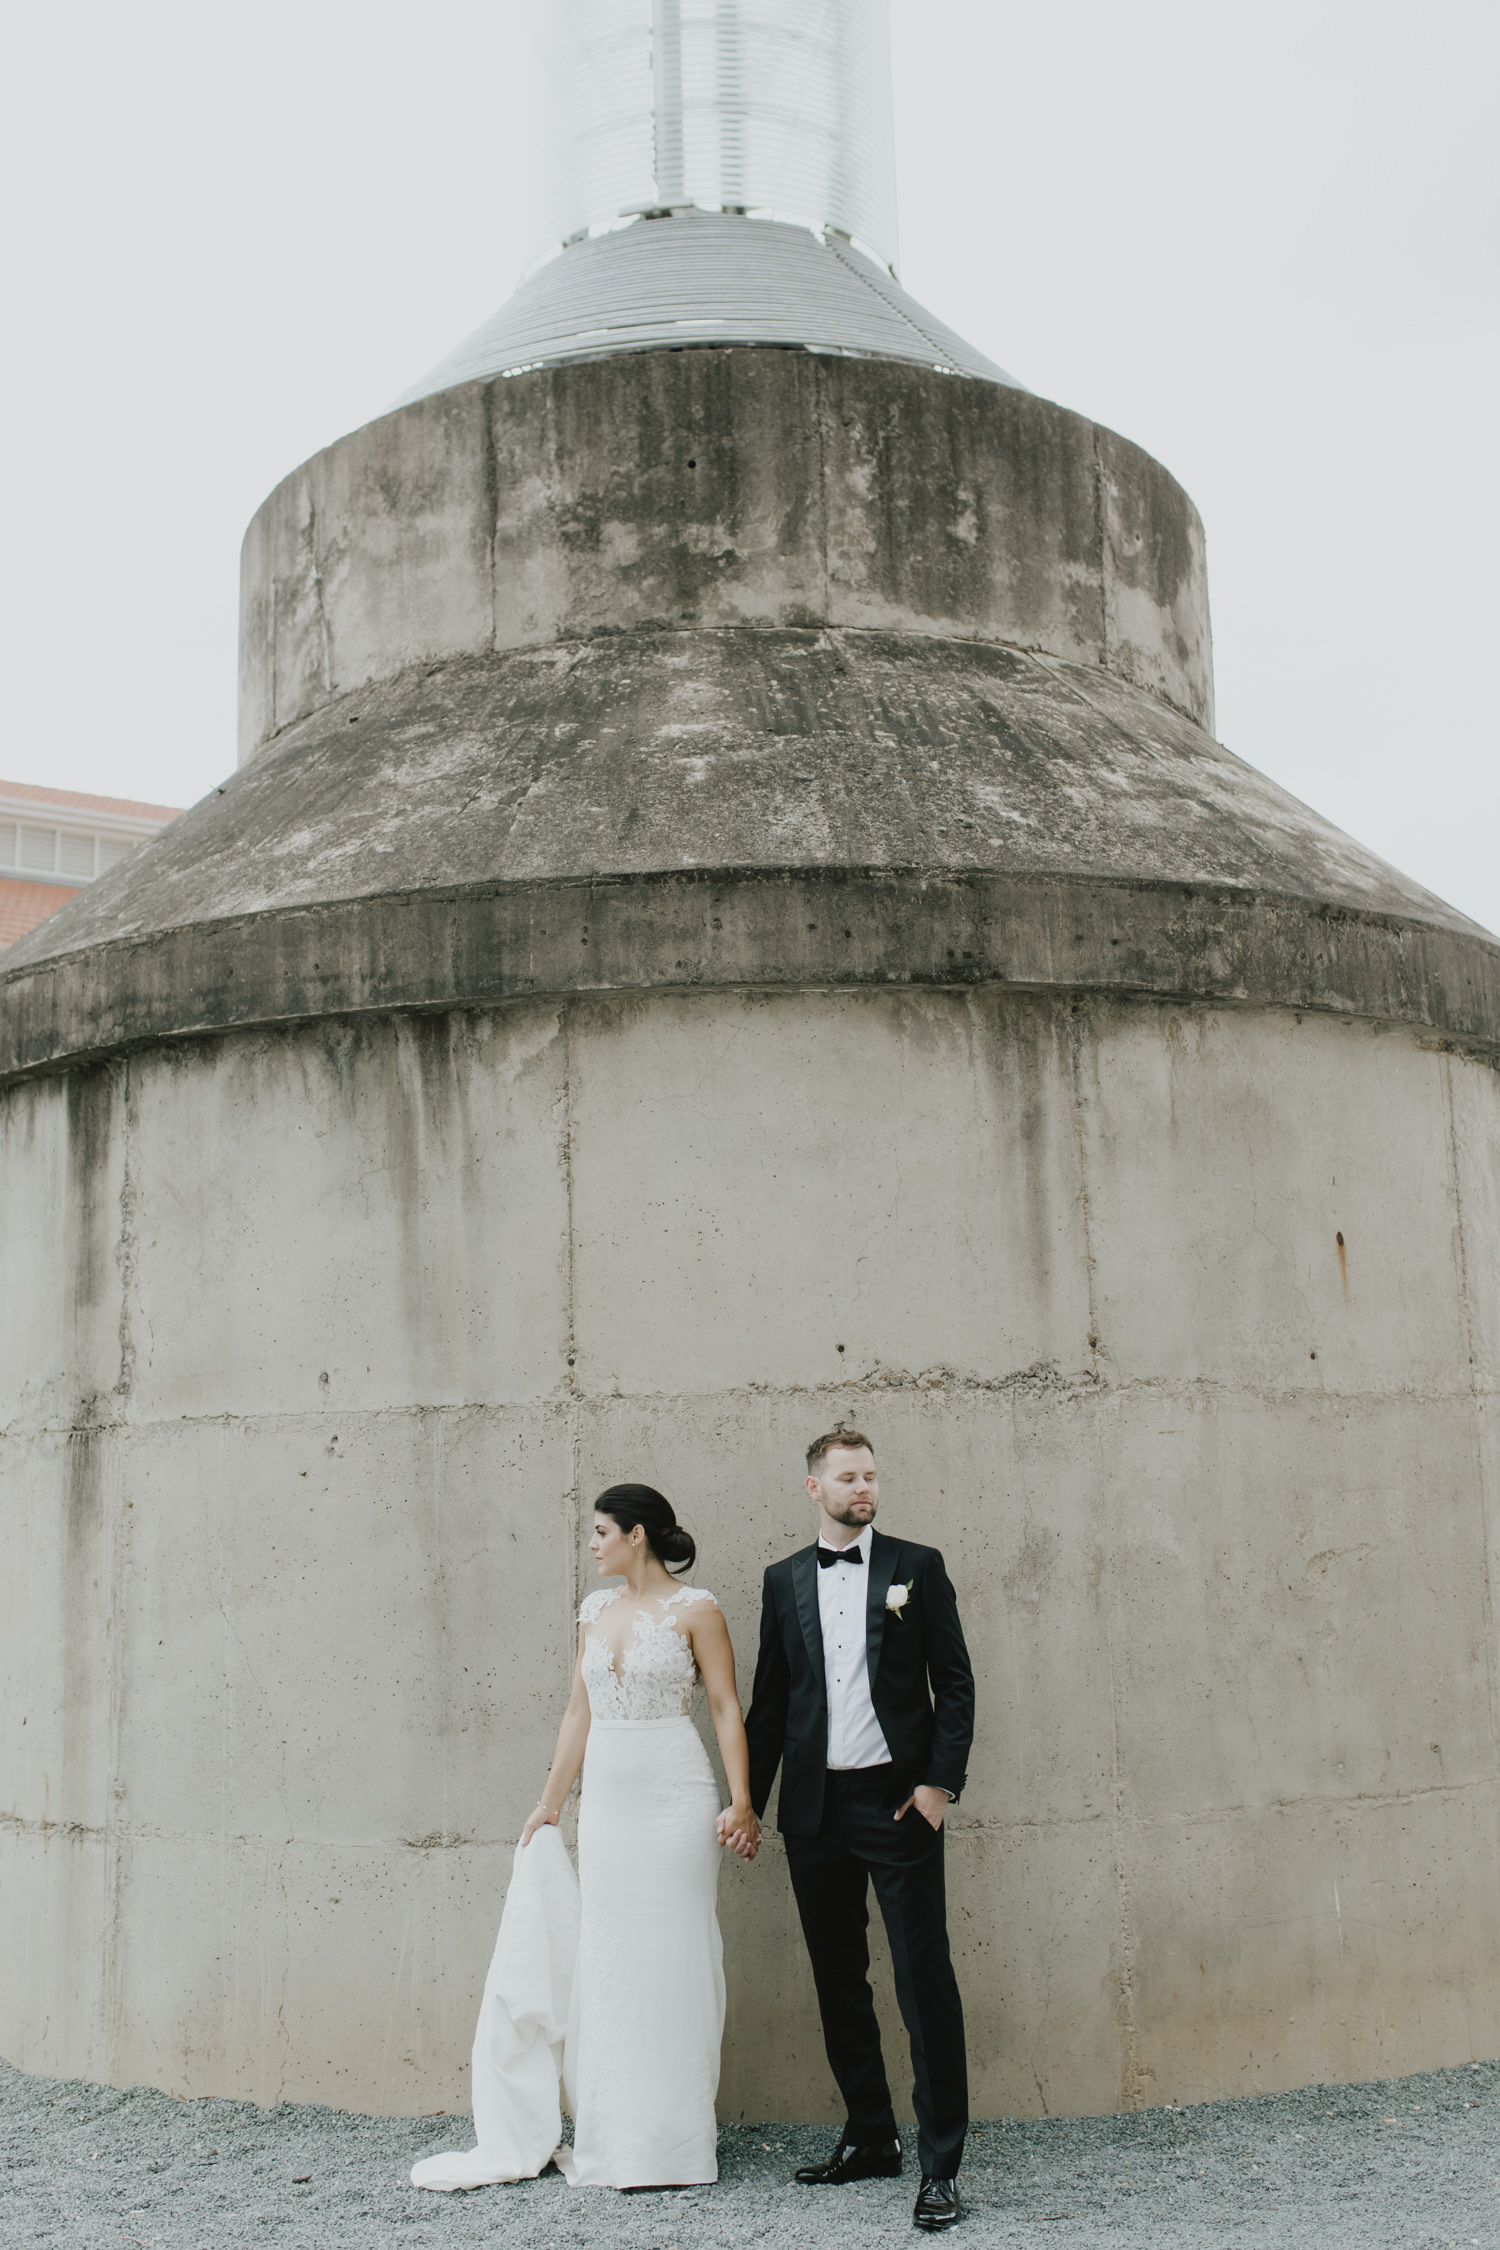
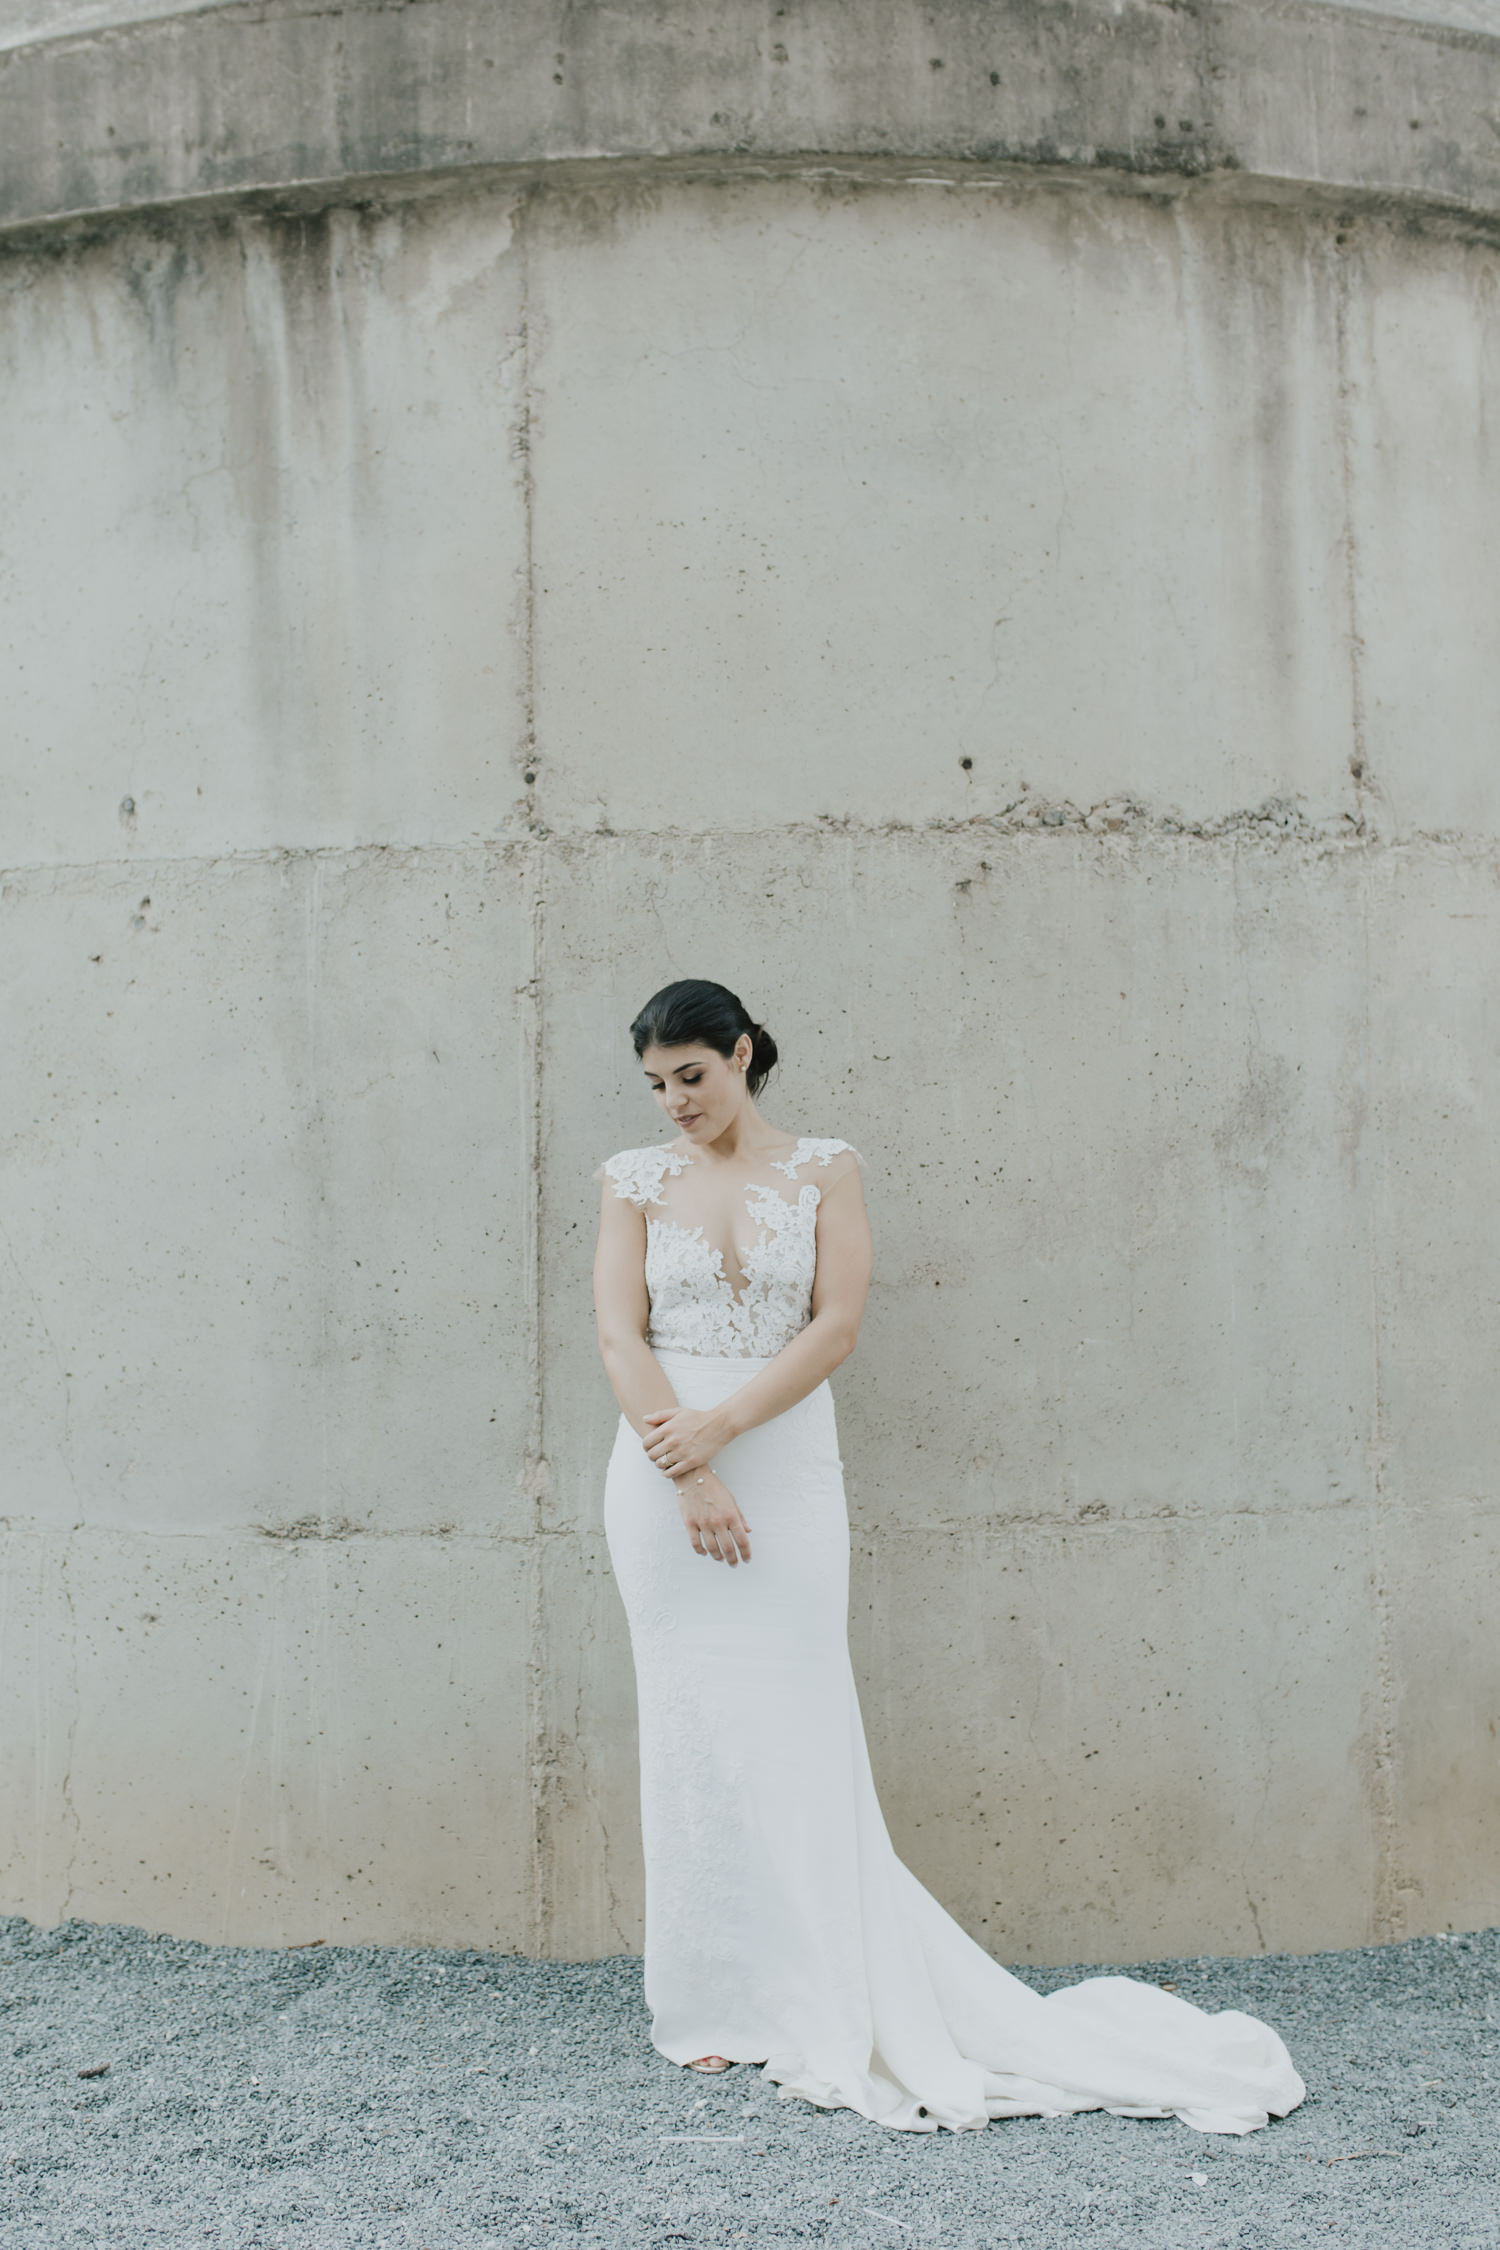
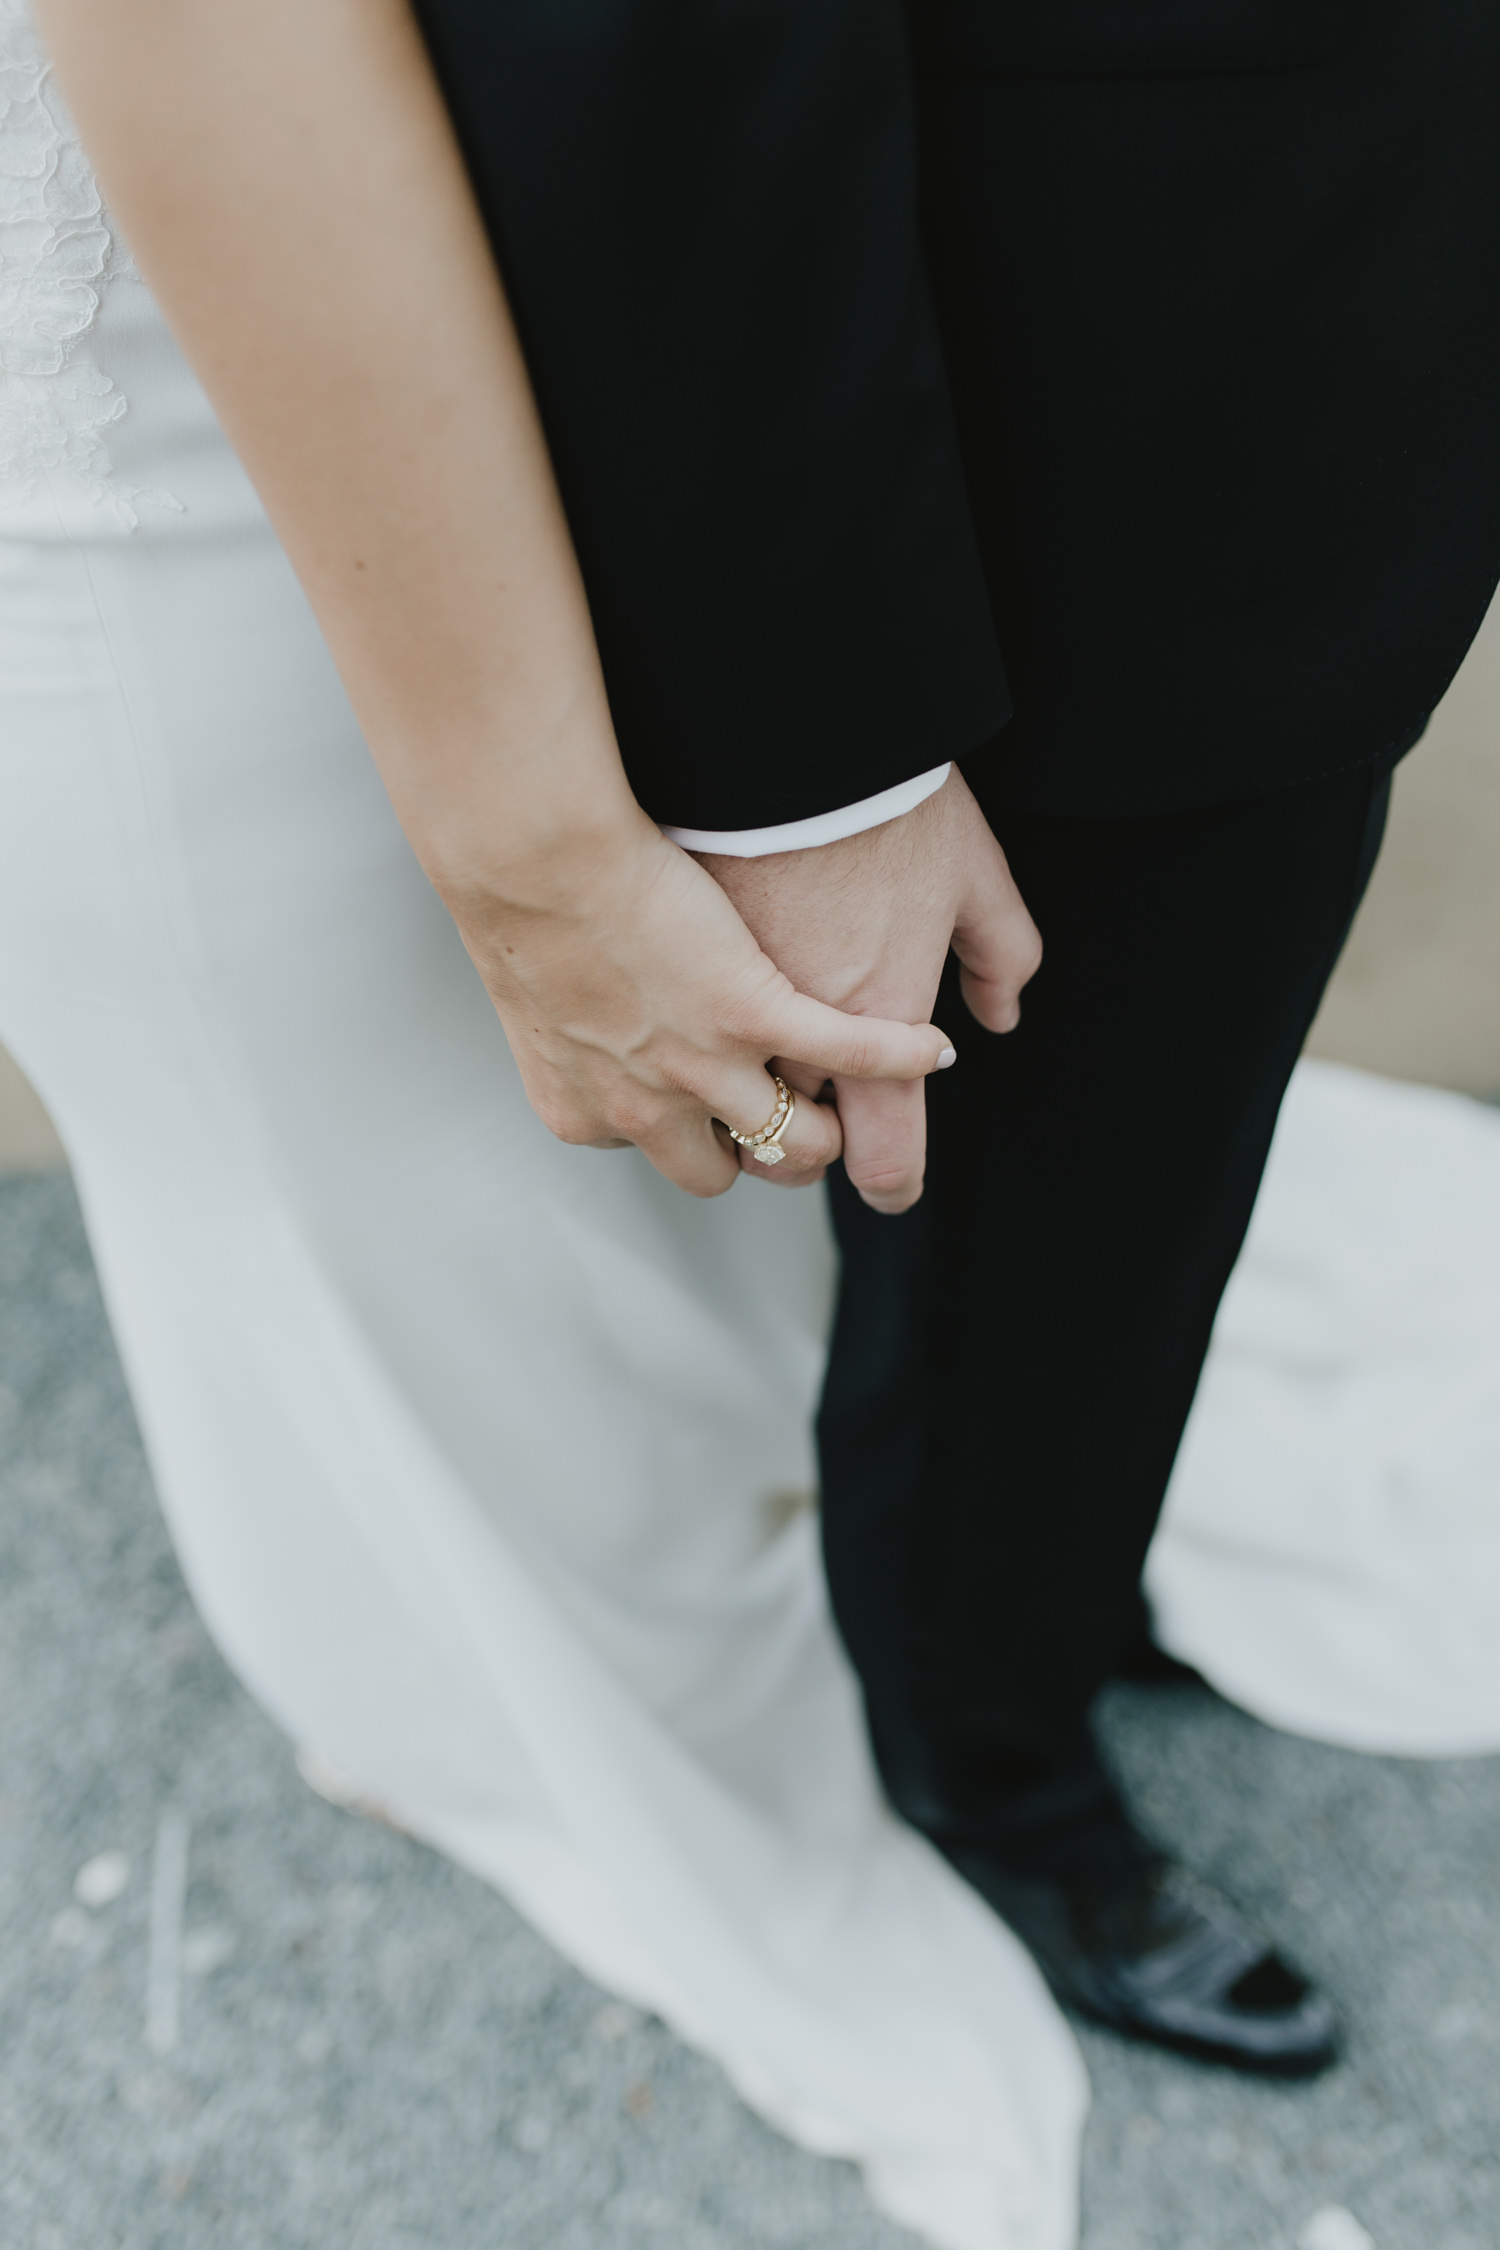
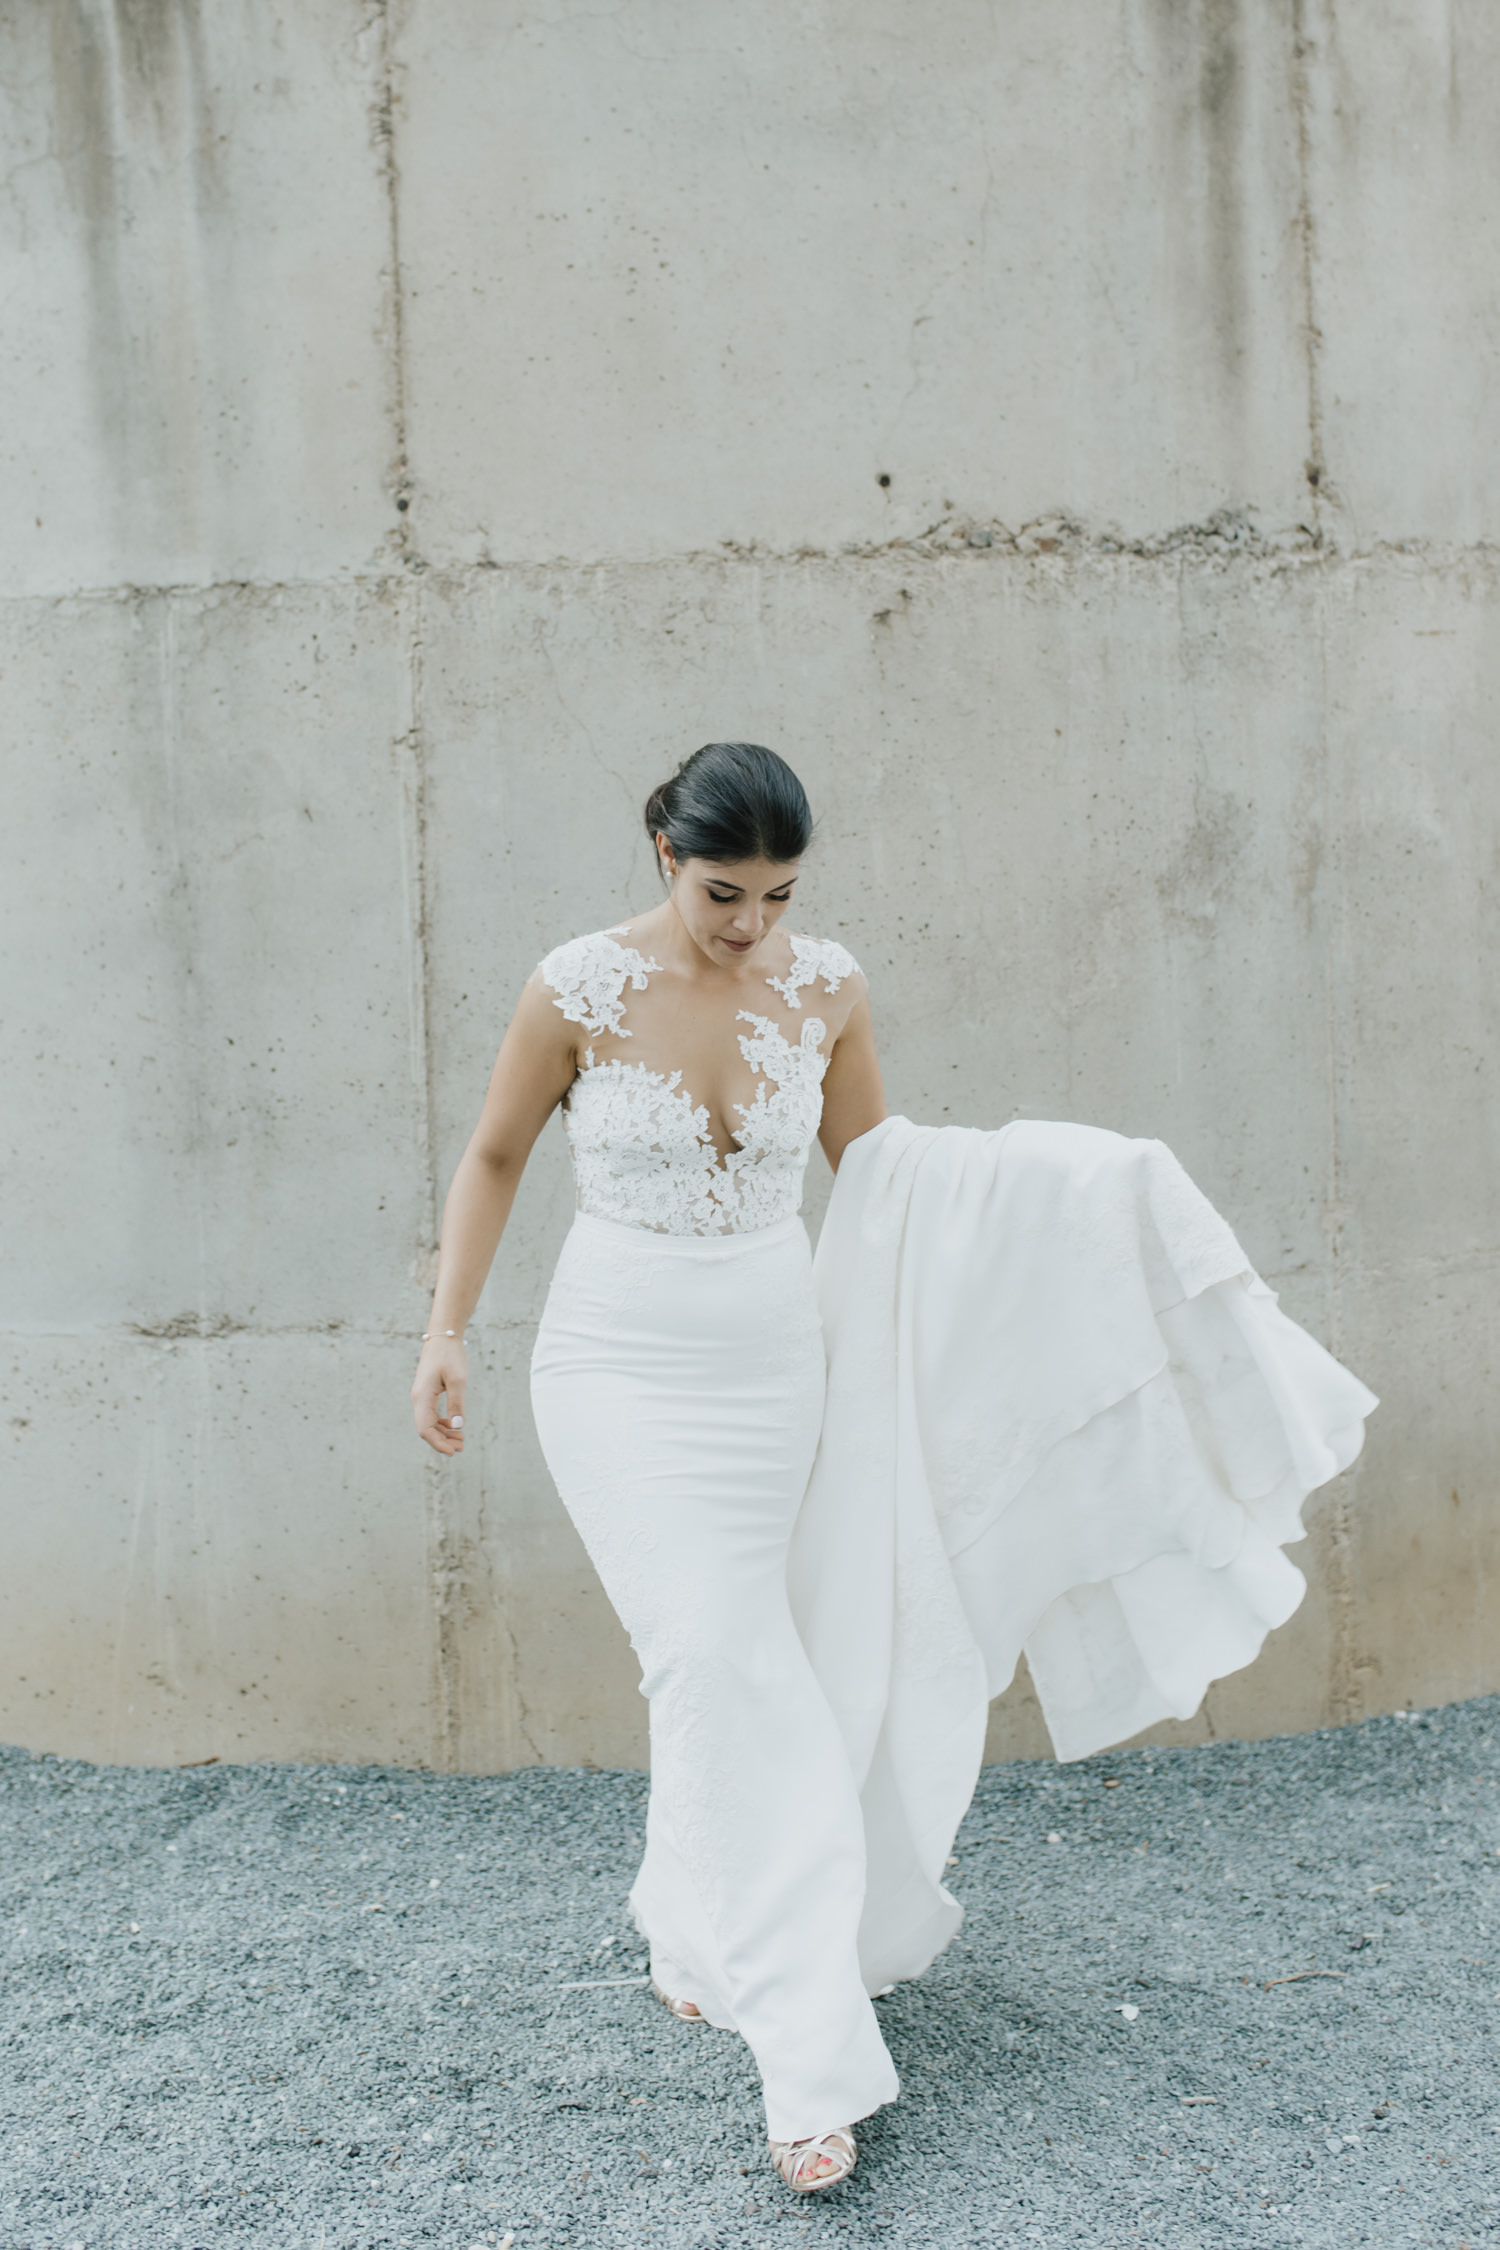
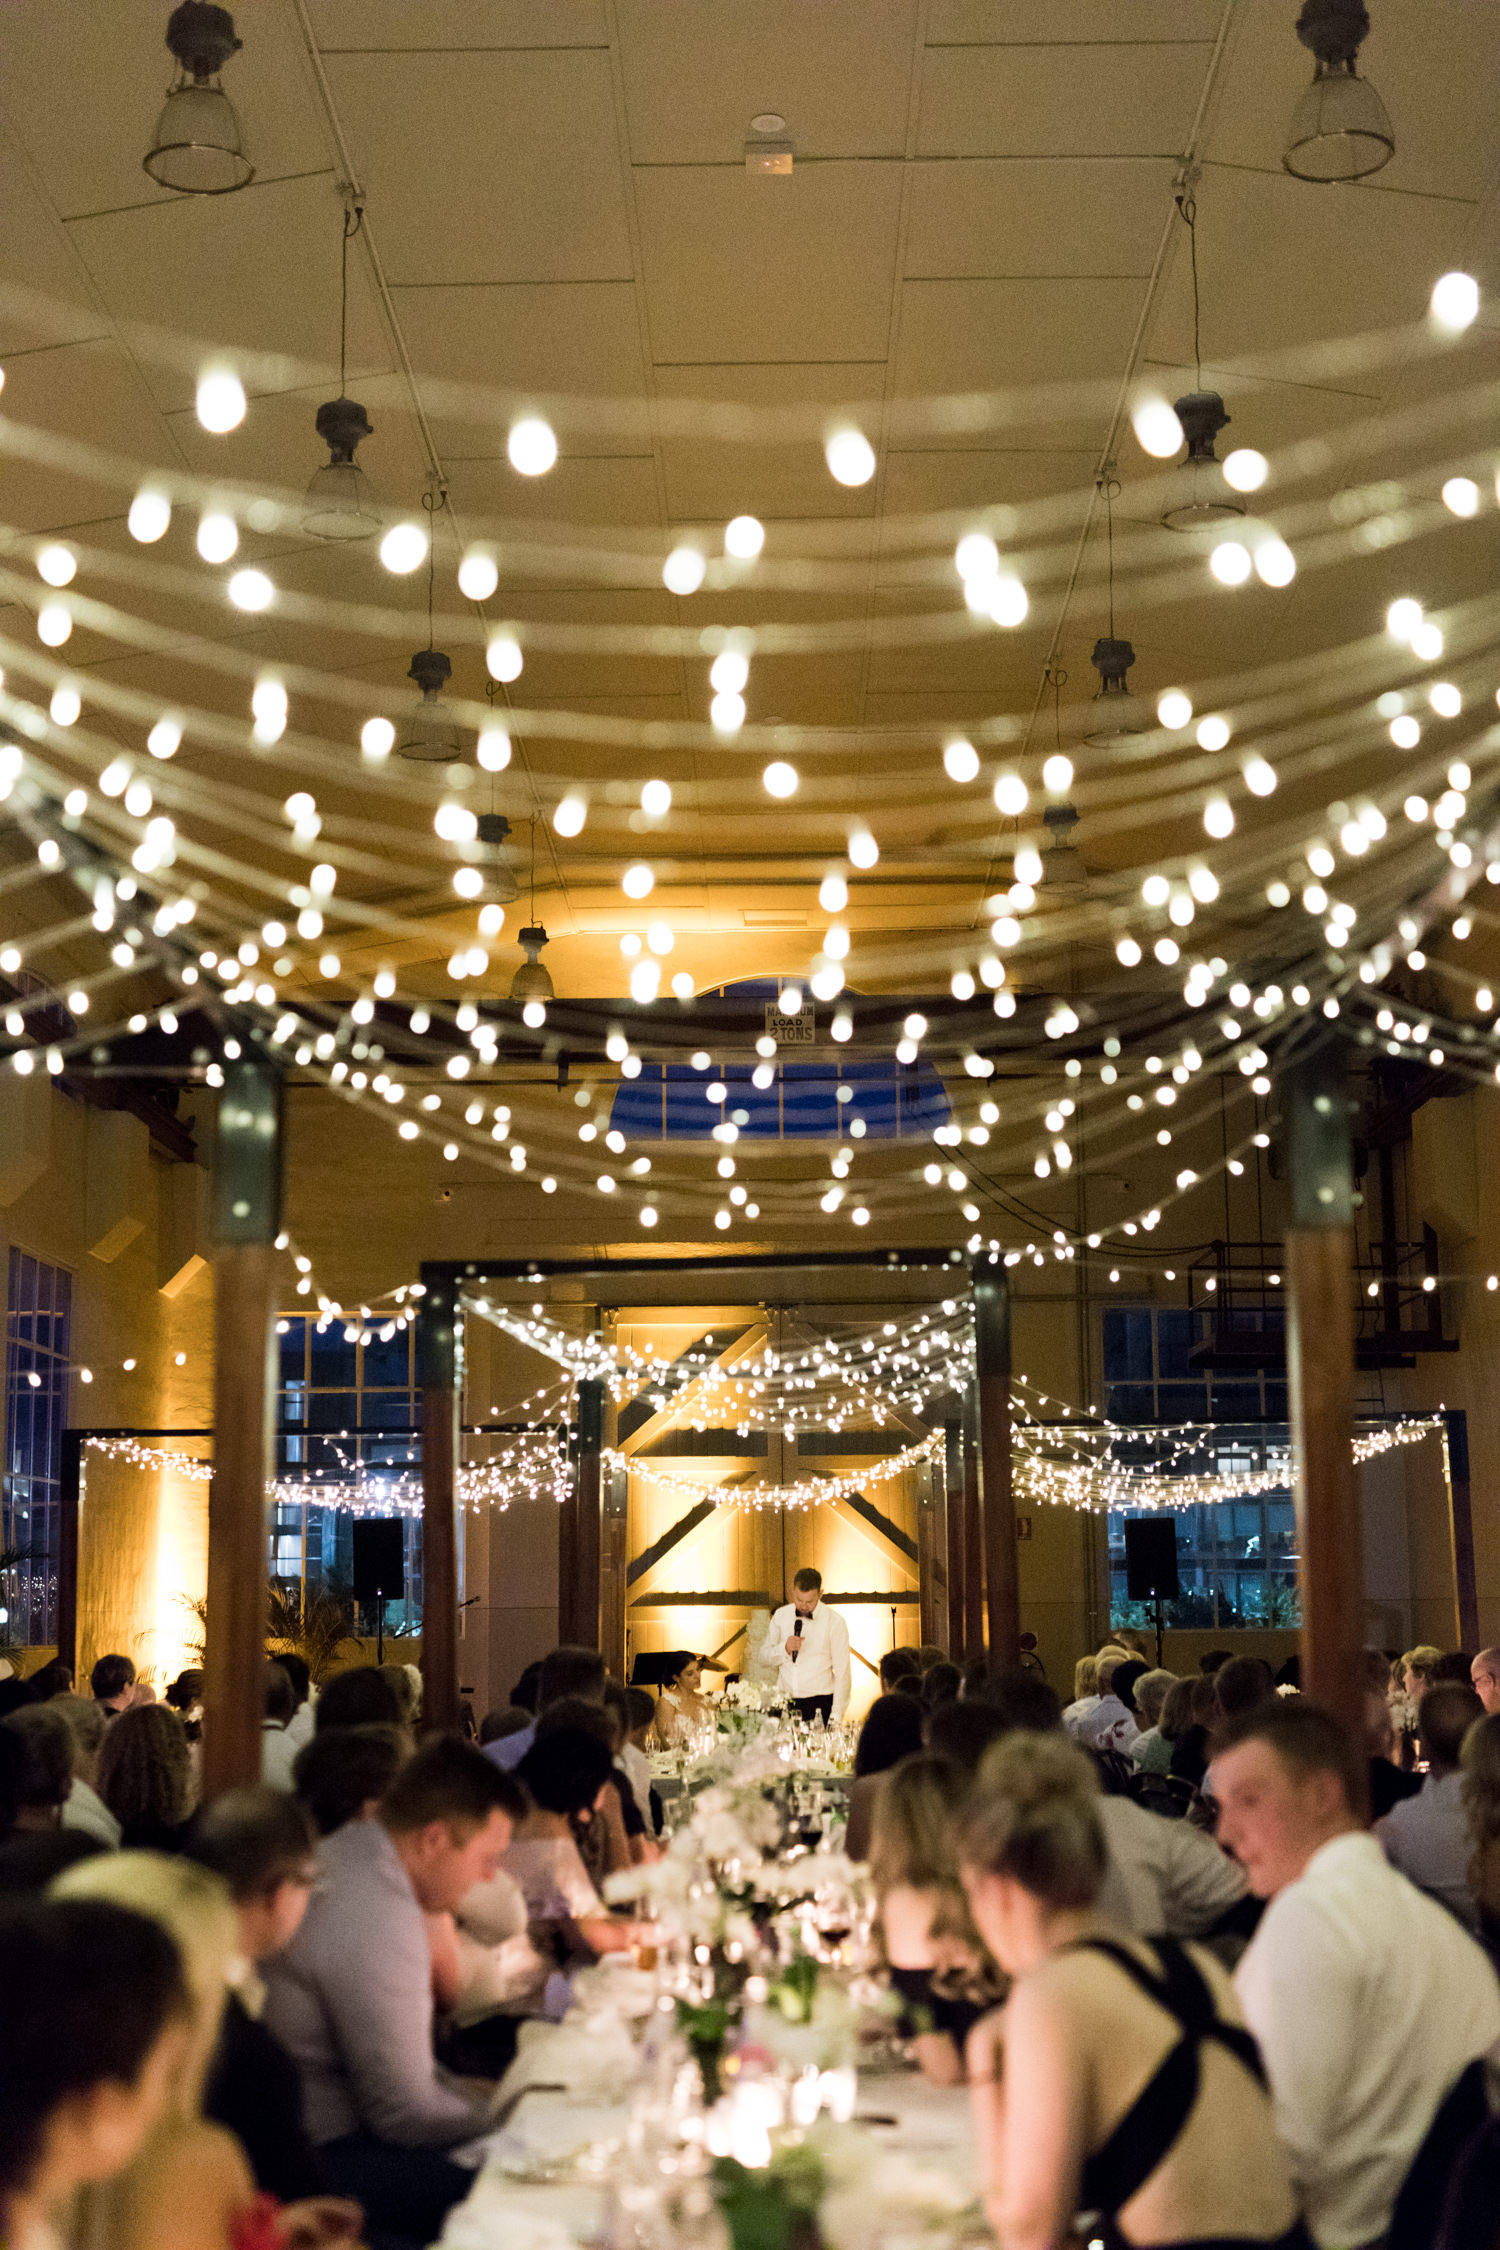
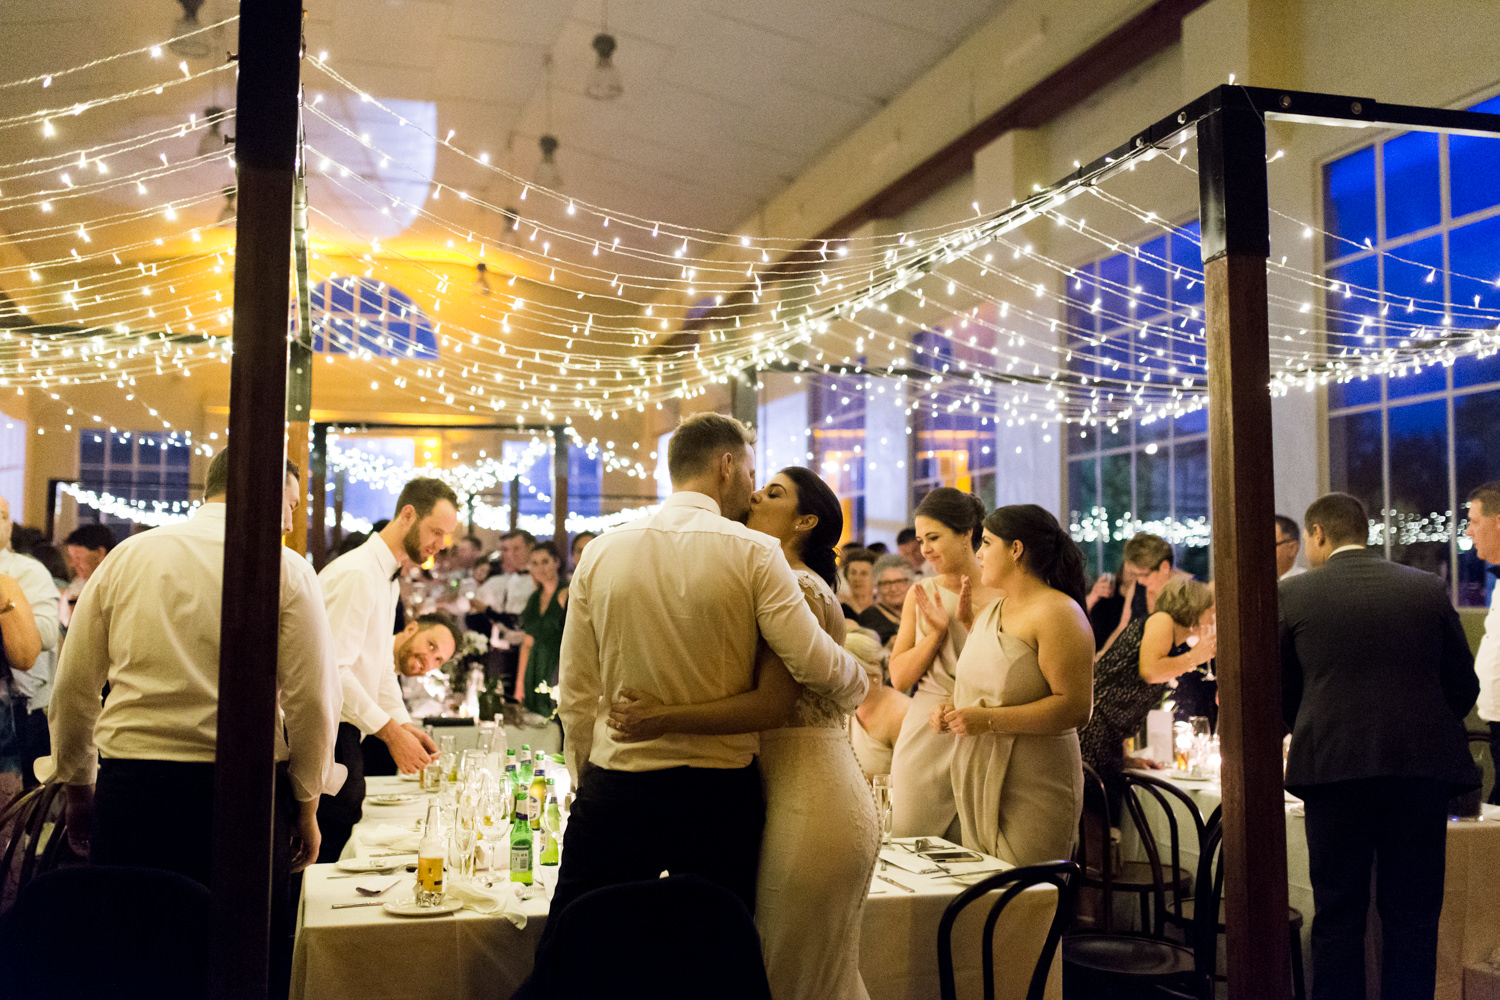
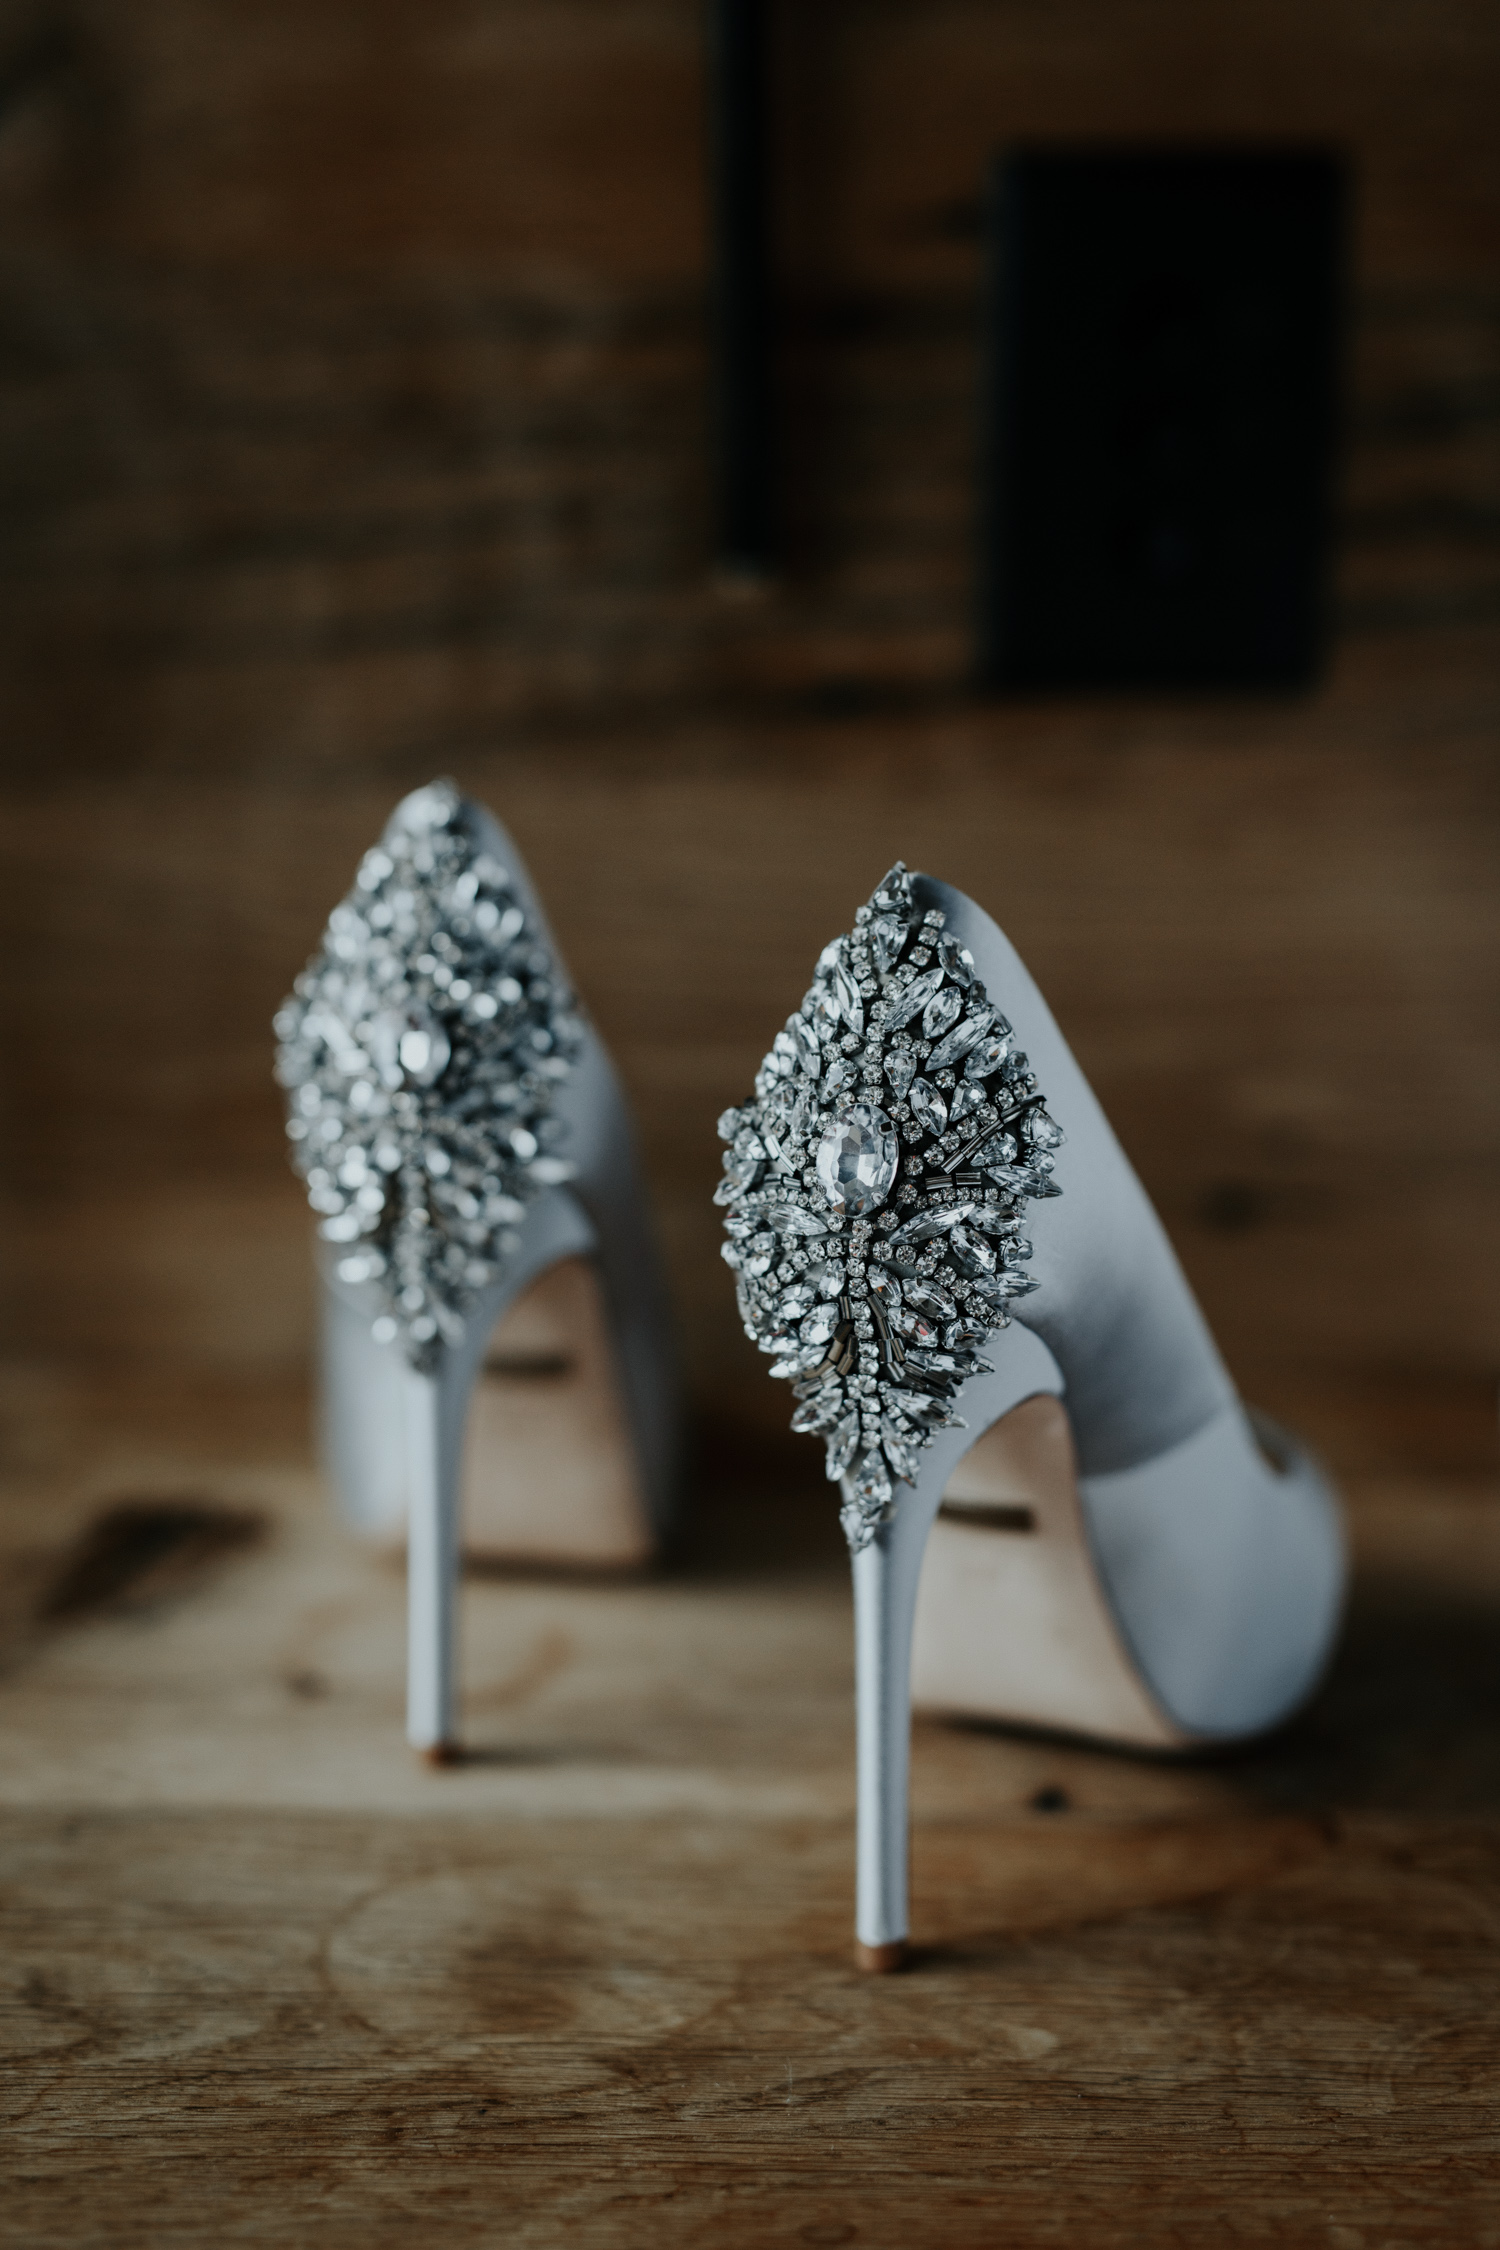
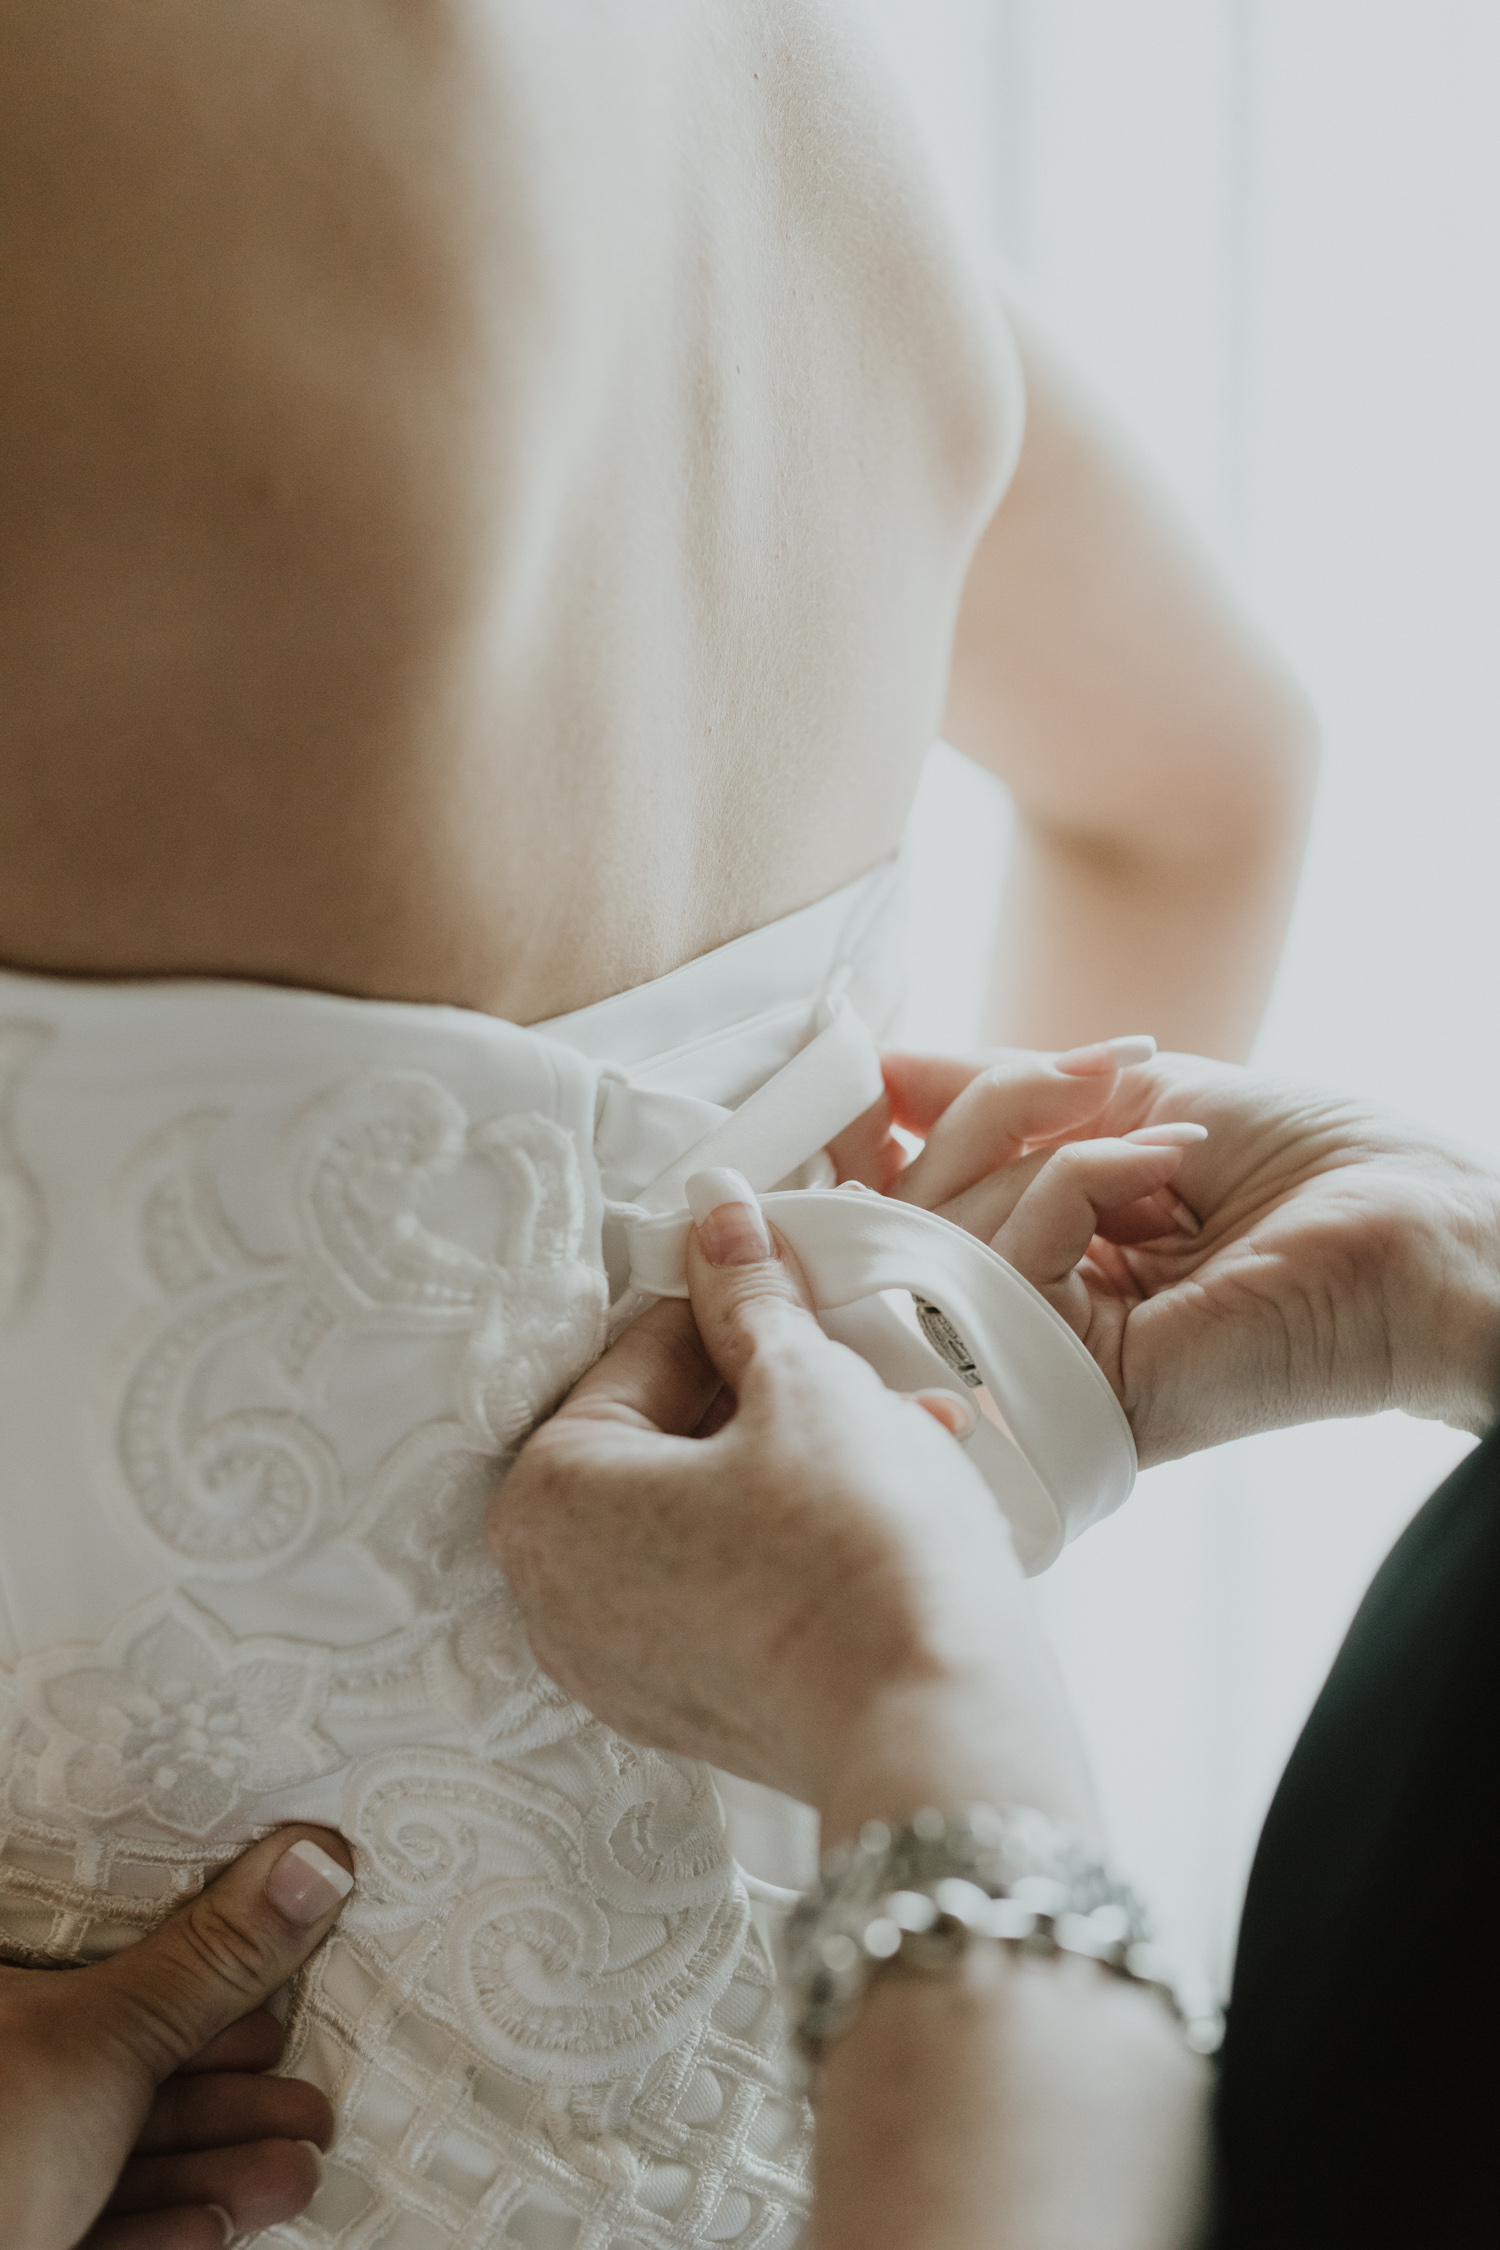
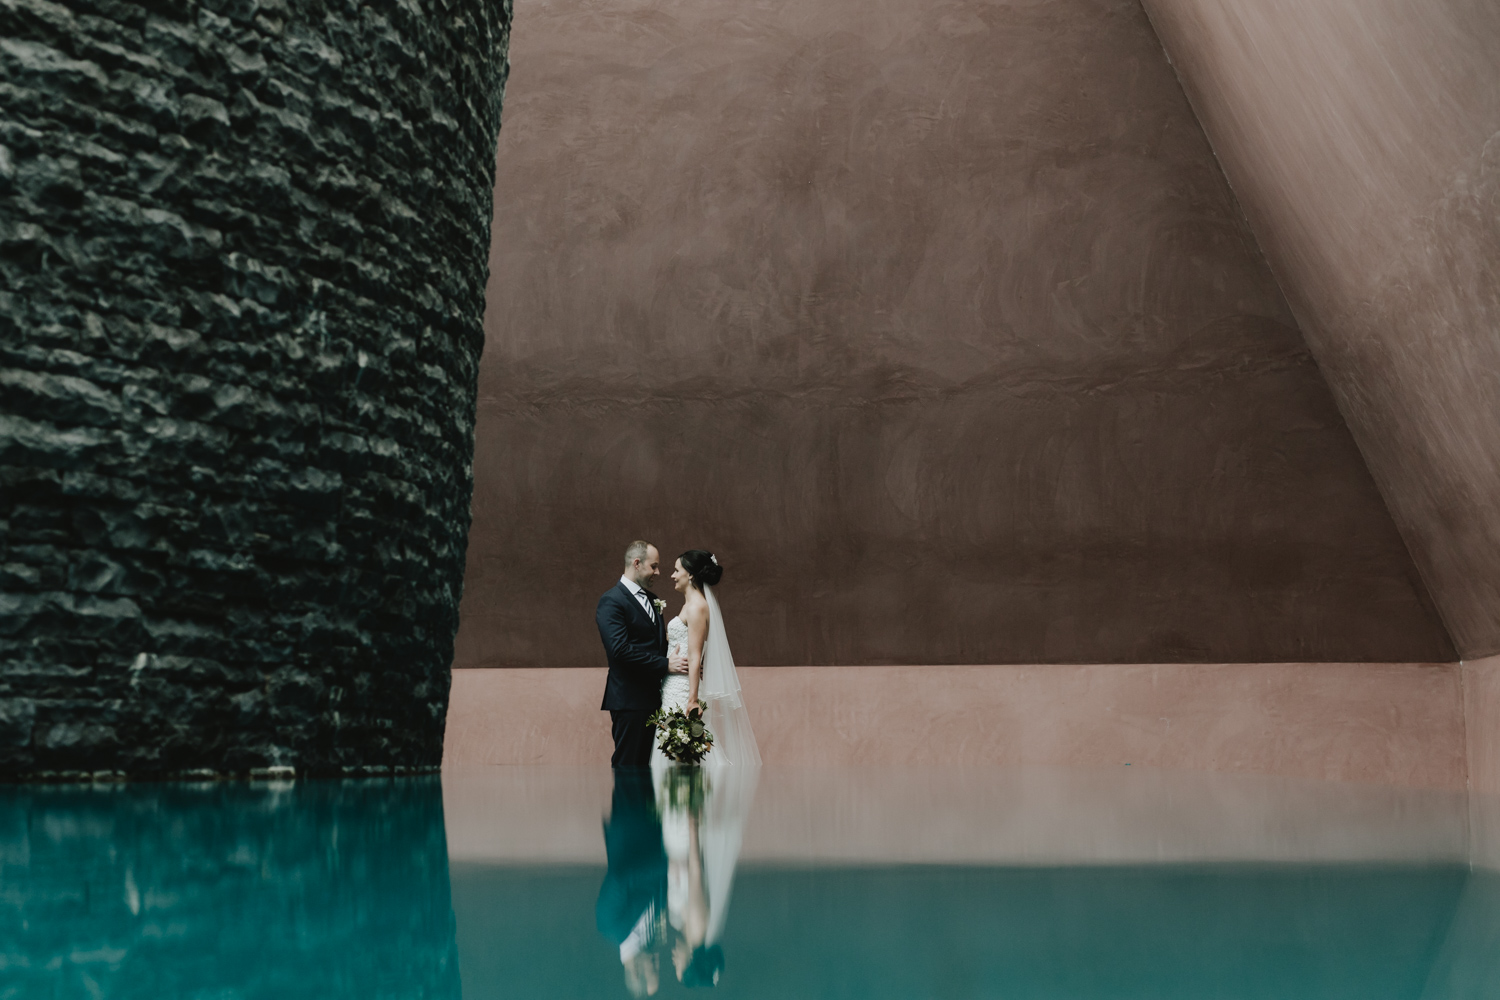
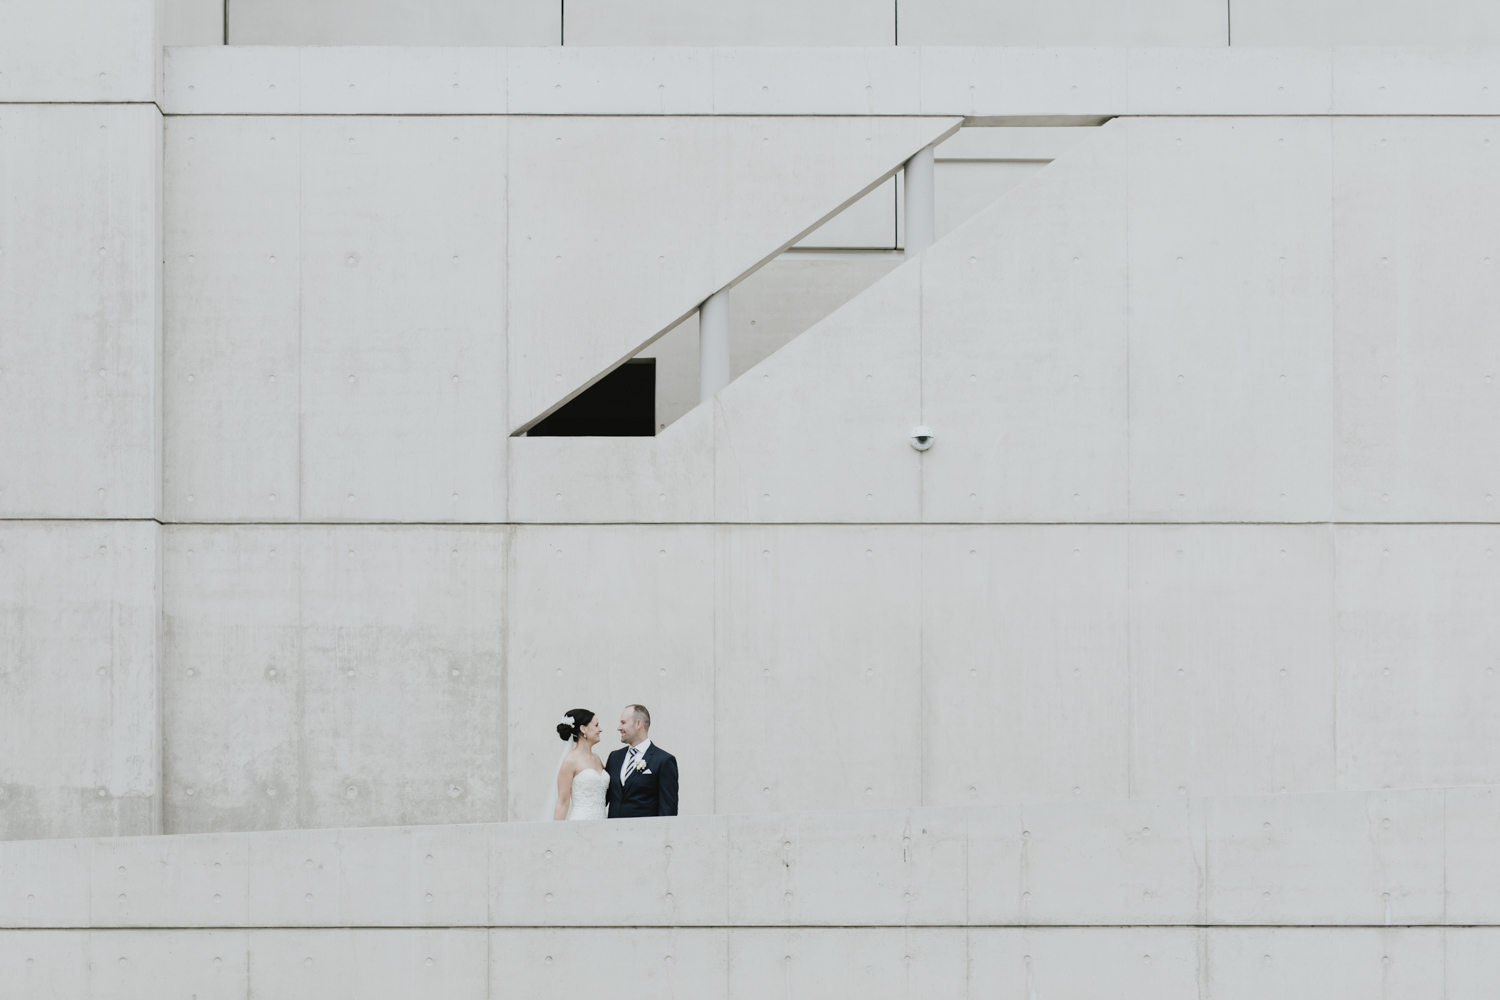
Sarah and Kaya's National Gallery of Australia wedding
Sarah and Kaya had their beautiful wedding at the National Gallery of Australia, surrounded by 200 or so adoring family and friends. This is how I saw the day unfold...

Sarah and Kaya had their beautiful wedding at the National Gallery of Australia, surrounded by 200 or so adoring family and friends. This is how I saw the day unfold...


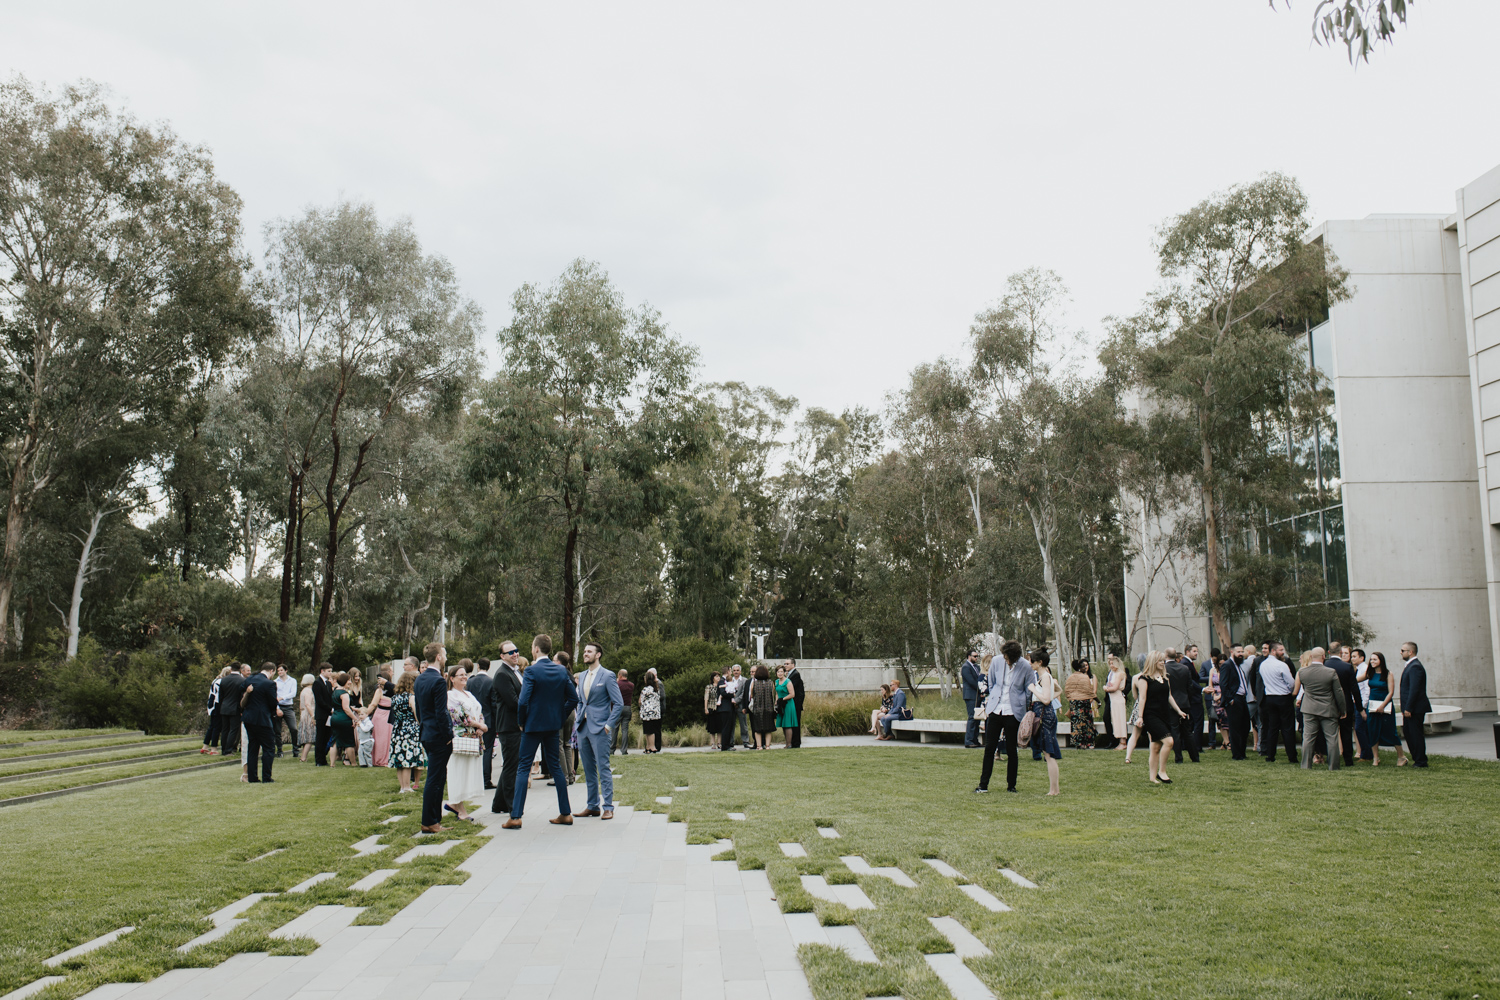


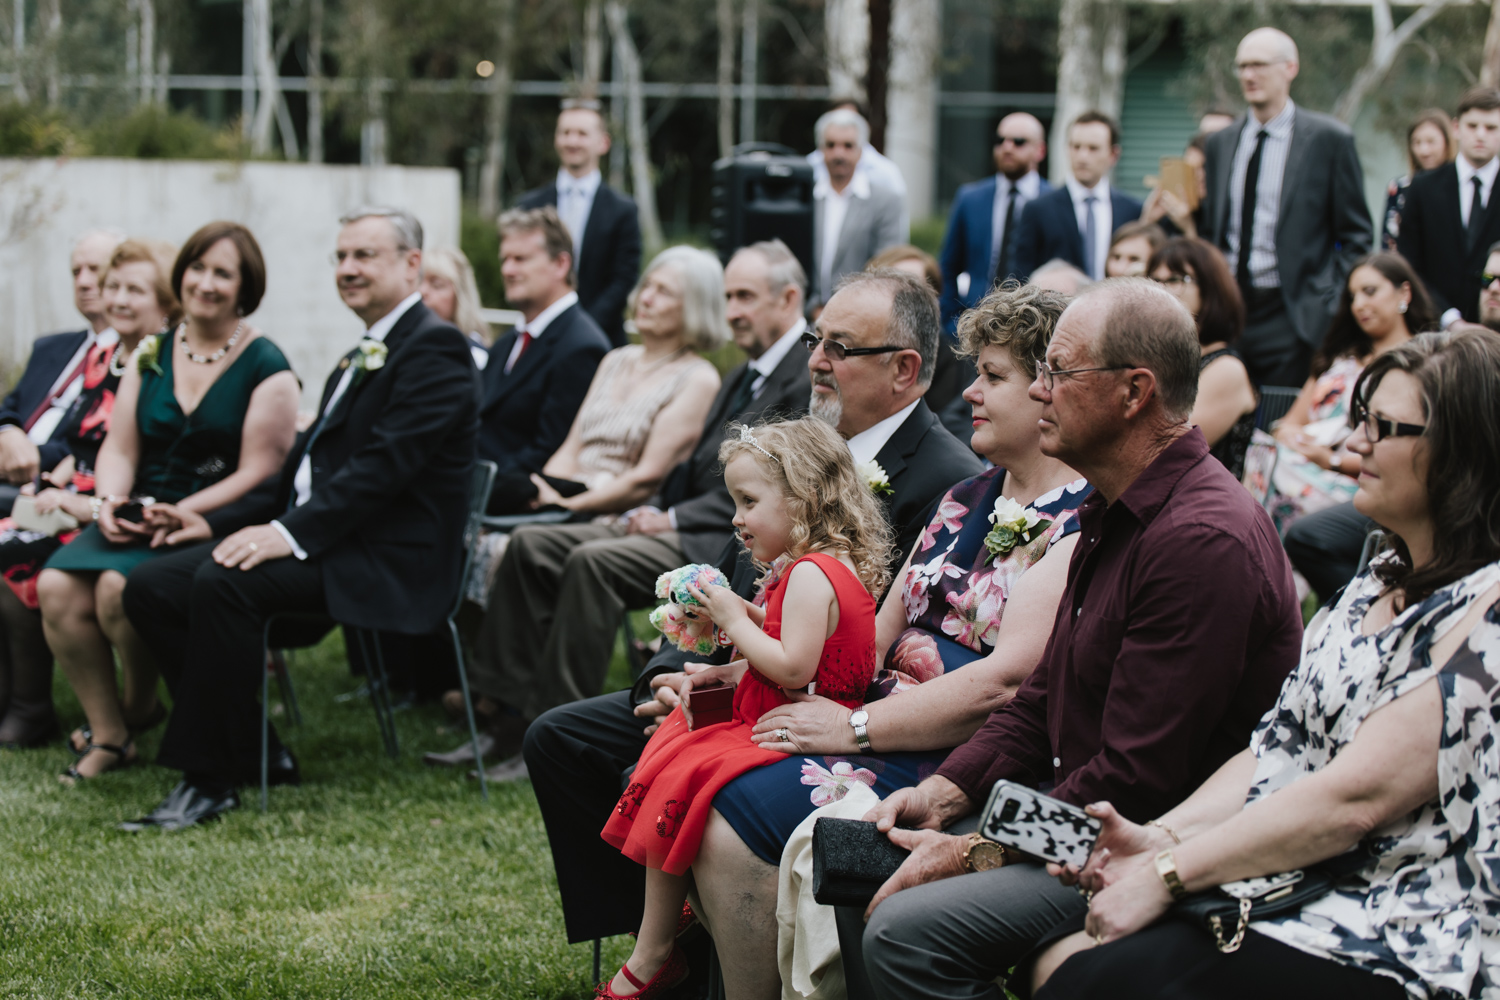


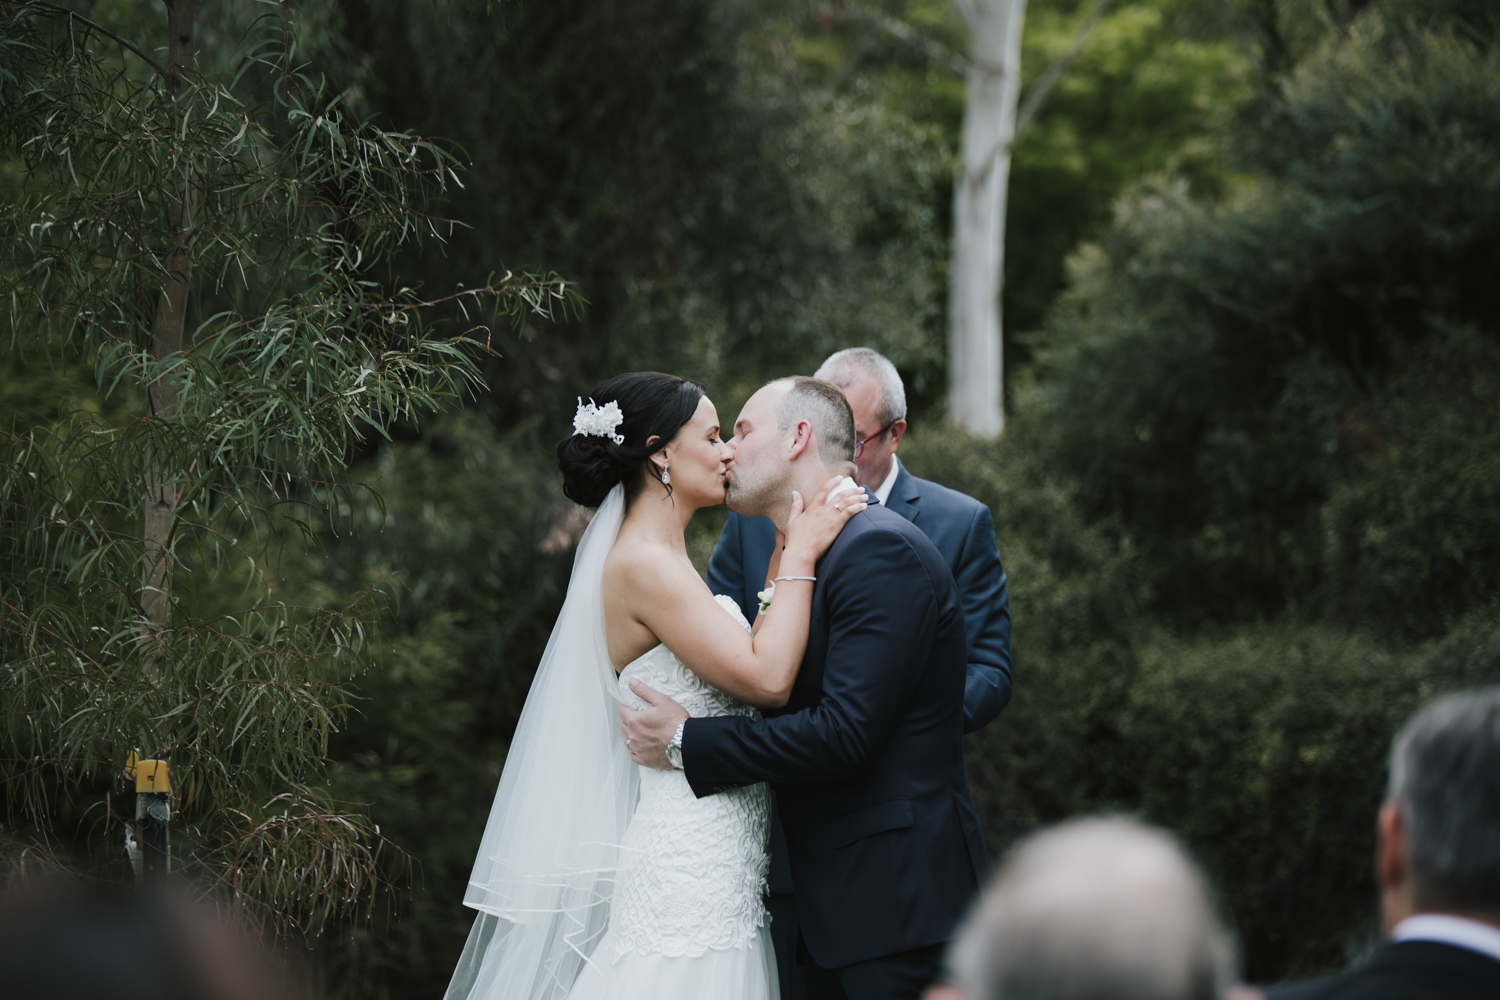
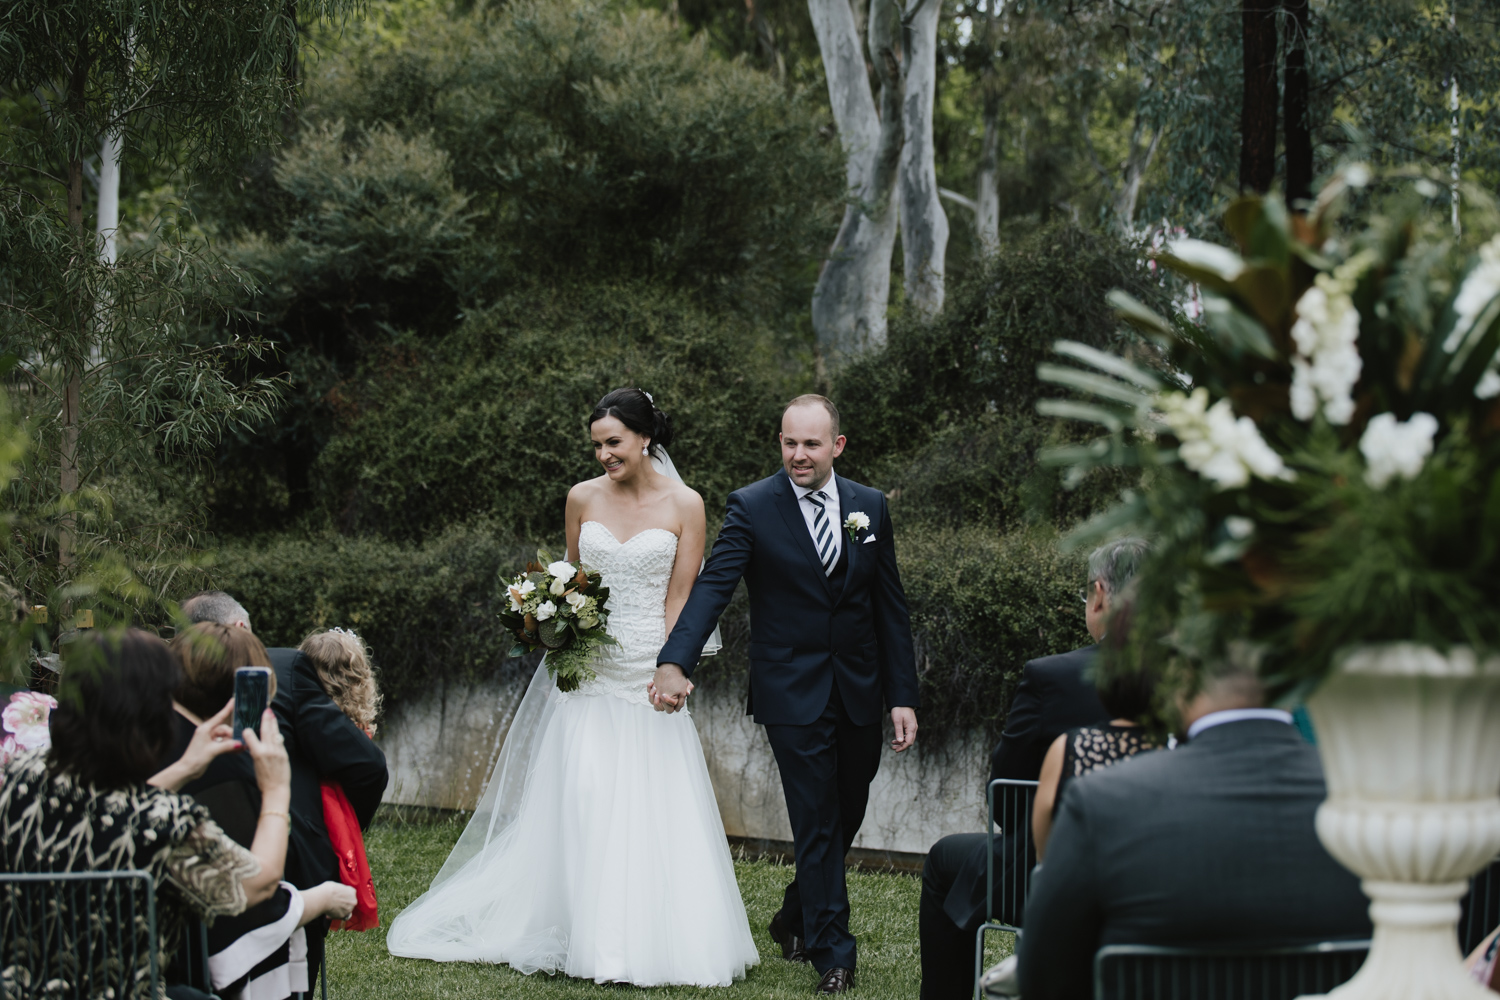


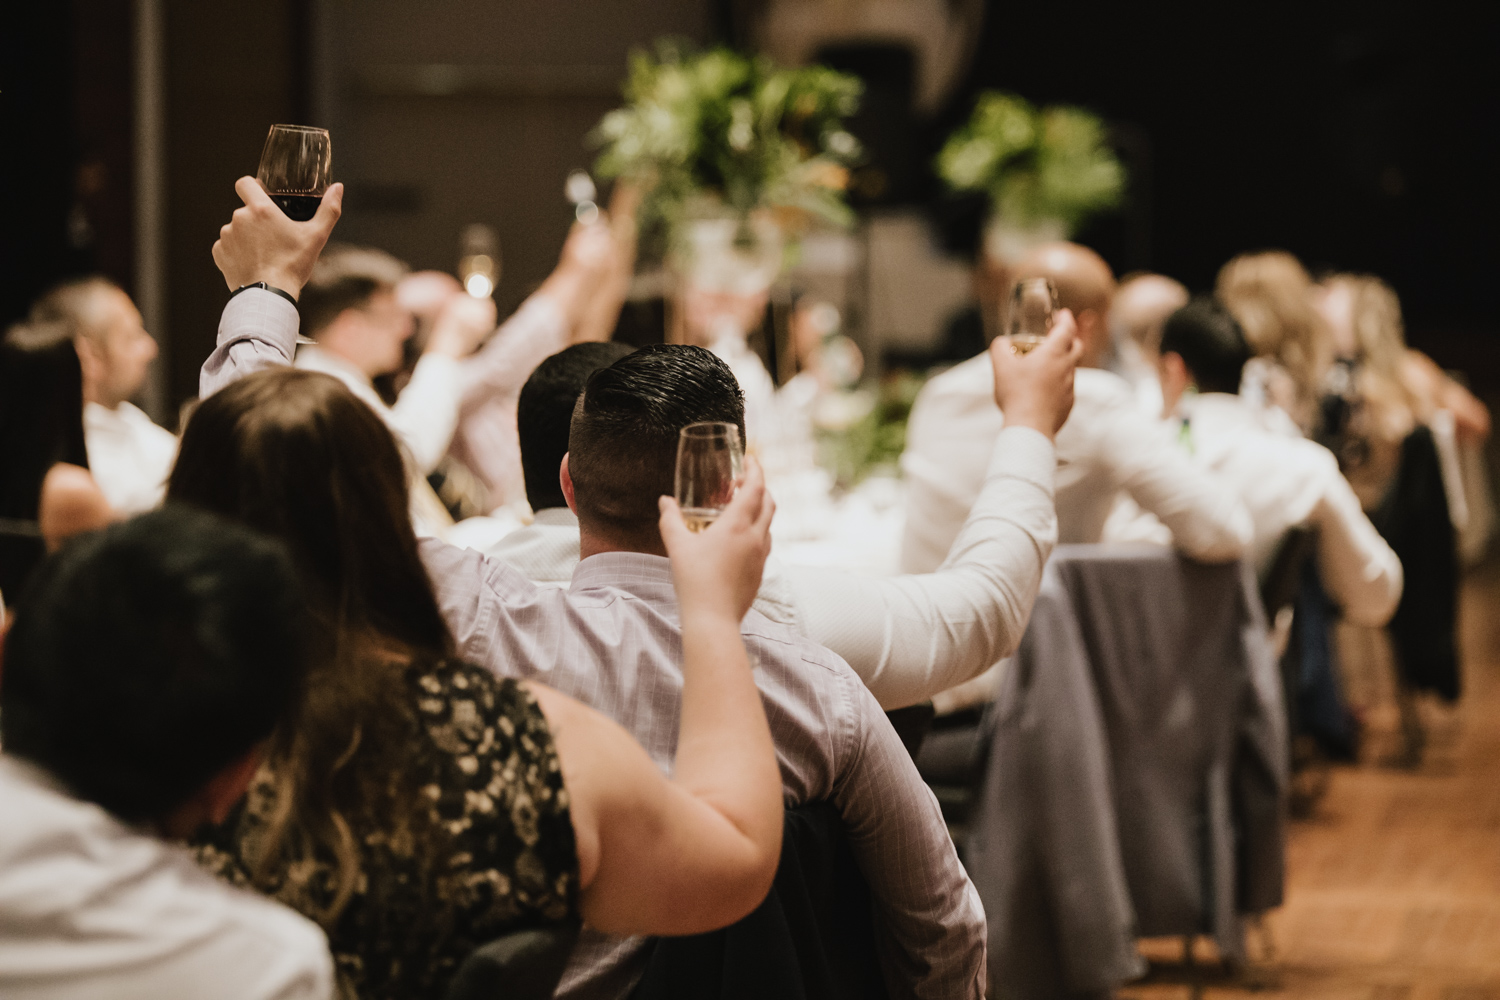

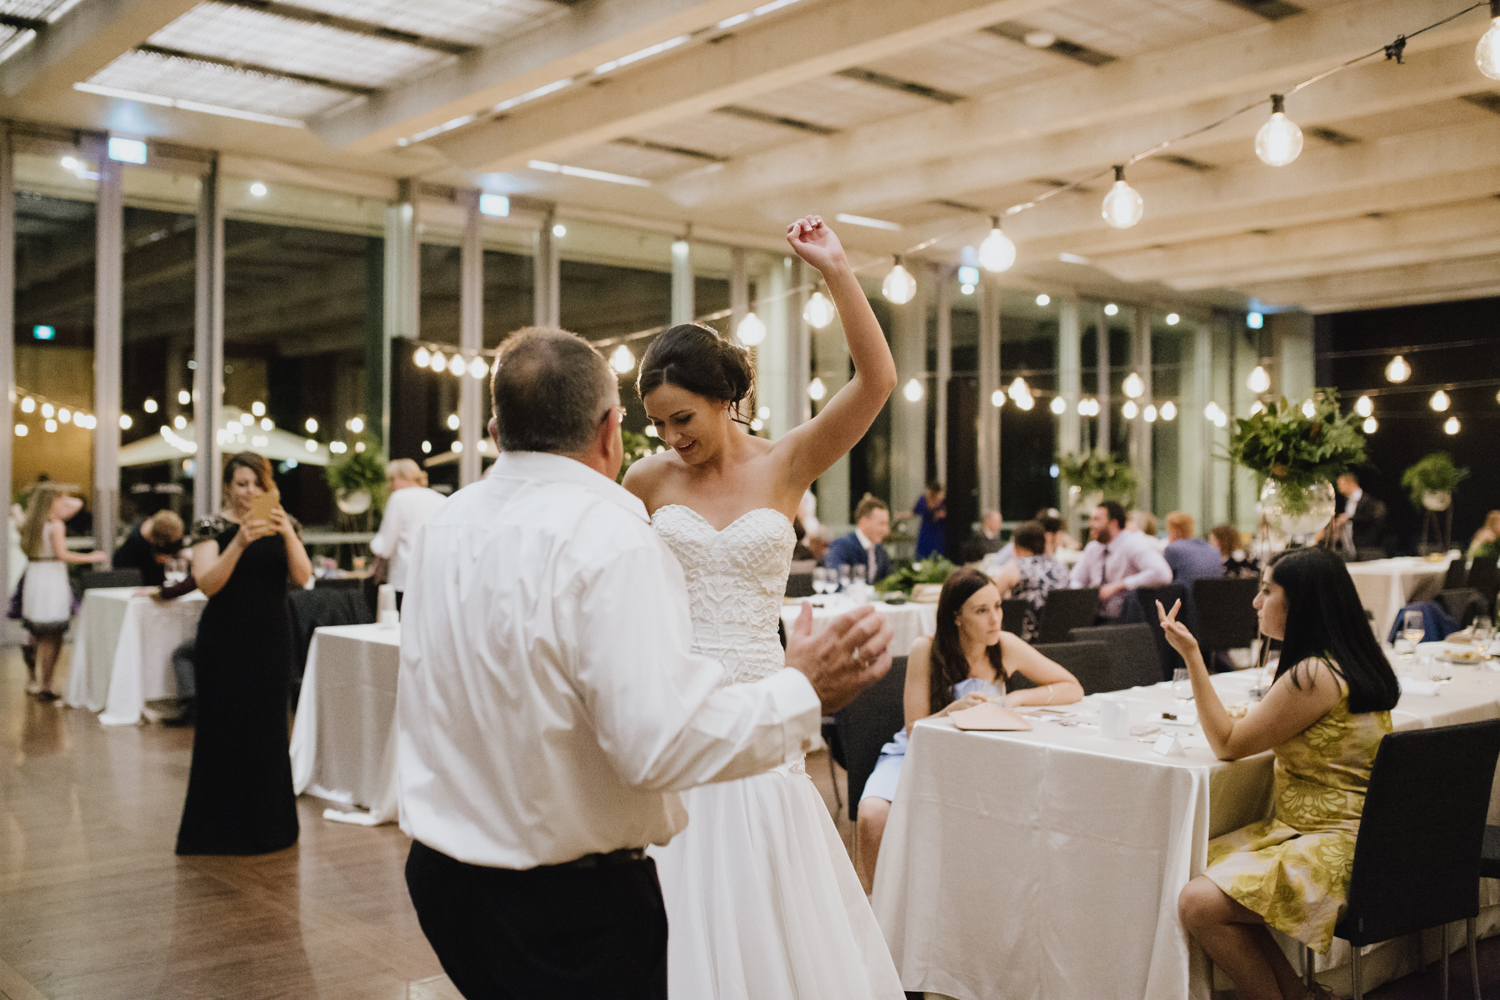


Ceremony: National Gallery of Australia Australian Terrace
Reception: Gandel Hall National Gallery of Australia
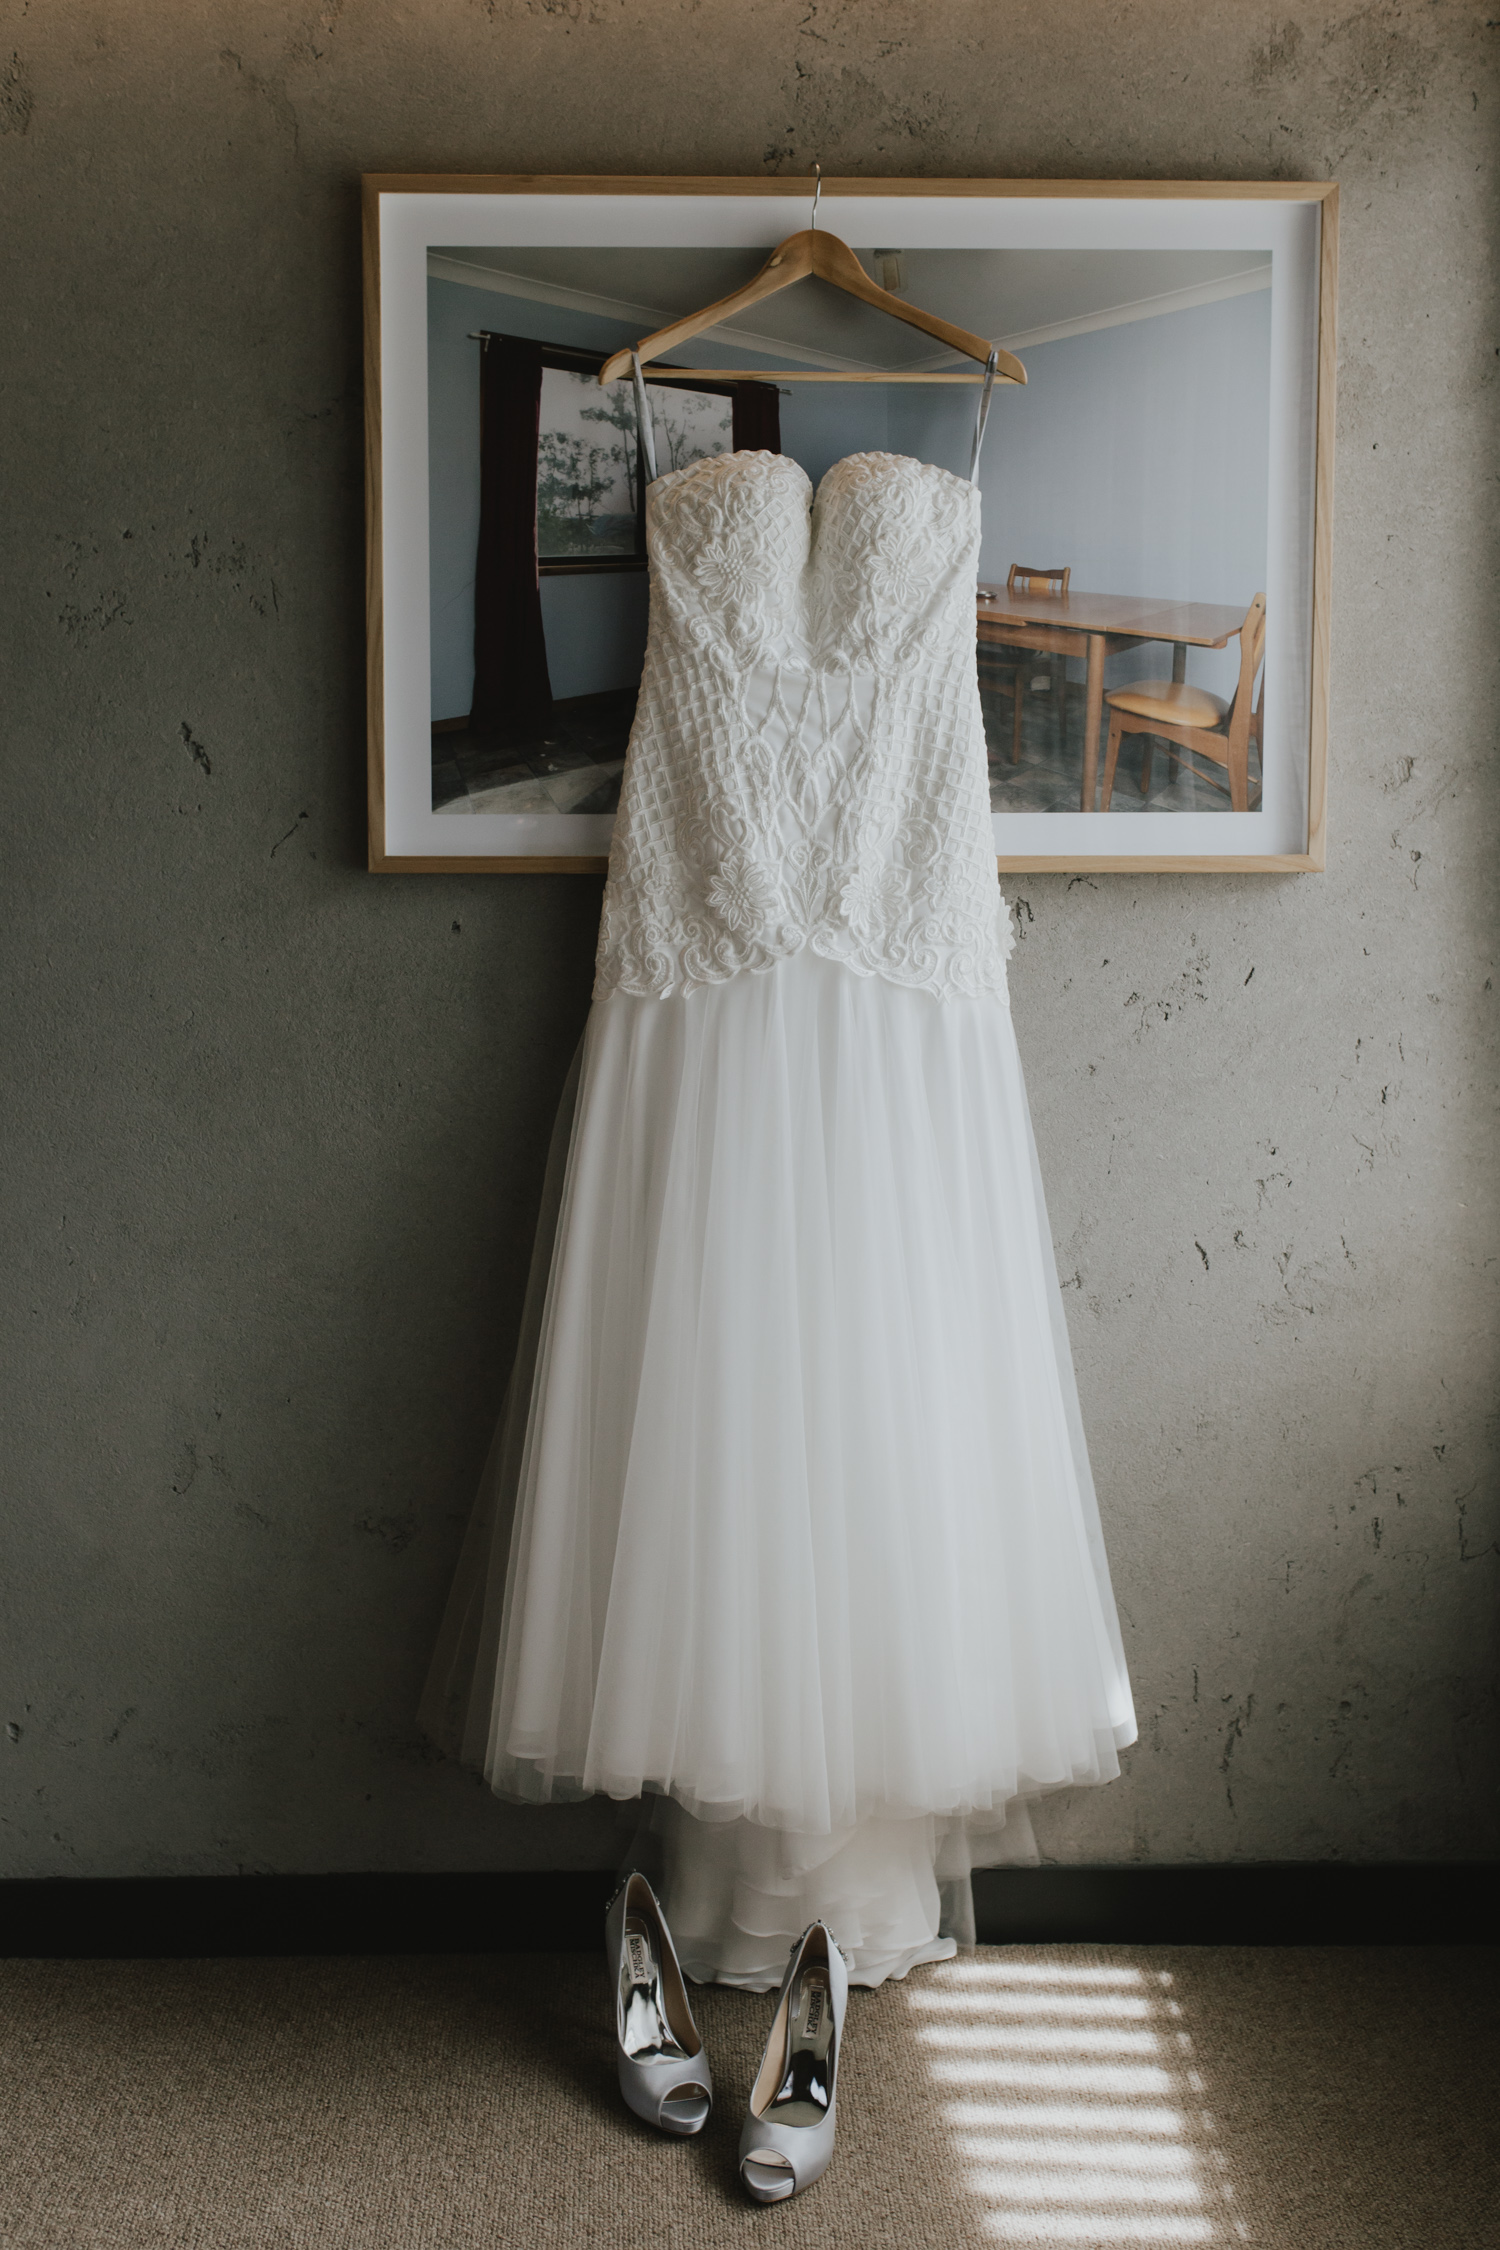
Getting Ready: Hotel Hotel (bride)
Flowers: Poetry In Flowers
Makeup: Stephanie Church Makeup
Celebrant: Michael Bower
Wedding Dress: Jack Sullivan Bridal Sian wedding dress
Shoes: Badgley Mischka
Rings: McGlades Jewellers and Hammerton Jewellers

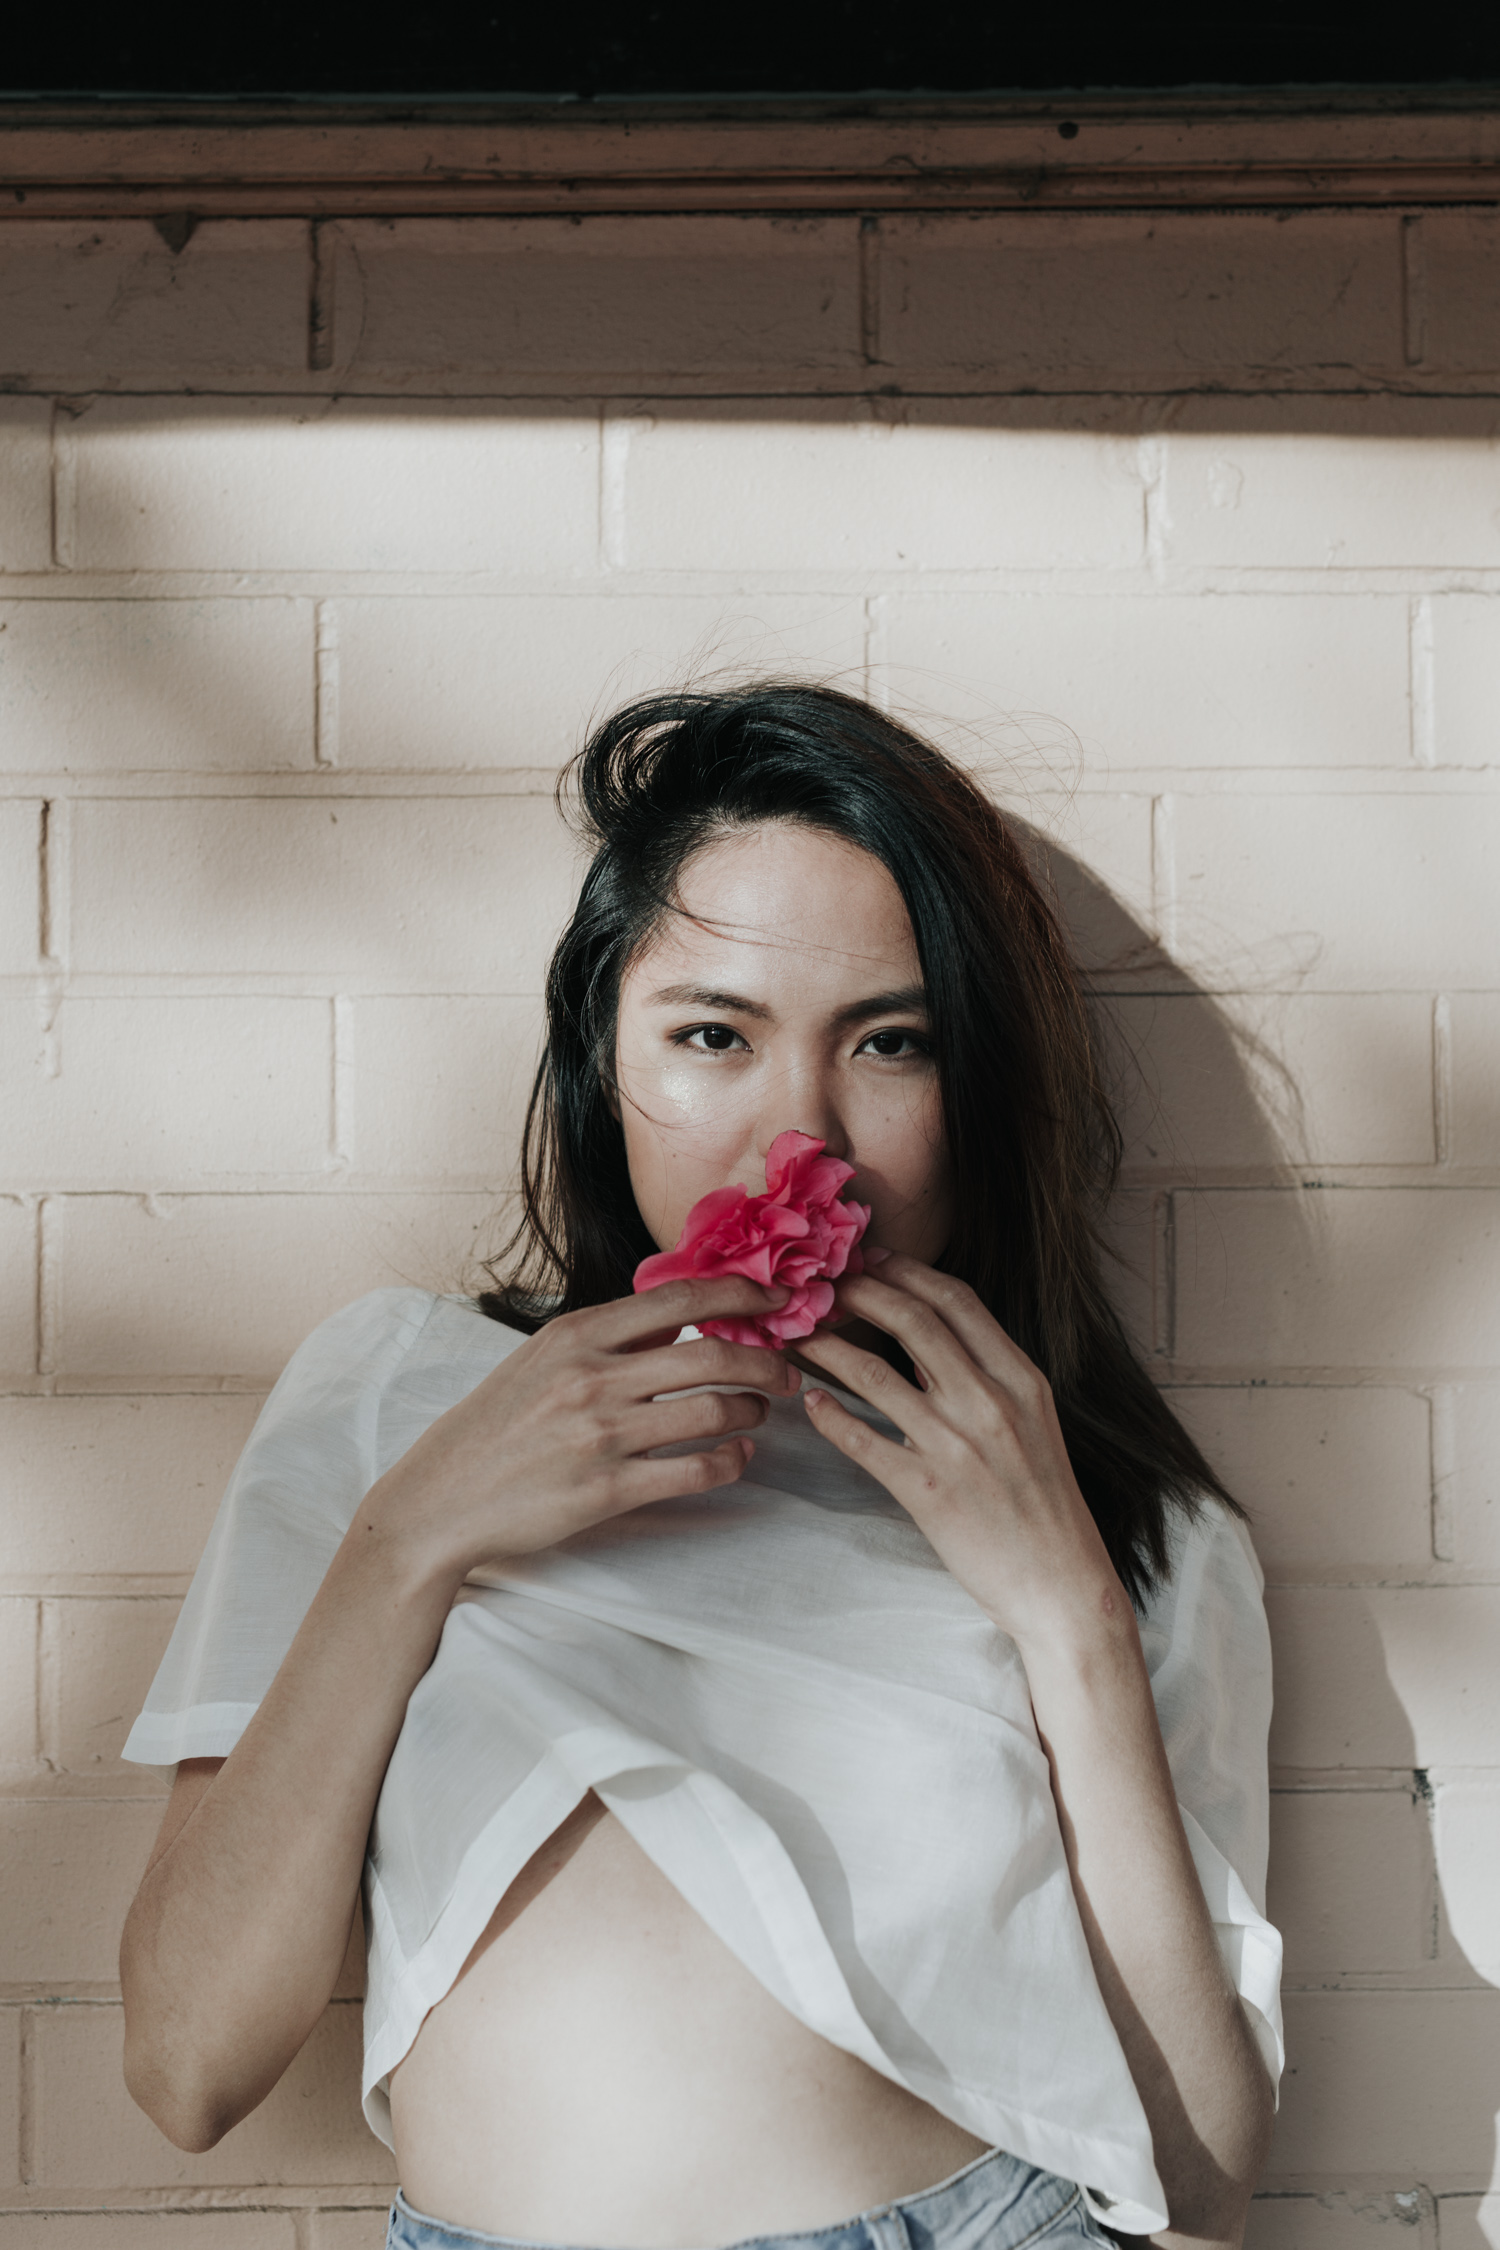
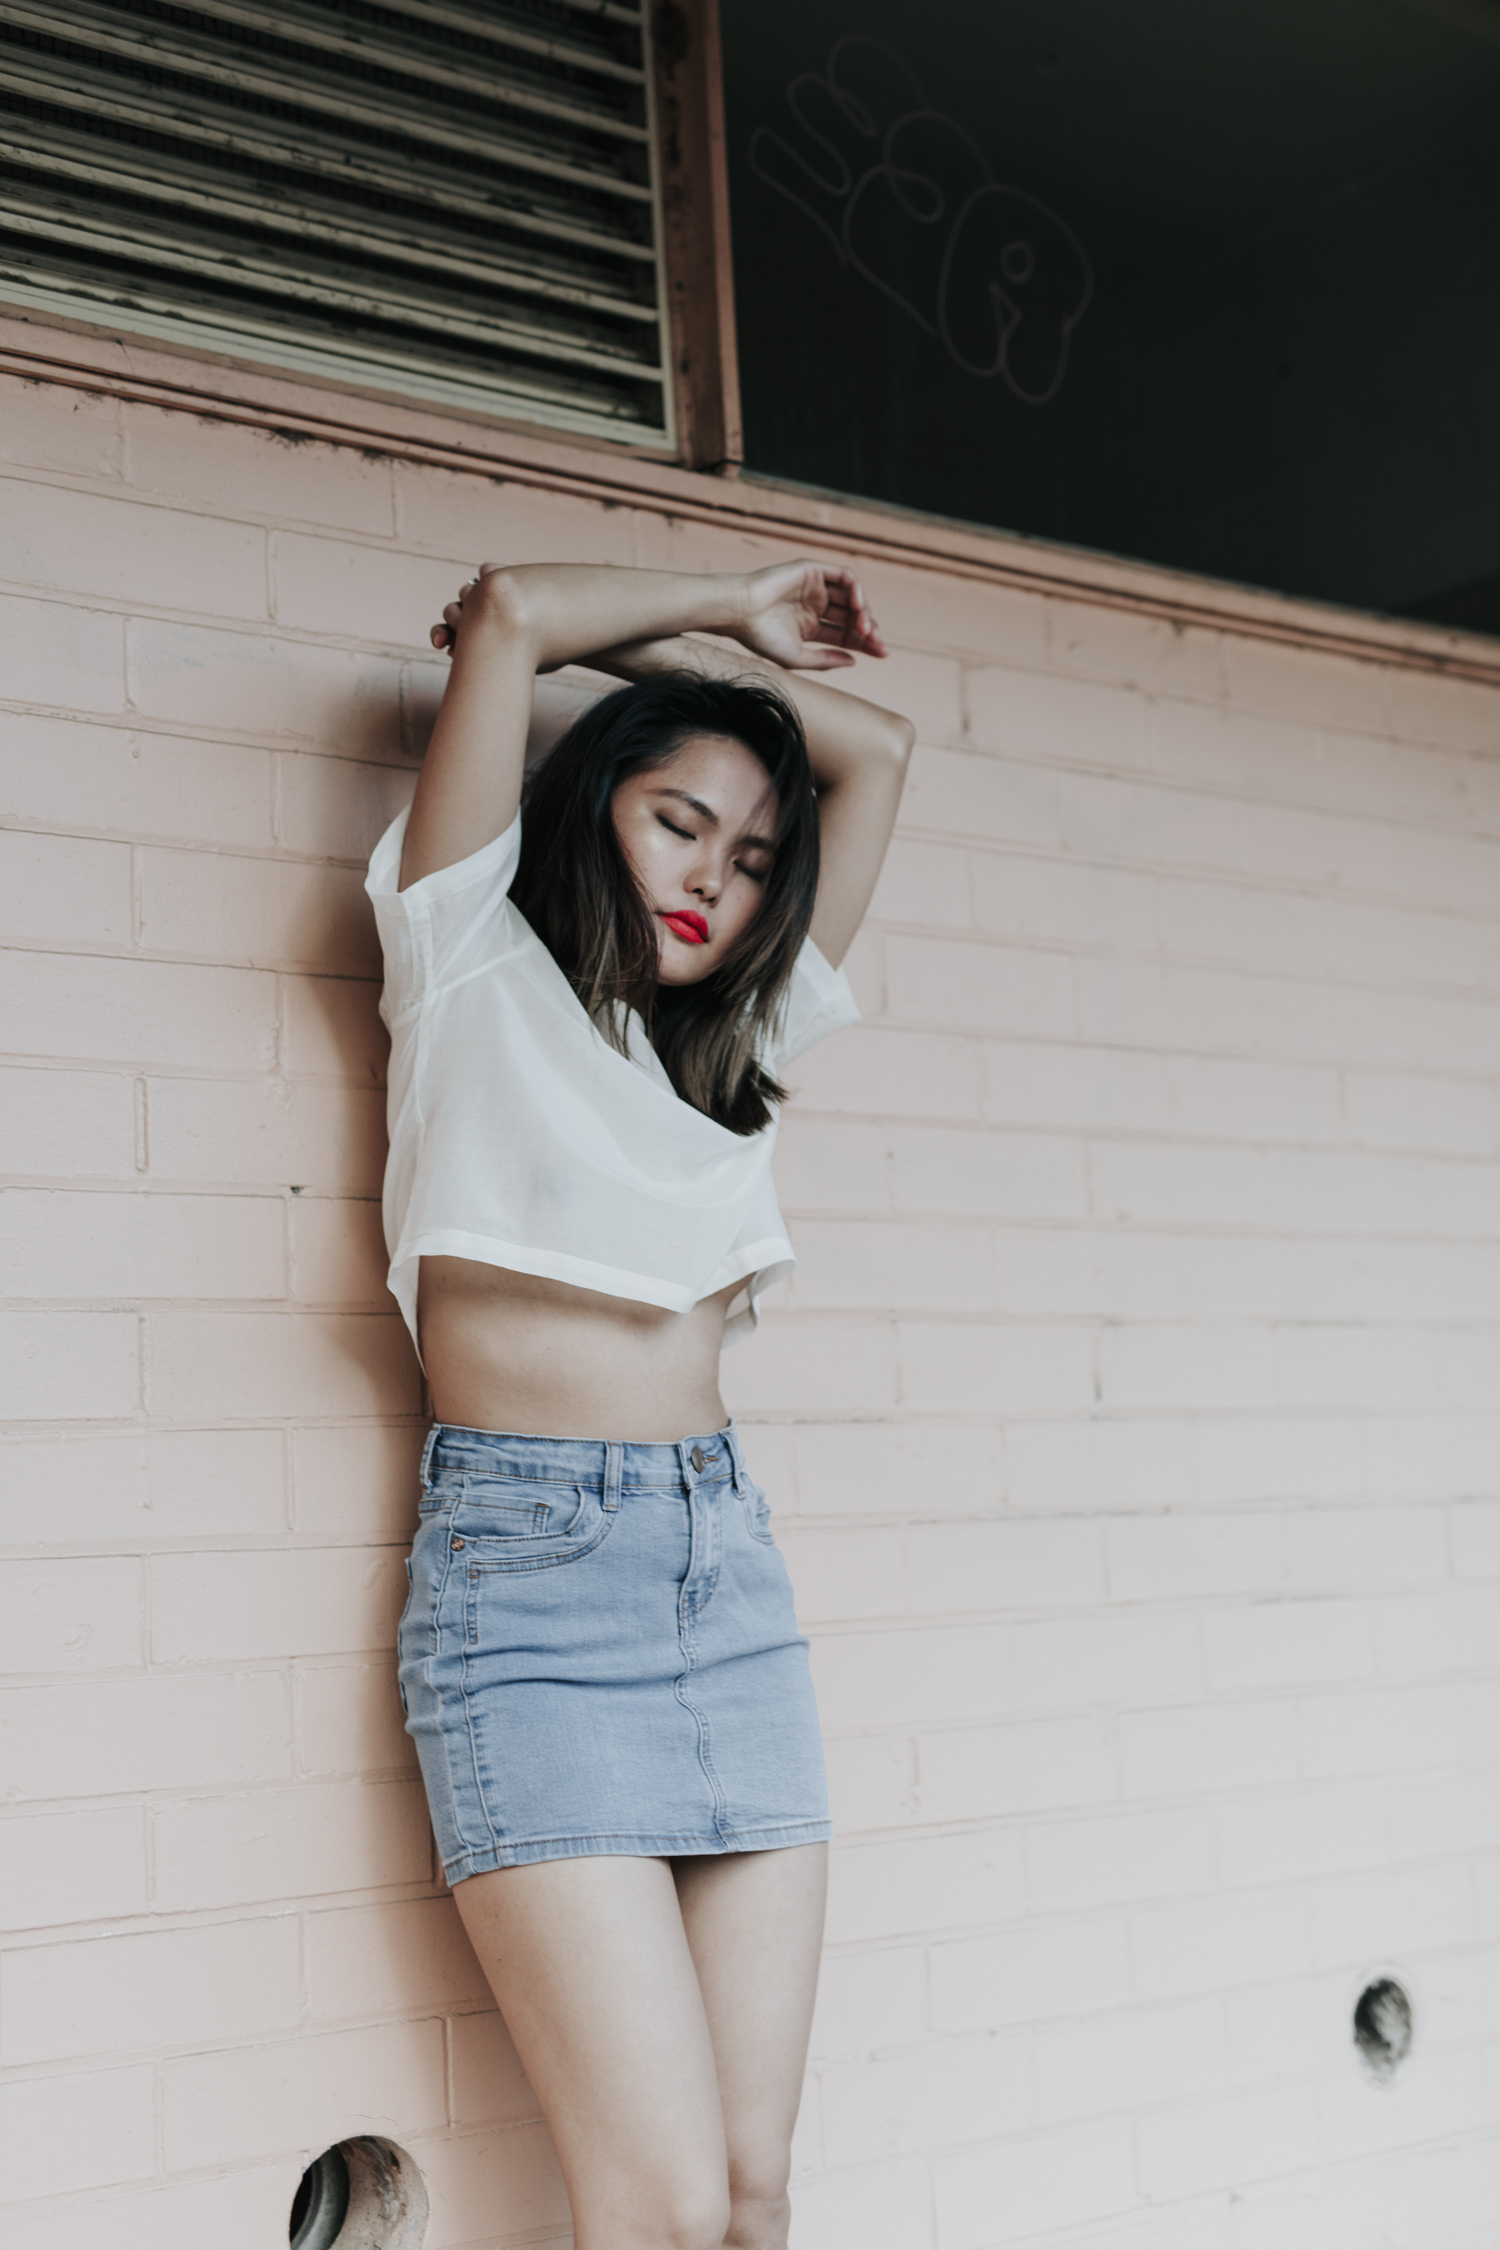
Bonbon - An Editorial
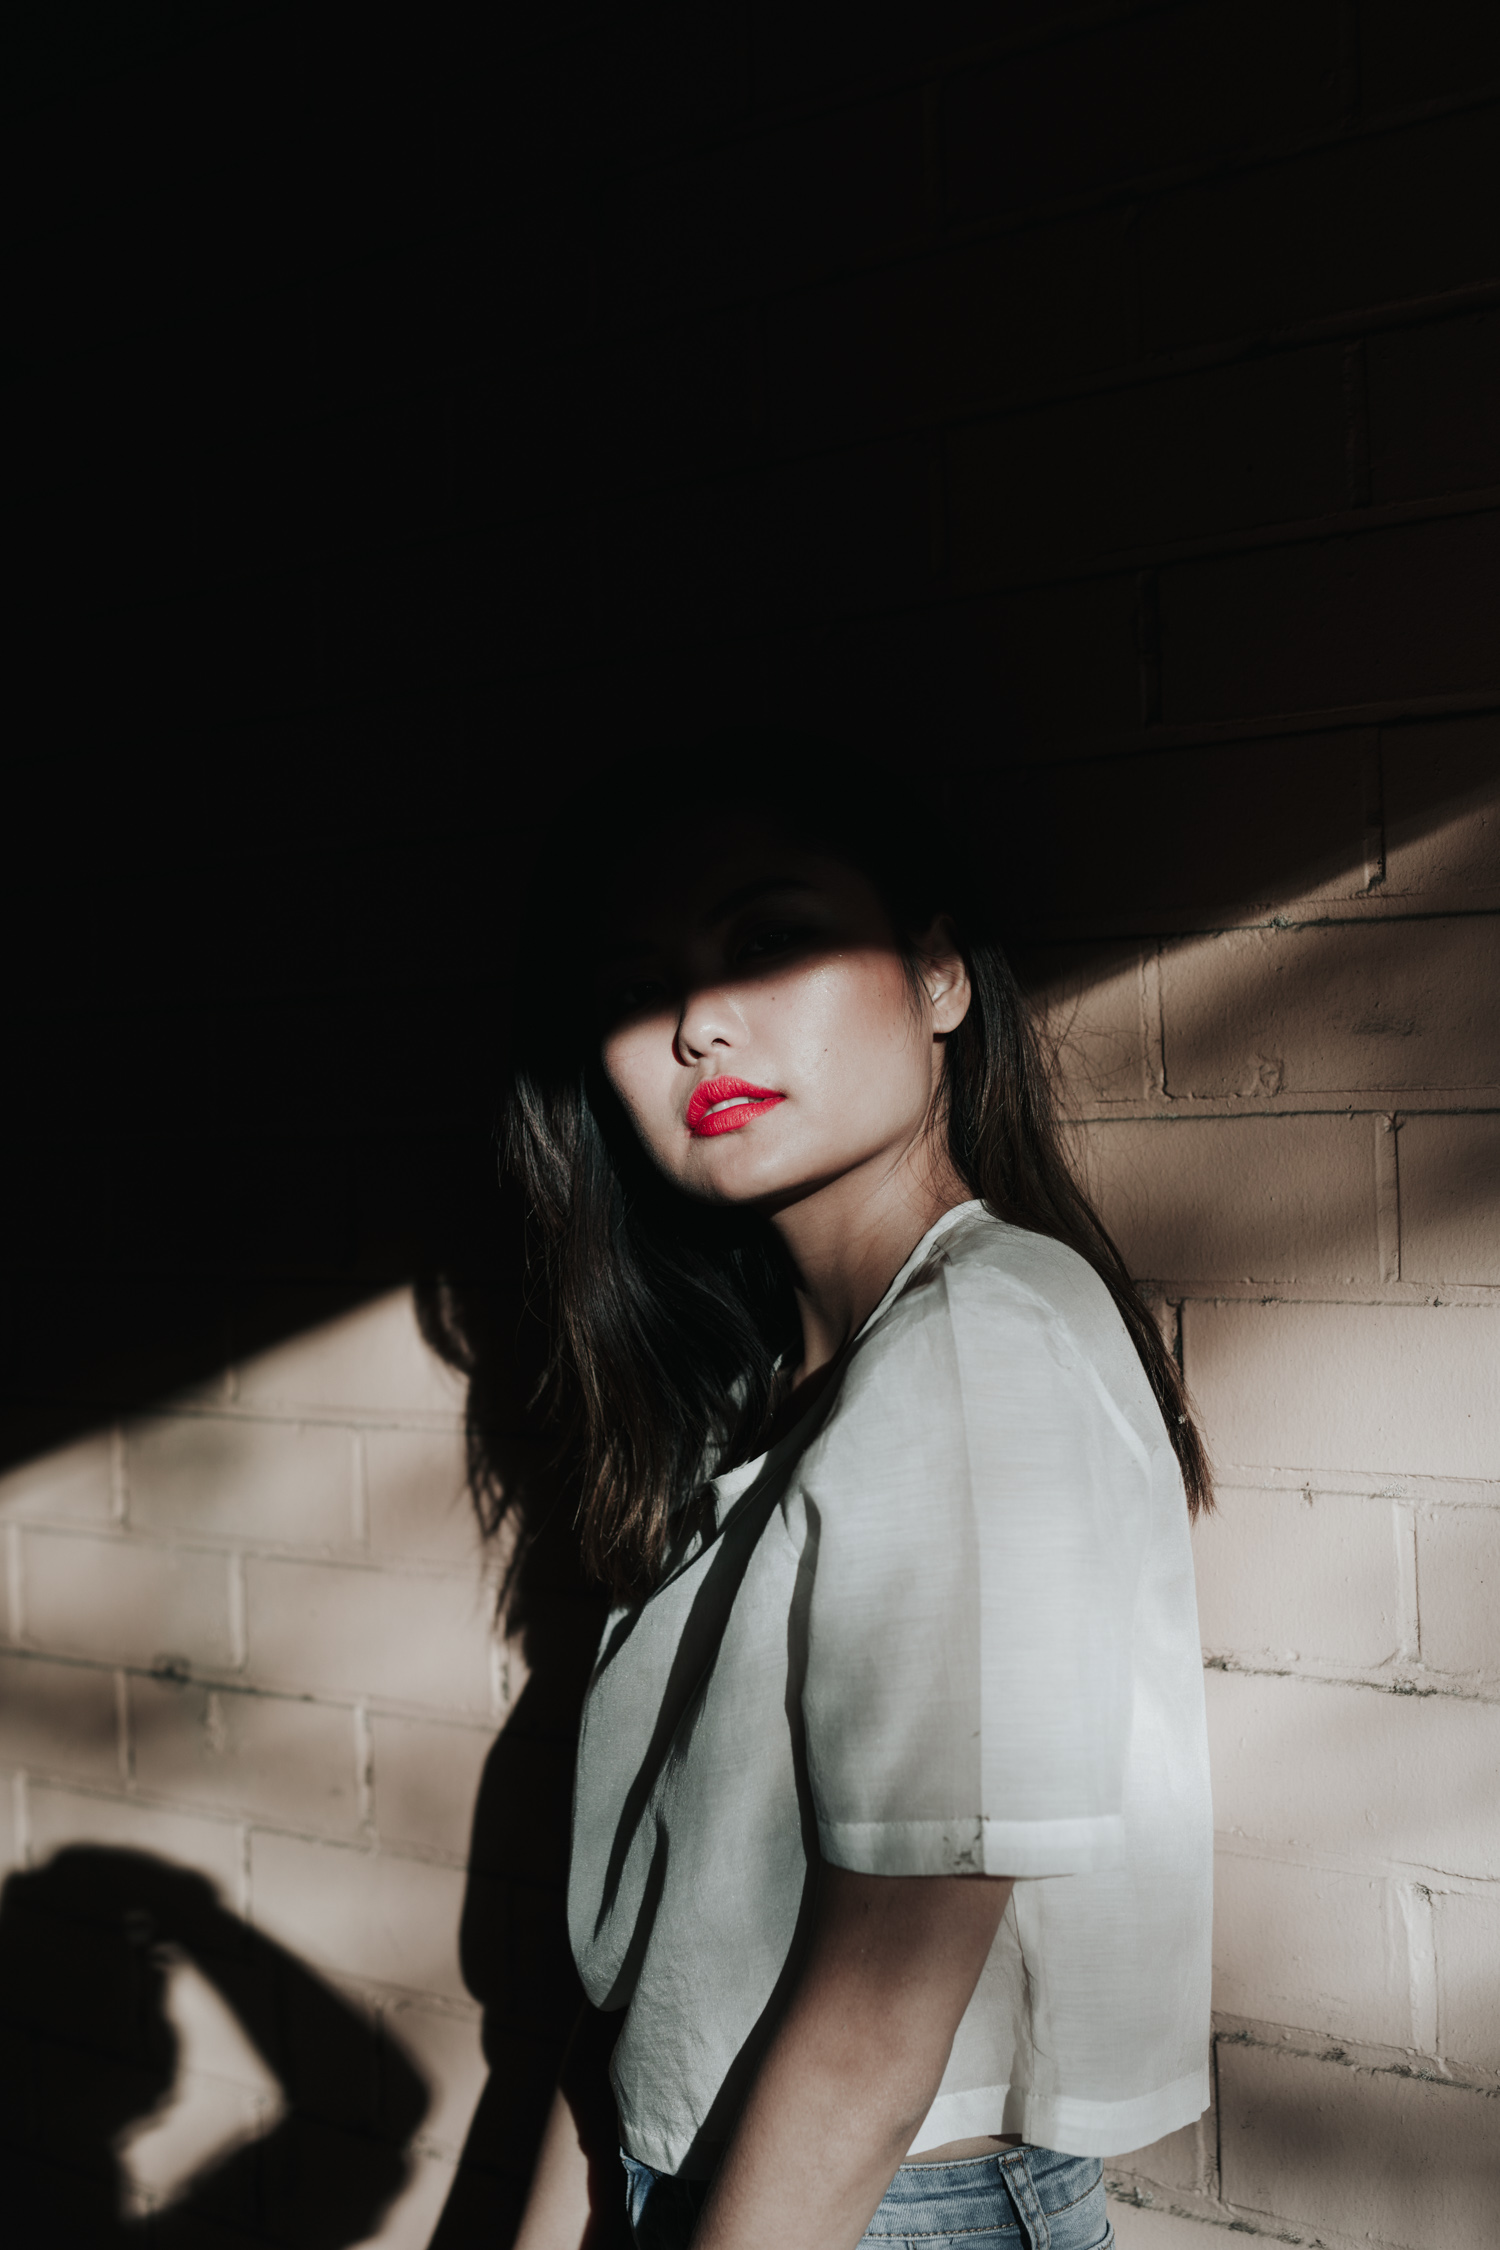
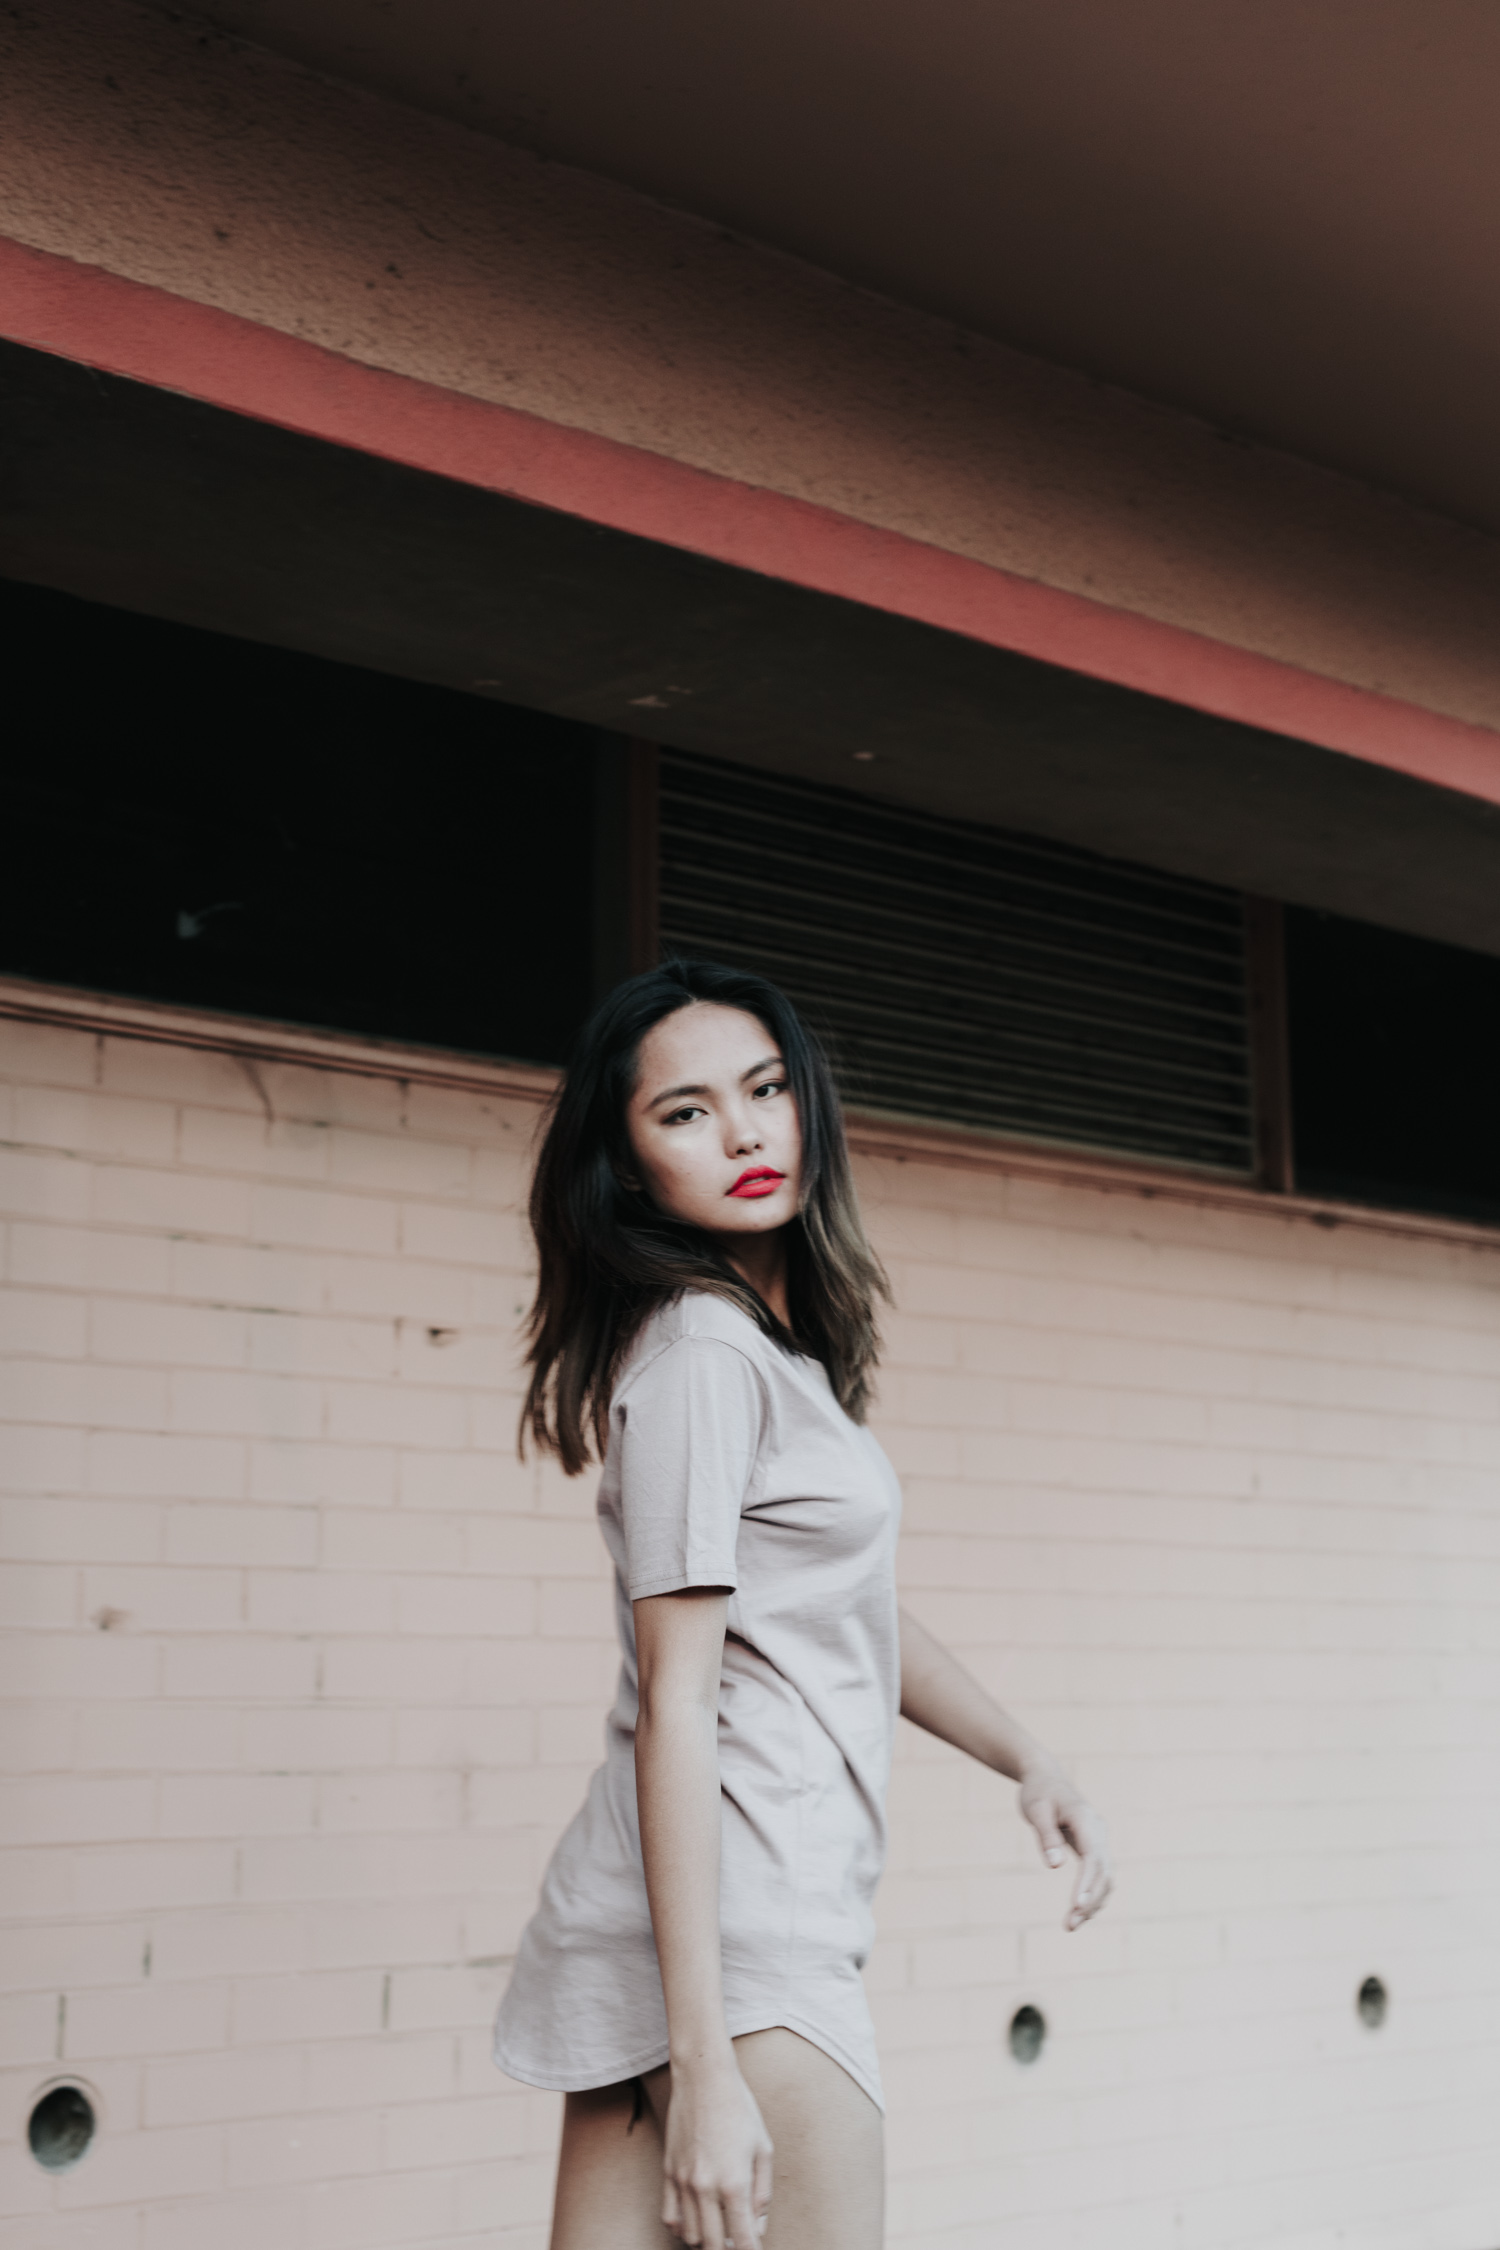
I'm obsessed with pink walls, and every time I travel I gravitate towards them as predictably as a dog gravitates towards the nearest tree. So I've been eye-ing this dilapidated vacant apartment block with pink walls near my place in Braddon and dreaming of portraits I could shoot with it.
I couldn't think of anyone who would suit this shoot more than the talented Gem Chua (represented by Devojka Models). She fit the urban lolita vibe to a tee, and rocked a flower in her mouth like no one else could (except maybe Lana Del Rey), and we shot this almost completely impromptu in 45mins.


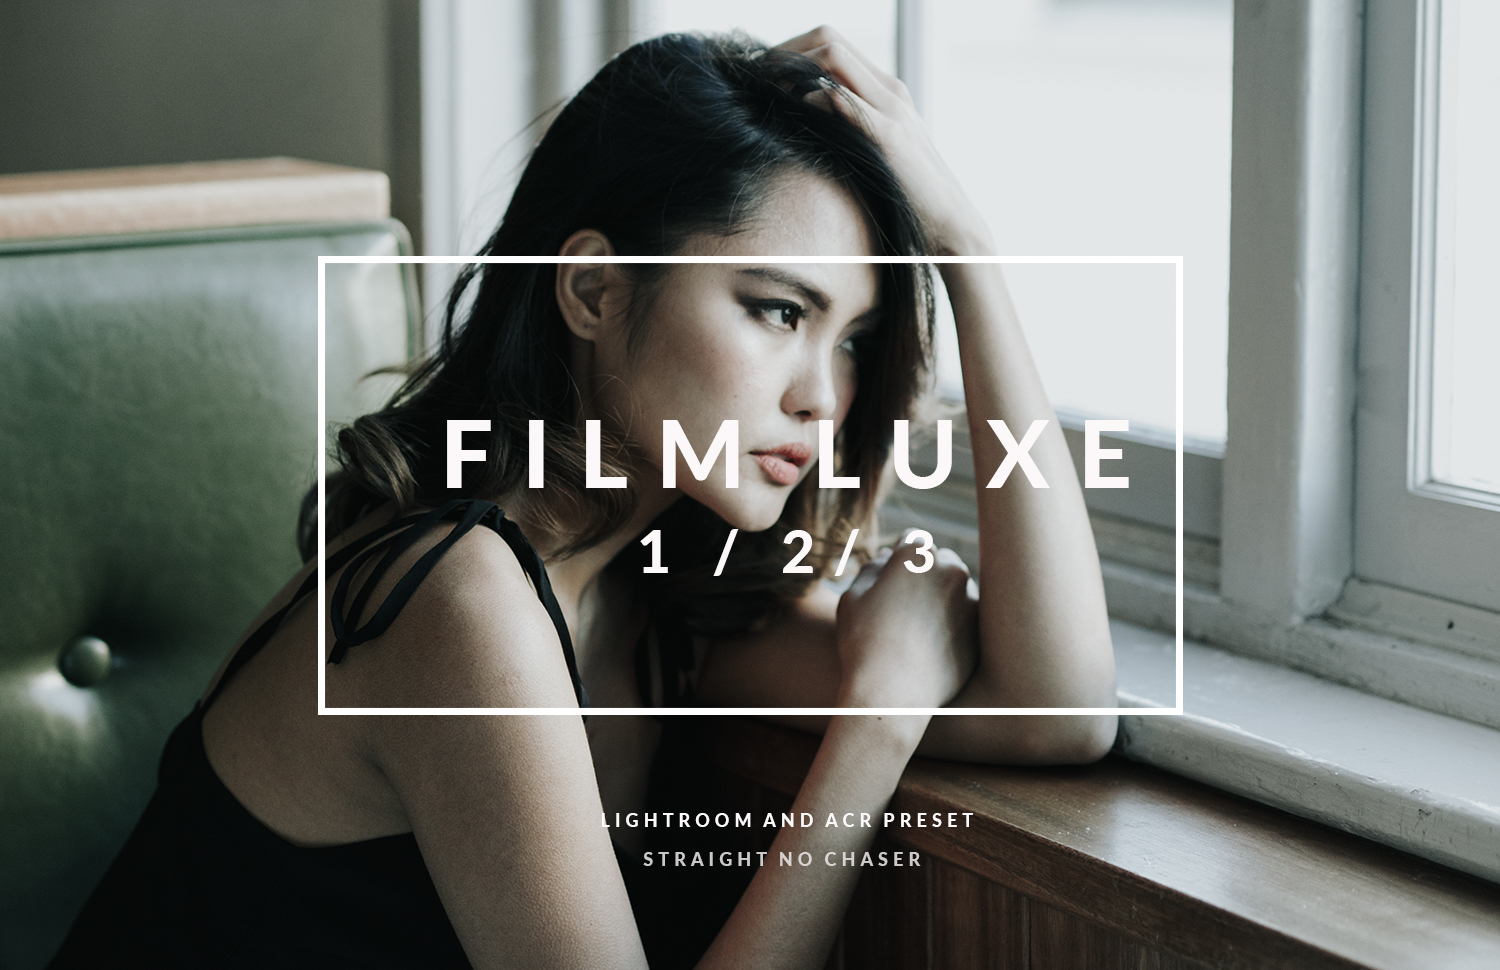
Film Luxe- A cool toned cinematic Lightroom and Photoshop ACR preset
The last few editorials I shot called for a more dramatic edit than my previous work, and one in particular ('Tonal', published in the September issue of Feroce Magazine) was all about greens and blues. This is where the inspiration for the colour palette of my new preset 'Film Luxe' came from- cool toned, striking greens and reds, clean whites, and with a touch of a cinematic feel. This preset is great for portraits in fashion / editorials, still life (think cool toned instagram feeds), and travel.
Film luxe is a complex, multifaceted preset- for high key images, it has a very clean 'Scandinavian' lifestyle type look, and for darker images it has a more filmic edgy feel.
There are three versions.
Film Luxe 1 - cleanest version, with the least amount of highlight and shadow fading.
Film Luxe 2 - increased highlight fade, more desaturated, has a 'dreamy' quality and a more obvious slate blue tinge to the shadows.
Film Luxe 3 - increased highlight and shadow fade, more contrast and crushed blacks, and more saturated greens than the others. This has more of an edgier, slightly polaroid film type feel.
Available for download at my Etsy store.

The last few editorials I shot called for a more dramatic edit than my previous work, and one in particular ('Tonal', published in the September issue of Feroce Magazine) was all about greens and blues. This is where the inspiration for the colour palette of my new preset 'Film Luxe' came from- cool toned, striking greens and reds, clean whites, and with a touch of a cinematic feel. This preset is great for portraits in fashion / editorials, still life (think cool toned instagram feeds), and travel.
Film luxe is a complex, multifaceted preset- for high key images, it has a very clean 'Scandinavian' lifestyle type look, and for darker images it has a more dark and moody cinematic feel.
There are three versions.
Film Luxe 1 - cleanest version, with the least amount of highlight and shadow fading.
Film Luxe 2 - increased highlight fade, more desaturated, has a 'dreamy' quality and a more obvious slate blue tinge to the shadows.
Film Luxe 3 - increased highlight and shadow fade, more contrast and crushed blacks, and more saturated greens than the others. This has more of an edgier, slightly polaroid film type feel.
Other resources in these blog posts:
How to install and use Lightroom Presets: Part 1
Using Lightroom Preset Part 2: Customizing Contrast, Fading, and skin tones
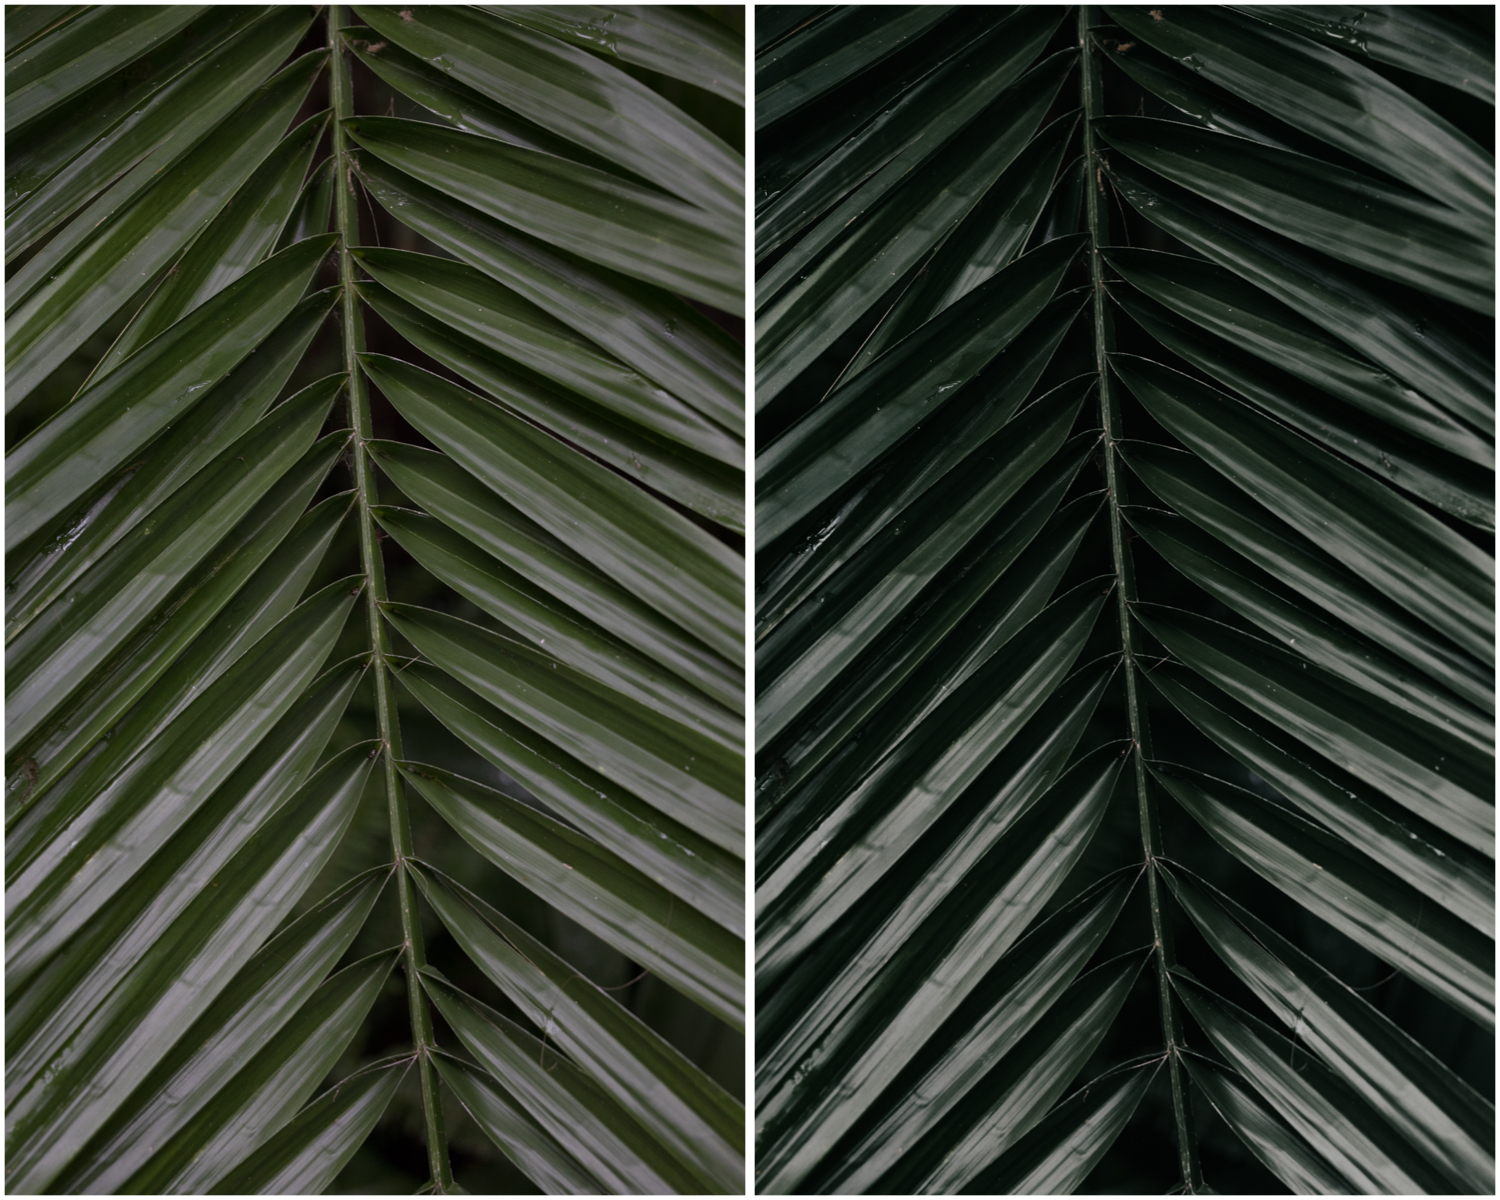
Foliage. Before (left), and with Film Luxe 1 preset applied (right)

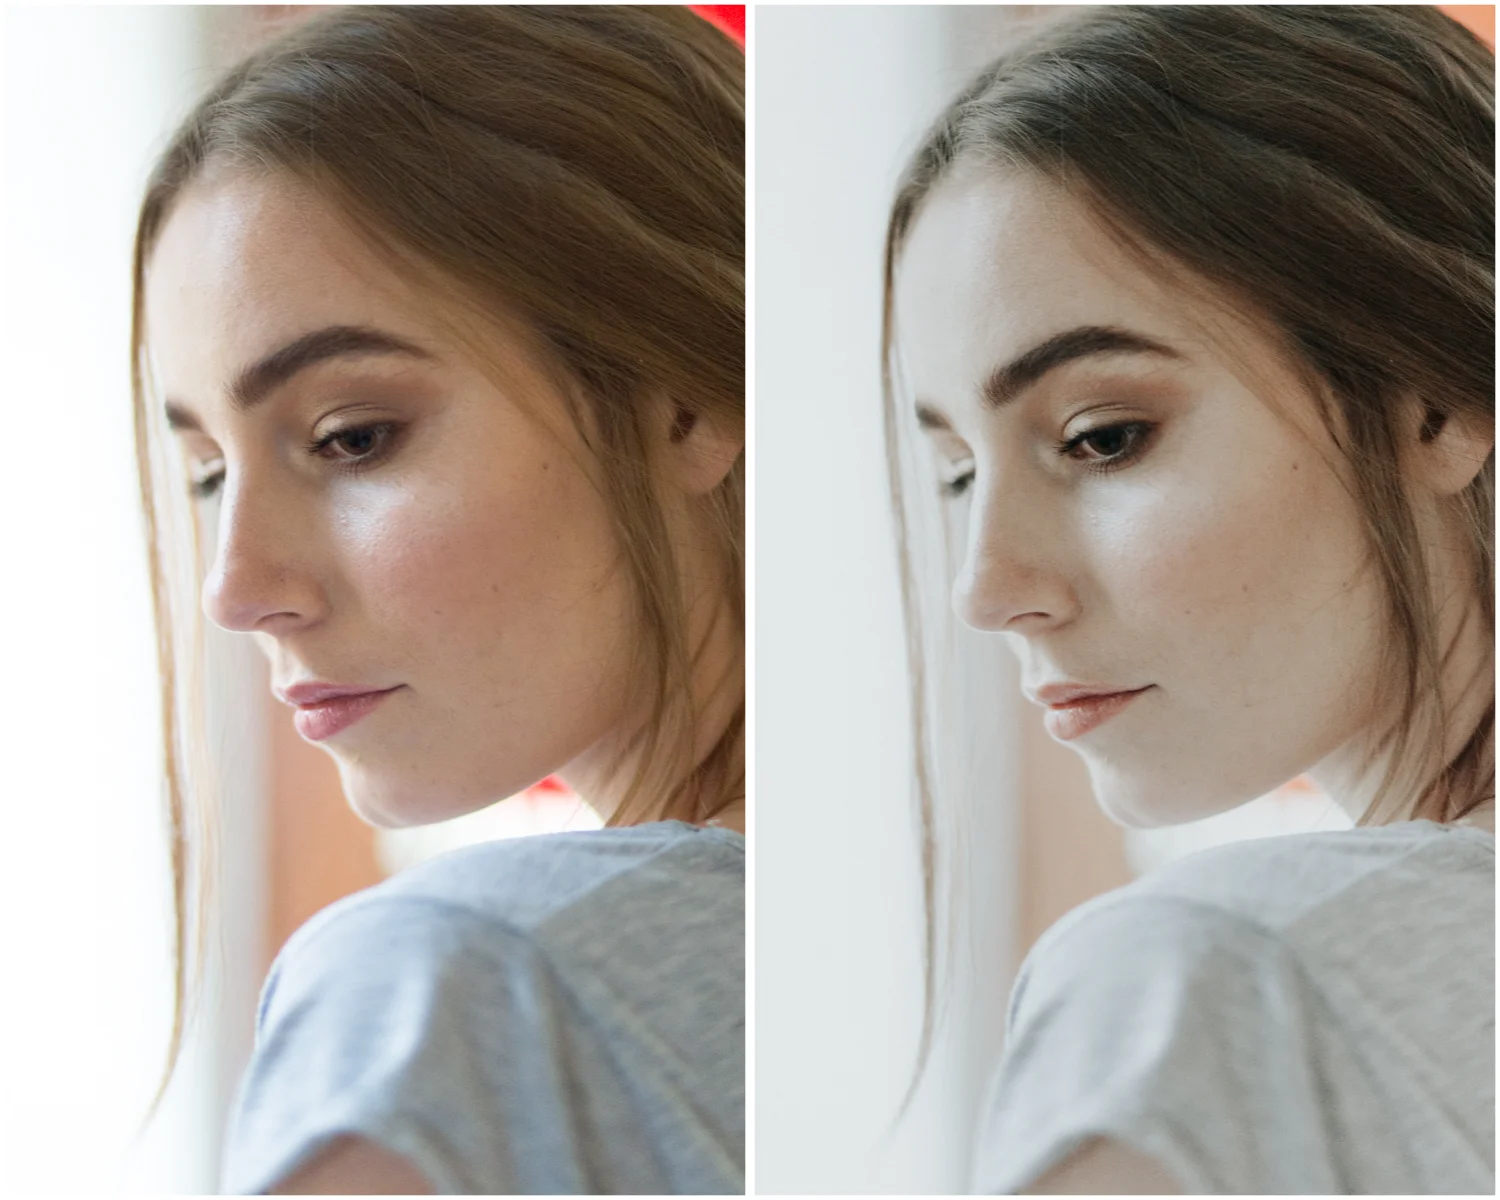
Editorial portrait. Before (left), and with Film Luxe 2 preset applied (right)

Editorial portrait. Before (left), and with Film Luxe 1 preset applied (right)

Before (left), Film Luxe 2 (middle), Film Luxe 3 (right)

Editorial portrait. Before (top), and with Film Luxe 1 preset applied (bottom)


Backlit portrait. Before (left), and with Film Luxe 2 preset applied (right)

Editorial portrait. Before (top), and with Film Luxe 1 preset applied (bottom)

Floral still life. Before (left), and with Film Luxe 1 preset applied (right)

Editorial portrait. Before (top), and with Film Luxe 2 preset applied (bottom)

Travel and still life. Before (top), and with Film Luxe 1 preset applied (bottom)


Greenhouse and foliage. Before (top), and with Film Luxe 3 preset applied (bottom)
= PIN US! =


My DSLR to Instagram Workflow- the OCD photographer's guide
Let me preface this post by saying that I am by no means a whiz at Instagram- getting followers, engagement, etc etc.
This post is about my workflow for getting RAW images from my DSLR to Instagram in a way that is streamlined, works with the way I edit, and also allows me to be OCD about my how my grid looks.
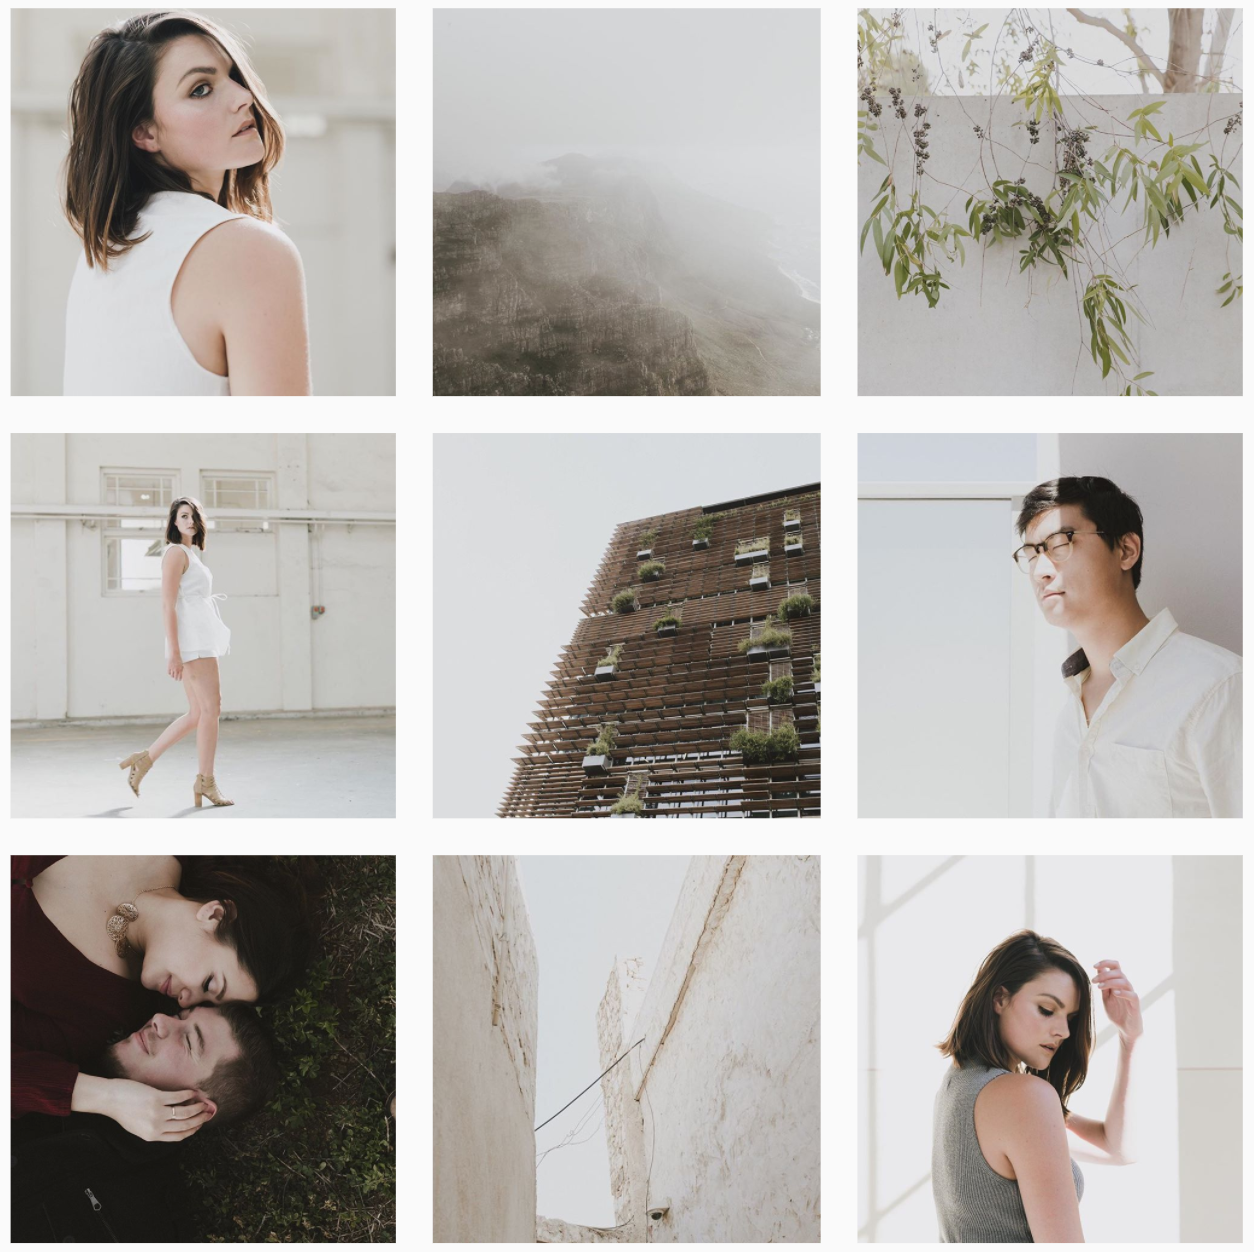
I see my photography Instagram account @StraightNoChaserPix as a rolling portfolio. It's easier to show someone your work by opening Instagram than to load up your website. For this reason I like my grid to make sense and for the images to reflect my aesthetic.
Let me preface this post by saying that I am by no means a whiz at Instagram- getting followers, engagement, etc etc. I'm as clueless as the next person about that black magic.
This post is about my workflow for getting RAW images from my DSLR to Instagram in a way that is streamlined, works with the way I edit, and also allows me to be OCD about my how my grid looks.
I see my photography Instagram account @StraightNoChaserPix as a rolling portfolio. It's easier to show someone your work by opening Instagram than to load up your website. For this reason I like my grid to make sense visually and for the collection of images to reflect my aesthetic.
For the longest time, I was faffing about with sending my edited images to email, then posting, deleting, and reposting images until I'm satisfied with how it looks on the grid.
So much wasted time and angst!
My current workflow:
1. Import RAW images into Lightroom, and edit them. Roundtrip to Photoshop if additional editing is needed, saving it back into Lightroom.
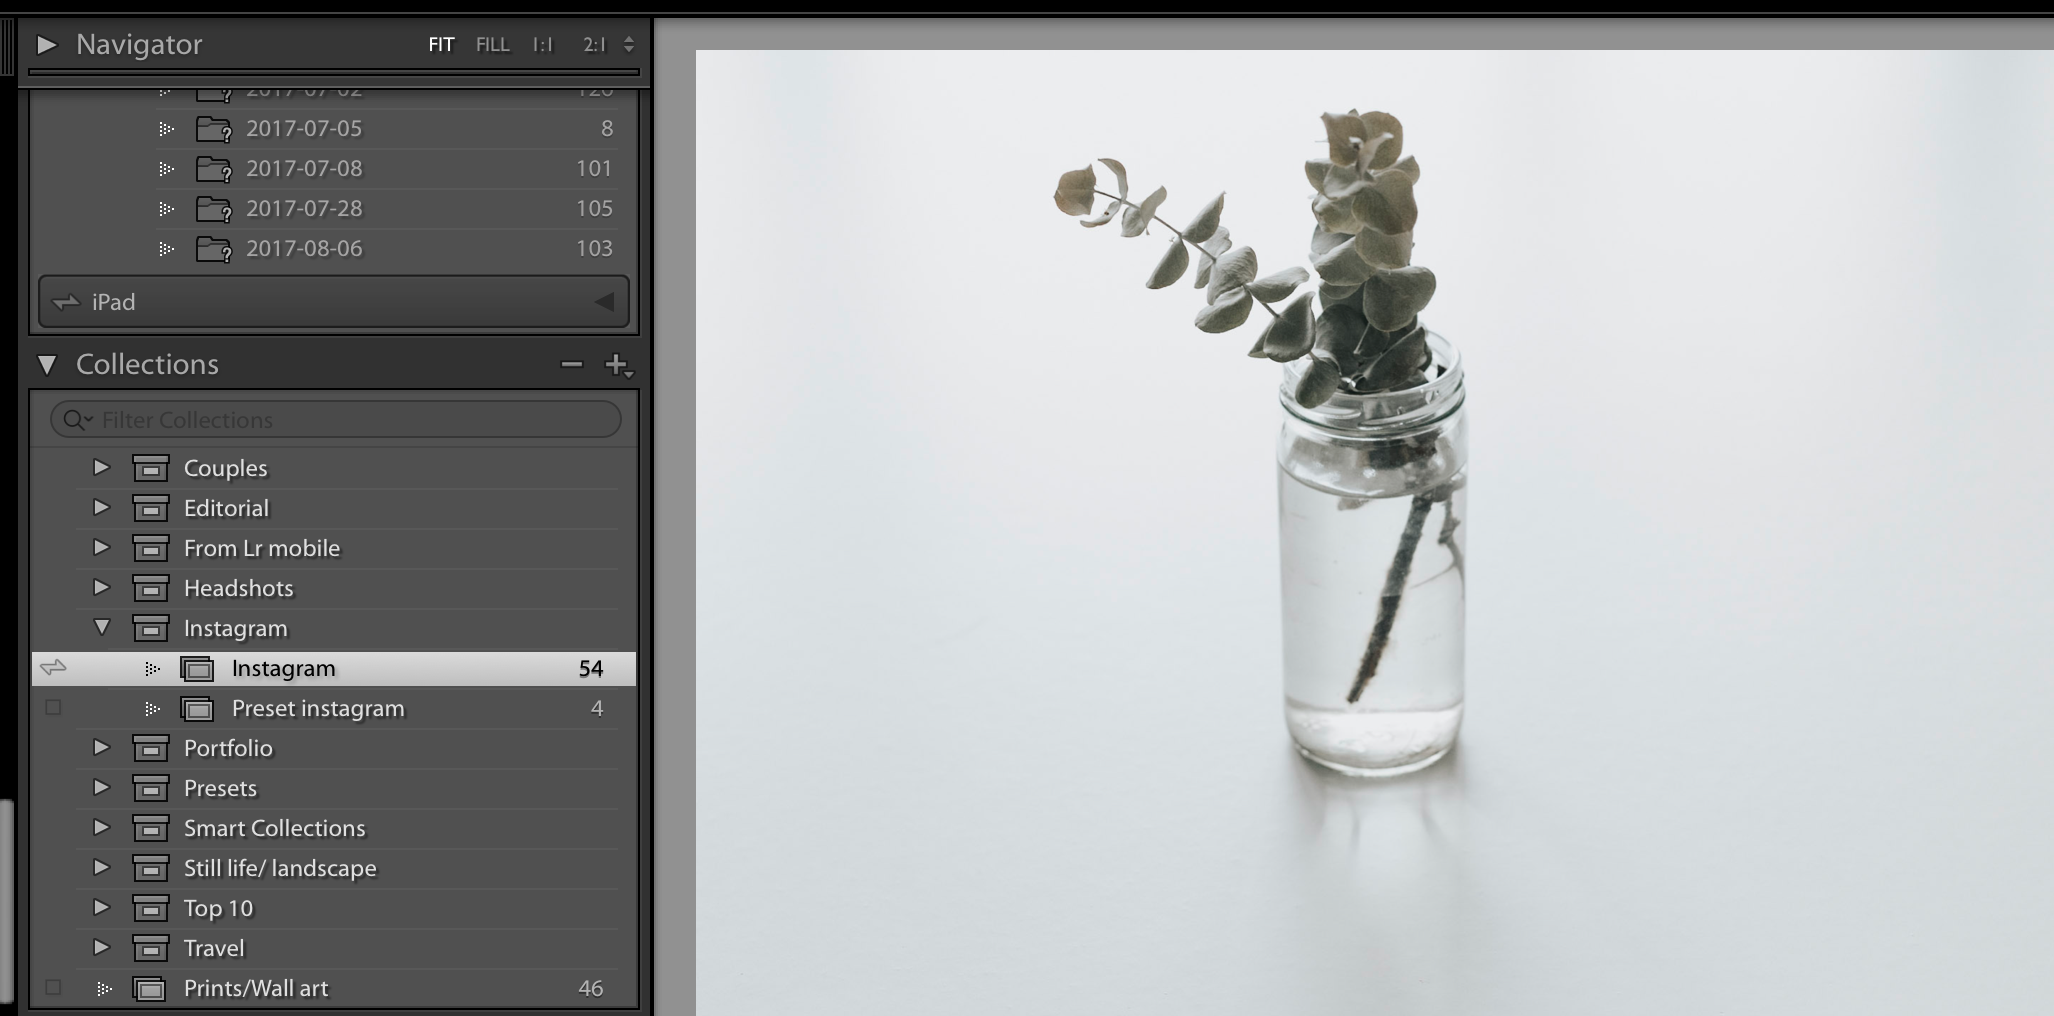
2. Pull edited images in Lightroom into a Collection which is synced with Lightroom mobile (I called mine 'Instagram' because I like to be groundbreaking).
2. Open up Lightroom mobile on my iPad and save the synced images to my camera roll.
3. Open up the UNUM app, import a few images that I am planning to post, and arrange them to suit my instagram grid.
* If I'm feeling extra OCD and the colour tones in a particular image I want to use doesn't quite 'fit in' with the others, I'll go into Lightroom and re-edit a copy of that.
Lightroom Collections:
If you haven't used Lightroom Collections before- it is an amazing way to keep your images organised. Another major perk is that It allows you to create folders that can be synced with Lightroom Mobile, which makes those images available on your phone or tablet, ready to use for posting on social media or for quickly bringing up a shoot to show other people (e.g. clients or your creative team).
Lightroom Presets
Quick detour into editing with my Lightroom editing workflow. I use presets to to edit quickly and consistently. I often tweak presets to suit the conditions of the shoot, and sometimes I create a preset from scratch for a specific shoot if I don't have anything in my collection to create the images I want.
Cheeky plug: you can download my presets on my Etsy store. Lifestyle preset is the one that I most often use these days, and a lot of my instagram images will be edited with that preset.

UNUM App
I found out about this app through random googling. There are lots of instagram planning apps out there but this is the one I started using because it had all the functionality I wanted in the free version, and I like the sleek and intuitive design. I'm not being paid by UNUM by the way (I wish!).
So I take some images that I've saved to my camera roll from Lightroom Mobile, and import them into UNUM - I then arrange the tiles in an order that makes aesthetic sense to me, and have it there ready for when I'm ready to post. Sometimes I'll switch things around if I have some new images I want to post sooner, or delete images that seem like they don't belong.
Consistency in tones.... and fun with grids.
One of the things I love about this workflow is that I can see pretty quickly if I need to make changes to the colour toning of an image when it's arranged in the UNUM grid. I can simply edit the photo on my laptop, which automatically updates it on the Lightroom mobile image, and I can just pull that tweaked edit into UNUM. The tones don't have to match through the entire account (how boring!), but I like having at least blocks of 6 tiles with some sort of consistency. Fussy photographers rejoice!
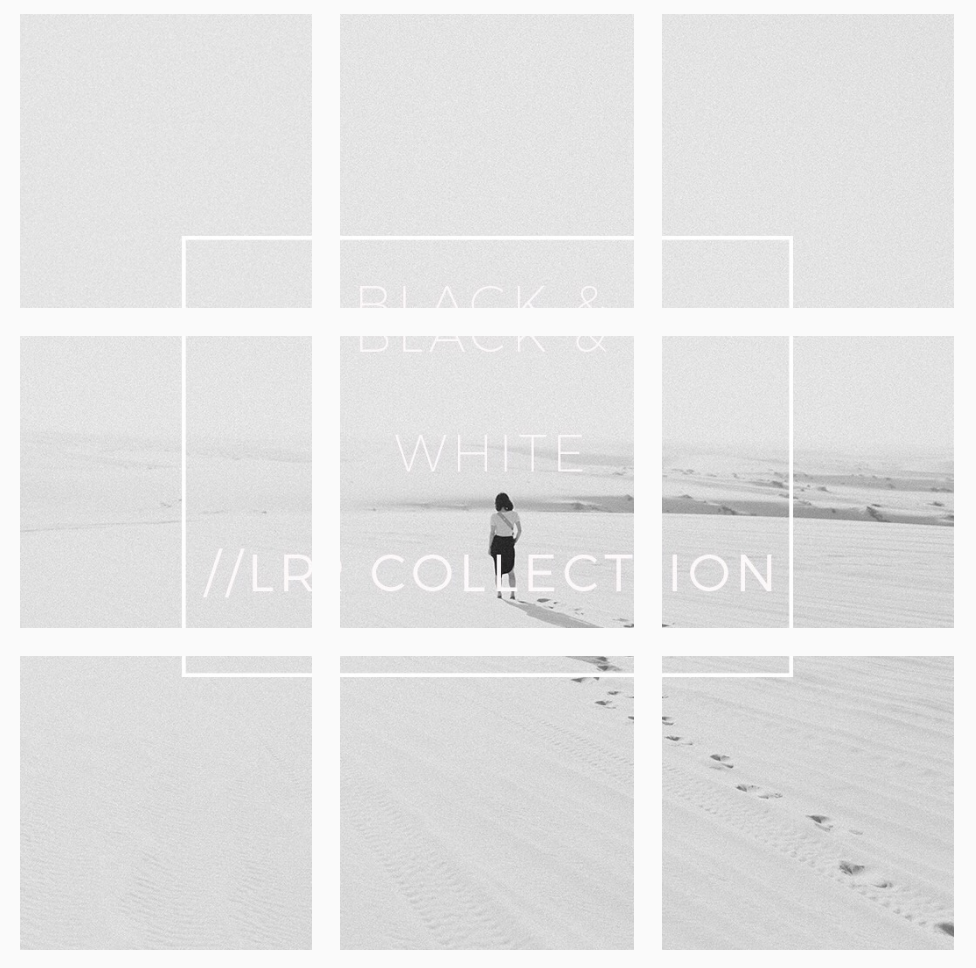
Another app that I've found useful (I mostly use it for my preset account @StraightNoChaserPresets ) is EasyGrid, which does that cool thing with making a big image from multiple tiles. There are lots of apps that do the same thing, I just came across this one and found it simple to use. From memory I think I did have to pay for it, but it wasn't expensive.

Keep in mind that this post is very much descriptive rather than prescriptive. This is what works for me and what I want from my Instagram account, and may not work for others (for example people that like to post images captured on their mobile device). There might be a better way of doing what I'm trying to do, and if you have any tips I would love to hear it in the comments!