
 Image 1 of 13
 Image 2 of 13
 Image 3 of 13
 Image 4 of 13
 Image 5 of 13
 Image 6 of 13
 Image 7 of 13
 Image 8 of 13
 Image 9 of 13
 Image 10 of 13
 Image 11 of 13
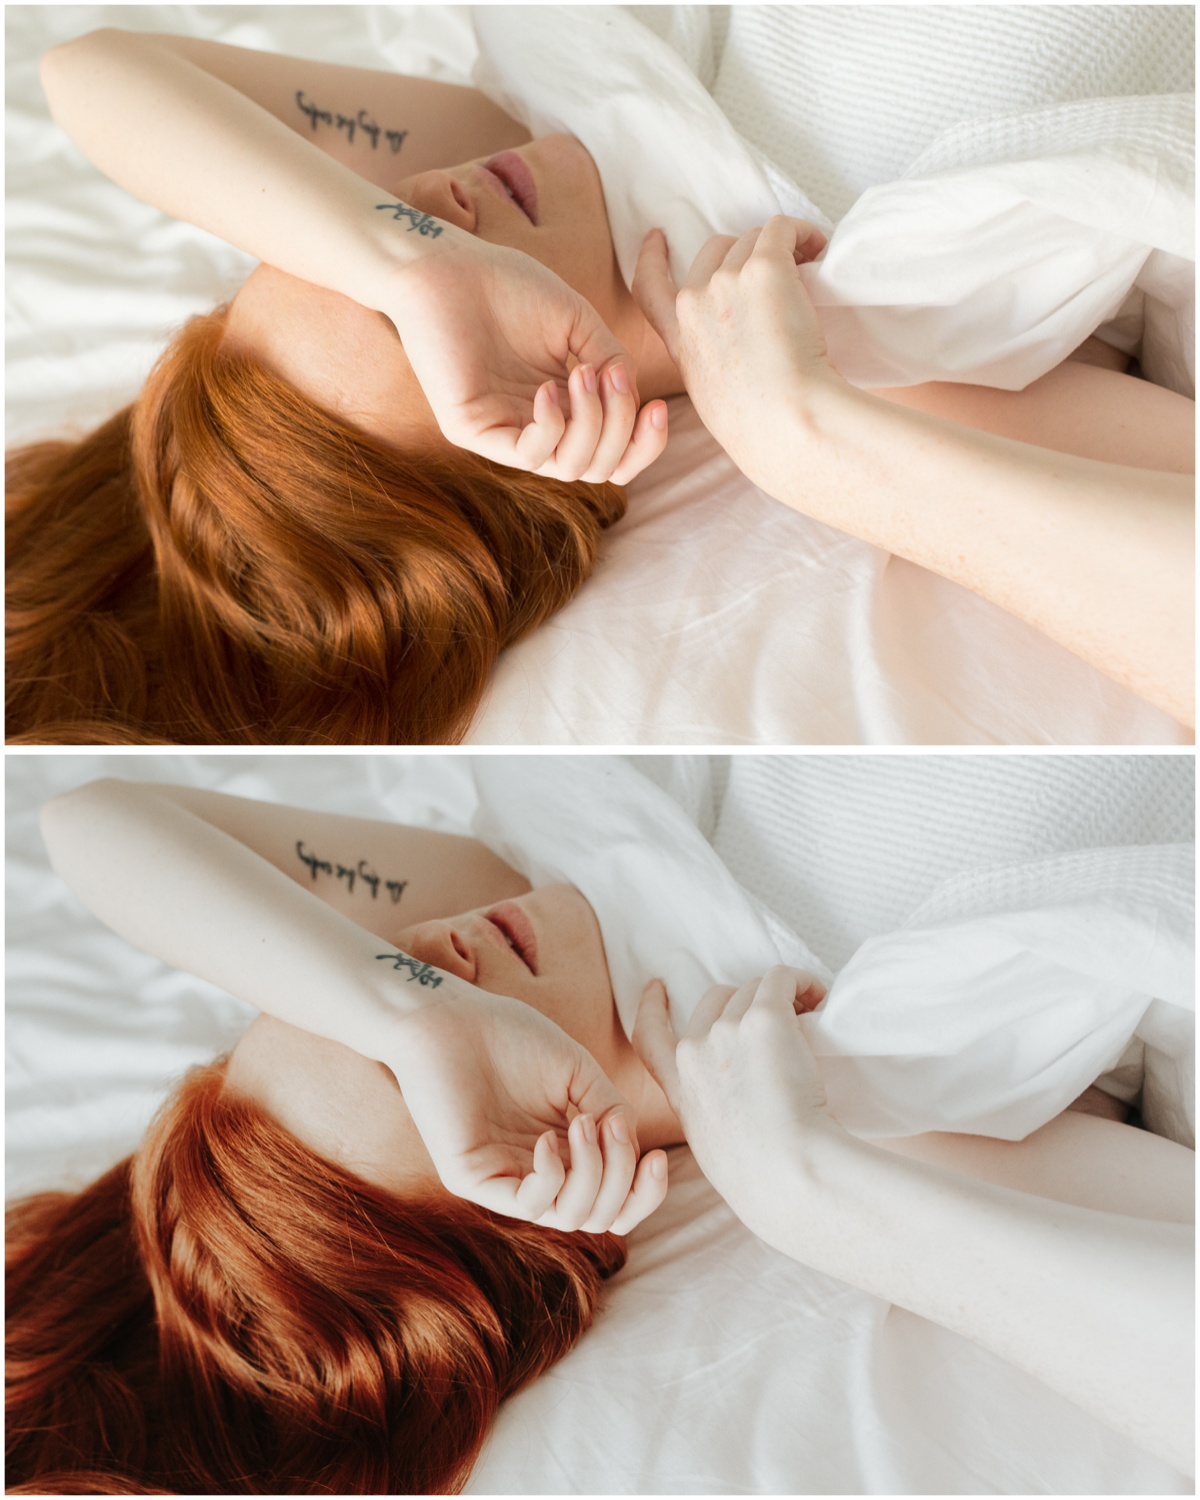 Image 12 of 13
 Image 13 of 13
/COMPATIBILITY//
- Best results are with RAW/DNG files. Results with Jpeg files are unpredictable.
- Works in Lightroom 5-6 (CC)
- ACR version available
_______________________________________________________________________________________________________________
// INSTRUCTIONS AND TROUBLESHOOTING //
.........................................................................................................................................
More details in these blog posts -->
+ Preset tutorials +
How to install and use Lightroom Presets: Part 1
How to install and use Lightroom Presets: Part 1
Using Lightroom Preset Part 2: Customizing Contrast, Fading, and skin tones
...........................................................................................................................................
//Installation//
LIGHTROOM
Installing: after downloading presets into your folder of choice, open Lightroom and right-click on the folder you want to import the preset into. Click 'import', and select the downloaded preset.
ACR
Installing: after downloading presets, place them in the Settings folder. Once in the folder, they should appear in the Presets tab on the right when you have ACR open.
Mac: Users/<username>/Library/Application Support/Adobe/CameraRaw/Settings
Windos: c:\Users\<username>\AppData\Roaming\Adobe\CameraRaw\Settings
Using the preset:
Get the right colour temperature and exposure in your image first, then click on the preset for the edit. You may need to increase or decrease the exposure after the edit has been applied.
A NOTE ON EXPOSURE: I generally shoot slightly underexposed to optimise skin tones in my portraits- I will usually apply the preset first, then slowly increase exposure, over shoot, then decrease until the colours and skin tones feel right. If your image looks overly contrasty or muddy, an increase in exposure usually helps.